2017 DODGE GRAND CARAVAN change time
[x] Cancel search: change timePage 140 of 530
Universal commands are available at all times. Local
commands are available if the supported radio mode is
active.
Changing The Volume
1. Start a dialogue by pushing the Voice Commandbut-
ton.
2. Say a command (e.g., “Help”).
3. Use the ON/OFF VOLUME rotary knob to adjust the volume to a comfortable level while the Voice Com-
mand system is speaking. Please note the volume set-
ting for Voice Command is different than the audio
system.
Main Menu
Start a dialogue by pushing the Voice Commandbut-
ton. You may say “Main Menu” to switch to the main
menu.
In this mode, you can say the following commands:
• “Radio AM” (to switch to the radio AM mode)
• “Radio FM” (to switch to radio FM mode) •
“Sat” (to switch to Satellite radio mode)
• “Disc” (to switch to the disc mode)
• “USB” (to switch to USB mode)
• “Bluetooth Streaming” (to switch to Bluetooth Stream-
ing mode)
• “Memo” (to switch to the memo recorder)
• “System Setup” (to switch to system setup)
Radio AM
To switch to the AM band, say “AM” or “Radio AM.” In
this mode, you may say the following commands:
•“Frequency #” (to change the frequency)
• “Next Station” (to select the next station)
• “Previous Station” (to select the previous station)
• “Radio Menu” (to switch to the radio menu)
• “Main Menu” (to switch to the main menu)
138 UNDERSTANDING THE FEATURES OF YOUR VEHICLE
Page 147 of 530
Front Heated Seats
There are two heated seat switches that allow the driver
and passenger to operate the seats independently. The
controls for each heater are located on the switch bank
below the climate controls.
You can choose from HI, LO or OFF heat settings. Amber
indicator lights in each switch indicate the level of heat in
use. Two indicator lights will illuminate for HI, one for LO
and none for OFF.Push the switch once to select HI-level heating.
Push the switch a second time to select LO-level
heating. Push the switch a third time to shut the
heating elements OFF.
NOTE: Once a heat setting is selected, heat will be felt
within two to five minutes.
If the HI-level setting is selected, the system will automati-
cally switch to LO-level after approximately 60 minutes of
continuous operation. At that time, the display will change
from HI to LO, indicating the change. The LO-level setting
will turn OFF automatically after approximately 45 min-
utes.
Rear Heated Seats
On some models, the second row seats are equipped with
heaters. There are two heated seat switches that allow the
second row passengers to operate the seats independently.
The heated seat switches are located on the sliding side
door handle trim panels.
Second Row Heated Seat Switch
3
UNDERSTANDING THE FEATURES OF YOUR VEHICLE 145
Page 148 of 530
You can choose from HI, LO or OFF heat settings. Amber
indicator lights in each switch indicate the level of heat in
use. Two indicator lights will illuminate for HI, one for LO
and none for OFF.Push the switch once to select HI-level heating.
Push the switch a second time to select LO-level
heating. Push the switch a third time to shut the
heating elements OFF.
NOTE: Once a heat setting is selected, heat will be felt
within two to five minutes.
When the HI-level setting is selected, the heater will
provide a boosted heat level during the initial stages of
operation. Then, the heat output will drop to the normal
HI-level. If the HI-level setting is selected, the system will
automatically switch to LO-level after approximately 60
minutes of continuous operation. At that time, the display
will change from HI to LO, indicating the change. The
LO-level setting will turn OFF automatically after approxi-
mately 45 minutes.
Manual Front/Second Row Seat Adjuster
Both front seats are adjustable forward or rearward. The
manual seat adjustment handle is located under the seat
cushion at the front edge of each seat. While sitting in the seat, pull up on the handle and slide the
seat forward or rearward. Release the bar once you have
reached the desired position. Then, using body pressure,
move forward and rearward on the seat to be sure that the
seat adjusters have latched.
WARNING!
•
Adjusting a seat while driving may be dangerous.
Moving a seat while driving could result in loss of
(Continued)
Manual Seat Adjuster
146 UNDERSTANDING THE FEATURES OF YOUR VEHICLE
Page 175 of 530

Automatic Headlights — If Equipped
This system automatically turns your headlights on or off
based on ambient light levels. To turn the system on, turn
the headlight switch to the extreme counterclockwise po-
sition aligning the indicator with the AUTO on the head-
light switch. When the system is on, the Headlight Time
Delay feature is also on. This means your headlights will
stay on for up to 90 seconds after you turn the ignition
switch OFF. To turn the Automatic System off, turn the
headlight switch clockwise to the O (OFF) position.
NOTE:The engine must be running before the headlights
will come on in the Automatic mode.
Headlights On With Wipers — If Equipped
When your headlights are in the AUTO mode and the
engine is running, the headlights will automatically turn
on when the wiper system is also turned on. Headlights on
when windshield wipers are on may be found on vehicles
equipped with an automatic headlight system.
NOTE: The Headlights with Wipers feature can be turned
on or off through the Instrument Cluster Display — if
equipped. Refer to “Instrument Cluster Display/Customer
Programmable Features” in “Understanding Your Instru-
ment Panel” for further information.
Headlight Delay — If Equipped
This feature provides the safety of headlight illumination
for up to 90 seconds after exiting your vehicle.
To activate the delay feature, turn OFF the ignition switch
while the headlights are still on. Then turn off the head-
lights within 45 seconds. The 90 second delay interval
begins when headlight switch is turned off. If the head-
lights or parking lights are turned back on or the ignition
switch is turned ON, the delay will be cancelled.
When exiting the vehicle the driver can choose to have the
headlights remain on for 30, 60 or 90 seconds or not remain
on. To change the timer setting, see your Authorized
Dealer.
The headlight delay time is programmable on vehicles
equipped with an Instrument Cluster Display. Refer to
“Instrument Cluster Display/Customer-Programmable
Features” in “Understanding Your Instrument Panel” for
further information.
If the headlights are turned off before the ignition, they will
turn off in the normal manner.
NOTE: The headlights must be turned off within 45 sec-
onds of turning the ignition OFF to activate this feature.
3
UNDERSTANDING THE FEATURES OF YOUR VEHICLE 173
Page 178 of 530
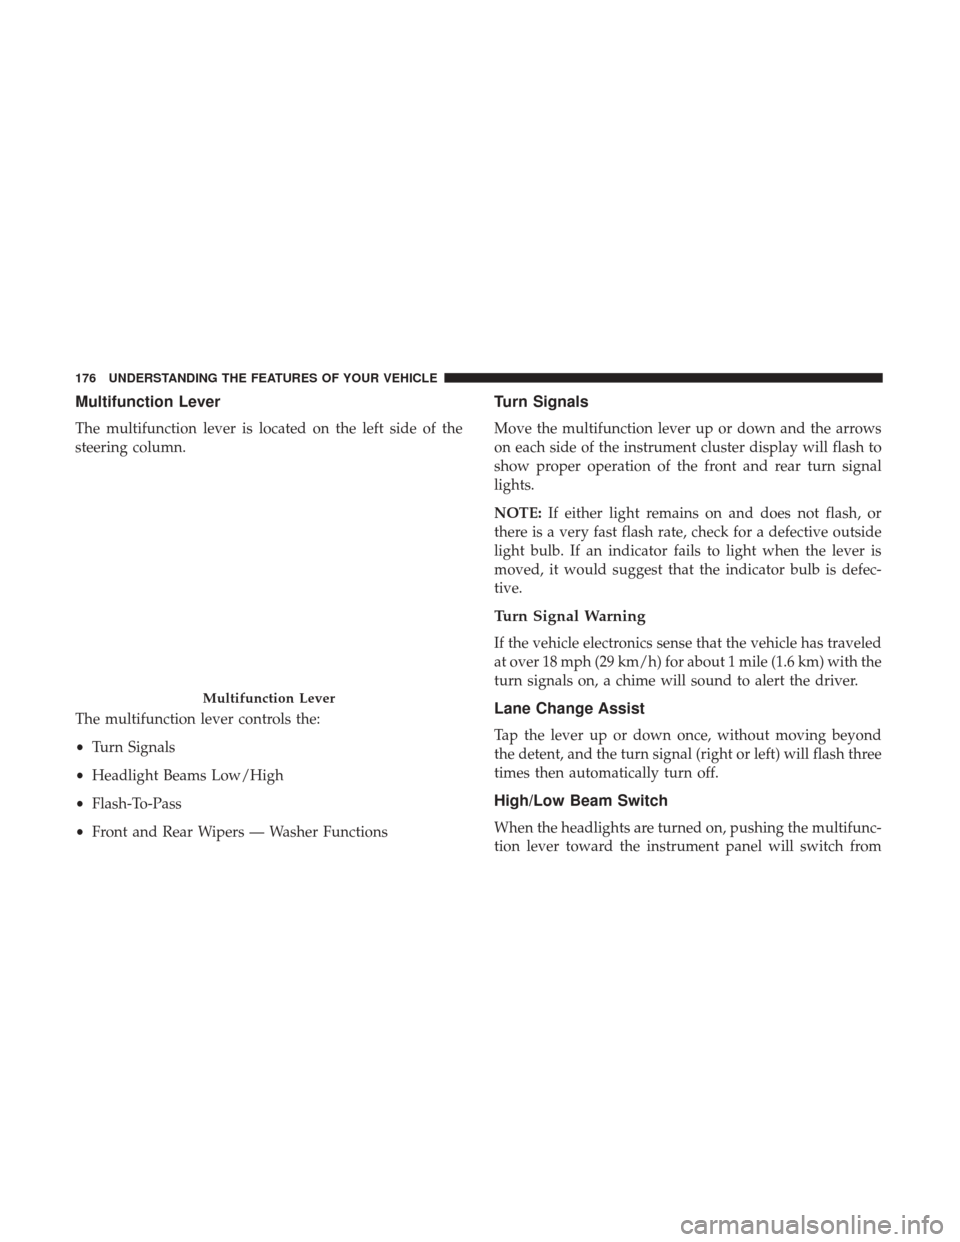
Multifunction Lever
The multifunction lever is located on the left side of the
steering column.
The multifunction lever controls the:
•Turn Signals
• Headlight Beams Low/High
• Flash-To-Pass
• Front and Rear Wipers — Washer Functions
Turn Signals
Move the multifunction lever up or down and the arrows
on each side of the instrument cluster display will flash to
show proper operation of the front and rear turn signal
lights.
NOTE: If either light remains on and does not flash, or
there is a very fast flash rate, check for a defective outside
light bulb. If an indicator fails to light when the lever is
moved, it would suggest that the indicator bulb is defec-
tive.
Turn Signal Warning
If the vehicle electronics sense that the vehicle has traveled
at over 18 mph (29 km/h) for about 1 mile (1.6 km) with the
turn signals on, a chime will sound to alert the driver.
Lane Change Assist
Tap the lever up or down once, without moving beyond
the detent, and the turn signal (right or left) will flash three
times then automatically turn off.
High/Low Beam Switch
When the headlights are turned on, pushing the multifunc-
tion lever toward the instrument panel will switch from
Multifunction Lever
176 UNDERSTANDING THE FEATURES OF YOUR VEHICLE
Page 202 of 530

4. Continue to hold both buttons and observe the indicatorlight. The HomeLink indicator will flash slowly and
then rapidly after HomeLink has received the frequency
signal from the hand-held transmitter. Release both
buttons after the indicator light changes from slow to
rapid.
5. At the garage door opener motor (in the garage), locate the “LEARN” or “TRAINING” button. This can usually
be found where the hanging antenna wire is attached to
the garage door opener/device motor. Firmly push and
release the “LEARN” or “TRAINING” button. On some
garage door openers/devices there may be a light that
blinks when the garage door opener/device is in the
LEARN/TRAIN mode.
NOTE: You have 30 seconds in which to initiate the next
step after the LEARN button has been pushed.
6. Return to the vehicle and push the programmed HomeLink button twice (holding the button for two
seconds each time). If the garage door opener/device
activates, programming is complete.
NOTE: If the garage door opener/device does not activate,
push the button a third time (for two seconds) to complete
the training. To program the remaining two HomeLink buttons, repeat
each step for each remaining button. DO NOT erase the
channels.
Reprogramming A Single HomeLink Button (Rolling
Code)
To reprogram a channel that has been previously trained,
follow these steps:
1. Cycle the ignition to the ON/RUN position.
2. Push and hold the desired HomeLink button until the
indicator light begins to flash after 20 seconds. Do not
release the button.
3. Without releasing the button, proceed with “Program-
ming A Rolling Code” step 2 and follow all remaining
steps.
Programming A Non-Rolling Code
For programming Garage Door Openers manufactured
before 1995:
1. Place the ignition in the ON/RUN position.
2. Place the hand-held transmitter 1 to 3 inches (3 to 8 cm)
away from the HomeLink button you wish to program
while keeping the HomeLink indicator light in view.
200 UNDERSTANDING THE FEATURES OF YOUR VEHICLE
Page 203 of 530
3. Push and hold the Homelink button you want toprogram while you push and hold the hand-held trans-
mitter button.
4. Continue to hold both buttons and observe the indicator light. The Homelink indicator will flash slowly and then
rapidly after HomeLink has received the frequency
signal from the hand-held transmitter. Release both
buttons after the indicator light changes from slow to
rapid.
5. Push and hold the programmed HomeLink button and observe the indicator light.
• If the indicator light stays on constantly, programming
is complete and the garage door/device should acti-
vate when the HomeLink button is pushed.
• To program the two remaining HomeLink buttons,
repeat each step for each remaining button. DO NOT
erase the channels.
Reprogramming A Single HomeLink Button
(Non-Rolling Code)
To reprogram a channel that has been previously trained,
follow these steps:
1. Cycle the ignition to the ON/RUN position. 2. Push and hold the desired HomeLink button until the
indicator light begins to flash after 20 seconds. Do not
release the button.
3. Without releasing the button, proceed with “Program-
ming A Non-Rolling Code” step 2 and follow all remain-
ing steps.
Canadian/Gate Operator Programming
For programming transmitters in Canada/United States
that require the transmitter signals to “time-out” after
several seconds of transmission:
Canadian radio frequency laws require transmitter signals
to time-out (or quit) after several seconds of transmission,
which may not be long enough for HomeLink to pick up
the signal during programming. Similar to this Canadian
law, some U.S. gate operators are designed to time-out in
the same manner.
It may be helpful to unplug the device during the cycling
process to prevent possible overheating of the garage door
or gate motor.
1. Cycle the ignition to the ON/RUN position.
3
UNDERSTANDING THE FEATURES OF YOUR VEHICLE 201
Page 204 of 530

2. Place the hand-held transmitter 1 to 3 inches (3 to 8 cm)away from the HomeLink button you wish to program
while keeping the HomeLink indicator light in view.
3. Continue to push and hold the HomeLink button while you push and release (“cycle”) your hand-held trans-
mitter every two seconds until HomeLink has success-
fully accepted the frequency signal. The indicator light
will flash slowly and then rapidly when fully trained.
4. Watch for the HomeLink indicator to change flash rates. When it changes, it is programmed. It may take up to 30
seconds or longer in rare cases. The garage door may
open and close while you are programming.
5. Push and hold the programmed HomeLink button and observe the indicator light.
NOTE: •If the indicator light stays on constantly, programming
is complete and the garage door/device should acti-
vate when the HomeLink button is pushed.
• To program the two remaining HomeLink buttons,
repeat each step for each remaining button. DO NOT
erase the channels. If you unplugged the garage door opener/device for
programming, plug it back in at this time.
Reprogramming A Single HomeLink Button
(Canadian/Gate Operator)
To reprogram a channel that has been previously trained,
follow these steps:
1. Cycle the ignition to the ON/RUN position.
2. Push and hold the desired HomeLink button until the
indicator light begins to flash after 20 seconds. Do not
release the button.
3. Without releasing the button, proceed with
“Canadian/Gate Operator Programming” step 2 and
follow all remaining steps.
Using HomeLink
To operate, push and release the programmed HomeLink
button. Activation will now occur for the programmed
device (i.e. garage door opener, gate operator, security
system, entry door lock, home/office lighting, etc.) The
hand-held transmitter of the device may also be used at
any time.
202 UNDERSTANDING THE FEATURES OF YOUR VEHICLE