2017 DODGE CHALLENGER trunk
[x] Cancel search: trunkPage 32 of 506

NOTE:
•
The Ignition Off Power Delay feature will allow the power
windows to operate for up to 10 minutes after the ignition
is turned OFF. This feature is cancelled when either front
door is opened. The time for this feature is programmable.
Refer to “Uconnect Settings” in “Understanding Your
Instrument Panel” for further information.
• The door window will lower slightly if it is closed
completely when opening the door. The window will
return to its fully closed position after closing the door.
This action allows the door to open without resistance
and prevents window and seal damage.
WARNING!
Never leave children unattended in a vehicle, and do
not let children play with power windows. Do not
leave the key fob in or near the vehicle, or in a location
accessible to children, and do not leave the ignition of
a vehicle equipped with Keyless Enter-N-Go in the
ACC or ON/RUN mode. Occupants, particularly unat-
tended children, can become entrapped by the win-
dows while operating the power window switches.
Such entrapment may result in serious injury or death.
Auto-Down Feature — If Equipped
The driver’s door power window switch and passenger
door power window switch have an auto-down feature.
Push the window switch to the second detent, release, and
the window will go down automatically.
To open the window part way, push the window switch to
the first detent and release it when you want the window
to stop.
To stop the window from going all the way down during
the auto-down operation, pull up on the switch briefly.
The power window switches will remain active for up to 10
minutes after the ignition switch is turned OFF. Opening
either door will cancel this feature. The time for this feature
is programmable. Refer to “Uconnect Settings” in “Under-
standing Your Instrument Panel” for further information.
TRUNK LOCK AND RELEASE
The trunk lid can be released from inside the vehicle by
pushing the trunk release button. The button is located on
the instrument panel to the left of the steering wheel.
30 THINGS TO KNOW BEFORE STARTING YOUR VEHICLE
Page 33 of 506

NOTE:The transmission must be in PARK before the
button will operate. If equipped with a manual transmis-
sion, the vehicle speed must be under 5 mph (8 km/h)
before the button will operate.
The trunk lid can be released from
outside the vehicle by pushing the
trunk release button on the key fob
twice within five seconds or by us-
ing the external release switch lo-
cated on the underside of the deck-
lid overhang. The release feature
will function only when the vehicle
is in the unlock condition.
With the ignition switch in the ON/RUN position, the
trunk open symbol will display in the instrument cluster
indicating that the trunk is open. The odometer display
will reappear once the trunk is closed.
With the ignition switch in the OFF position or the key
removed from the ignition switch, the trunk open symbol
will display until the trunk is closed. Refer to “Keyless Enter-N-Go — Passive Entry” in “Things
To Know Before Starting Your Vehicle” for more informa-
tion on trunk operation with the Passive Entry feature.
TRUNK SAFETY WARNING
WARNING!
Do not allow children to have access to the trunk,
either by climbing into the trunk from outside, or
through the inside of the vehicle. Always close the
trunk lid when your vehicle is unattended. Once in the
trunk, young children may not be able to escape, even
if they entered through the rear seat. If trapped in the
trunk, children can die from suffocation or heat stroke.
Trunk Emergency Release
As a security measure, a trunk internal emergency release
lever is built into the trunk latching mechanism. In the
event of an individual being locked inside the trunk, the
trunk can be opened by actuating the glow-in-the-dark
handle attached to the trunk latching mechanism.
Trunk Release
Button
2
THINGS TO KNOW BEFORE STARTING YOUR VEHICLE 31
Page 34 of 506

OCCUPANT RESTRAINT SYSTEMS
Some of the most important safety features in your vehicle
are the restraint systems:
Occupant Restraint Systems Features
•Seat Belt Systems
• Supplemental Restraint Systems (SRS) Air Bags
• Child Restraints Some of the safety features described in this section may be
standard equipment on some models, or may be optional
equipment on others. If you are not sure, ask your autho-
rized dealer.
Important Safety Precautions
Please pay close attention to the information in this section.
It tells you how to use your restraint system properly, to
keep you and your passengers as safe as possible.
Here are some simple steps you can take to minimize the
risk of harm from a deploying air bag:
1. Children 12 years old and under should always ride
buckled up in a vehicle with a rear seat.
2. If a child from 2 to 12 years old (not in a rear-facing child restraint) must ride in the front passenger seat, move the
seat as far back as possible and use the proper child
restraint (refer to “Child Restraints” in this section for
further information).
3. Children that are not big enough to wear the vehicle seat belt properly (refer to “Child Restraints” in this section
for further information) should be secured in a vehicle
with a rear seat in child restraints or belt-positioning
booster seats. Older children who do not use child
Trunk Internal Emergency Release Lever
32 THINGS TO KNOW BEFORE STARTING YOUR VEHICLE
Page 73 of 506

WARNING!
•Do not leave children or animals inside parked
vehicles in hot weather. Interior heat build-up may
cause serious injury or death.
• It is extremely dangerous to ride in a cargo area,
inside or outside of a vehicle. In a collision, people
riding in these areas are more likely to be seriously
injured or killed.
• Do not allow people to ride in any area of your
vehicle that is not equipped with seats and seat belts.
• Be sure everyone in your vehicle is in a seat and
using a seat belt properly.
Exhaust Gas
WARNING!
Exhaust gases can injure or kill. They contain carbon
monoxide (CO), which is colorless and odorless.
Breathing it can make you unconscious and can even-
tually poison you. To avoid breathing (CO), follow
these safety tips:
(Continued)
WARNING! (Continued)
•Do not run the engine in a closed garage or in
confined areas any longer than needed to move your
vehicle in or out of the area.
• If you are required to drive with the trunk/liftgate/
rear doors open, make sure that all windows are
closed and the climate control BLOWER switch is set
at high speed. DO NOT use the recirculation mode.
• If it is necessary to sit in a parked vehicle with the
engine running, adjust your heating or cooling con-
trols to force outside air into the vehicle. Set the
blower at high speed.
The best protection against carbon monoxide entry into the
vehicle body is a properly maintained engine exhaust
system.
Whenever a change is noticed in the sound of the exhaust
system, when exhaust fumes can be detected inside the
vehicle, or when the underside or rear of the vehicle is
damaged, have a competent mechanic inspect the complete
exhaust system and adjacent body areas for broken, dam-
aged, deteriorated, or mispositioned parts. Open seams or
loose connections could permit exhaust fumes to seep into2
THINGS TO KNOW BEFORE STARTING YOUR VEHICLE 71
Page 75 of 506

WARNING!
An improperly attached, damaged, folded, or stacked
floor mat, or damaged floor mat fasteners may cause
your floor mat to interfere with the accelerator, brake,
or clutch pedals and cause a loss of vehicle control. To
prevent SERIOUS INJURY or DEATH:
•ALWAYS securely attach
your floor mat using
the floor mat fasteners. DO NOT install your floor
mat upside down or turn your floor mat over.
Lightly pull to confirm mat is secured using the
floor mat fasteners on a regular basis.
• ALWAYS REMOVE THE EXISTING FLOOR MAT
FROM THE VEHICLE
before installing any
other floor mat. NEVER install or stack an addi-
tional floor mat on top of an existing floor mat.
• ONLY install floor mats designed to fit your vehicle.
NEVER install a floor mat that cannot be properly
attached and secured to your vehicle. If a floor mat
needs to be replaced, only use a FCA approved floor
mat for the specific make, model, and year of your
vehicle.
(Continued)
WARNING! (Continued)
•ONLY use the driver ’s side floor mat on the driver ’s
side floor area. To check for interference, with the
vehicle properly parked with the engine off, fully
depress the accelerator, the brake, and the clutch
pedal (if present) to check for interference. If your
floor mat interferes with the operation of any pedal,
or is not secure to the floor, remove the floor mat
from the vehicle and place the floor mat in your
trunk.
• ONLY use the passenger ’s side floor mat on the
passenger ’s side floor area.
• ALWAYS make sure objects cannot fall or slide into
the driver ’s side floor area when the vehicle is
moving. Objects can become trapped under accelera-
tor, brake, or clutch pedals and could cause a loss of
vehicle control.
• NEVER place any objects under the floor mat (e.g.,
towels, keys, etc.). These objects could change the
position of the floor mat and may cause interference
with the accelerator, brake, or clutch pedals.
(Continued)
2
THINGS TO KNOW BEFORE STARTING YOUR VEHICLE 73
Page 112 of 506

Interior Lights
The interior lights come on when a door is opened.
To protect the battery, the interior lights will turn off
automatically 10 minutes after the ignition is moved to the
OFF position. This will occur if the interior lights were
switched on manually or are on because a door is open.
The Battery Protection also includes the glove compart-
ment light and the trunk light. To restore interior light
operation after automatic battery protection is enabled
(lights off), either place the ignition in the ON/RUN
position or cycle the light switch.
Dimmer Controls
The dimmer control is part of the headlight switch and is
located on the left side of the instrument panel.
With the parking lights or headlights on, rotating the left
dimmer control upward will increase the brightness of the
instrument panel lights and lighted cupholders (if
equipped).
Overhead Console
Dimmer Controls
110 UNDERSTANDING THE FEATURES OF YOUR VEHICLE
Page 172 of 506

INSTRUMENT PANEL FEATURES
Instrument Panel
1 — Air Outlets5 — Keyless Start/Stop Button
2 — Instrument Cluster 6 — Trunk Release Button
3 — Glove Compartment 7 — Headlight Switch
4 — Media Center 170 UNDERSTANDING YOUR INSTRUMENT PANEL
Page 184 of 506

Electric Power Steering Fail Warning Light — If
Equipped
Red TelltaleLight What It Means
Electric Power Steering Fail Warning — If Equipped
This light is used to manage the electrical warning of the EPS (Electric Power Steering). Refer to
“Power Steering” in “Starting And Operating” for further information.
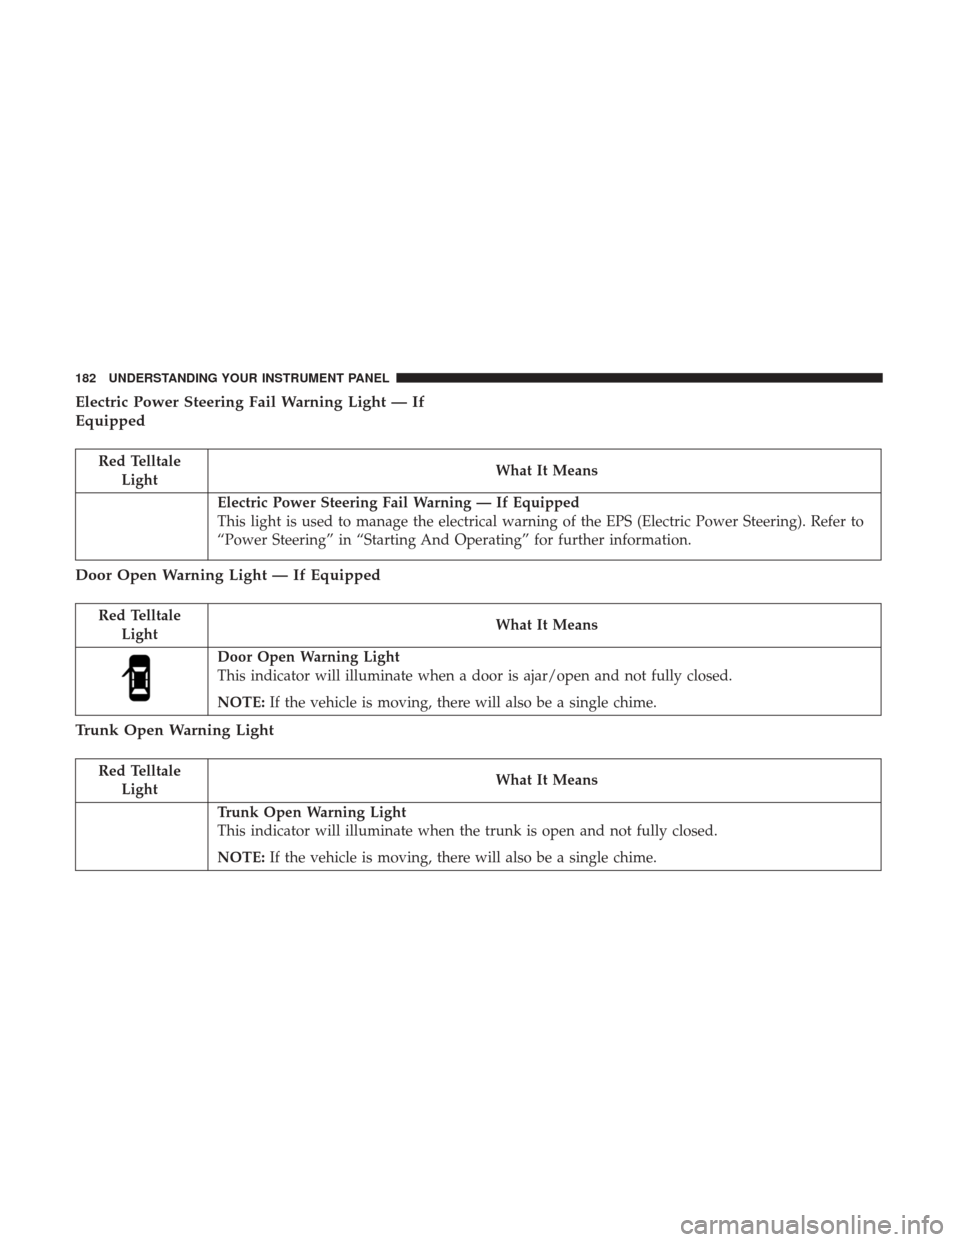
Door Open Warning Light — If Equipped
Red Telltale
Light What It Means
Door Open Warning Light
This indicator will illuminate when a door is ajar/open and not fully closed.
NOTE:
If the vehicle is moving, there will also be a single chime.
Trunk Open Warning Light
Red Telltale
Light What It Means
Trunk Open Warning Light
This indicator will illuminate when the trunk is open and not fully closed.
NOTE:
If the vehicle is moving, there will also be a single chime.
182 UNDERSTANDING YOUR INSTRUMENT PANEL