2017 Citroen DS4 ad blue
[x] Cancel search: ad bluePage 49 of 421

47
DS4_en_Chap01_instruments-de-bord_ed01-2016
Monochrome screen C
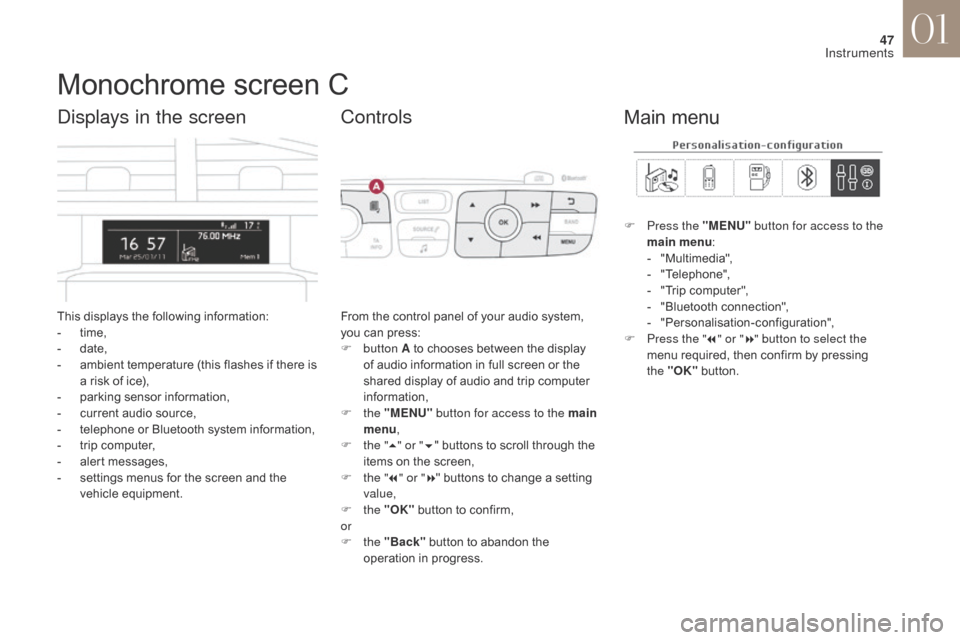
This displays the following information:
- t ime,
-
d
ate,
-
a
mbient temperature (this flashes if there is
a risk of ice),
-
p
arking sensor information,
-
c
urrent audio source,
-
t
elephone or Bluetooth system information,
-
t
rip computer,
-
a
lert messages,
-
s
ettings menus for the screen and the
vehicle equipment.
Displays in the screen
From the control panel of your audio system,
you can press:
F
button A to chooses between the display
of audio information in full screen or the
shared display of audio and trip computer
information,
F
the "MENU" button for access to the main
menu ,
F
t
he "5" or " 6" buttons to scroll through the
items on the screen,
F
t
he "7" or " 8" buttons to change a setting
value,
F
the "OK" button to confirm,
or
F
the "Back" button to abandon the
operation in progress.
Controls
F Press the "MENU" button for access to the
main menu :
-
"
Multimedia",
-
"
Telephone",
-
"
Trip computer",
-
"
Bluetooth connection",
-
"
Personalisation-configuration",
F
P
ress the " 7" or " 8" button to select the
menu required, then confirm by pressing
the "OK" button.
Main menu
01
Instruments
Page 50 of 421

48
DS4_en_Chap01_instruments-de-bord_ed01-2016
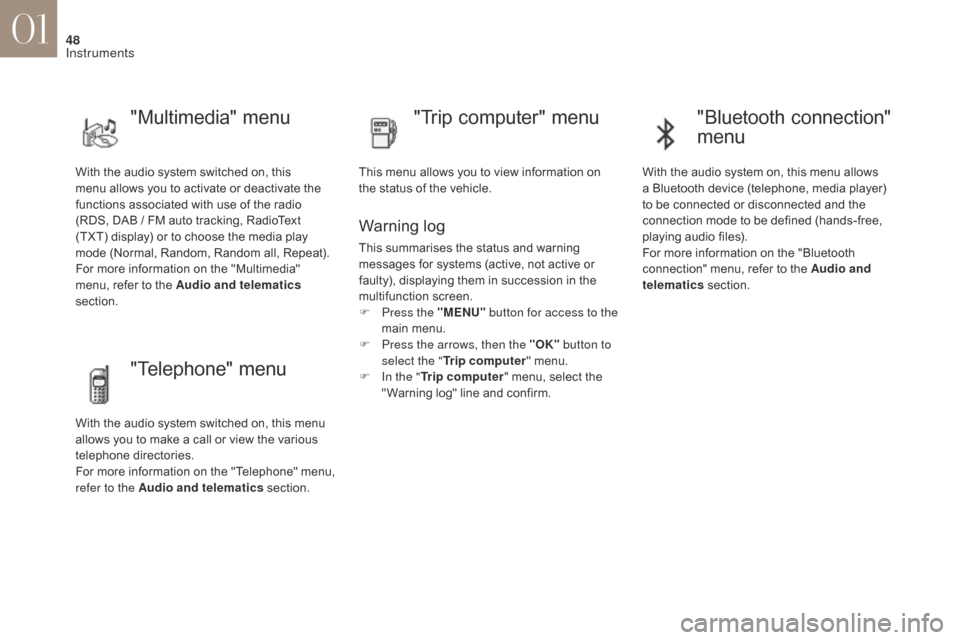
With the audio system switched on, this
menu allows you to activate or deactivate the
functions associated with use of the radio
(RDS, DAB / FM auto tracking, RadioText
(TXT) display) or to choose the media play
mode (Normal, Random, Random all, Repeat).
For more information on the "Multimedia"
menu, refer to the Audio and telematics
section.
"Multimedia" menu "Trip computer" menu
This menu allows you to view information on
the status of the vehicle.
Warning log
This summarises the status and warning
messages for systems (active, not active or
faulty), displaying them in succession in the
multifunction screen.
F
P
ress the "MENU" button for access to the
main menu.
F
P
ress the arrows, then the "OK" button to
select the " Trip computer " menu.
F
I
n the " Trip computer " menu, select the
" Warning log" line and confirm.
"Telephone" menu
With the audio system switched on, this menu
allows you to make a call or view the various
telephone directories.
For more information on the "Telephone" menu,
refer to the Audio and telematics section.
"Bluetooth connection"
menu
With the audio system on, this menu allows
a Bluetooth device (telephone, media player)
to be connected or disconnected and the
connection mode to be defined (hands-free,
playing audio files).
For more information on the "Bluetooth
connection" menu, refer to the Audio and
telematics section.
01
Instruments
Page 53 of 421

51
DS4_en_Chap01_instruments-de-bord_ed01-2016
Touch screen tablet
This system gives access to:
- m enus for adjusting settings for vehicle
functions and systems,
-
a
udio and display settings menus,
-
a
udio system and telephone controls and
the display of associated information.
-
t
he display of the ambient temperature
(a blue snowflake appears if there is a risk
of i c e),
-
t
he display of the trip computer.
Recommendations
It is necessary to press firmly, particularly for
"flick" gestures (scrolling through lists, moving
the map...). A light wipe is not enough.
The screen does not recognise pressing with
more than one finger.
This technology allows use at all temperatures
and when wearing gloves.
Do not use pointed objects on the touch screen
tablet.
Do not touch the touch screen tablet with wet
hands.
Uses a soft clean cloth to clean the touch
screen tablet.
General operation
Principles
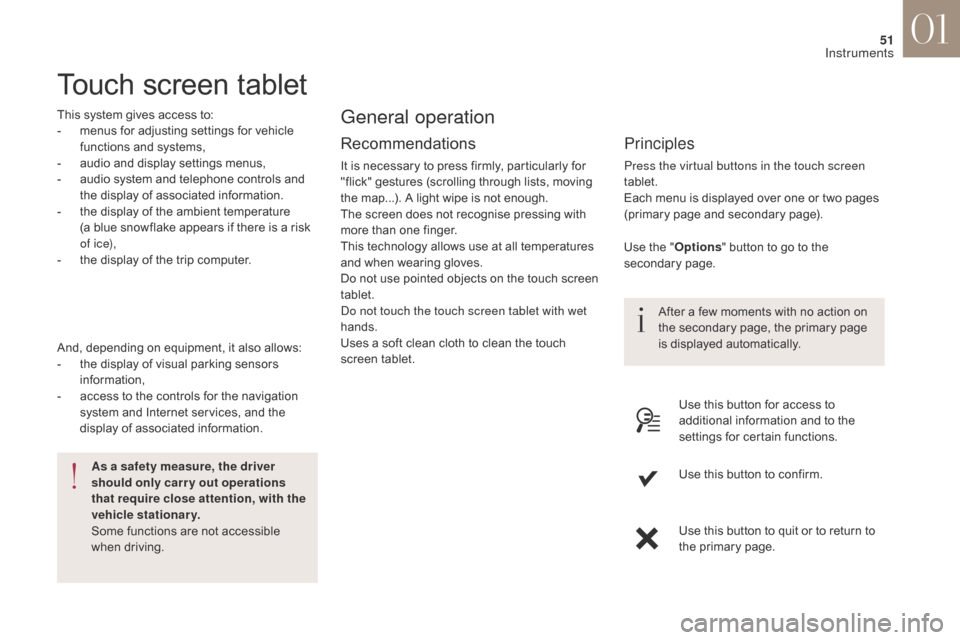
Press the virtual buttons in the touch screen
tablet.
Each menu is displayed over one or two pages
(primary page and secondary page).
As a safety measure, the driver
should only carr y out operations
that require close attention, with the
vehicle stationary.
Some functions are not accessible
when driving.
And, depending on equipment, it also allows:
-
t
he display of visual parking sensors
information,
-
a
ccess to the controls for the navigation
system and Internet services, and the
display of associated information. After a few moments with no action on
the secondary page, the primary page
is displayed automatically.
Use the "
Options" button to go to the
secondary page.
Use this button for access to
additional information and to the
settings for certain functions.
Use this button to confirm.
Use this button to quit or to return to
the primary page.
01
Instruments
Page 54 of 421

52
DS4_en_Chap01_instruments-de-bord_ed01-2016
Menus
Navigation
Telephone Radio Media Driving
Gives access to the trip computer
and, depending on version, allows
settings to be adjusted for certain
functions.Settings
Allows configuration of the display
and the system. Connected services
The connected services are
accessible via Bluetooth, Wi-
Fi, CarPlay™ or MirrorLink™
connections.
Press one of the buttons on the control panel
for direct access to a particular menu.
1.
V
olume / mute.
For more information on the touch screen
tablet, refer to the Audio and telematics
section.
01
Instruments
Page 106 of 421

104
DS4_en_Chap03_ergonomie-et-confort_ed01-2016
Manual air conditioning
The air conditioning system operates only with the engine running.
1. Temperature adjustment
F Turn the dial to select a position between blue (cold)
and red (hot) so as to adjust
the temperature to your
requirements.
2. Air flow adjustment
This dial is used to increase or
decrease the speed of the air
booster fan.
3. Air distribution adjustment
This dial is used to arrange the distribution of
air in the passenger compartment by combining
several air outlets.
F
I
f you place the air flow control
in position 0 , the system is
deactivated. However, a slight flow
of air, due to the movement of the
vehicle, can still be felt.
F
T
urn the dial from position 1 to position 5 to
obtain a comfortable air flow. Windscreen and side windows.
Windscreen, side windows and
footwells.
Footwells.
Central and side vents.
The air distribution can be
adapted by placing the dial in an
intermediate position.
Avoid driving too long with the
ventilation off (risk of misting and
deterioration of air quality).
03
Ease of use and comfort
Page 208 of 421

206
DS4_en_Chap06_conduite_ed01-2016
Stop & Start
Operation
Going into engine STOP mode
STOP mode does not affect the
functionality of the vehicle, such as
braking, power steering, for example.
Never refuel with the engine in STOP
mode; you must switch off the ignition
with the key or the "START/STOP"
button.
With a manual gearbox, at a
speed below 12 mph (20 km/h),
If your vehicle is fitted with the
system, a time counter calculates
the sum of the periods in STOP STOP mode is not invoked when:
-
t
he vehicle is on a steep slope (up or
d ow n),
-
t
he driver's door is open,
-
t
he driver's seat belt is not fastened,
-
t
he vehicle has not exceeded 6 mph
(10 km/h) since the last engine start (using
the key or the "START/STOP" button),
-
t
he electric parking brake is applied or
being applied,
-
t
he engine is needed to maintain a
comfortable temperature in the passenger
compartment,
-
d
emisting is active,
-
s
ome special conditions (battery charge,
engine temperature, braking assistance,
ambient temperature...) where the engine is
needed to assure control of a system.
Special cases: STOP mode
unavailable
In this case, the "ECO" warning lamp
flashes for a few seconds, then goes
of f.
This operation is perfectly normal.
With an automatic gearbox,
when
the vehicle is stationary, this warning mode during a journey. It resets itself to zero
every time the ignition is switched on with the
key or the "START/STOP" button.
The Stop & Start
system puts the engine temporarily into standby - STOP mode - during stops in
the traffic (red lights, traffic jams, or other...). The engine restarts automatically - START mode - as
soon as you want to move off. The restart takes place instantly, quickly and silently.
Per fect for urban use, the Stop & Start system reduces fuel consumption and exhaust emissions as
well as the noise level when stationary.
or when the vehicle is stationary with the
PureTech
130 petrol and BlueHDi Diesel 115
and 120
versions, this warning lamp comes on
in the instrument panel and the engine switches
to standby automatically when you place the
gear lever in neutral and release the clutch
pedal.
lamp comes on in the instrument panel and the
engine switches to standby automatically when
you press the brake pedal or place the gear
selector at position N .
06
Driving
Page 209 of 421

207
DS4_en_Chap06_conduite_ed01-2016
Going into engine START mode
With a manual gearbox, this
warning lamp switches off and the
Special cases: START invoked
automatically
With a manual gearbox in STOP mode,
if a gear is engaged without fully
depressing the clutch pedal, a warning
lamp comes on or an alert message
is displayed asking you to depress the
clutch pedal to restart the engine.
In this case the "ECO" warning lamp
flashes for few seconds, then goes
of f.
This operation is perfectly normal. For safety reasons or to ensure smooth
operation, START mode is invoked
automatically when:
-
y
ou open the driver's door,
-
y
ou unfasten the driver's seat belt,
-
t
he speed of the vehicle exceeds 15 mph
(25 km/h) with a manual gearbox (3 km/h
(2 mph) with PureTech 130 petrol and
BlueHDi Diesel 115 and 120 versions) or
2
mph (3 km/h) with an automatic gearbox,
-
t
he electric parking brake is being applied,
-
s
ome special conditions (battery charge,
engine temperature, braking assistance,
ambient temperature...) where the engine is
needed to assure control of a system.
With an automatic gearbox,
this
warning lamp switches off and the
engine restarts automatically when:
-
y
ou release the brake pedal with the gear
selector in position D or M ,
-
y
ou are in position N , with the brake pedal
released, and you place the gear selector
in position D or M ,
-
y
ou engage reverse gear.
engine restarts automatically when you press
the clutch pedal fully
.
06
Driving
Page 225 of 421

223
DS4_en_Chap06_conduite_ed01-2016
Reversing camera
The reversing camera is activated automatically
when reverse gear is engaged.
The colour image is provided in the touch
screen tablet.The blue lines represent the general direction
of the vehicle.
The blue curved lines represent the maximum
turning circle.
The green lines represent distances of
around
1 to 2 metres beyond the edge of the
vehicle's rear bumper.
The red line represents the distance of around
30 cm beyond the edge of your vehicle's rear
b u m p e r.
The lines displayed in the screen do not allow
the position of the vehicle to be determined
relative to tall obstacles (for example: vehicles
nearby).
Some deformation of the image is normal.
High pressure jet washing
When cleaning your vehicle, keep the
end of the high pressure lance at least
30 cm from the camera lens.
Clean the camera lens regularly using
a soft cloth.
The reversing camera system may be
accompanied by parking sensors.
This system is a driving aid that does
not replace vigilance on the part of the
driver, who must remain in control of
the vehicle at all times.
06
Driving