2017 Citroen C5 change time
[x] Cancel search: change timePage 190 of 348

188
C5_en_Chap07_info-pratiques_ed01-2016
Checking levels
Engine oil level
The check is carried out either when
the ignition is switched on using the
oil level indicator in the instrument
panel for vehicles so equipped, or
using the dipstick.
Check all of these levels regularly, in line with the manufacturer's service schedule. Top them up if necessary, unless other wise indicated.
If a level drops significantly, have the corresponding system checked by a CITROËN dealer or a qualified workshop.
If you find that the level is above the A mark or
below the B mark, do not star t the engine.
-
I
f the level is above the MAX mark (risk
of damage to the engine), contact a
CITROËN dealer or a qualified workshop.
-
I
f the level is below the MIN mark, you
must top-up the engine oil.
Take care when working under the
bonnet, as certain areas of the engine
may be extremely hot (risk of burns) and
the cooling fan could start at any time
(even with the ignition off).
To ensure that the reading is correct, your
vehicle must be parked on a level sur face
with the engine having been off for more than
30
m
inutes.
It is normal to top-up the oil level between
two services (or oil changes). CITROËN
recommends that you check the level, and top-
up if necessary, every 3 000 miles (5 000 kms).
Checking using the dipstick
The location of the dipstick is shown in the
corresponding underbonnet layout view.
F
T
ake the dipstick by its coloured grip and
remove it completely.
F
W
ipe the end of the dipstick using a clean
non-fluffy cloth.
F
R
efit the dipstick and push fully down, then
pull it out again to make the visual check:
the correct level is between the marks A
and B .
A = MA X
B = MIN
Practical information
Page 194 of 348

192
C5_en_Chap07_info-pratiques_ed01-2016
Checks
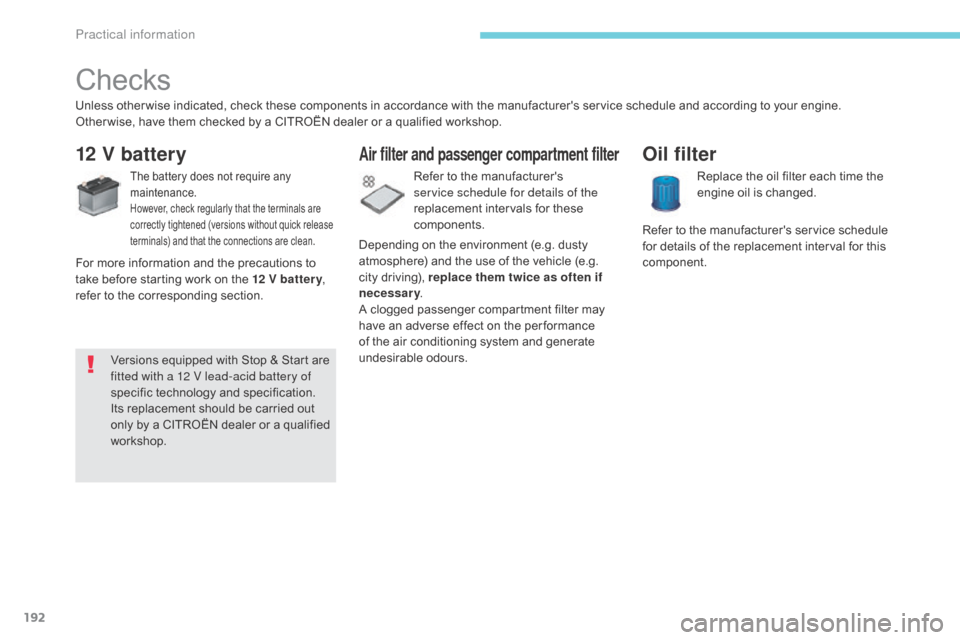
12 V battery
The battery does not require any
maintenance.
However, check regularly that the terminals are
correctly tightened (versions without quick release
terminals) and that the connections are clean.
Unless other wise indicated, check these components in accordance with the manufacturer's service schedule and according to your engine.
Other wise, have them checked by a CITROËN dealer or a qualified workshop.
Air filter and passenger compartment filter
Depending on the environment (e.g. dusty
atmosphere) and the use of the vehicle (e.g.
city driving), replace them twice as often if
necessary.
A clogged passenger compartment filter may
have an adverse effect on the per formance
of the air conditioning system and generate
undesirable odours. Replace the oil filter each time the
engine oil is changed.
Oil filter
Refer to the manufacturer's service schedule
for details of the replacement interval for this
component.
Refer to the manufacturer's
service schedule for details of the
replacement intervals for these
components.
For more information and the precautions to
take before starting work on the 12 V batter y ,
refer to the corresponding section.
Versions equipped with Stop & Start are
fitted with a 12 V lead-acid battery of
specific technology and specification.
Its replacement should be carried out
only by a CITROËN dealer or a qualified
workshop.
Practical information
Page 220 of 348

218
C5_en_Chap08_en-cas-de-panne_ed01-2016
Changing a bulb
Front lamps
Model with Xenon headlamps (D1S)
1. Dual-function Xenon headlamps (dipped/main): D1S
2.
C
ornering lighting: HP19
3.
D
aytime running lamps / sidelamps:
LEDs
For the maintenance of the front lamps and
changing HP19 and D1S bulbs and LED lamps,
contact a CITROËN dealer or a qualified
workshop.
Risk of electrocution
Xenon bulbs must be replaced by
a CITROËN dealer or a qualified
workshop.
You are advised to change both D1S
bulbs at the same time, if one of them
has failed.
The headlamps have polycarbonate
lenses with a protective coating:
F
d
o not clean them using a dr y
or abrasive cloth, nor with a
detergent or solvent product,
F
u
se a sponge and soapy water or
a
pH neutral product,
F
w
hen using a high pressure washer
on persistent marks, do not keep
the lance directed towards the
lamps or their edges for too long,
so as not to damage their protective
coating and seals. Changing a bulb should only be done
after the headlamp has been switched
off for several minutes (risk of serious
burns).
F
D
o not touch the bulb directly with
your fingers, use a lint-free cloth.
It is imperative to use only anti-
ultraviolet (UV) type bulbs to avoid
damaging the headlamp.
Always replace a failed bulb with a
new bulb with the same type and
specification.
In the event of a breakdown
Page 283 of 348

281
C5_en_Chap10b_SMEGplus_ed01-2016
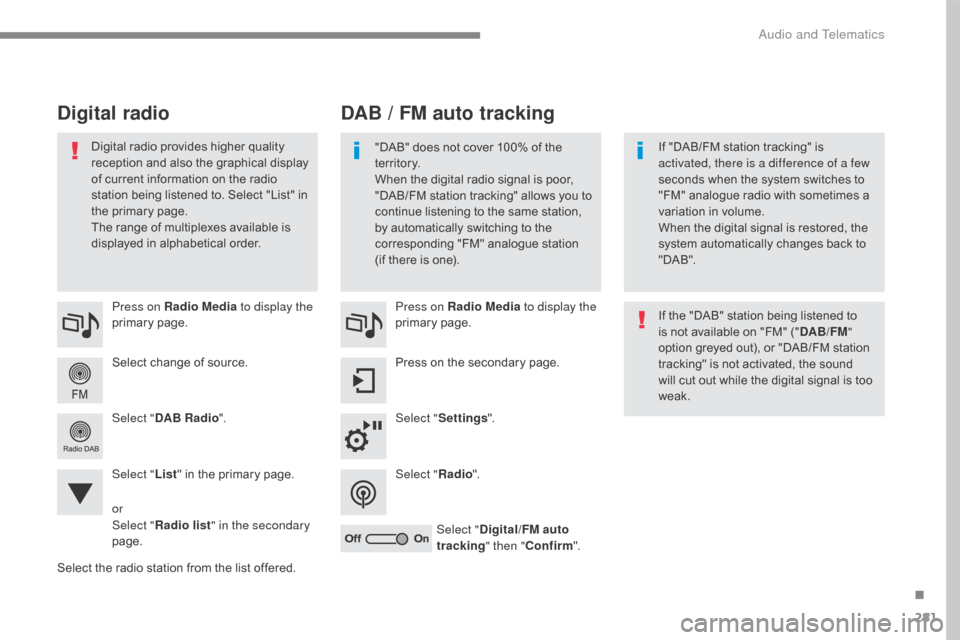
Select change of source. Press on Radio Media to display the
primary page.
Select " DAB Radio ".
Select " List" in the primary page.
Select the radio station from the list offered. Press on Radio Media
to display the
primary page.
Press on the secondary page.
Select " Settings ".
Select " Radio".
Select " Digital/FM auto
tracking " then "Confirm ".
DAB / FM auto tracking
Digital radio
"DAB" does not cover 100% of the
te r r i to r y.
When the digital radio signal is poor,
"DAB/FM station tracking" allows you to
continue listening to the same station,
by automatically switching to the
corresponding "FM" analogue station
(if there is one). If "DAB/FM station tracking" is
activated, there is a difference of a few
seconds when the system switches to
"FM" analogue radio with sometimes a
variation in volume.
When the digital signal is restored, the
system automatically changes back to
" DA B ".
Digital radio provides higher quality
reception and also the graphical display
of current information on the radio
station being listened to. Select "List" in
the primary page.
The range of multiplexes available is
displayed in alphabetical order.
If the "DAB" station being listened to
is not available on "FM" ("DAB/FM"
option greyed out), or "DAB/FM station
tracking" is not activated, the sound
will cut out while the digital signal is too
weak.
or
Select " Radio list " in the secondary
page.
.
Audio and Telematics
Page 284 of 348

282
C5_en_Chap10b_SMEGplus_ed01-2016
The audio system will only play audio files
with ".wma, .aac, .flac, .ogg and .mp3" file
extensions and with a bit rate of between
32 Kbps and 320 Kbps.
It also supports VBR (Variable Bit Rate) mode.
No other type of file (.mp4, ...) can be played.
".wma" files must be of the standard wma 9 type.
The sampling rates supported are 32, 44 and
48 KHz.
Information and advice
Media
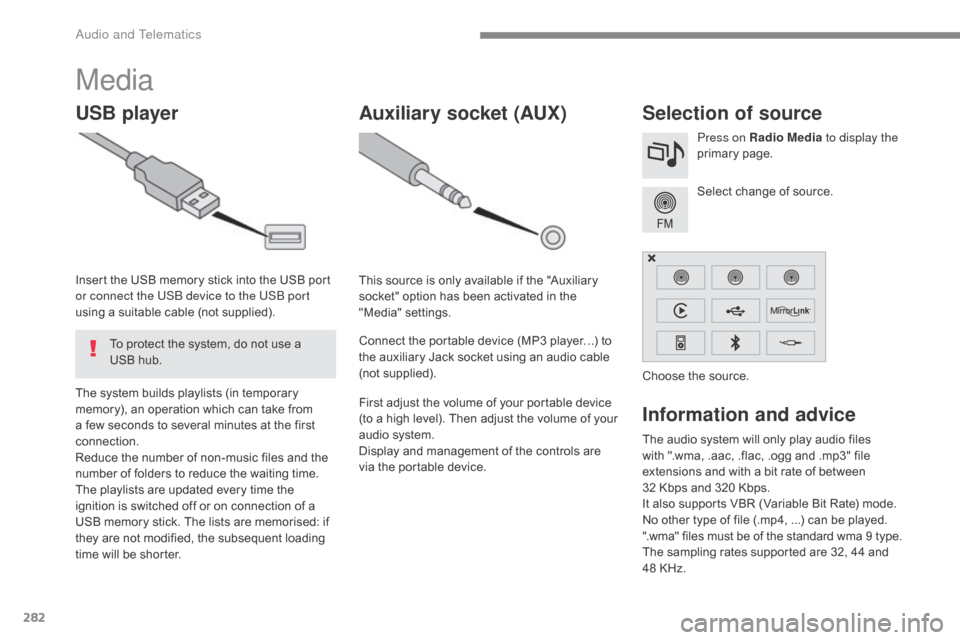
USB player Selection of source
Select change of source. Press on Radio Media to display the
primary page.
The system builds playlists (in temporary
memory), an operation which can take from
a few seconds to several minutes at the first
connection.
Reduce the number of non-music files and the
number of folders to reduce the waiting time.
The playlists are updated every time the
ignition is switched off or on connection of a
USB memory stick. The lists are memorised: if
they are not modified, the subsequent loading
time will be shorter. Insert the USB memory stick into the USB port
or connect the USB device to the USB port
using a suitable cable (not supplied).
Auxiliary socket (AUX)
This source is only available if the "Auxiliary
socket" option has been activated in the
"Media" settings.
Connect the portable device (MP3 player…) to
the auxiliary Jack socket using an audio cable
(not supplied).
First adjust the volume of your portable device
(to a high level). Then adjust the volume of your
audio system.
Display and management of the controls are
via the portable device. Choose the source.
To protect the system, do not use a
USB hub.
Audio and Telematics
Page 293 of 348

291
C5_en_Chap10b_SMEGplus_ed01-2016
Press on Settings to display the
primary page. Press on "Settings"
to display the
primary page.
Press on Settings
to display the
primary page.
Press on the secondary page. Press on the secondary page
Press on the secondary page.
Select " System Settings ". Select "Time/Date " to change the
time zone, the synchronisation with
GPS, the time and its format, then
the date.
Select "
Screen settings ".
Activate or deactivate "Activate
automatic text scrolling" and
" Activate animations" .
Select "
Delete data " to delete the
list of recent destinations, personal
points of interest, contacts in the list. Select "
Calculator " to display a
calculator.
Choose the item then select " Delete". Select "
Calendar " to display a
calendar.
Select " Factory settings " to return
to the original settings.
Modifying system settings
.
Audio and Telematics
Page 322 of 348

320
C5_en_Chap10c_RD45_ed01-2016
Media
USB player
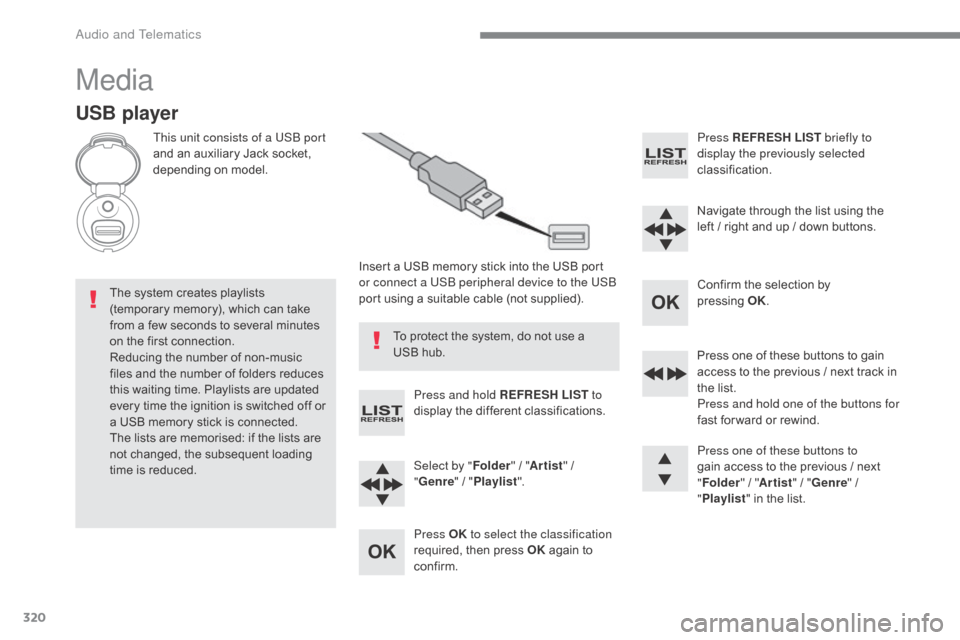
This unit consists of a USB port
and an auxiliary Jack socket,
depending on model.Insert a USB memory stick into the USB port
or connect a USB peripheral device to the USB
port using a suitable cable (not supplied).
The system creates playlists
(temporary memory), which can take
from a few seconds to several minutes
on the first connection.
Reducing the number of non-music
files and the number of folders reduces
this waiting time. Playlists are updated
every time the ignition is switched off or
a USB memory stick is connected.
The lists are memorised: if the lists are
not changed, the subsequent loading
time is reduced. Press and hold REFRESH LIST
to
display the different classifications.
Select by " Folder" / "Artist " /
" Genre " / "Playlist ".
Press OK to select the classification
required, then press OK again to
confirm. Press REFRESH LIST
briefly to
display the previously selected
classification.
Navigate through the list using the
left / right and up / down buttons.
Confirm the selection by
pressing
O
K.
Press one of these buttons to gain
access to the previous / next track in
the list.
Press and hold one of the buttons for
fast for ward or rewind.
Press one of these buttons to
gain access to the previous / next
" Folder " / "Artist " / "Genre " /
" Playlist " in the list.
To protect the system, do not use a
USB hub.
Audio and Telematics