2017 CITROEN C-ELYSÉE instrument panel
[x] Cancel search: instrument panelPage 131 of 306

129
Fuel
Capacity of the tank: 50 litres approximately.
Low fuel level
When the low fuel level is reached
this warning light comes on in the
instrument panel.
When it first comes on, around 5 litres of fuel
remain in the tank.
You must refuel as soon as possible to avoid
running out of fuel.
For more information on Running out of fuel
(Diesel) , refer to the corresponding section.
Opening
F Raise the lever.
Refuelling
A label on the inside of the fuel filler flap
reminds you of the type of fuel to use,
depending on your engine type.
Additions of fuel must be of at least 5 litres, in
order to be registered by the fuel gauge.
Opening the filler cap may create a noise
a caused by an inrush of air. This vacuum
is entirely normal and results from the
sealing of the fuel system. F
O
pen the filler cap by turning it a 1/4 turn to
the left.
F
R
emove the filler cap and hang it on its
carrier (on the filler flap).
F F ill the tank. Do not continue past the third
cut-off of the nozzle, as this may cause
malfunctions.
F
R
eplace the filler cap turning it a 1/4 turn to
the right.
F
P
ush the fuel filler flap to close it.
If you have put in the wrong fuel for
your vehicle, you must have the fuel
tank drained and filled with the correct
fuel before star ting the engine.
7
Practical information
Page 159 of 306

157
Removing a wheel
Parking the vehicle
Immobilise the vehicle where it does not
block traffic: the ground must be level,
stable and non-slippery.
Apply the parking brake, switch off the
ignition and engage first gear* to lock the
wheels.
Check that the parking brake warning
lamp illuminates steadily in the instrument
panel.
The occupants must get out of the vehicle
and wait where they are safe.
Make sure that the jack is correctly
positioned at one of the vehicle's jacking
points.
Incorrect use of the jack could cause the
vehicle to drop.
Never go underneath a vehicle raised
using a jack; use an axle stand.Do not use a jack other than the one
supplied by the manufacturer.
*
Position R for an electronic gearbox; P for an
automatic gearbox. Wheel with hub cap
When removing the wheel
, first remove
the hub cap using the wheel wrench1 by
pulling at the valve aperture.
When refitting the wheel , after tightening
the wheel bolts, refit the hub cap, starting
by placing its aperture in line with the
valve and then pushing it into place all
round its edge with the palm of your hand.
List of operations
F Remove each wheel bolt cover using the tool 3 (alloy wheels).
F
L
oosen the bolts using the wheel wrench 1
o n l y.
8
In the event of a breakdown
Page 221 of 306

219
Date (setting) ................................................... 31
Daytime running lamps ...................................66
Deactivating the passenger airbag
.....83-84 , 90
Defrosting
............................................ 52-53, 58
Defrosting, front
.............................................. 57
Defrosting, lower windscreen
.........................58
Demisting
.................................................. 52-53
Demisting, front
............................................... 57
D
emisting, rear screen
...................................58
Dimensions
..............................
.....................182
Dipstick
................
................................... 143 -14 4
Direction indicators
...................23, 71 , 162 , 165
Display screen, instrument panel
.................115
Door pockets
...............................
....................60
Doors
......................................................... 15, 41
DSC
............................................................ 18 -19
Dynamic stability control (DSC)
...........19, 7 7-79
Filling the AdBlue tank
..................................13 4
Filling the fuel tank
.................................12 9 -131
Filter, air
........................................................146
Filter, oil
................
.........................................146
Filter, particle
.........................................145 -146
Filter, passenger compartment
.....................146
Fitting a wheel
................................157, 15 9 -16 0
Fitting roof bars
.............................................140
Fittings, interior
............................................... 60
F
lap, fuel filler
.........................................12 9 -13 0
Flashing indicators
............................23, 71 , 162
Fluid, engine coolant
.......................................15
Foglamp, rear
..............................22, 64-65 , 165
Foglamps, front
...........................23, 64-65 , 163
Fuel ................................................................ 131
Fuel tank ........................................................ 13 0
Fusebox, dashboard
......................167-169, 171
Fusebox, engine compartment
......167-169 , 171
Fuses
.............................................. 16
7-169, 171 Hazard warning lamps
....................................71
Hazard warning lamps, automatic operation ..71
headlamp adjustment
.....................................67
Headlamps, dipped beam
....................... 23,
163
Headlamps, halogen
.....................................161
Headlamps, main beam
..........................23, 162
Head restraints, front
......................................47
Head restraints, rear
.......................................49
Heating
................................................ 5
2-56, 59
Horn ................................................................. 71
EDEconomy mode .............................................13 7
Electronic brake force distribution (EBFD) .....77
Emergency braking assistance (EBA)
............77
Emergency call
.......................................... 72-73
Emergency warning lamps
.............................71
Emissions control system, SCR
...............21, 29
Energy economy mode
................................. 13
7
Engine
................................................ 15 -16, 179
Engine compartment
.................................... 14
2
Engine, Diesel
......................... 16, 131 , 148 , 181
Engine, petrol
...............................
.131 , 142 , 18 0
Engines
.................................................. 179 -181
Environment
.................................................... 38
F
G
H
Gauge, fuel.................................................... 129
Gearbox, automatic ................11 0 -114, 147, 172
Gearbox, electronic
10
6 -109, 11 6 -118 , 147, 172
Gearbox, manual
.................................. 105, 147
Gear lever, automatic gearbox
...............111 -114
Gear lever, electronic gearbox
.....................147
Gear lever, manual gearbox
.........................105
Gear shift indicator ~ Gear efficiency indicator
..................................... 115
Glove box
........................................................ 60
.
Alphabetical index
Page 234 of 306

2
12:13
18,5 21,5
23 °CFirst steps
With the engine running, a press
mutes the sound.
With the ignition off, a press turns
the system on.
Adjustment of the volume.
Use the buttons either side of or below the
touch screen for access to the menus, then
press the virtual buttons in the touch screen.
Depending on the model, use the "Source" or
"Menu" buttons on the left of the touch screen
for access to the menus, then press the virtual
buttons in the touch screen.
You can display the menus at any time by
pressing the screen briefly with three fingers.
All of the touch areas of the screen are white.
Press the cross to go back a level.
Press "OK" to confirm. The touch screen is of the "capacitive"
type.
To clean the screen, use a soft, non-
abrasive cloth (spectacles cloth) with no
additional product.
Do not use sharp objects on the screen.
Do not touch the screen with wet hands.
*
D
epending on equipment. Certain information is displayed permanently in
the upper band of the touch screen:
-
R
epeat of the air conditioning information
(depending on version), and direct access to
the corresponding menu.
-
G
o directly to the selection of the audio
source, to the list of radio stations (or list of
titles depending on the source).
-
G
o to the message notifications, emails,
map updates and, depending on the
services, the navigation notifications.
-
G
o to the settings for the touch screen and
the digital instrument panel. Selecting the audio source (depending on version):
-
F
M / DAB radio stations* / AM*.
-
U
SB key.
-
C
D Player (depending on model).
-
M
edia player connected via the auxiliary socket
(depending on model).
-
T
elephone connected via Bluetooth and
Bluetooth multimedia broadcasting*
(streaming).
CITROËN Connect Nav
Page 267 of 306

35
Select "Ambience ".
Or
" Position ".
Or
" Sound ".
Or
" Voice ".
Or
" Ringtone ".
Press " OK" to save the settings.
Modifying system settings
or Press Settings
to display the
primary page.
Press the " OPTIONS" button to go to the
secondary page.
Select "Screen configuration ".
Select " Animation ".
Activate or deactivate: " Automatic
scrolling ".
Select " Brightness ".
Move the cursor to adjust the
brightness of the screen and/or of
the instrument panel. or
Press Settings
to display the
primary page.
Press the " OPTIONS" button to go to the
secondary page.
Select "System settings ".
Initialisation of the profile selected
activates the English language by default.
Select a " Profile" (1 or 2 or 3) to associate the
" Audio settings " with it.
Select " Audio settings ".
Select "Units" to change the units of distance,
fuel consumption and temperature.
Select " Factory settings " to return to the initial
settings.
Returning the system to factory settings
activates the English language by default.
Select " System info " to display the versions of
the different modules installed in the system.
.
CITROËN Connect Nav
Page 280 of 306

2
First steps
With the engine running, a press
mutes the sound.
With the ignition off, a press turns
the system on.
Adjustment of the volume.
Use the buttons either side of or below the
touch screen for access to the menus, then
press the virtual buttons in the touch screen.
Depending on the model, use the "Source" or
"Menu" buttons on the left of the touch screen
for access to the menus, then press the virtual
buttons in the touch screen.
You can display the menus at any time by
pressing the screen briefly with three fingers.
All of the touch areas of the screen are white.
Press in the grey zone to go back a level or
confirm.
Press the back arrow to go back a level or
confirm. The touch screen is of the "capacitive"
type.
To clean the screen, use a soft, non-
abrasive cloth (spectacles cloth) with no
additional product.
Do not use sharp objects on the screen.
Do not touch the screen with wet hands.
*
D
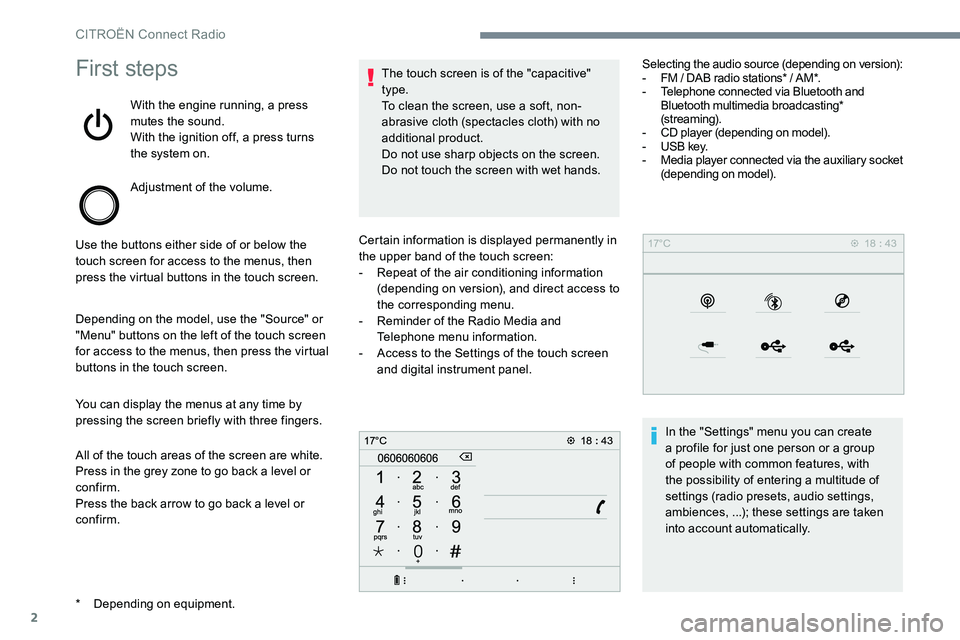
epending on equipment. Certain information is displayed permanently in
the upper band of the touch screen:
-
R
epeat of the air conditioning information
(depending on version), and direct access to
the corresponding menu.
-
R
eminder of the Radio Media and
Telephone menu information.
-
A
ccess to the Settings of the touch screen
and digital instrument panel. Selecting the audio source (depending on version):
-
F
M / DAB radio stations* / AM*.
- T elephone connected via Bluetooth and
Bluetooth multimedia broadcasting*
(streaming).
-
C
D player (depending on model).
-
U
SB key.
-
M
edia player connected via the auxiliary socket
(depending on model).
In the "Settings" menu you can create
a profile for just one person or a group
of people with common features, with
the possibility of entering a multitude of
settings (radio presets, audio settings,
ambiences, ...); these settings are taken
into account automatically.
CITROËN Connect Radio
Page 297 of 306

19
Press the back arrow to confirm.
Press this button to activate the
profile.
Press the back arrow again to
confirm.
Press this button to initialise the
profile selected.
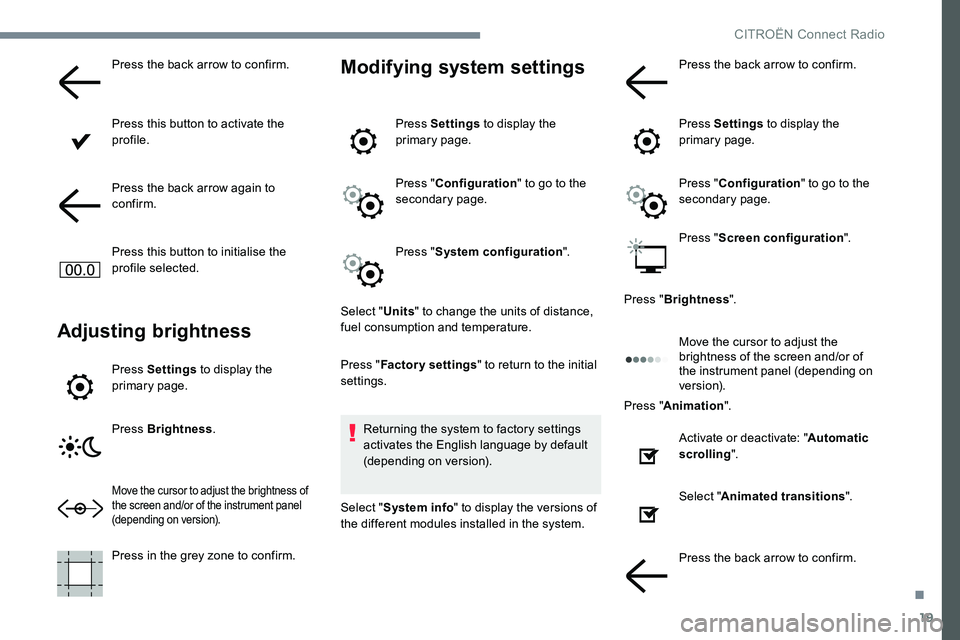
Adjusting brightness
Press Settings to display the
primary page.
Press Brightness .
Move the cursor to adjust the brightness of
the screen and/or of the instrument panel
(depending on version).
Press in the grey zone to confirm.
Modifying system settings
Press Settings to display the
primary page.
Press " Configuration " to go to the
secondary page.
Press " System configuration ".
Select " Units" to change the units of distance,
fuel consumption and temperature.
Press " Factory settings " to return to the initial
settings.
Returning the system to factory settings
activates the English language by default
(depending on version).
Select " System info " to display the versions of
the different modules installed in the system. Press the back arrow to confirm.
Press Settings
to display the
primary page.
Press " Configuration " to go to the
secondary page.
Press " Screen configuration ".
Press " Brightness ".
Move the cursor to adjust the
brightness of the screen and/or of
the instrument panel (depending on
ve r s i o n).
Press " Animation ".
Activate or deactivate: " Automatic
scrolling ".
Select " Animated transitions ".
Press the back arrow to confirm.
.
CITROËN Connect Radio