Page 552 of 828
CavityCartridge Fuse Blade FuseDescription
F22 ––Not Used
F23 ––Not used
F24 –20 Amp Yellow RR Wiper
F25B –10 Amp Red LT RR Door/RT RR Re-
lease Module/Active GrillShutter/Power Mirror
F26 40 Amp Green –Front HVAC Blower Mo-
tor
F27 25 Amp Clear –RR Slide Door Module
F28 –10 Amp Red Diagnostic Port/ USB
Port/ AUX Port/ Video USB Port
F29 ––Not Used
F30 –15 Amp Blue Media Hub 1, 2/ Power
Lumbar
F31 ––Not Used
550 IN CASE OF EMERGENCY
Page 560 of 828
Interior Fuses
The interior fuse panel is located in the passenger compartment on the left side dash panel under the instrument
panel.
CavityBlade Fuse Description
F13 15 Amp Blue Low Beam Left
F32 10 Amp Red Interior Lighting
F36 10 Amp Red Intrusion Module / Siren
F37 7.5 Amp Brown Aux. Switch Bank Module (ASBM)
F38 20 Amp Yellow All Doors Lock/Unlock
F43 20 Amp Yellow Washer Pump Front
F48 20 Amp Yellow Horns
F49 7.5 Amp Brown Lumbar Support
F51 10 Amp Red Driver Window Switch / Power Mirrors – If
Equipped
F53 7.5 Amp Brown UCI Port (USB & AUX)
F89 5 Amp Tan Trunk Lamp
558 IN CASE OF EMERGENCY
Page 601 of 828

6. Once the engine is started, remove the jumper cablesin the reverse sequence:
Disconnecting The Jumper Cables
1. Disconnect the negative (-)end of the jumper cable
from the engine ground of the vehicle with the dis-
charged battery.
2. Disconnect the opposite end of the negative (-)jumper
cable from the negative (-)post of the booster battery.
3. Disconnect the positive (+)end of the jumper cable
from the positive (+)post of the booster battery.
4. Disconnect the opposite end of the positive (+)jumper
cable from the positive (+)post of the vehicle with the
discharged battery.
If frequent jump-starting is required to start your vehicle
you should have the battery and charging system in-
spected at your authorized dealer.CAUTION!
Accessories plugged into the vehicle power outlets
draw power from the vehicle’s battery, even when not
in use (i.e., cellular devices, etc.). Eventually, if
plugged in long enough without engine operation,
the vehicle’s battery will discharge sufficiently to
degrade battery life and/or prevent the engine from
starting.
REFUELLING IN EMERGENCY
The funnel for the Cap-Less Fuel System is located with
the spare tire (if equipped) or in the upper storage bin. If
your vehicle is out of fuel and an auxiliary fuel can is
needed, insert the funnel into the filler neck and proceed
to fill the vehicle.7
IN CASE OF EMERGENCY 599
Page 693 of 828
MULTIMEDIA
CONTENTS
�UCONNECT RADIOS ...................694
� PERSONALIZED MENU BAR ..............694
� CYBERSECURITY ...................... .695
� UCONNECT SETTINGS ..................696
▫ Customer Programmable Features — Uconnect 5.0
Settings ........................... .697
▫ Customer Programmable Features — Uconnect 8.4
Settings ............................ .718
� STEERING WHEEL AUDIO CONTROLS ......742
▫ Radio Operation ..................... .743�
AUX/USB/MP3 CONTROL ...............743
� UCONNECT THEATER — IF EQUIPPED .....745
▫ Getting Started ...................... .746
▫ Accessing The System From The Uconnect
Radio ............................. .747
▫ Uconnect Theater Controls ...............748
▫ Accessing The System From The Uconnect Theater
Rear Screens ........................ .749
▫ Pairing The Remote ....................750
▫ Unpairing The Remote ..................751
10
Page 717 of 828

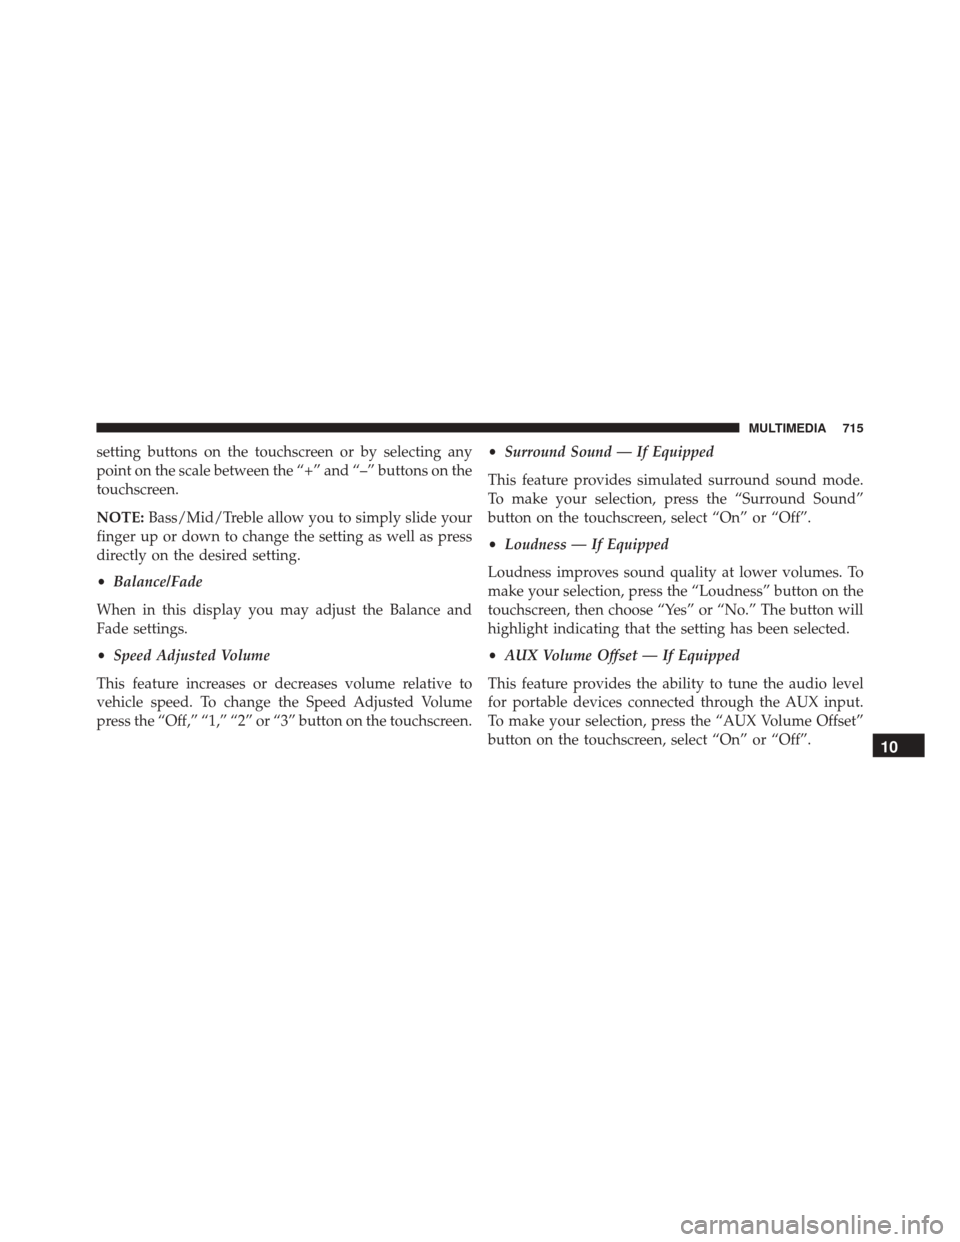
setting buttons on the touchscreen or by selecting any
point on the scale between the “+” and “–” buttons on the
touchscreen.
NOTE:Bass/Mid/Treble allow you to simply slide your
finger up or down to change the setting as well as press
directly on the desired setting.
• Balance/Fade
When in this display you may adjust the Balance and
Fade settings.
• Speed Adjusted Volume
This feature increases or decreases volume relative to
vehicle speed. To change the Speed Adjusted Volume
press the “Off,” “1,” “2” or “3” button on the touchscreen. •
Surround Sound — If Equipped
This feature provides simulated surround sound mode.
To make your selection, press the “Surround Sound”
button on the touchscreen, select “On” or “Off”.
• Loudness — If Equipped
Loudness improves sound quality at lower volumes. To
make your selection, press the “Loudness” button on the
touchscreen, then choose “Yes” or “No.” The button will
highlight indicating that the setting has been selected.
• AUX Volume Offset — If Equipped
This feature provides the ability to tune the audio level
for portable devices connected through the AUX input.
To make your selection, press the “AUX Volume Offset”
button on the touchscreen, select “On” or “Off”.
10
MULTIMEDIA 715
Page 741 of 828

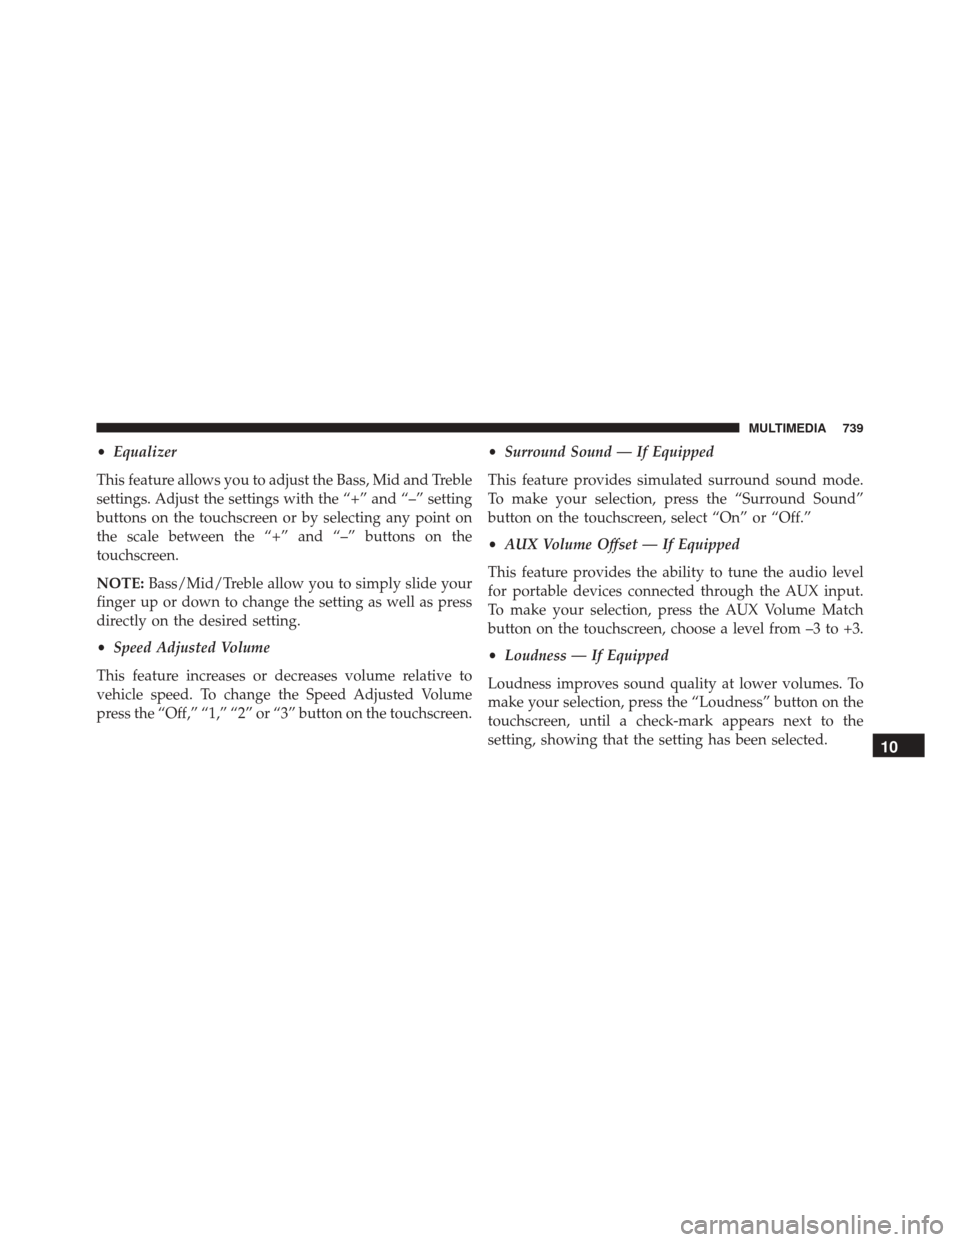
•Equalizer
This feature allows you to adjust the Bass, Mid and Treble
settings. Adjust the settings with the “+” and “–” setting
buttons on the touchscreen or by selecting any point on
the scale between the “+” and “–” buttons on the
touchscreen.
NOTE: Bass/Mid/Treble allow you to simply slide your
finger up or down to change the setting as well as press
directly on the desired setting.
• Speed Adjusted Volume
This feature increases or decreases volume relative to
vehicle speed. To change the Speed Adjusted Volume
press the “Off,” “1,” “2” or “3” button on the touchscreen. •
Surround Sound — If Equipped
This feature provides simulated surround sound mode.
To make your selection, press the “Surround Sound”
button on the touchscreen, select “On” or “Off.”
• AUX Volume Offset — If Equipped
This feature provides the ability to tune the audio level
for portable devices connected through the AUX input.
To make your selection, press the AUX Volume Match
button on the touchscreen, choose a level from –3 to +3.
• Loudness — If Equipped
Loudness improves sound quality at lower volumes. To
make your selection, press the “Loudness” button on the
touchscreen, until a check-mark appears next to the
setting, showing that the setting has been selected.
10
MULTIMEDIA 739
Page 745 of 828
Pushing the center button will make the radio switch
between the various modes available (AM/FM/SXM/
AUX, etc.).
The left-hand control is a rocker-type switch with a
push-button in the center. The function of the left-hand
control is different depending on which mode you are in.
The following describes the left-hand control operation in
each mode.
Radio Operation
Pushing the top of the switch will “Seek” up for the next
listenable station and pushing the bottom of the switch
will “Seek” down for the next listenable station.
The button located in the center of the left-hand control
will tune to the next preset station that you have pro-
grammed in the radio preset button.
AUX/USB/MP3 CONTROL
There are numerous USB ports located throughout the
vehicle. This feature allows an external USB device to be
plugged into the USB port.
For further information, refer to the Uconnect Supple-
ment Manual.
10
MULTIMEDIA 743
Page 746 of 828
There are multiple USB “charge only” ports in this
vehicle.•
In the center console
• On the back of the front row seats in the Uconnect
Theater Media hubs
• Above the rear cup holders in the third row of seats
Front Center Stack AUX Jack And USB Ports
1 — USB Port
2 — Aux Jack
3 — Uconnect Theater USB Port
Center Console USB Charging Port
744 MULTIMEDIA