Page 34 of 372

Black plate (6,1)Chevrolet Orlando Owner Manual - 2013 - CRC - 6/5/12
2-6 Keys, Doors, and Windows
A maximum of two remote starts,
or a single start with an extension,
is allowed between ignition cycles.
The vehicle's ignition must be
turned on and then back off before
the remote start procedure can be
used again.
Canceling a Remote Start
To cancel a remote start, do one of
the following:
.Aim the RKE transmitter at the
vehicle and press and hold
/
until the parking lamps turn off.
.Turn on the hazard warning
flashers.
.Turn the vehicle on and then off.
Conditions in Which Remote Start
Will Not Work
The remote vehicle start feature will
not operate if:
.The key is in the ignition (key
access) or if the key is in the
vehicle (keyless access).
.The hood is not closed.
.The hazard warning flashers
are on.
.The malfunction indicator lamp
is on.
.The engine coolant temperature
is too high.
.The oil pressure is low.
.Two remote vehicle starts, or a
single remote start with an
extension, have already
been used.
.The vehicle is not in P (Park).
Door Locks
{WARNING
Unlocked doors can be
dangerous.
.Passengers, especially
children, can easily open the
doors and fall out of a moving
vehicle. The chance of being
thrown out of the vehicle in a (Continued)
WARNING (Continued)
crash is increased if the
doors are not locked. So, all
passengers should wear
safety belts properly and the
doors should be locked
whenever the vehicle is
driven.
.Young children who get into
unlocked vehicles may be
unable to get out. A child can
be overcome by extreme heat
and can suffer permanent
injuries or even death from
heat stroke. Always lock the
vehicle whenever leaving it.
.Outsiders can easily enter
through an unlocked door
when slowing or stopping the
vehicle. Lock the doors to
help prevent this from
happening.
Page 36 of 372
Black plate (8,1)Chevrolet Orlando Owner Manual - 2013 - CRC - 6/5/12
2-8 Keys, Doors, and Windows
The rear door power windows are
also disabled.
Press
o{again to deactivate the
lockout switch.
If a rear door handle is pulled when
the safety lock is deactivated, that
door will remain locked and the
indicator light may flash. Release
the handle, then press the safety
lock twice to deactivate the safety
locks.
Doors
Liftgate
{WARNING
Exhaust gases can enter the
vehicle if it is driven with the
liftgate, trunk/hatch open, or with
any objects that pass through the
seal between the body and the
trunk/hatch or liftgate. Engine
exhaust contains carbon
monoxide (CO) which cannot be
seen or smelled. It can cause
unconsciousness and even death.
If the vehicle must be driven with
the liftgate, or trunk/hatch open:
.Close all of the windows.
.Fully open the air outlets on
or under the instrument
panel.
(Continued)
WARNING (Continued)
.Adjust the Climate Control
system to a setting that
brings in only outside air and
set the fan speed to the
highest setting. See Climate
Control System in the Index.
For more information about
carbon monoxide, see Engine
Exhaust on page 9‑20.
Notice: To avoid damage to the
liftgate or liftgate glass, make
sure the area above and behind
the liftgate is clear before
opening it.
Unlock the vehicle before opening
the liftgate.
Page 39 of 372

Black plate (11,1)Chevrolet Orlando Owner Manual - 2013 - CRC - 6/5/12
Keys, Doors, and Windows 2-11
If the engine still does not start, and
the key appears to be undamaged
or the light continues to stay on, try
another ignition key. If the engine
does not start with the other key, the
vehicle needs service. If the vehicle
does start, the first key may be
damaged. See your dealer who can
service the theft-deterrent system
and have a new key made.
Do not leave the key or device that
disarms or deactivates the
theft-deterrent system in the vehicle.Exterior Mirrors
Convex Mirrors
{WARNING
A convex mirror can make things,
like other vehicles, look farther
away than they really are. If you
cut too sharply into the right lane,
you could hit a vehicle on the
right. Check the inside mirror or
glance over your shoulder before
changing lanes.
The convex shaped mirror reduces
blind spots. The shape of the mirror
makes objects appear smaller,
which will affect the ability to
estimate distances.
Manual Mirrors
Some vehicles have outside mirrors
that can be manually adjusted.
Controls for the outside manual
mirrors are located next to each
mirror.
Page 42 of 372
Black plate (14,1)Chevrolet Orlando Owner Manual - 2013 - CRC - 6/5/12
2-14 Keys, Doors, and Windows
Windows
{WARNING
Never leave a child, a helpless
adult, or a pet alone in a vehicle,
especially with the windows
closed in warm or hot weather.
They can be overcome by the
extreme heat and suffer
permanent injuries or even death
from heat stroke.
The vehicle aerodynamics are
designed to improve fuel economy
performance. This may result in a
pulsing sound when either rear
window is down and the front
windows are up. To reduce the
sound, open either a front window
or the sunroof (if equipped).
Power Windows
{WARNING
Children could be seriously
injured or killed if caught in the
path of a closing window. Never
leave keys in a vehicle with
children. When there are children
in the rear seat, use the window
lockout button to prevent
operation of the windows. See
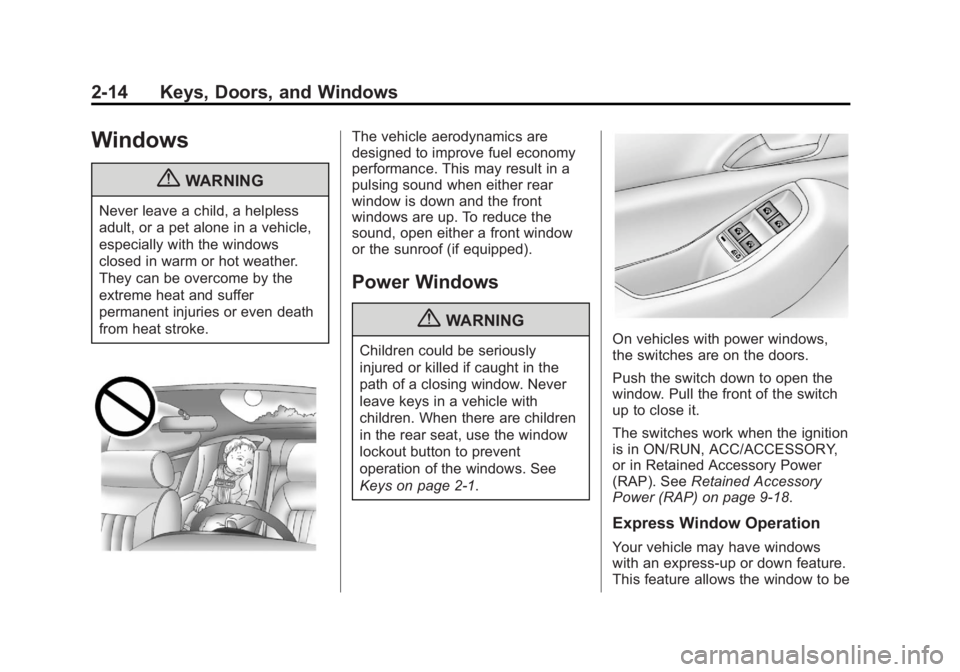
Keys on page 2‑1.On vehicles with power windows,
the switches are on the doors.
Push the switch down to open the
window. Pull the front of the switch
up to close it.
The switches work when the ignition
is in ON/RUN, ACC/ACCESSORY,
or in Retained Accessory Power
(RAP). SeeRetained Accessory
Power (RAP) on page 9‑18.
Express Window Operation
Your vehicle may have windows
with an express-up or down feature.
This feature allows the window to be
Page 48 of 372
Black plate (2,1)Chevrolet Orlando Owner Manual - 2013 - CRC - 6/5/12
3-2 Seats and Restraints
Head Restraints
{WARNING
With head restraints that are not
installed and adjusted properly,
there is a greater chance that
occupants will suffer a neck/
spinal injury in a crash. Do not
drive until the head restraints for
all occupants are installed and
adjusted properly.
Front Seats
The vehicle's front seats have
adjustable head restraints in the
outboard seating positions.
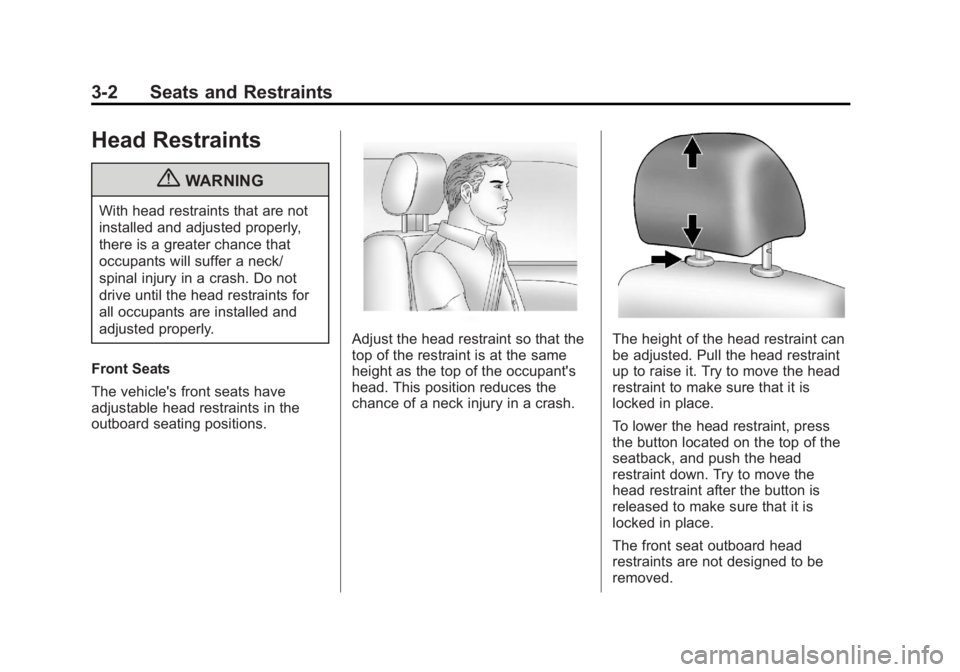
Adjust the head restraint so that the
top of the restraint is at the same
height as the top of the occupant's
head. This position reduces the
chance of a neck injury in a crash.The height of the head restraint can
be adjusted. Pull the head restraint
up to raise it. Try to move the head
restraint to make sure that it is
locked in place.
To lower the head restraint, press
the button located on the top of the
seatback, and push the head
restraint down. Try to move the
head restraint after the button is
released to make sure that it is
locked in place.
The front seat outboard head
restraints are not designed to be
removed.
Page 49 of 372
Black plate (3,1)Chevrolet Orlando Owner Manual - 2013 - CRC - 6/5/12
Seats and Restraints 3-3
Rear Seats
The vehicle's second row seats
have adjustable head restraints in
the outboard seating positions. The
vehicle's third row seats have head
restraints in the outboard seating
positions that cannot be adjusted.
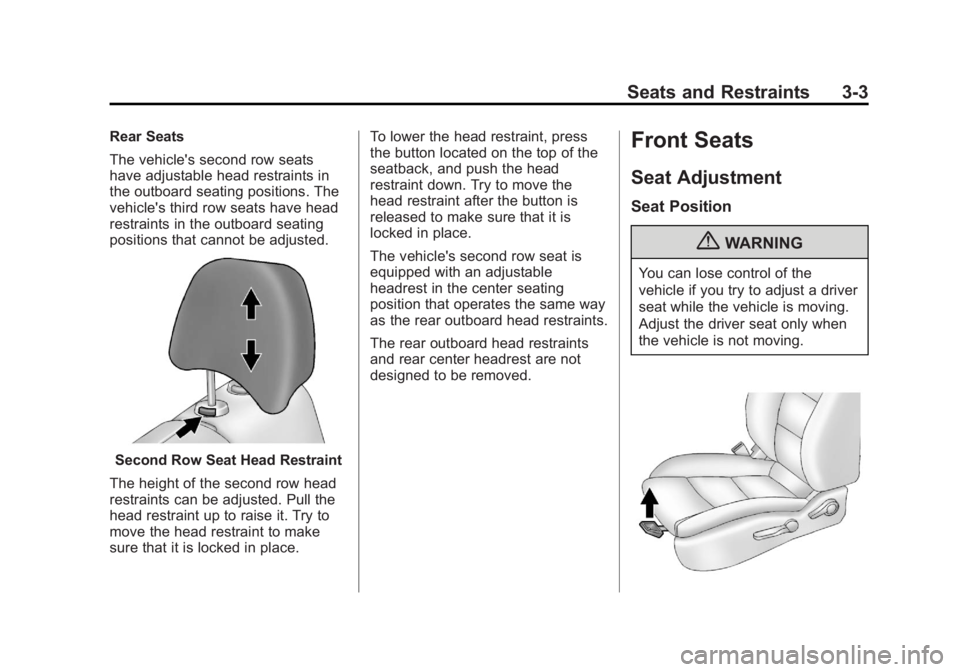
Second Row Seat Head Restraint
The height of the second row head
restraints can be adjusted. Pull the
head restraint up to raise it. Try to
move the head restraint to make
sure that it is locked in place. To lower the head restraint, press
the button located on the top of the
seatback, and push the head
restraint down. Try to move the
head restraint after the button is
released to make sure that it is
locked in place.
The vehicle's second row seat is
equipped with an adjustable
headrest in the center seating
position that operates the same way
as the rear outboard head restraints.
The rear outboard head restraints
and rear center headrest are not
designed to be removed.
Front Seats
Seat Adjustment
Seat Position
{WARNING
You can lose control of the
vehicle if you try to adjust a driver
seat while the vehicle is moving.
Adjust the driver seat only when
the vehicle is not moving.
Page 51 of 372
Black plate (5,1)Chevrolet Orlando Owner Manual - 2013 - CRC - 6/5/12
Seats and Restraints 3-5
3. Push and pull on the seatback tomake sure it is locked.
{WARNING
If either seatback is not locked, it
could move forward in a sudden
stop or crash. That could cause
injury to the person sitting there.
Always push and pull on the
seatbacks to be sure they are
locked.
To return the seatback to an upright
position:
1. Lift the lever fully without applying pressure to the
seatback, and the seatback
returns to the upright position.
2. Push and pull on the seatback to make sure it is locked.
{WARNING
Sitting in a reclined position when
the vehicle is in motion can be
dangerous. Even when buckled
up, the safety belts cannot do
their job.
The shoulder belt will not be
against your body. Instead, it will
be in front of you. In a crash, you
could go into it, receiving neck or
other injuries.
The lap belt could go up over
your abdomen. The belt forces
would be there, not at your pelvic
bones. This could cause serious
internal injuries.
For proper protection when the
vehicle is in motion, have the
seatback upright. Then sit well
back in the seat and wear the
safety belt properly.
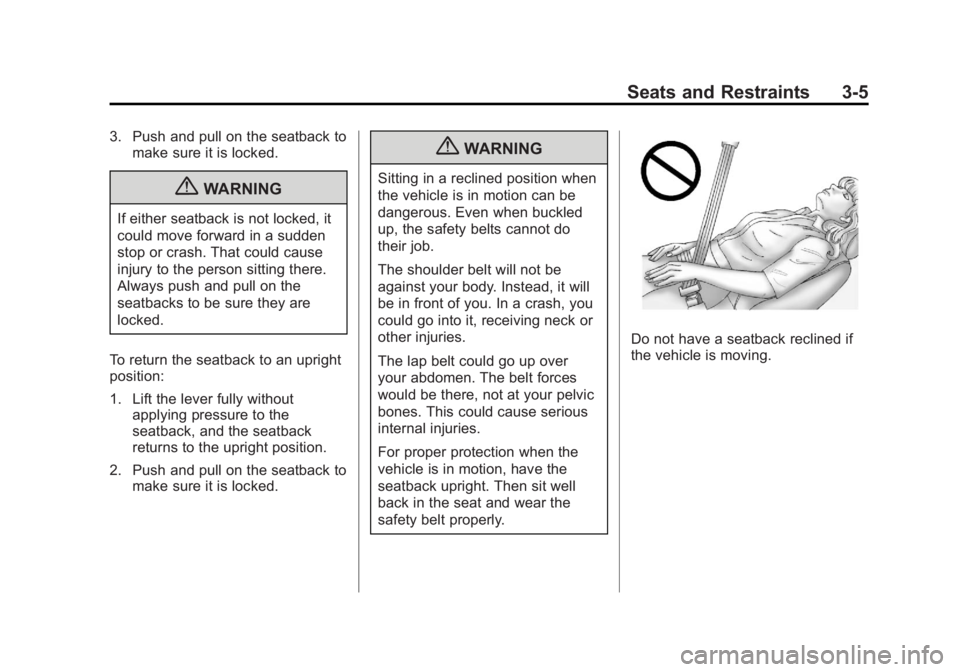
Do not have a seatback reclined if
the vehicle is moving.
Page 52 of 372
Black plate (6,1)Chevrolet Orlando Owner Manual - 2013 - CRC - 6/5/12
3-6 Seats and Restraints
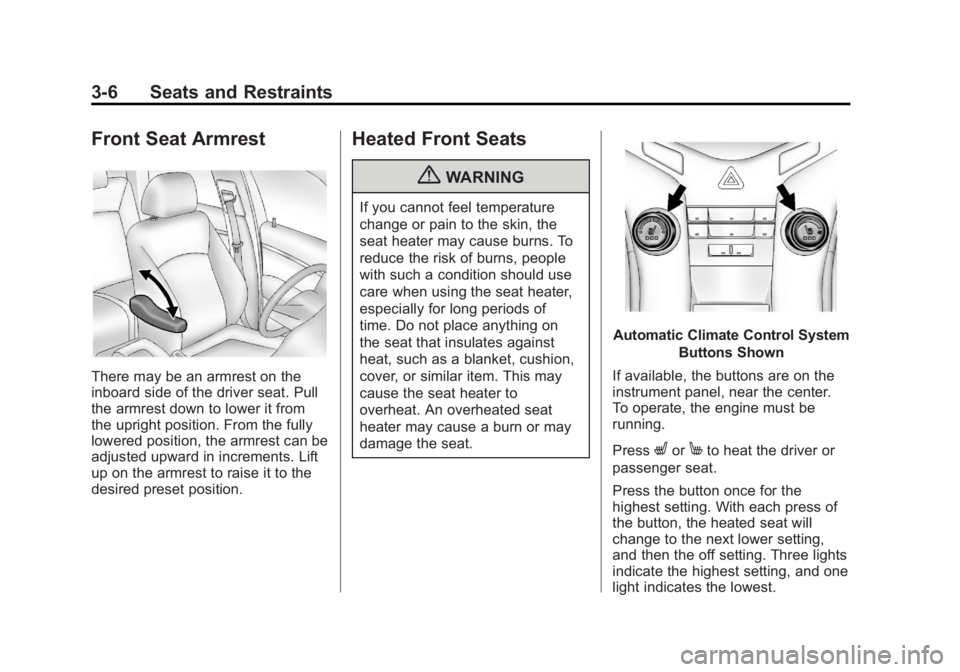
Front Seat Armrest
There may be an armrest on the
inboard side of the driver seat. Pull
the armrest down to lower it from
the upright position. From the fully
lowered position, the armrest can be
adjusted upward in increments. Lift
up on the armrest to raise it to the
desired preset position.
Heated Front Seats
{WARNING
If you cannot feel temperature
change or pain to the skin, the
seat heater may cause burns. To
reduce the risk of burns, people
with such a condition should use
care when using the seat heater,
especially for long periods of
time. Do not place anything on
the seat that insulates against
heat, such as a blanket, cushion,
cover, or similar item. This may
cause the seat heater to
overheat. An overheated seat
heater may cause a burn or may
damage the seat.
Automatic Climate Control SystemButtons Shown
If available, the buttons are on the
instrument panel, near the center.
To operate, the engine must be
running.
Press
LorMto heat the driver or
passenger seat.
Press the button once for the
highest setting. With each press of
the button, the heated seat will
change to the next lower setting,
and then the off setting. Three lights
indicate the highest setting, and one
light indicates the lowest.