Page 21 of 297

Locking/Unlocking Doors From The Inside
Push the Lock LED Indicator button. The button
has an LED that indicates whether the doors are
locked or unlocked.
Pushing the Lock LED Indicator buttonagain cen-
trally unlocks all doors and switches off the LED.
Pushing the Lock LED Indicator buttonagain cen-
trally locks all the doors. The doors will be locked
only if all the doors are properly shut.
Once the doors have been locked using the remote
control or the key, it will no longer be possible to unlock
them by pushing the Lock LED Indicator button
.
NOTE: In the absence of electrical power supply (blown
fuse, battery disconnected, etc.), it is still possible to
lock the doors manually.
Emergency Door Locking Device
Passenger Side Door
The passenger side door has a device to lock it when
there is no current.
To lock it, place the metal insert of the ignition key in
housing #1 and turn it clockwise. To restore the starting condition of the door locks (only
if battery charge restored), proceed as follows:
•
Push the Unlock button
on the Key Fob;
•Push the door locking/unlocking LED indicator but-
ton
on the dashboard; or
•Introduce the metal insert of the ignition key in the
front door pawl; or
• Pull the internal door handle.
Emergency Door Lock Function
2
THINGS TO KNOW BEFORE STARTING YOUR VEHICLE 19
Page 65 of 297

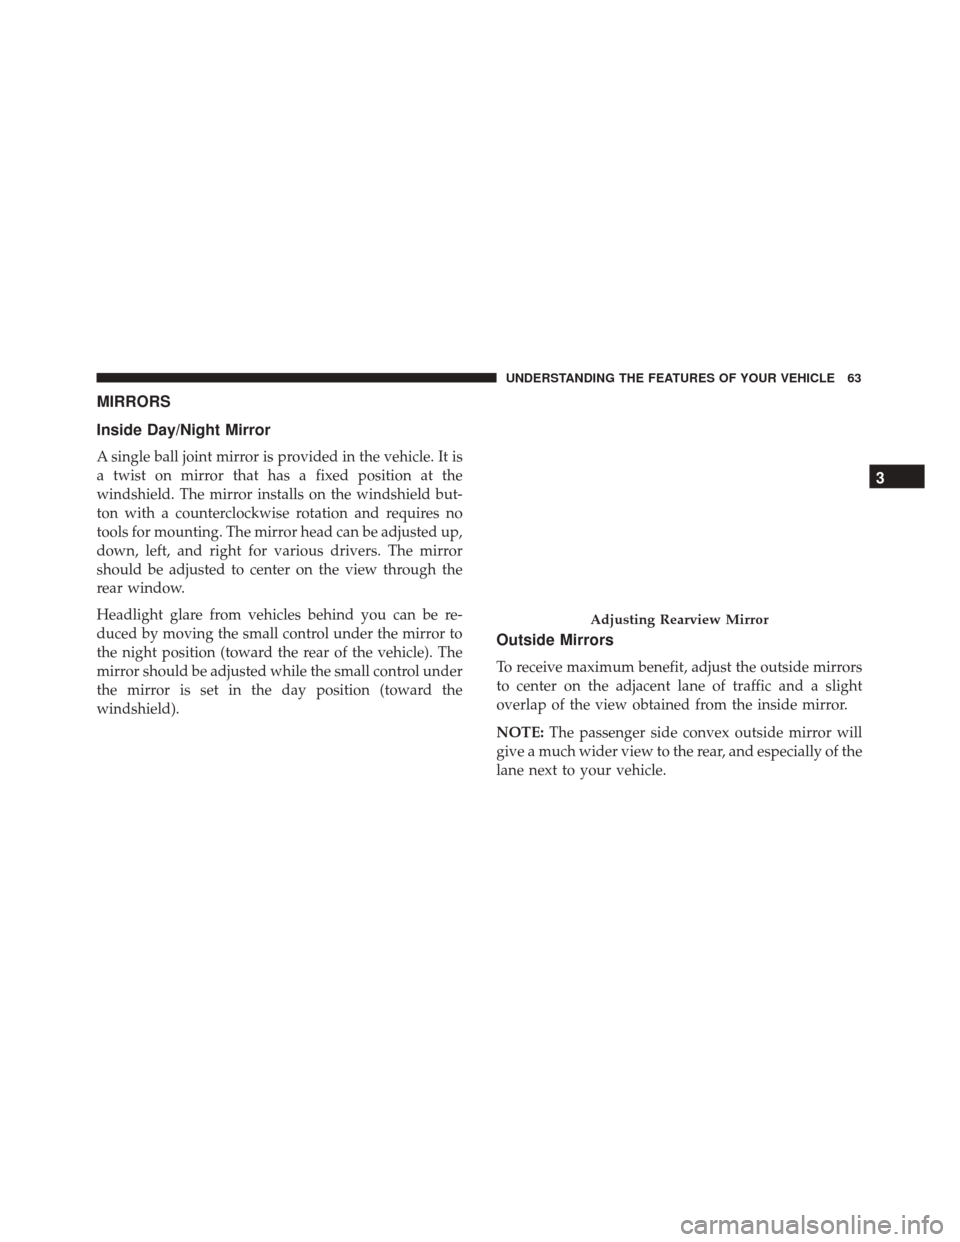
MIRRORS
Inside Day/Night Mirror
A single ball joint mirror is provided in the vehicle. It is
a twist on mirror that has a fixed position at the
windshield. The mirror installs on the windshield but-
ton with a counterclockwise rotation and requires no
tools for mounting. The mirror head can be adjusted up,
down, left, and right for various drivers. The mirror
should be adjusted to center on the view through the
rear window.
Headlight glare from vehicles behind you can be re-
duced by moving the small control under the mirror to
the night position (toward the rear of the vehicle). The
mirror should be adjusted while the small control under
the mirror is set in the day position (toward the
windshield).
Outside Mirrors
To receive maximum benefit, adjust the outside mirrors
to center on the adjacent lane of traffic and a slight
overlap of the view obtained from the inside mirror.
NOTE:The passenger side convex outside mirror will
give a much wider view to the rear, and especially of the
lane next to your vehicle.
Adjusting Rearview Mirror
3
UNDERSTANDING THE FEATURES OF YOUR VEHICLE 63
Page 122 of 297

Trip B Activation
Through this option, it is possible to activate (On) or
deactivate (Off) the Trip B (partial trip) display.
For further information, see “Trip Computer.”
For activation/deactivation, proceed as follows:
1. Briefly push theSET/BACKbutton. “On” or “Off”
will display in the Instrument Cluster Display (ac-
cording to previous setting).
2. Push and release the UP
orDOWNarrow
button to select the setting and once selected a
beep will occur to signal the setting is saved.
3. Briefly push the SET/BACKbutton to go back to the
menu screen, or push and hold the SET/BACK
button (approximately one second) to go back to the
main screen without storing the settings.
Set Time
This function may be used to set the clock through two
submenu items: “Time” and “Mode.”
Proceed as follows:
1. Briefly push the SET/BACKbutton. The display will
show the two submenu items “Time” and “Mode.” 2. Push and release the
UP
orDOWNarrow
button to navigate the two submenu items.
3. Select the required option and then push the SET/
BACK button.
4. When accessing the “Time” submenu item, briefly push the SET/BACK button and “hours” will flash
on the display.
5. Push and release the UP
orDOWNarrow
button for setting.
6. Briefly push the SET/BACKbutton and “minutes”
will flash on the display.
7. Push and release the UP
orDOWNarrow
button for setting.
NOTE:
•The setting will increase or decrease by one unit
each time the UP
orDOWNarrow button
is pushed. Push and hold the button to increase/
decrease the setting rapidly. Save the setting by
briefly pushing the button when you approach
the required setting.
• Briefly push the SET/BACKbutton to return to the
“Time” sub-function.
120 UNDERSTANDING YOUR INSTRUMENT PANEL
Page 135 of 297

NOTE:•Continuous use of the Recirculation mode may
make the inside air stuffy and window fogging
may occur. Extended use of this mode is not
recommended.
• The use of the Recirculation mode in cold or damp
weather could cause windows to fog on the inside,
because of moisture buildup inside the vehicle.
Select the outside air position for maximum defog-
ging.
5. Temperature Control
Rotate this control to regulate the temperature of the air
inside the passenger compartment. Rotating the dial
counterclockwise into the blue area of the scale indi-
cates cooler temperatures, while rotating clockwise into
the red area indicates warmer temperatures.
6. Blower Control
Rotate this control to regulate the amount of air forced
through the ventilation system in any mode. The
blower speed increases as you move the control clock-
wise from the “0” (OFF) position. There are four blower
speeds.Heating
To heat the passenger compartment, proceed as follows:
1. Rotate the Temperature Control to the red section.
2. Turn the Blower Control to the desired speed.
3. Turn the Mode Control to
.
4. Then operate the controls to maintain the desired comfort conditions.
NOTE:
• This air distribution allows the passenger compart-
ment to be heated quickly.
• When the engine is cold, it takes a few minutes to
achieve optimum passenger compartment heating.
Fast Demisting/Defrosting Of Windshield And
Side Windows
Proceed as follows:
1. Rotate the Temperature Control to the red section.
2. Turn the Blower Control to 4 (maximum fan speed).
3. Turn the Mode Control to
.
4. Move the Recirculation Control to. 4
UNDERSTANDING YOUR INSTRUMENT PANEL 133
Page 137 of 297

NOTE:The internal air recirculation system makes it
possible to reach the required heating or ventilation
conditions more quickly. Do not use the internal air
recirculation function on rainy/cold days to avoid the
possibility of the windows misting.
Climate Control
Proceed as follows:
1. Rotate the Temperature Control to the blue section.
2. Turn the Blower Control to 1 (1st fan speed). For rapid cooling, turn Blower Control to 4 (maximum
fan speed).
3. Move the Recirculation Control to
.
4. Turn the Mode Control to.
5. Press the A/C button.
Cooling Adjustment
Proceed as follows:
1. Move the Recirculation Control to
.
2. Rotate the Temperature Control towards the red section to increase the temperature. 3. Turn the Blower Control counterclockwise to reduce
the fan speed.
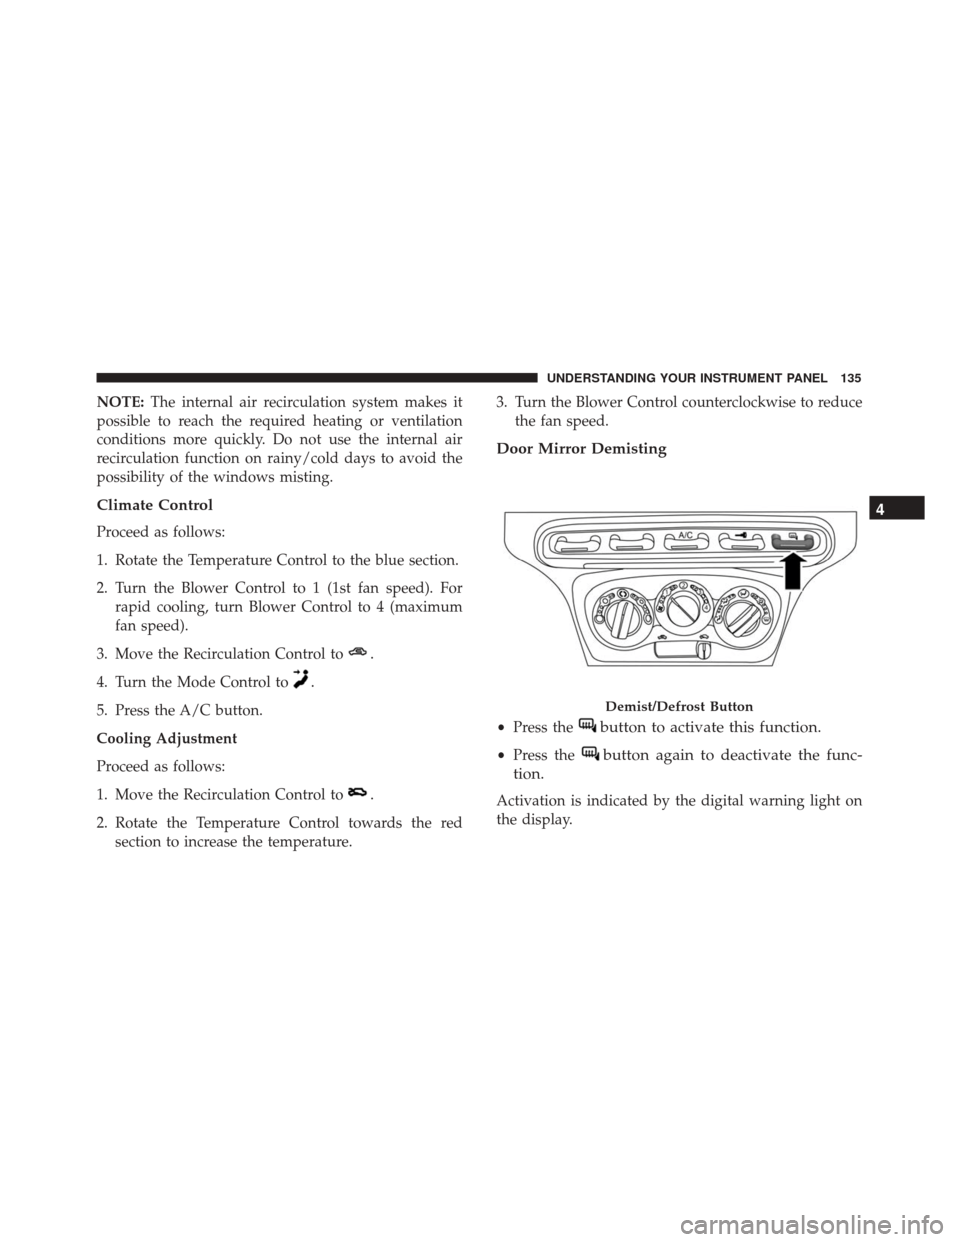
Door Mirror Demisting
•Press thebutton to activate this function.
•Press thebutton again to deactivate the func-
tion.
Activation is indicated by the digital warning light on
the display.
Demist/Defrost Button
4
UNDERSTANDING YOUR INSTRUMENT PANEL 135
Page 255 of 297
Side Lights/Daytime Running Lights (DRL)
These are LEDs. For the replacement, contact the your
authorized dealer.
Low/High Beam Bi-Halogen Headlights
To change the bulb, proceed as follows:
1. Turn the steering wheel completely.
2. Open the protective flap by rotating the screw.3. Remove protective cover from headlamp assembly.
4. Remove the electric connector (1) and then rotate the
bulb holder (2) clockwise and remove it.
1 — Direction Indicator Bulb Protective Flap
2 — Headlamp Bulb Protective Flap
Protective Cover
7
MAINTAINING YOUR VEHICLE 253
Page 257 of 297
3. Remove protective cover from headlamp assembly.
4. Rotate the bulb holder counterclockwise and removeit.
5. Rotate the bulb assembly counter clockwise to re- move from bulb holder.
6. Install the new bulb, making sure that it is locked in correctly, and reinstall into headlamp assembly.
7. Reinstall protective cover in the headlamp assembly and close the protective flap. Side:
1. Adjust the lens in the point shown in to compress the
retaining clip, then pull the cluster outwards.
2. Turn the bulb holder counterclockwise, remove the bulb and replace it.
3. Install the bulb holder in the lens and turn it clock- wise.
4. Install the cluster making sure that the internal clip clicks into position.
Protective Cover
1 — Lens
2 — Bulb Holder
7
MAINTAINING YOUR VEHICLE 255
Page 260 of 297
3. Rotate clockwise to remove the bulb holder removethe bulb from the bulb holder.
4. Install the bulb by pressing it into bulb holder then turn install the bulb holder and turn it counterclock-
wise.
5. Install the previously removed protective caps.
Tail Lights/Brake Lights
These are LEDs. For the replacement, contact the your
local dealer.
Reversing Light
WARNING!
The reversing light are located close to the exhaust
pipes; take the utmost care not to get burnt during
the bulb replacement.
To replace the reversing lights turn the bulb holder
counterclockwise, remove the bulb and replace it.
Second Protective Cap
258 MAINTAINING YOUR VEHICLE