2016 VOLVO V60 CROSS COUNTRY engine
[x] Cancel search: enginePage 224 of 402
07 Driver support
07
222
Lane Departure Warning (LDW) – introduction
The LDW function is designed to help reduce the risk of accidents in situations where thevehicle unintentionally leaves its lane andthere is a risk of driving off the road or into theopposite lane.
Lane Departure Warning (LDW)9Your vehicle may be equipped with LaneDeparture Warning (LDW) or Lane KeepingAid (LKA), depending on your choice of engine.
If you are uncertain as to which of
these optional systems is in your vehicle:
• Press the
MY CAR button on the center
console to open the menu system. Scroll to
SettingsDriver support system.
The system in your vehicle (Lane
Departure Warning or Lane Keeping
Aid) will be displayed there.
If your vehicle is equipped with Lane Keeping Aid (LKA), see Lane Keeping Aid (LKA) – intro-duction (p. 227) for detailed information.
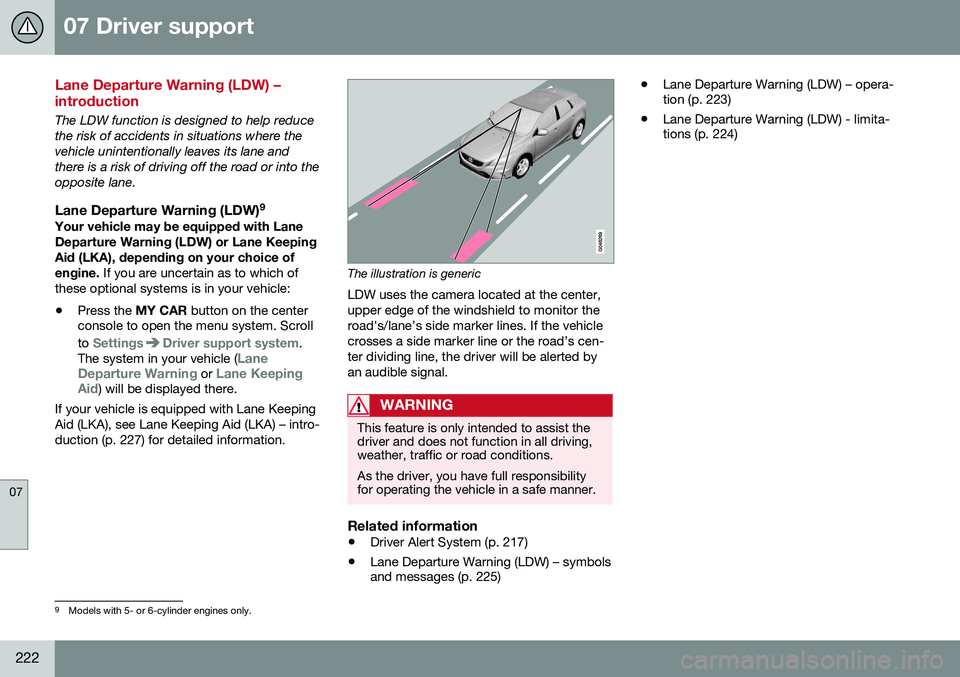
The illustration is generic
LDW uses the camera located at the center, upper edge of the windshield to monitor theroad's/lane’s side marker lines. If the vehiclecrosses a side marker line or the road’s cen-ter dividing line, the driver will be alerted byan audible signal.
WARNING
This feature is only intended to assist the driver and does not function in all driving,weather, traffic or road conditions. As the driver, you have full responsibility for operating the vehicle in a safe manner.
Related information
• Driver Alert System (p. 217)
• Lane Departure Warning (LDW) – symbols and messages (p. 225) •
Lane Departure Warning (LDW) – opera-tion (p. 223)
• Lane Departure Warning (LDW) - limita-tions (p. 224)
9
Models with 5- or 6-cylinder engines only.
Page 225 of 402
07 Driver support
07
}}
223
Lane Departure Warning (LDW) – operation
Operation and function
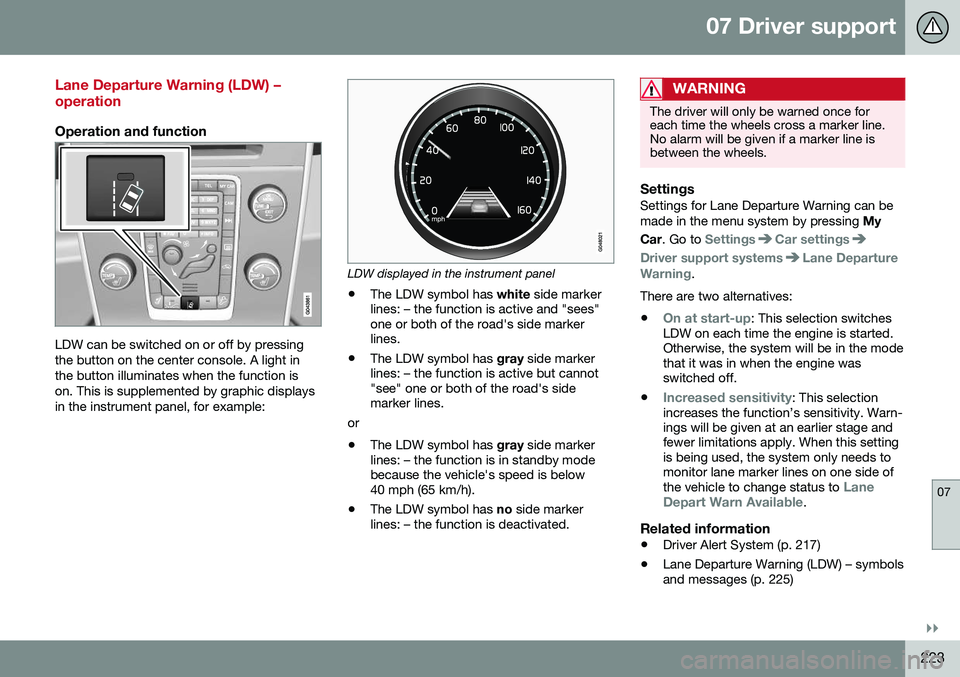
LDW can be switched on or off by pressing the button on the center console. A light inthe button illuminates when the function ison. This is supplemented by graphic displaysin the instrument panel, for example:
LDW displayed in the instrument panel
• The LDW symbol has
white side marker
lines: – the function is active and "sees" one or both of the road's side markerlines.
• The LDW symbol has
gray side marker
lines: – the function is active but cannot"see" one or both of the road's sidemarker lines.
or
• The LDW symbol has
gray side marker
lines: – the function is in standby modebecause the vehicle's speed is below40 mph (65 km/h).
• The LDW symbol has
no side marker
lines: – the function is deactivated.
WARNING
The driver will only be warned once for each time the wheels cross a marker line.No alarm will be given if a marker line isbetween the wheels.
SettingsSettings for Lane Departure Warning can be made in the menu system by pressing My
Car . Go to
SettingsCar settings
Driver support systemsLane Departure
Warning.
There are two alternatives:
•
On at start-up: This selection switches
LDW on each time the engine is started. Otherwise, the system will be in the modethat it was in when the engine wasswitched off.
•
Increased sensitivity: This selection
increases the function’s sensitivity. Warn- ings will be given at an earlier stage andfewer limitations apply. When this settingis being used, the system only needs tomonitor lane marker lines on one side of the vehicle to change status to
Lane
Depart Warn Available.
Related information
• Driver Alert System (p. 217)
• Lane Departure Warning (LDW) – symbols and messages (p. 225)
Page 229 of 402
07 Driver support
07
227
Lane Keeping Aid (LKA) – introduction
The LKA function is designed to help reduce the risk of accidents in situations where thevehicle unintentionally leaves its lane andthere is a risk of driving off the road or into theopposite lane.
LDW or LKAYour vehicle may be equipped with LaneDeparture Warning (LDW) or Lane KeepingAid (LKA), depending on your choice of engine. If you are uncertain as to which of
these optional systems is in your vehicle:
• Press the
MY CAR button on the center
console to open the menu system. Scroll to
SettingsDriver support system.
The system in your vehicle (Lane
Departure Warning or Lane Keeping
Aid) will be displayed there.
If your vehicle is equipped with Lane Departure Warning (LDW), see Lane Depar-ture Warning (LDW) – introduction (p. 222) fordetailed information.
LKA functionThe LKA function is primarily intended for useon highways or other major roads with clearlymarked side marker and center lines.
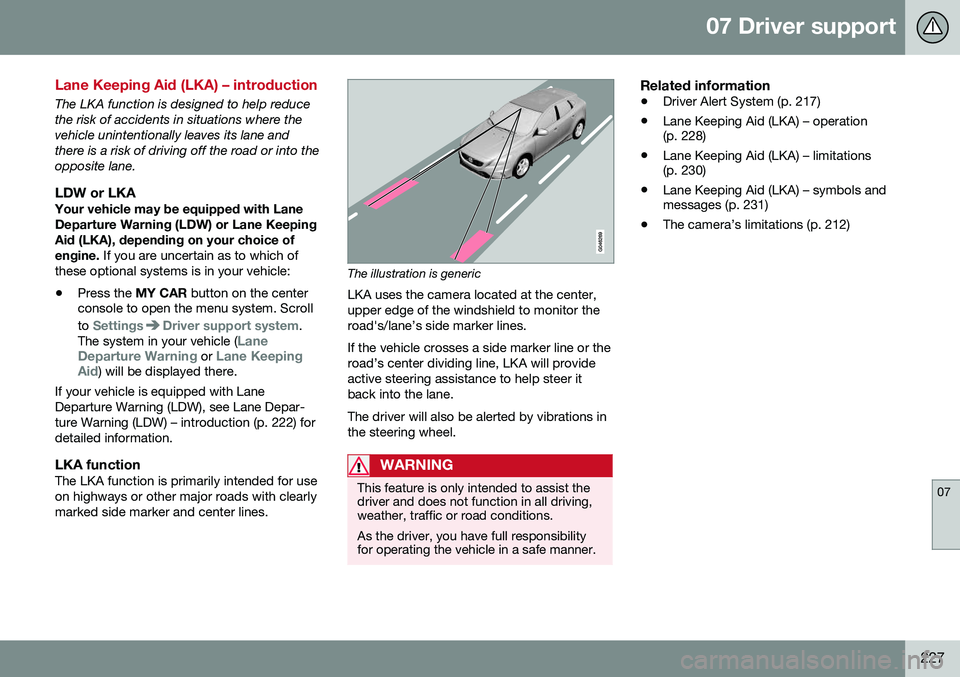
The illustration is generic
LKA uses the camera located at the center, upper edge of the windshield to monitor theroad's/lane’s side marker lines. If the vehicle crosses a side marker line or the road’s center dividing line, LKA will provideactive steering assistance to help steer itback into the lane. The driver will also be alerted by vibrations in the steering wheel.
WARNING
This feature is only intended to assist the driver and does not function in all driving,weather, traffic or road conditions. As the driver, you have full responsibility for operating the vehicle in a safe manner.
Related information
• Driver Alert System (p. 217)
• Lane Keeping Aid (LKA) – operation (p. 228)
• Lane Keeping Aid (LKA) – limitations(p. 230)
• Lane Keeping Aid (LKA) – symbols andmessages (p. 231)
• The camera’s limitations (p. 212)
Page 236 of 402

||
07 Driver support
07
234* Option/accessory, for more information, see Introduction.
Front park assist
The distance monitored in front of the vehicle is approximately 2.5 ft (0.8 m). The audiblesignal comes from the audio system's frontspeakers. It may not be possible to combine auxiliary headlights and front park assist since theselights could trigger the system's sensors.
NOTE
Front park assist is deactivated when the parking brake is applied and or when thegear selector is in the P position.
Related information
• Park assist – introduction (p. 232)
• Park assist – limitations (p. 235)
• Park assist – operation (p. 234)
• Park assist – troubleshooting (p. 240) •
Rear Park Assist Camera (PAC) – function (p. 241)
Park assist – operation
Function
Park assist and CTA* button
The system is activated automatically when the vehicle is started. The indicator light in thebutton in the center console illuminates whenthe system is on.
• The front park assist system is active from the time the engine is started untilthe vehicle exceeds a speed of approxi-mately 6 mph (10 km/h). It is also activewhen the vehicle is backing up.
• Rear park assist is active when the engineis running and reverse gear has beenselected.
Page 237 of 402

07 Driver support
07
235
Activating/deactivatingThe system is activated automatically when the vehicle is started.
–Press the Park assist button on the center console to temporarily deactivate the sys-tem(s).
> The indicator light in the button will goout when the system has been deacti- vated.
Park assist will be automatically reactivatedthe next time the engine is started, or if thebutton is pressed (the indicator light in thebutton will illuminate).
NOTE
Park assist is disengaged automatically when the parking brake is applied.
Related information
• Park assist – introduction (p. 232)
• Park assist – limitations (p. 235)
• Park assist – function (p. 232)
• Park assist – troubleshooting (p. 240)
• Rear Park Assist Camera (PAC) – function (p. 241)
Park assist – limitations
Cleaning the sensorsThe sensors must be cleaned regularly to ensure that they work properly. Clean themwith water and a suitable car washing deter-gent.
Location of the front sensors
Location of the rear sensors Ice and snow covering the sensors may cause incorrect warning signals.
NOTE
If the sensors are obstructed by e.g., dirt, snow, or ice, this could result in falsewarning signals from the park assist sys-tem.
Related information
•
Park assist – introduction (p. 232)
• Park assist – function (p. 232)
• Park assist – operation (p. 234)
• Park assist – troubleshooting (p. 240)
• Rear Park Assist Camera (PAC) – function (p. 241)
Page 247 of 402
07 Driver support
07
}}
* Option/accessory, for more information, see Introduction.245
Rear Park Assist Camera (PAC) – limitations
LimitationsEven if a fairly small section of the screen image appears to be obstructed, this maymean that a relatively large area behind thevehicle is hidden and objects there may notbe detected until they are very near the vehi-cle.
NOTE
Bicycle carriers or other accessories mounted on the tailgate may obstruct thecamera's field of view.
Keep in mind
• Keep the camera's lens free of dirt, ice and snow. Remove ice and snow care-fully to avoid scratching the lens.
• Clean the lens regularly with warm waterand a suitable car washing detergent.
Related information
•Rear Park Assist Camera (PAC) – intro-duction (p. 241)
• Rear Park Assist Camera (PAC) – opera-tion (p. 242)
• Park assist – introduction (p. 232)
BLIS* – introduction
The Blind Spot Information System (BLIS) is an information system that indicates the pres-ence of another vehicle moving in the samedirection as your vehicle on roads with severallanes.
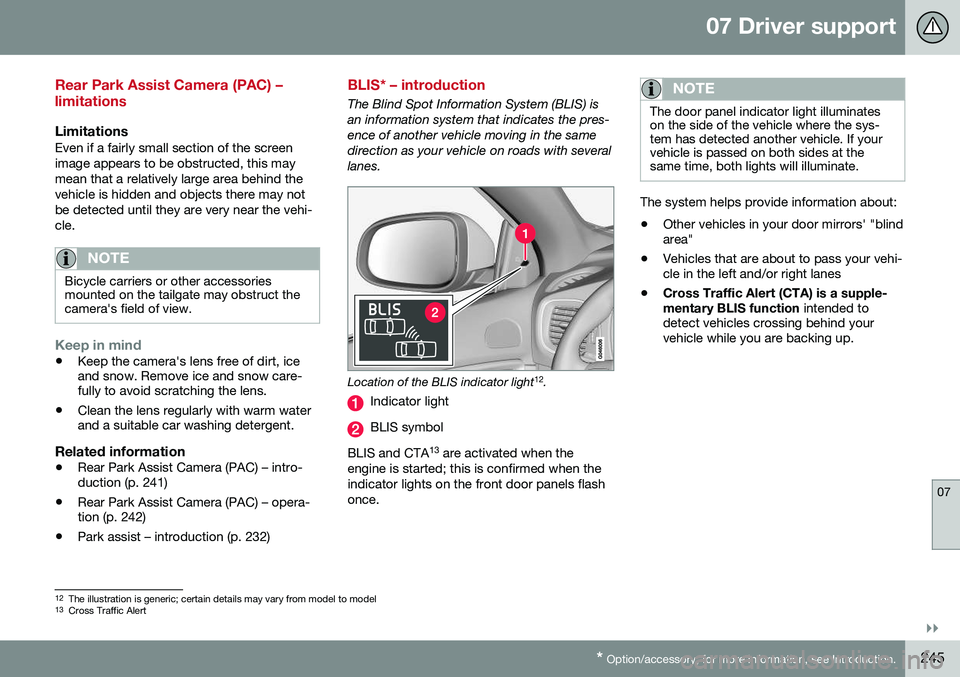
Location of the BLIS indicator light 12
.
Indicator light
BLIS symbol
BLIS and CTA 13
are activated when the
engine is started; this is confirmed when the indicator lights on the front door panels flashonce.
NOTE
The door panel indicator light illuminates on the side of the vehicle where the sys-tem has detected another vehicle. If yourvehicle is passed on both sides at thesame time, both lights will illuminate.
The system helps provide information about:
• Other vehicles in your door mirrors' "blind area"
• Vehicles that are about to pass your vehi-cle in the left and/or right lanes
• Cross Traffic Alert (CTA) is a supple- mentary BLIS function
intended to
detect vehicles crossing behind your vehicle while you are backing up.
12 The illustration is generic; certain details may vary from model to model
13 Cross Traffic Alert
Page 249 of 402
07 Driver support
07
}}
* Option/accessory, for more information, see Introduction.247
BLIS* – operation
Activating/deactivating BLIS
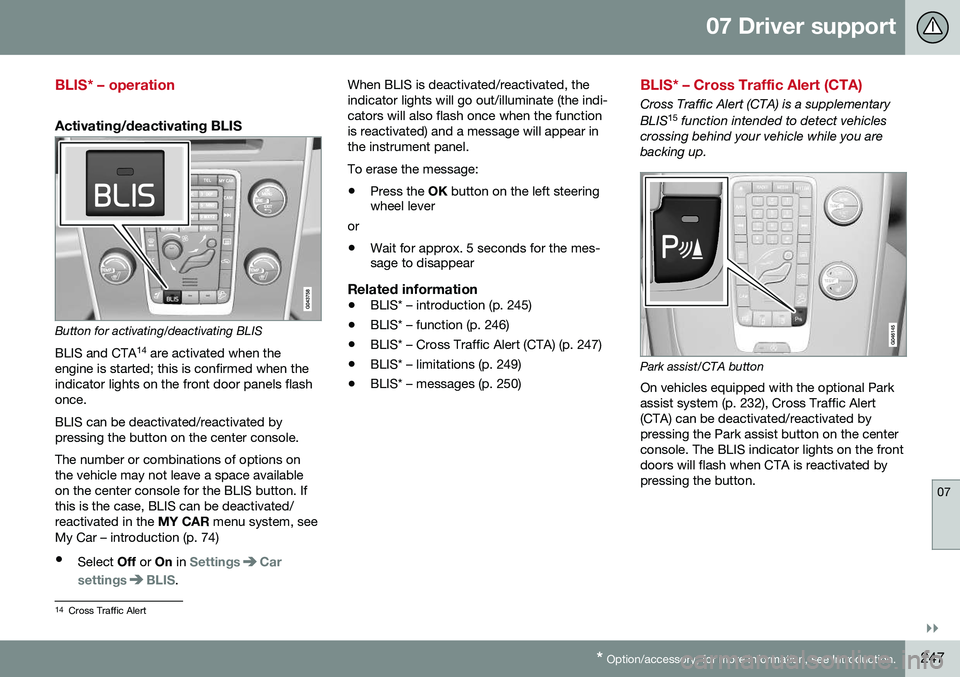
Button for activating/deactivating BLIS BLIS and CTA 14
are activated when the
engine is started; this is confirmed when the indicator lights on the front door panels flashonce. BLIS can be deactivated/reactivated by pressing the button on the center console. The number or combinations of options on the vehicle may not leave a space availableon the center console for the BLIS button. Ifthis is the case, BLIS can be deactivated/reactivated in the MY CAR menu system, see
My Car – introduction (p. 74)
• Select Off or On in
SettingsCar
settings
BLIS. When BLIS is deactivated/reactivated, the indicator lights will go out/illuminate (the indi-cators will also flash once when the functionis reactivated) and a message will appear inthe instrument panel. To erase the message: •
Press the
OK button on the left steering
wheel lever
or
• Wait for approx. 5 seconds for the mes- sage to disappear
Related information
•BLIS* – introduction (p. 245)
• BLIS* – function (p. 246)
• BLIS* – Cross Traffic Alert (CTA) (p. 247)
• BLIS* – limitations (p. 249)
• BLIS* – messages (p. 250)
BLIS* – Cross Traffic Alert (CTA)
Cross Traffic Alert (CTA) is a supplementary BLIS 15
function intended to detect vehicles
crossing behind your vehicle while you are backing up.
Park assist/CTA button On vehicles equipped with the optional Park assist system (p. 232), Cross Traffic Alert(CTA) can be deactivated/reactivated bypressing the Park assist button on the centerconsole. The BLIS indicator lights on the frontdoors will flash when CTA is reactivated bypressing the button.
14 Cross Traffic Alert
Page 254 of 402

08 Starting and driving
08
252* Option/accessory, for more information, see Introduction.
Starting the engine
The engine can be started/switched off using the remote key and the START/STOP
ENGINE button.
Ignition slot with remote key inserted (see Igni- tion modes (p. 77) for more information on igni-tion modes)
WARNING
Before starting the engine:
• Fasten the seat belt.
• Check that the seat, steering wheel and mirrors are adjusted properly.
• Make sure the brake pedal can bedepressed completely. Adjust the seatif necessary.
WARNING
•Never use more than one floor mat at a time on the driver's floor. Beforedriving, remove the original mat fromthe driver's seat floor before using anyother type of floor mat. Any mat usedin this position should be securely andproperly anchored in the attachingpins. An extra mat on the driver's floorcan cause the accelerator and/orbrake pedal to catch. Check that themovement of these pedals is not impe-ded.
• Volvo's floor mats are specially manu-factured for your car. They must befirmly secured in the clips on the floorso that they cannot slide and becometrapped under the pedals on the driv-er's side.
1. Press the remote key into the ignition slot
as far as possible, with the metallic key blade pointing outward (not inserted into the slot) 1
.
2. Depress the brake pedal 2
. 3. Press and release the
START/STOP
ENGINE button. The autostart function
will operate the starter motor until the engine starts or until its overheating func-tion stops it. The starter motor operates for a maxi- mum of 10 seconds. If the engine has notstarted, repeat the procedure.
CAUTION
If the engine does not start after the third try, wait for approximately 3 minutesbefore trying to start it again to give thebattery time to recover its startingcapacity.
NOTE
Keyless drive *
To start a vehicle equipped with the key- less drive feature, one of the remote keysmust be in the passenger compartment.Follow the instructions in steps 2 and 3 tostart the vehicle.
1 On vehicles with the optional keyless drive, it is only necessary to have a remote key in the passenger’s compartment.
2 If the vehicle is moving, it is only necessary to press the START/STOP ENGINE button to start the vehicle.