Page 154 of 368
1544-3. Operating the lights and wipers
Vehicles with intermittent rear wiper (Type B)
Intermittent window
wiper operation
Normal window wiper
operation
Washer/wiper dual oper-
ation
Washer/wiper dual oper-
ation
The wiper will automatically oper-
ate a couple of time after the wiper
squirts.
■ The rear window wiper and w asher can be operated when
The engine switch is in the “ON” position.
■ If no washer fluid sprays
Check that the washer nozzle is not blocked, if there is washer fluid in the
washer fluid reservoir.
1
2
3
4
NOTICE
■When the rear window is dry
Do not use the wiper, as it may damage the rear window.
■ When the washer fluid tank is empty
Do not operate the switch continually as the washer fluid pump may over-
heat.
■ When a nozzle becomes blocked
In this case, contact your Toyota dealer.
Do not try to clear it with a pin or other object. The nozzle will be damaged\
.
Page 167 of 368

1674-6. Driving tips
4
Driving
Winter driving tips
●Use fluids that are appropriate to the prevailing outside tempera-
tures.
• Engine oil
• Engine coolant
• Washer fluid
● Have a service technician ins pect the condition of the battery.
● Have the vehicle fitted with four snow tires or purchase a set of tire
chains for the front tires.
Ensure that all tires are the same size and brand and that their wear
level is not noticeably different with each other. Also make sure that
chains match the size of the tires.
Perform the following accordin g to the driving conditions:
● Do not try to forcibly open a window or move a wiper that is frozen.
Pour warm water over the frozen area to melt the ice. Wipe away
the water immediately to prevent it from freezing.
● To ensure proper operation of the climate control system fan,
remove any snow that has accumulated on the air inlet vents in
front of the windshield.
● Check for and remove any excess ice or snow that may have accu-
mulated on the exterior lights, ve hicle’s roof, chassis, around the
tires or on the brakes.
● Remove any snow or mud from the bottom of your shoes before
getting in the vehicle.
Carry out the necessary preparations and inspections before
driving the vehicle in winter. Always drive the vehicle in a man-
ner appropriate to the prevailing weather conditions.
Preparation for winter
Before driving the vehicle
Page 193 of 368
193
6Maintenance and care
6-1. Maintenance and careCleaning and protecting the vehicle exterior .......... 194
Cleaning and protecting the vehicle interior ........... 197
6-2. Maintenance Maintenance requirements ................... 200
General maintenance........ 202
Emission inspection and maintenance (I/M)
programs......................... 205
6-3. Do-it-yourself maintenance Do-it-yourself service precautions ..................... 206
Hood ................................. 209
Positioning a floor jack ...... 211
Engine compartment ......... 213
Tires .................................. 223
Tire inflation pressure ....... 231
Wheels .............................. 235
Air conditioning filter.......... 238
Wireless remote control battery ............................. 240
Checking and replacing fuses ............................... 243
Light bulbs......................... 248
Page 202 of 368
2026-2. Maintenance
General maintenance
Listed below are the general maintenance items that should be
performed at the intervals specified in the “Owner’s Warranty
Information Booklet” or “Owner’s Manual Supplement/Sched-
uled Maintenance Guide”. It is recommended that any problem
you notice should be brought to the attention of your Toyota
dealer or qualified service shop for advice.
Engine compartment
ItemsCheck points
BatteryCheck the battery fluid and connections. ( P. 219)
Brake fluidIs the brake fluid at the correct level? (P. 218)
Engine coolantIs the engine coolant at the correct level?( P. 216)
Engine oilIs the engine oil at the correct level? (P. 214)
Exhaust systemThere should not be any fumes or strange sounds.
Radiator/condenserThe radiator and condenser should be free from for-
eign objects. (P. 218)
Washer fluidIs there sufficient washer fluid? (P. 221)
Page 204 of 368
2046-2. Maintenance
Seat belts• Do the seat belts operate smoothly?
• The seat belts should not be damaged.
Seats• Do the seat controls operate properly?
Steering wheel
• Does the steering wheel rotate smoothly?
• Does the steering wheel have the correct amountof free play?
• There should not be any strange sounds coming from the steering wheel.
Vehicle exterior
ItemsCheck points
ItemsCheck points
Doors•Do the doors operate smoothly?
Engine hood• Does the engine hood lock system work properly?
Fluid leaks• There should not be any signs of fluid leakageafter the vehicle has been parked.
Tire
• Is the tire inflation pressure correct?
• The tires should not be damaged or excessively
worn.
• Have the tires been rotated according to the
maintenance schedule?
• The wheel nuts should not be loose.
WARNING
■ If the engine is running
Turn the engine off and ensure that there is adequate ventilation before per-
forming maintenance checks.
Page 214 of 368
2146-3. Do-it-yourself maintenance
With the engine at operating temperature and turned off, check the oil
level on the dipstick.
■Checking the engine oilPark the vehicle on level ground. After warming up the engine
and turning it off, wait more than 5 minutes for the oil to drain
back into the bottom of the engine.
Holding a rag under the end,
pull the dipstick out.
Wipe the dipstick clean.
Reinsert the dipstick fully.
Holding a rag under the end,
pull the dipstick out and
check the oil level.Low
Normal
Excessive
The shape of the dipstick
may differ depending on the
type of vehicle or engine.
Wipe the dipstick and reinsert it fully.
Engine oil
1
2
3
4
5
1
2
3
6
Page 215 of 368

2156-3. Do-it-yourself maintenance
6
Maintenance and care
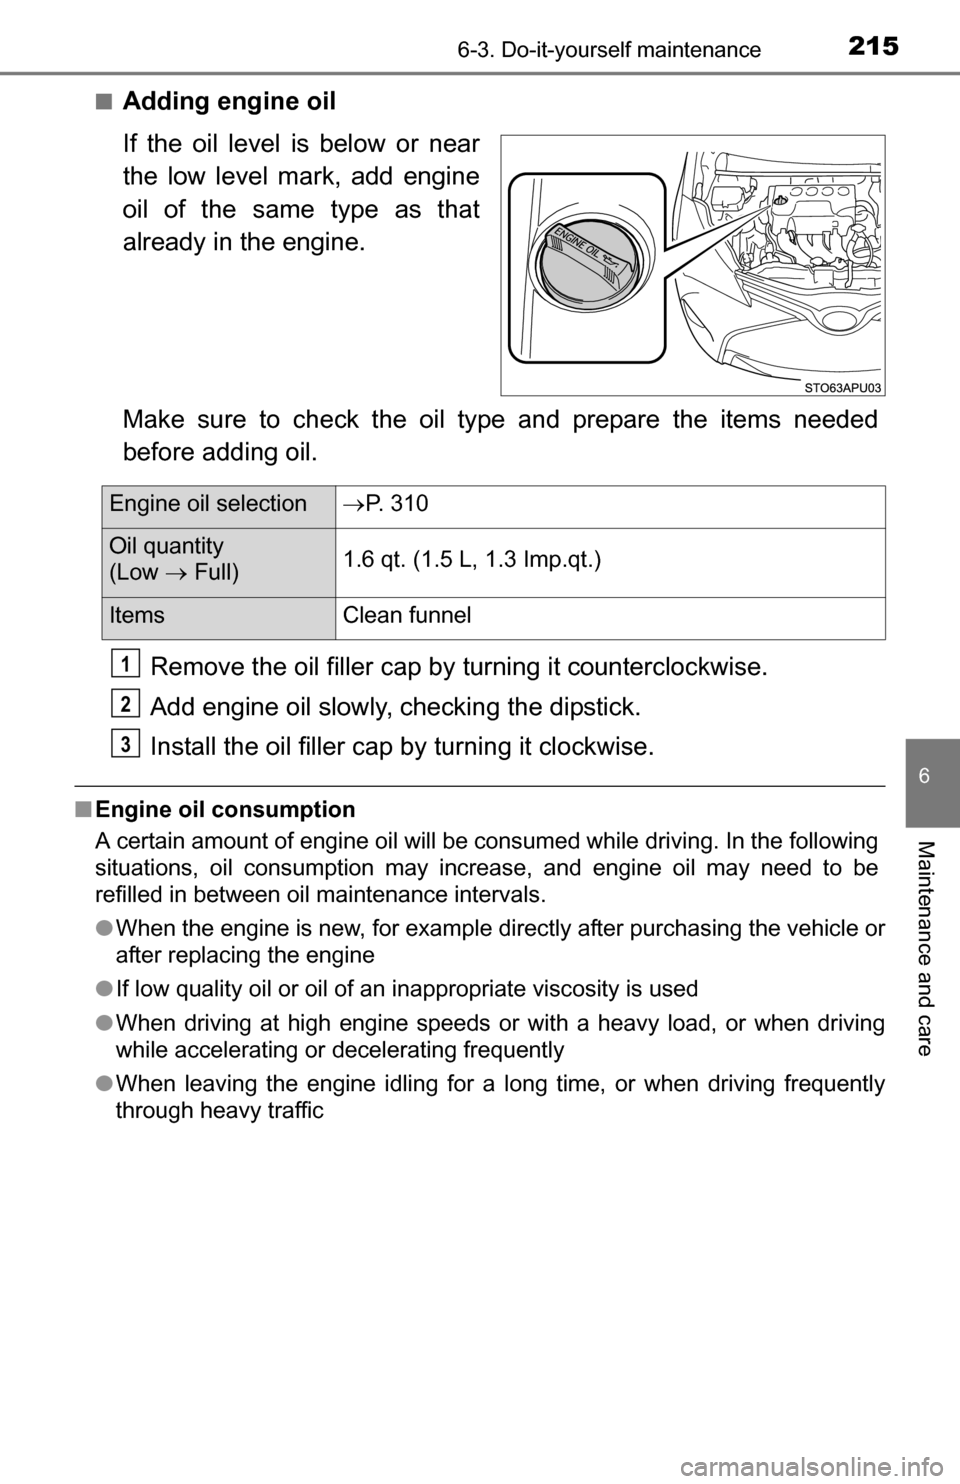
■Adding engine oil
If the oil level is below or near
the low level mark, add engine
oil of the same type as that
already in the engine.
Make sure to check the oil type and prepare the items needed
before adding oil.Remove the oil filler cap by turning it counterclockwise.
Add engine oil slowly, checking the dipstick.
Install the oil filler cap by turning it clockwise.
■ Engine oil consumption
A certain amount of engine oil will be consumed while driving. In the following
situations, oil consumption may increase, and engine oil may need to be
refilled in between oil maintenance intervals.
●When the engine is new, for example directly after purchasing the vehicle or
after replacing the engine
● If low quality oil or oil of an inappropriate viscosity is used
● When driving at high engine speeds or with a heavy load, or when driving
while accelerating or decelerating frequently
● When leaving the engine idling for a long time, or when driving frequently
through heavy traffic
Engine oil selection P. 310
Oil quantity
(Low Full) 1.6 qt. (1.5 L, 1.3 Imp.qt.)
Items
Clean funnel
1
2
3
Page 216 of 368

2166-3. Do-it-yourself maintenance
The coolant level is satisfactory if it is between the “FULL” and “LOW”
lines on the reservoir when the engine is cold.Reservoir cap
“FULL” line
“LOW” line
If the level is on or below the
“LOW” line, add coolant up to
the “FULL” line. ( P. 300)
WARNING
■Used engine oil
● Used engine oil contains potentially harmful contaminants which may
cause skin disorders such as inflammation and skin cancer, so care
should be taken to avoid prolonged and repeated contact. To remove used
engine oil from your skin, wash thoroughly with soap and water.
● Dispose of used oil and filters only in a safe and acceptable manner. Do
not dispose of used oil and filters in household trash, in sewers or onto the
ground.
Call your Toyota dealer, service station or auto parts store for information
concerning recycling or disposal.
● Do not leave used engine oil within the reach of children.
NOTICE
■To prevent serious engine damage
Check the oil level on a regular basis.
■ When replacing the engine oil
● Be careful not to spill engine oil on the vehicle components.
● Avoid overfilling, or the engine could be damaged.
● Check the oil level on the dipstick every time you refill the vehicle.
● Be sure the engine oil filler cap is properly tightened.
Engine coolant
1
2
3