Page 191 of 588
1914-3. Operating the lights and wipers
4
Driving
Headlight switch
Turning the end of the lever turns on the lights as follows:(U.S.A.) or (Canada)
Off
The daytime running lights
turn on. ( P. 193)
The side marker, parking,
tail, license plate and
instrument panel lights
turn on.
The headlights and all
lights listed above (except
daytime running lights)
turn on.
(If equipped)
The headlights, daytime running lights ( P. 193) and all the
lights listed above turn on and off automatically.
(When the engine switch is in the “ON” position.)
The headlights can be operated manually or automatically.
Operating instructions
U.S.A.Canada
1
2
3
4
Page 193 of 588

1934-3. Operating the lights and wipers
4
Driving
■Daytime running light system
●To make your vehicle more visible to other drivers during daytime driving,
the daytime running lights turn on automatically whenever the engine is
started and the parking brake is released with the headlight switch off or in
the “AUTO” position. (Illuminate brighter than the parking lights.) Daytime
running lights are not designed for use at night.
● Compared to turning on the headlights, the daytime running light system
offers greater durability and consumes less electricity, so it can help improve
fuel economy.
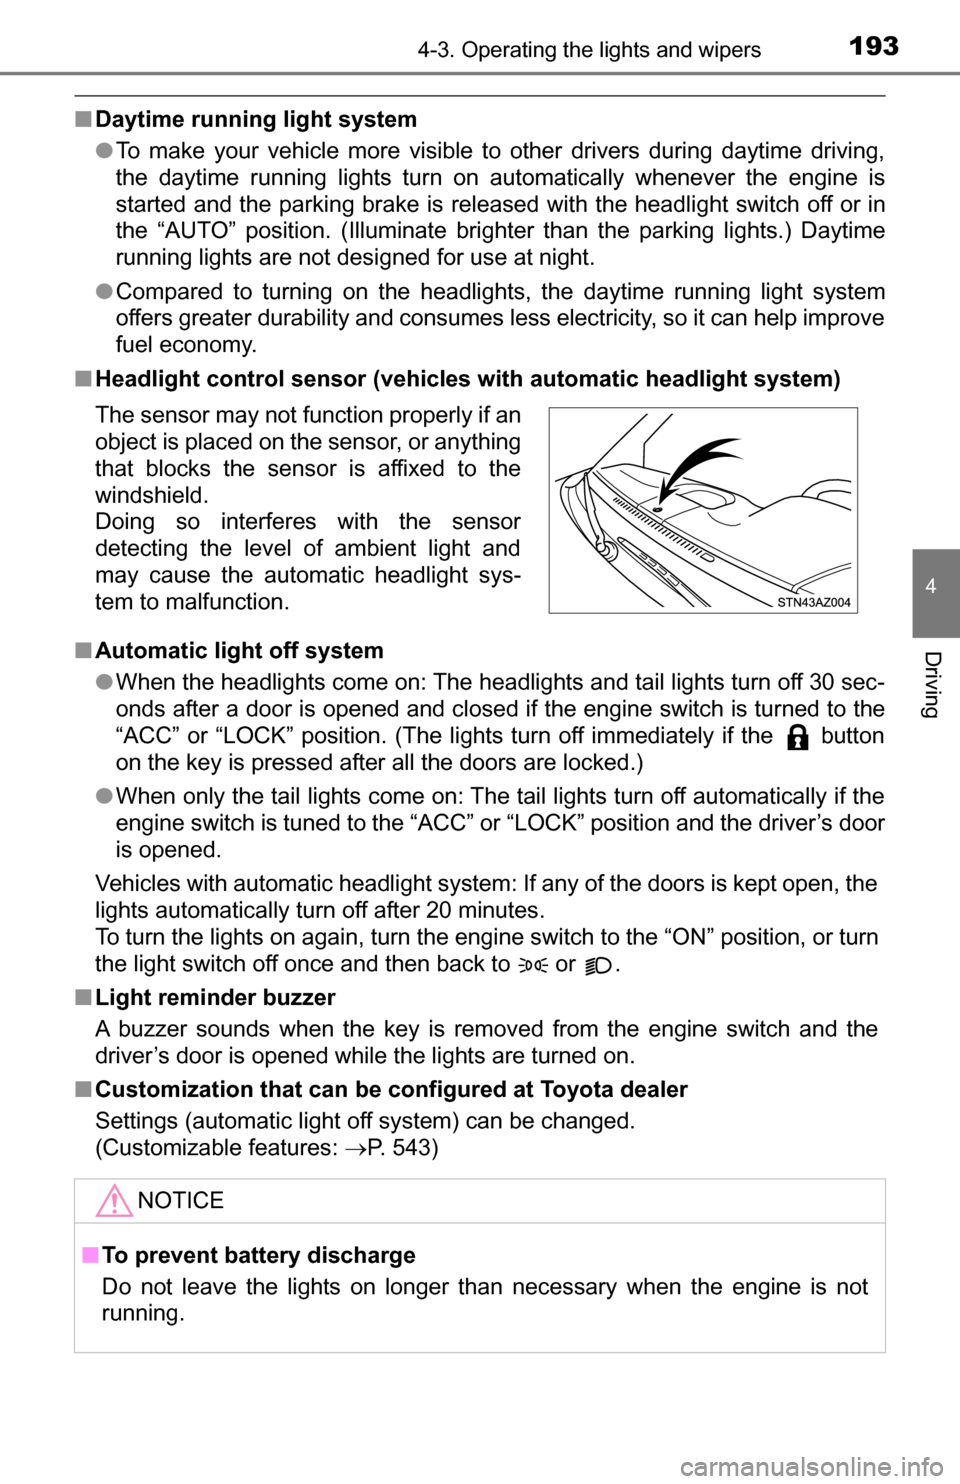
■ Headlight control sensor (vehicles with automatic headlight system)
■ Automatic light off system
●When the headlights come on: The headlights and tail lights turn off 30 sec-
onds after a door is opened and closed if the engine switch is turned to the
“ACC” or “LOCK” position. (The lights turn off immediately if the button
on the key is pressed after all the doors are locked.)
● When only the tail lights come on: The tail lights turn off automatically if the
engine switch is tuned to the “ACC” or “LOCK” position and the driver’s door
is opened.
Vehicles with automatic headlight system: If any of the doors is kept open, the
lights automatically turn off after 20 minutes.
To turn the lights on again, turn the engine switch to the “ON” position, or turn
the light switch off once and then back to or .
■ Light reminder buzzer
A buzzer sounds when the key is removed from the engine switch and the
driver’s door is opened while the lights are turned on.
■ Customization that can be configured at Toyota dealer
Settings (automatic light off system) can be changed.
(Customizable features: P. 543)
The sensor may not function properly if an
object is placed on the sensor, or anything
that blocks the sensor is affixed to the
windshield.
Doing so interferes with the sensor
detecting the level of ambient light and
may cause the automatic headlight sys-
tem to malfunction.
NOTICE
■
To prevent battery discharge
Do not leave the lights on longer than necessary when the engine is not
running.
Page 197 of 588
1974-3. Operating the lights and wipers
4
Driving
■The windshield wipers and washer can be operated when
The engine switch is in the “ON” position.
■ If no windshield washer fluid sprays
Check that the washer nozzles are not blocked if there is washer fluid in the
windshield washer fluid reservoir.
CAUTION
■ Caution regarding the use of washer fluid
When it is cold, do not use the washer fluid until the windshield becomes
warm. The fluid may freeze on the windshield and cause low visibility. This
may lead to an accident, resulting in death or serious injury.
NOTICE
■When the windshield is dry
Do not use the wipers, as they may damage the windshield.
■ When the washer fluid tank is empty
Do not operate the switch continually as the washer fluid pump may over-
heat.
■ When a nozzle becomes blocked
In this case, contact your Toyota dealer.
Do not try to clear it with a pin or other object. The nozzle will be damaged.
Page 198 of 588
1984-4. Refueling
Opening the fuel tank cap
●Turn the engine switch to the “LOC K” position and ensure that all
the doors and windows are closed.
● Confirm the type of fuel. ( P. 520)
Open the fuel filler door.
Turn the fuel tank cap slowly
open, and hang the fuel tank
cap on the back of the fuel filler
door.
Perform the following steps to open the fuel tank cap:
Before refueling the vehicle
Opening the fuel tank cap
1
2
Page 199 of 588

1994-4. Refueling
4
Driving
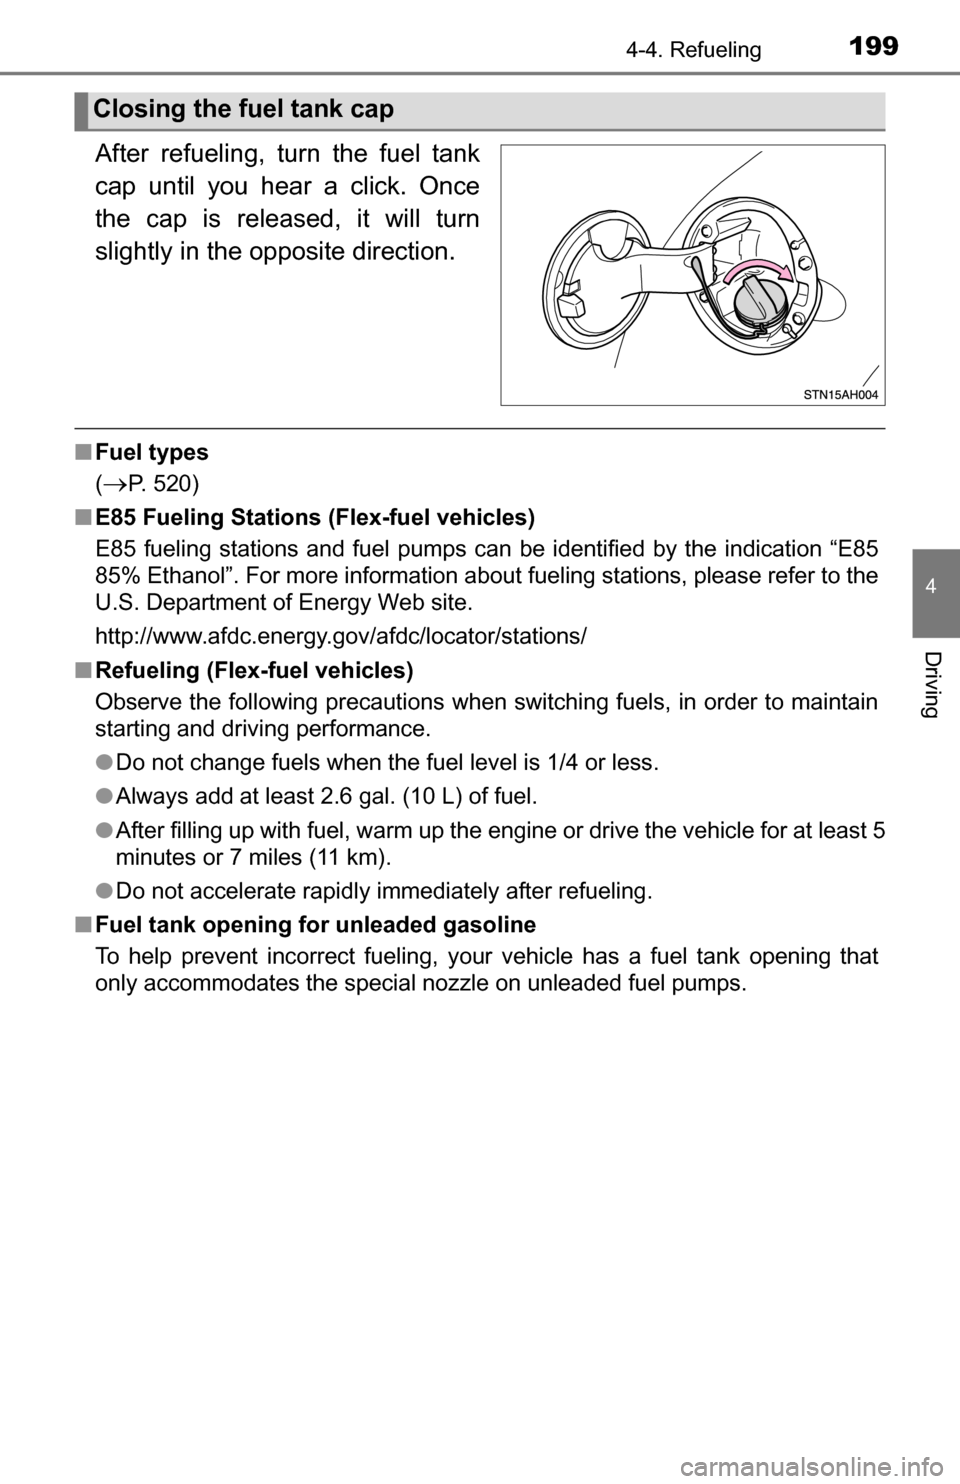
After refueling, turn the fuel tank
cap until you hear a click. Once
the cap is released, it will turn
slightly in the opposite direction.
■Fuel types
(
P. 520)
■ E85 Fueling Stations (Flex-fuel vehicles)
E85 fueling stations and fuel pumps can be identified by the indication “E85
85% Ethanol”. For more information about fueling stations, please refer to the
U.S. Department of Energy Web site.
http://www.afdc.energy.gov/afdc/locator/stations/
■ Refueling (Flex-fuel vehicles)
Observe the following precautions when switching fuels, in order to maintain
starting and driving performance.
●Do not change fuels when the fuel level is 1/4 or less.
● Always add at least 2.6 gal. (10 L) of fuel.
● After filling up with fuel, warm up the engine or drive the vehicle for at least 5
minutes or 7 miles (11 km).
● Do not accelerate rapidly immediately after refueling.
■ Fuel tank opening for unleaded gasoline
To help prevent incorrect fueling, y our vehicle has a fuel tank opening that
only accommodates the special nozzle on unleaded fuel pumps.
Closing the fuel tank cap
Page 201 of 588
2014-4. Refueling
4
Driving
NOTICE
■Refueling
Do not spill fuel during refueling.
Doing so may damage the vehicle, such as causing the emission control
system to operate abnormally or damaging fuel system components or the
vehicle’s painted surface.
■ E85 fuel
E85 fuel can be used only in flex-fuel vehicles. Do not add E85 fuel to a
gasoline-engine vehicle.
Filling a gasoline-engine vehicle with E85 fuel will have a negative impact
on starting and driving performance and will cause damage to the fuel sys-
tem components.
Page 208 of 588

2084-5. Using the driving support systems
■The intuitive parking assist can be operated when
●Front corner sensors:
• The engine switch is in the “ON” position.
• The shift lever is in R.
• The shift lever is not in P or R and vehicle speed is less than about 6 mph
(10 km/h).
● Rear corner and rear center sensors:
• The engine switch is in the “ON” position.
• The shift lever is in R.
■ Sensor detection information
●The sensor’s detection areas are limited to the areas around the vehicle’s
front corner and rear bumpers.
● Certain vehicle conditions and the surrounding environment may affect the
ability of the sensor to correctly detect obstacles. Particular instances where
this may occur are listed below.
• There is dirt, snow or ice on the sensor. (Wiping the sensors will resolve
this problem.)
• The sensor is frozen. (Thawing the area will resolve this problem.)
• The sensor is covered in any way.
• The vehicle is leaning considerably to one side.
• On an extremely bumpy road, on an incline, on gravel, or on grass.
• The vicinity of the vehicle is noisy due to vehicle horns, motorcycle
engines, air brakes of large vehicles, or other loud noises producing ultra-
sonic waves.
• There is another vehicle equipped with parking assist sensors in the
vicinity.
• The sensor is coated with a sheet of spray or heavy rain.
• The vehicle is equipped with a fender pole or radio antenna.
• The bumper or sensor receives a strong impact.
• The vehicle is approaching a tall or curved curb.
• In harsh sunlight or intense cold weather.
• The area directly under the bumpers is not detected.
• If obstacles draw too close to the sensor.
• A non-genuine Toyota suspension (lowered suspension, etc.) is installed.
• People may not be detected if they are wearing certain types of clothing.
In addition to the examples above, there are instances in which, because of
their shape, signs and other objects may be judged by the sensor to be closer
than they are.
Page 211 of 588
2114-5. Using the driving support systems
4
Driving
Rear view monitor system
Vehicles with Entune Audio Plus or Entune Premium Audio
(Multimedia system types: P. 254)
Refer to the “NAVIGATION SYSTEM OWNER’S MANUAL”.
Vehicles with Entune Audio (Multimedia system types: P. 254)
The rear view image is displayed
when the shift lever is in R and the
engine switch is in the “ON” posi-
tion.
The rear view monitor system will
be deactivated when the shift lever
is in any position other than R.
The rear view monitor system assists the driver by displaying an
image of the view behind the veh icle with fixed guide lines on
the screen while backing up, for example while parking.
The screen illustrations used in this text are intended as examples,
and may differ from the image that is actually displayed on the
screen.