Page 180 of 588

1804-1. Before driving
CAUTION
■Hitch
Trailer hitch assemblies have different weight capacities established by the
hitch manufacturer. Even though the vehicle may be physically capable of
towing a higher weight, the operator must determine the maximum weight
rating of the particular hitch assembly and never exceed the maximum
weight rating specified for the trailer-hitch. Exceeding the maximum weight
rating set by the trailer-hitch manufacturer can cause an accident resulting
in death or serious personal injuries.
■ When towing a trailer
Toyota recommends trailers with brakes that conform to any applicable fed-
eral and state/provincial regulations.
● If the gross trailer weight exceeds unbraked TWR, trailer brakes are
required. Toyota recommends trailers with brakes that conform to all appli-
cable federal and state/provincial regulations.
● Never tap into your vehicle’s hydraulic system, as this will lower the vehi-
cle’s braking effectiveness.
● Never tow a trailer without using a safety chain securely attached to both
the trailer and the vehicle. If damage occurs to the coupling unit or hitch
ball, there is danger of the trailer wandering into another lane.
NOTICE
■ When installing a trailer hitch
Use only the position recommended by your Toyota dealer. Do not install
the trailer hitch on the bumper; this may cause body damage.
■ Do not directly splice trailer lights
Do not directly splice trailer lights. Directly splicing trailer lights may damage
your vehicle’s electrical system and cause a malfunction.
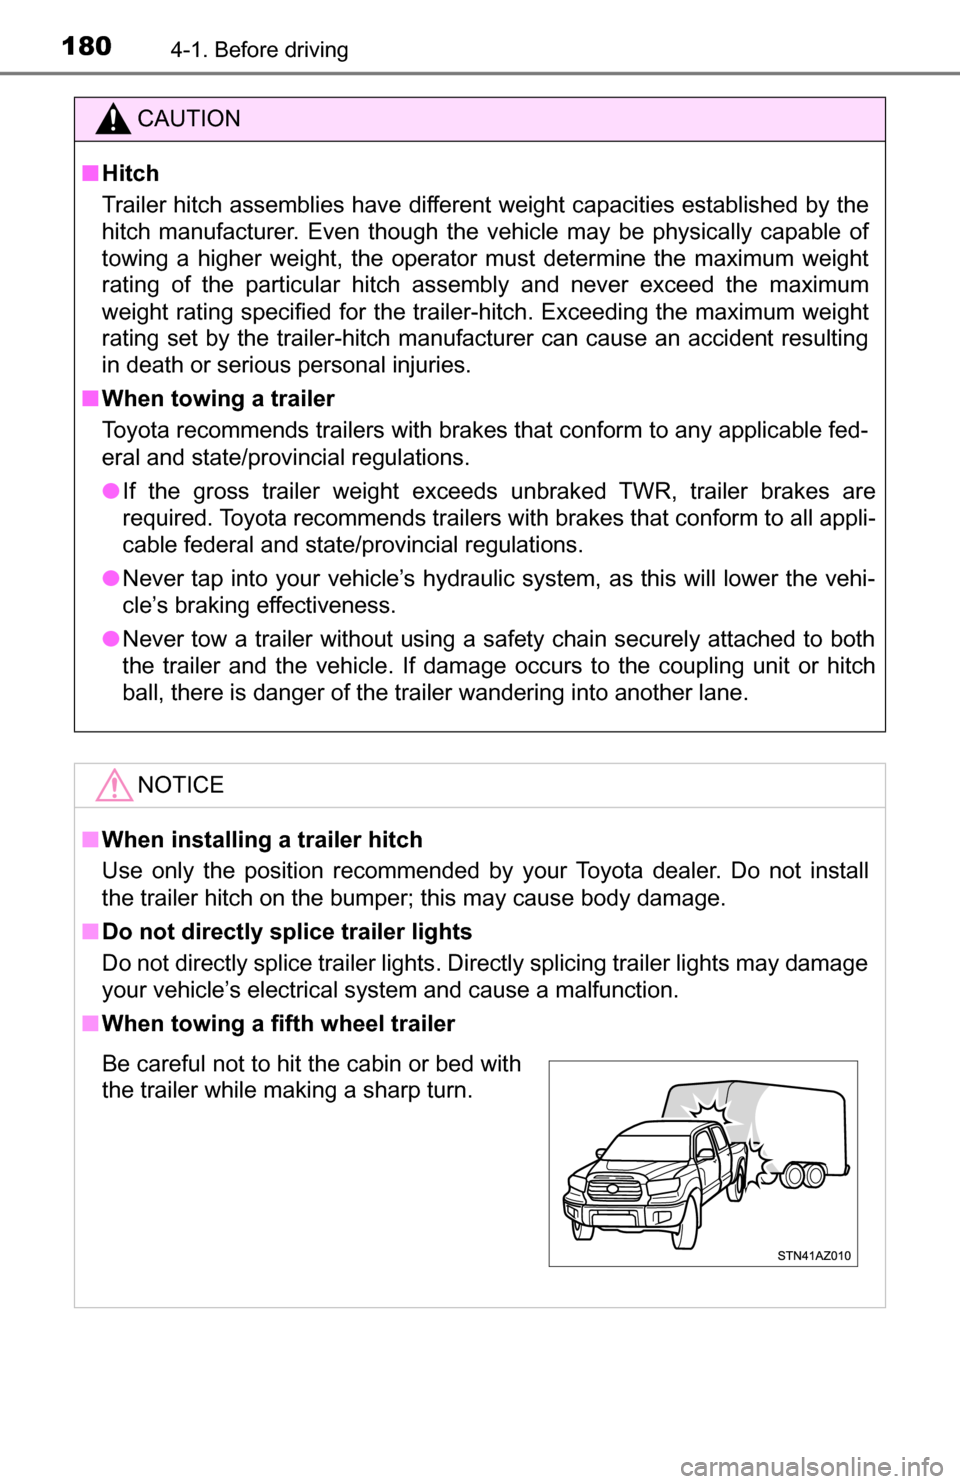
■ When towing a fifth wheel trailer
Be careful not to hit the cabin or bed with
the trailer while making a sharp turn.
Page 181 of 588
1814-1. Before driving
4
Driving
Dinghy towing
Your vehicle is not designed to be dinghy towed (with 4 wheels
on the ground) behind a motor home.
NOTICE
■To avoid serious damage to your vehicle
Do not tow your vehicle with the four wheels on the ground.
Page 182 of 588
1824-2. Driving procedures
Engine (ignition) switch
Check that the parking brake is set.
Check that the shift lever is set in P.
Firmly depress the brake pedal.
Turn the engine switch to the “START” position to start the engine.
“LOCK”
The steering wheel is locked and
the key can be removed. (The key
can be removed only when the
shift lever is in P.)
“ACC”
Some electrical components such
as the audio system can be used.
“ON”
All electrical components can be used.
“START”
For starting the engine.
■ Turning the key from “ACC” to “LOCK”
Shift the shift lever to P.
■ If the engine does not start (vehic les with engine immobilizer system)
The engine immobilizer system may not have been deactivated. ( P. 78)
Contact your Toyota dealer.
Starting the engine
Changing the engine switch positions
1
2
3
4
1
2
Push in the key and turn it to the
“LOCK” position.
3
4
1
2
Page 183 of 588

1834-2. Driving procedures
4
Driving
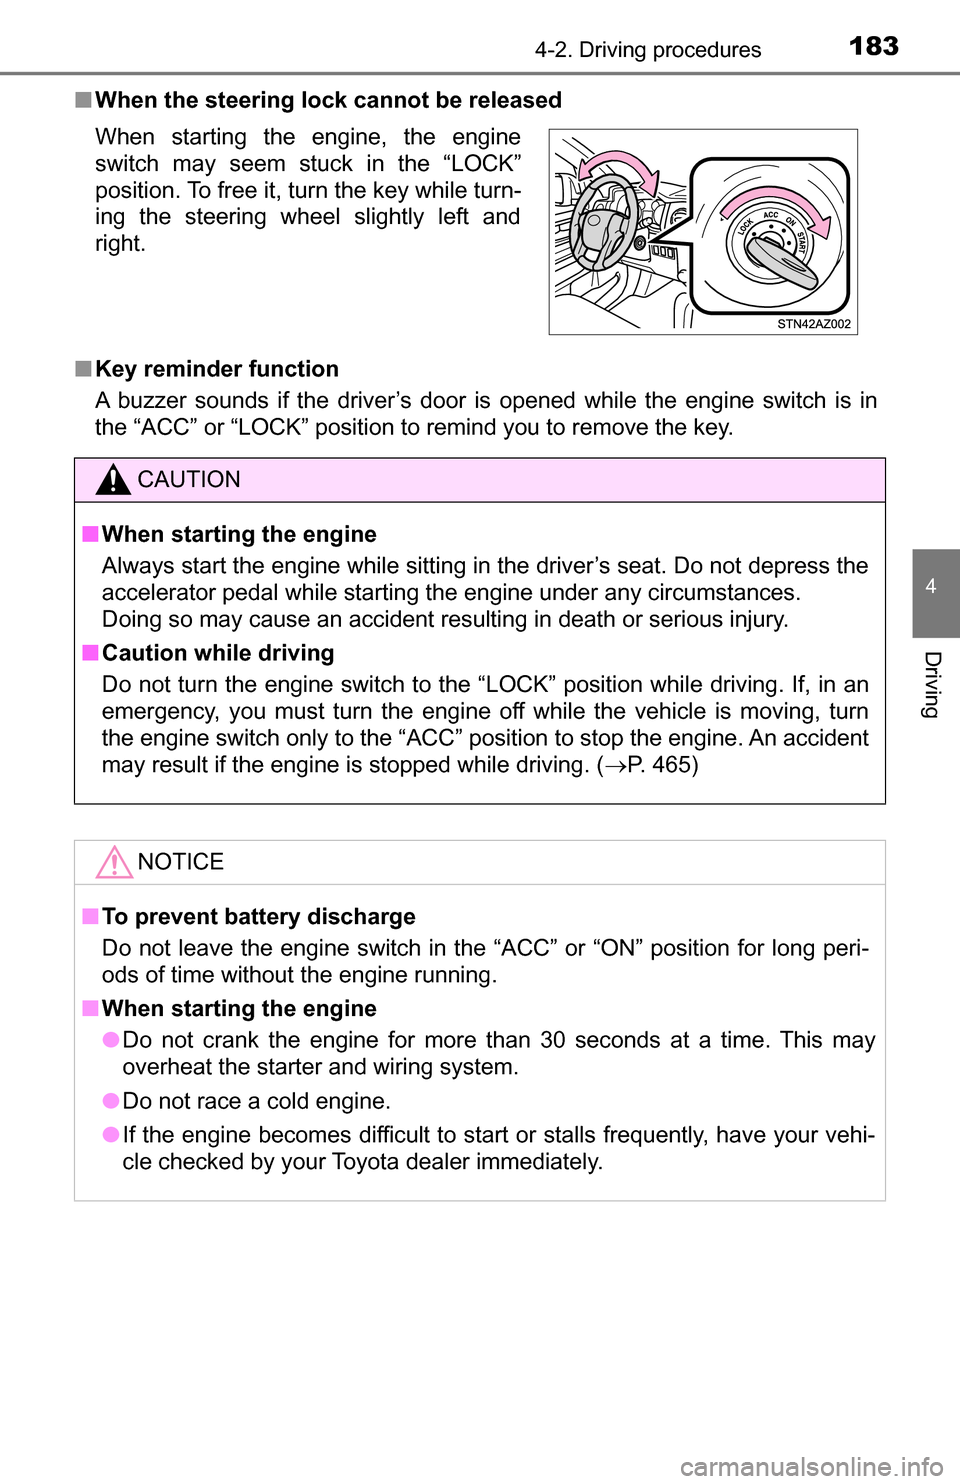
■When the steering lock cannot be released
■ Key reminder function
A buzzer sounds if the driver’s door is opened while the engine switch is in
the “ACC” or “LOCK” position to remind you to remove the key. When starting the engine, the engine
switch may seem stuck in the “LOCK”
position. To free it, turn the key while turn-
ing the steering wheel slightly left and
right.
CAUTION
■ When starting the engine
Always start the engine while sitting in the driver’s seat. Do not depress the
accelerator pedal while starting the engine under any circumstances.
Doing so may cause an accident resulting in death or serious injury.
■ Caution while driving
Do not turn the engine switch to the “LOCK” position while driving. If, in an
emergency, you must turn the engine off while the vehicle is moving, turn
the engine switch only to the “ACC” position to stop the engine. An accident
may result if the engine is stopped while driving. ( P. 465)
NOTICE
■To prevent battery discharge
Do not leave the engine switch in the “ACC” or “ON” position for long peri-
ods of time without the engine running.
■ When starting the engine
● Do not crank the engine for more than 30 seconds at a time. This may
overheat the starter and wiring system.
● Do not race a cold engine.
● If the engine becomes difficult to start or stalls frequently, have your vehi-
cle checked by your Toyota dealer immediately.
Page 204 of 588

2044-5. Using the driving support systems
■Cruise control can be set when
●The shift lever is in D or range 4 or higher of S has been selected.
● Vehicle speed is above approximately 25 mph (40 km/h).
■ Accelerating after setting the vehicle speed
●The vehicle can be accelerated normally. After acceleration, the set speed
resumes.
● Even without canceling the cruise control, the set speed can be increased
by first accelerating the vehicle to the desired speed and then pushing the
lever down to set the new speed.
■ Automatic cruise control cancellation
Cruise control will stop maintaining the vehicle speed in any of the following
situations.
●Actual vehicle speed falls more than approximately 10 mph (16 km/h) below
the preset vehicle speed.
At this time, the memorized set speed is not retained.
● Actual vehicle speed is below approximately 25 mph (40 km/h).
● VSC is activated.
● 4WD models: The operation cannot be switched for 5 seconds or more after
operating the front-wheel drive control switch.
■ If the cruise control indicator light flashes
Press the “ON-OFF” button once to deactivate the system, and then press
the button again to reactivate the system.
If the cruise control speed cannot be set or if the cruise control cancels imme-
diately after being activated, there may be a malfunction in the cruise control
system. Have the vehicle inspected by your Toyota dealer.
CAUTION
■ To avoid operating the cruise control by mistake
Switch the cruise control off using the “ON-OFF” button when not in use.
■ Situations unsuitable for cruise control
Do not use cruise control in any of the following situations.
Doing so may result in loss of control and could cause an accident resulting
in death or serious injury.
● In heavy traffic
● On roads with sharp bends
● On winding roads
● On slippery roads, such as those covered with rain, ice or snow
● On steep hills
Vehicle speed may exceed the set speed when driving down a steep hill.
● When your vehicle is towing a trailer or during emergency towing
Page 218 of 588

2184-5. Using the driving support systems
CAUTION
■When using the rear view monitor system
The rear view monitor system is a supplemental device intended to assist
the driver when backing up. When backing up, be sure to visually check all
around the vehicle both directly and using the mirrors before proceeding.
Observe the following precautions to avoid an accident that could result in
death or serious injuries.
● Never depend on the rear view monitor system entirely when backing up.
The image and the position of the guide lines displayed on the screen may
differ from the actual state.
Use caution, just as you would when backing up any vehicle.
● Be sure to back up slowly, depressing the brake pedal to control vehicle
speed.
● The instructions given are only guide lines.
When and how much to turn the steering wheel will vary according to traf-
fic conditions, road surface conditions, vehicle condition, etc. when park-
ing. It is necessary to be fully aware of this before using the rear view
monitor system.
● When parking, be sure to check that the parking space will accommodate
your vehicle before maneuvering into it.
● Do not use the rear view monitor system in the following cases:
• On icy or slick road surfaces, or in snow
• When using tire chains or emergency tires
• When the tailgate is not closed completely
• On roads that are not flat or straight, such as curves or slopes.
● In low temperatures, the screen may darken or the image may become
faint. The image could distort when the vehicle is moving, or you may
become unable to see the image on the screen. Be sure to visually check
all around the vehicle both directly and using the mirrors before proceed-
ing.
● If the tire sizes are changed, the position of the fixed guide lines displayed
on the screen may change.
● The camera uses a special lens. The distances between objects and
pedestrians that appear in the image displayed on the screen will differ
from the actual distances. ( P. 214)
Page 228 of 588
2284-5. Using the driving support systems
Four-wheel drive system
Use the front-wheel drive control swit ch to select the following transfer
modes:
“2WD” (high speed position, two-wheel drive)
Use this for normal driving on dry hard-surfaced roads. This position
gives greater economy, quietest ride and least wear.
“4H” (high speed position, four-wheel drive)
Use this for driving only on tracks that permit the tires slide, like off-road,
icy or snow-covered roads. This position provides greater traction than
two-wheel drive.
The “4HI” indicator will come on.
“4L” (low speed position, four-wheel drive)
Use this for maximum power and traction. Use “4L” for climbing or
descending steep hills, off-road driving, and hard pulling in sand, mud or
deep snow.
The “4LO” indicator will come on.
: If equipped
Summary of functions
1
2
3
Page 229 of 588
2294-5. Using the driving support systems
4
Driving
■Shifting from “2WD” to “4H”
Reduce vehicle speed to less than 62 mph (100 km/h).
Turn the front-wheel drive control switch to “4H”.
The “4HI” indicator will come on.
■
Shifting from “4H” to “2WD”
Reduce vehicle speed to less than 62 mph (100 km/h).
Turn the front-wheel drive control switch to “2WD”.
The “4HI” indicator will go off.
■
Shifting from “4H” to “4L”
Stop the vehicle completely and continue to depress the brake
pedal.
Shift the shift lever to N.
Push and turn the front-wheel drive control switch to “4L”.
The “4LO” indicator will come on.
■
Shifting from “4L” to “4H”
Stop the vehicle completely and continue to depress the brake
pedal.
Shift the shift lever to N.
Push and turn the front-wheel drive control switch to “4H”.
The “4LO” indicator will go off.
Shifting between “2WD” and “4H”
Shifting between “4H” and “4L”
1
2
1
2
1
2
3
1
2
3