Page 30 of 276

30
1. BASIC INFORMATION BEFORE OPERATION
1. INITIAL SCREEN
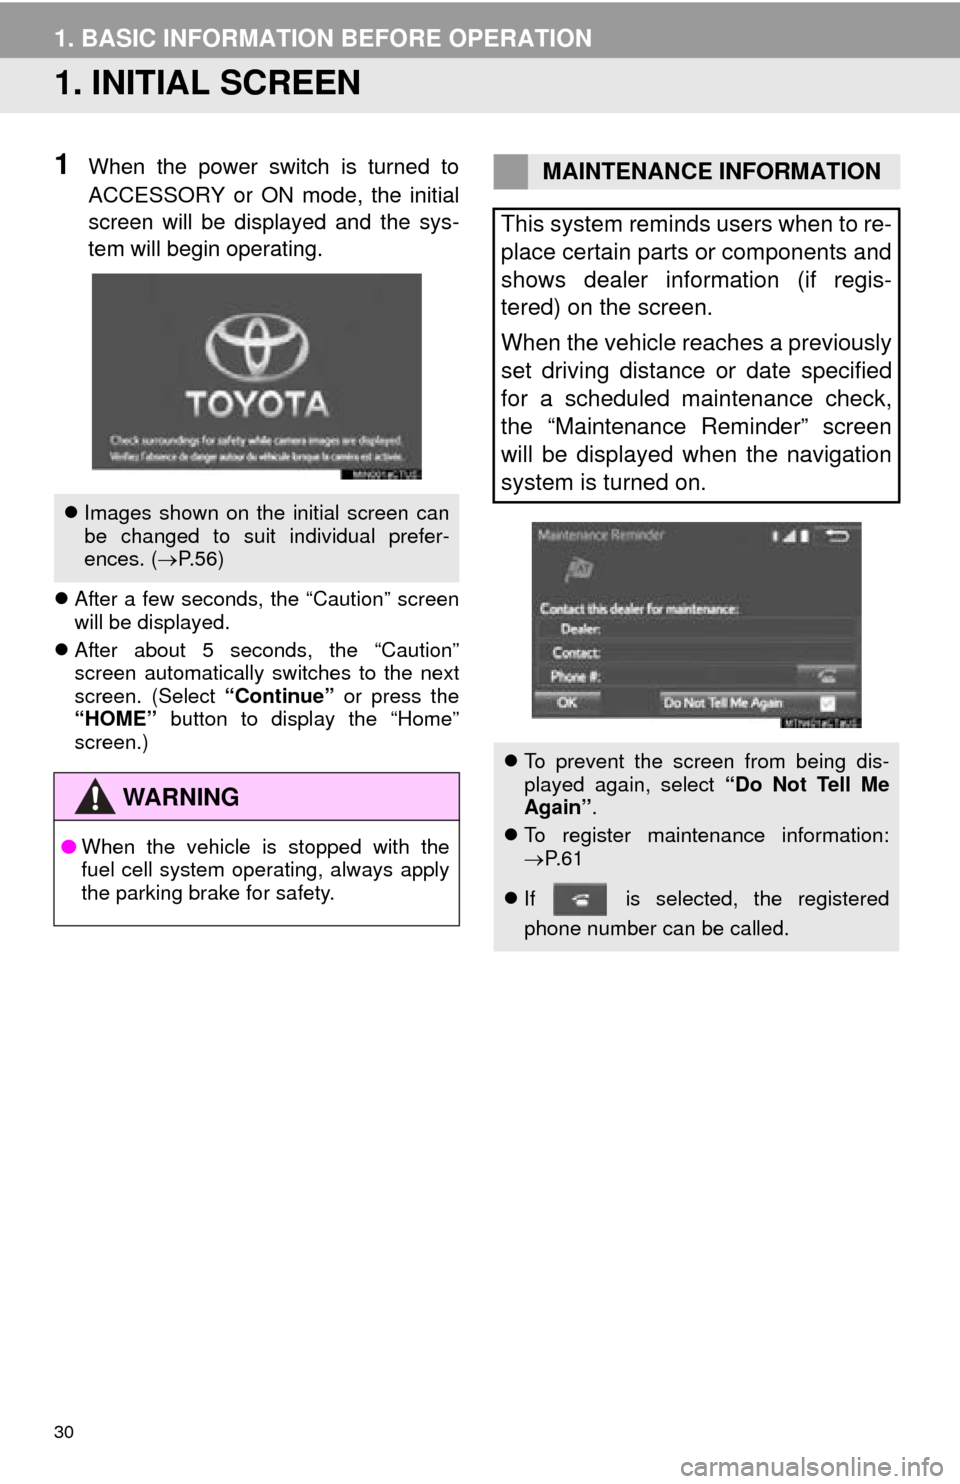
1When the power switch is turned to
ACCESSORY or ON mode, the initial
screen will be displayed and the sys-
tem will begin operating.
After a few seconds, the “Caution” screen
will be displayed.
Af
ter about 5 seconds, the “Caution”
screen automatically switches to the next
screen. (Select “Continue” or press the
“HOME” button to display the “Home”
screen.)
Images shown on the initial screen can
be changed to suit individual prefer-
ences. ( P.56)
WA R N I N G
● When the vehicle is stopped with the
fuel cell system operating, always apply
the parking brake for safety.
MAINTENANCE INFORMATION
This system reminds users when to re-
place certain parts or components and
shows dealer information (if regis-
tered) on the screen.
When the vehicle reaches a previously
set driving distance or date specified
for a scheduled maintenance check,
the “Maintenance Reminder” screen
will be displayed when the navigation
system is turned on.
To prevent the screen from being dis-
played again, select “Do Not Tell Me
Again” .
To register maintenance information:
P. 6 1
If is selected, the registered
phone number can be called.
Page 41 of 276
41
1. BASIC INFORMATION BEFORE OPERATION
BASIC FUNCTION
2
1Select “General” or “Camera” .
2Select the desired item.
Ge
neral
Camera
3Select “OK”.
1Select “Day Mode” .
ADJUSTING THE CONTRAST/
BRIGHTNESS
The contrast and brightness of the
screen can be adjusted according to
the brightness of your surroundings.
Screen buttonFunction
“Brightness” “+”Select to brighten the
screen.
“Brightness” “-”Select to darken the
screen.
“Contrast” “+”Select to strengthen the
contrast of the screen.
“Contrast” “-”Select to weaken the
contrast of the screen.
CHANGING BETWEEN DAY
AND NIGHT MODE
Depending on the position of the head-
light switch, the screen changes to day
or night mode. This feature is available
when the headlight is switched on.
INFORMATION
● If the screen is set to day mode with the
headlight switch turned on, this condition
is memorized even with the fuel cell sys-
tem turned off.
Page 67 of 276

67
1. BASIC OPERATION
AUDIO SYSTEM
3
2. SOME BASICS
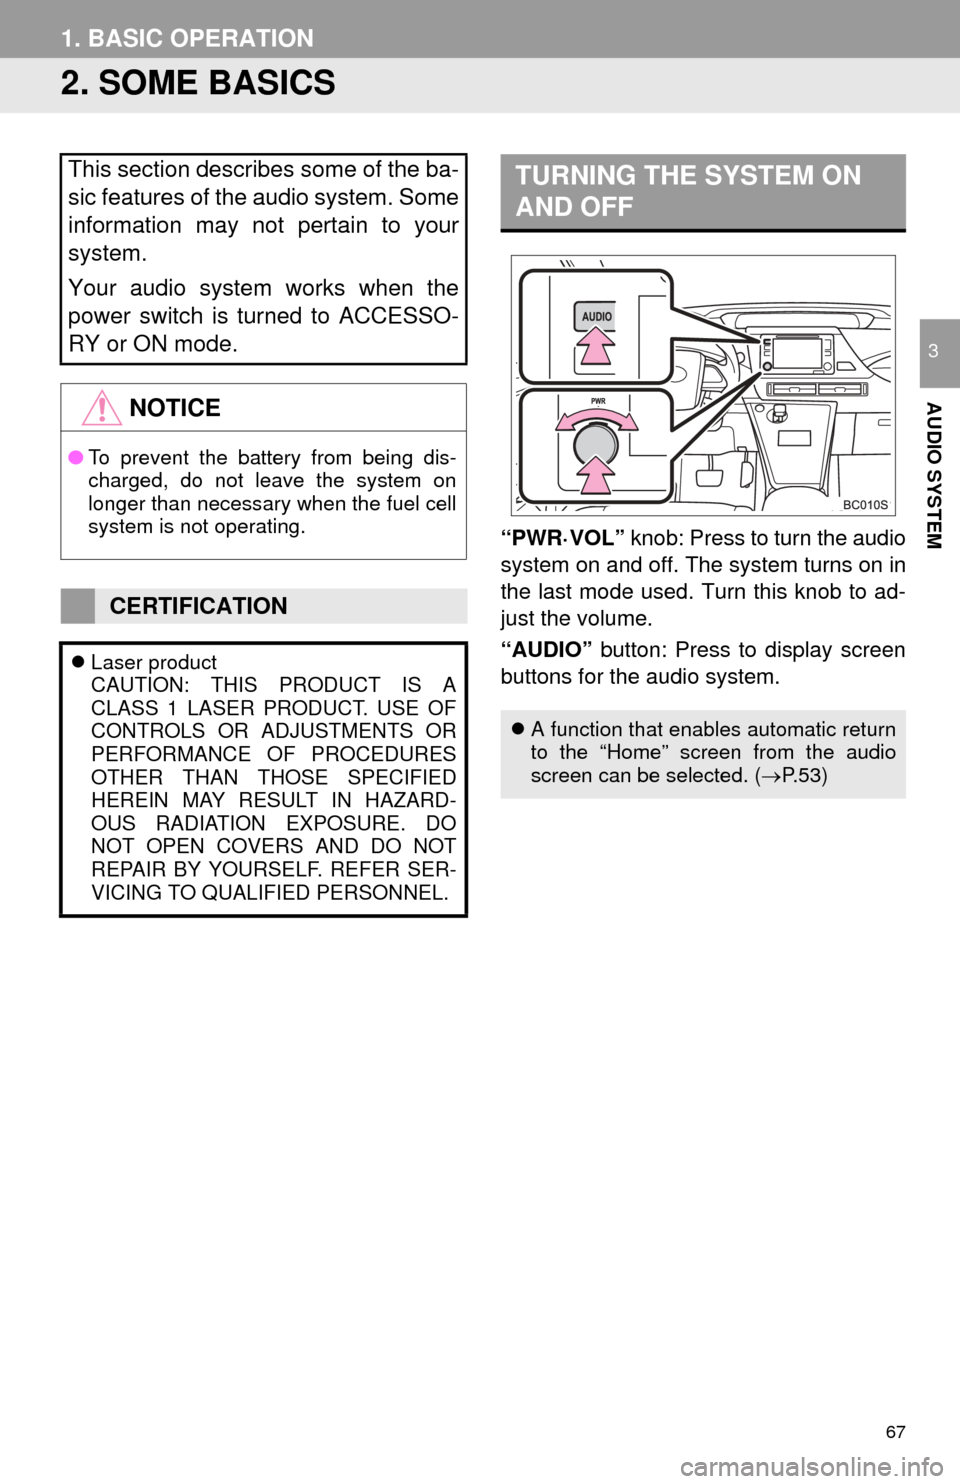
“PWR·VOL” knob: Press to turn the audio
system on and off. The system turns on in
the last mode used. Turn this knob to ad-
just the volume.
“AUDIO” button: Press to display screen
buttons for the audio system.
This section describes some of the ba-
sic features of the audio system. Some
information may not pertain to your
system.
Your audio system works when the
power switch is turned to ACCESSO-
RY or ON mode.
NOTICE
● To prevent the battery from being dis-
charged, do not leave the system on
longer than necessary when the fuel cell
system is not operating.
CERTIFICATION
Laser product
CAUTION: THIS PRODUCT IS A
CLASS 1 LASER PRODUCT. USE OF
CONTROLS OR ADJUSTMENTS OR
PERFORMANCE OF PROCEDURES
OTHER THAN THOSE SPECIFIED
HEREIN MAY RESULT IN HAZARD-
OUS RADIATION EXPOSURE. DO
NOT OPEN COVERS AND DO NOT
REPAIR BY YOURSELF. REFER SER-
VICING TO QUALIFIED PERSONNEL.
TURNING THE SYSTEM ON
AND OFF
A function that enables automatic return
to the “Home” screen from the audio
screen can be selected. ( P.53)
Page 232 of 276
232
5. SETUP
1Display the “Detailed Navi. Settings”
screen.
( P.231 )
2Select “Favorite POI Categories” .
3Select the category to be changed.
“Default”:
Select to set the default catego-
ries.
4Select the desired POI category.
“List All Categories”: Select to
display all
POI categories.
5Select the desired POI icon.
No.FunctionPage
Select to set the voice guid-
ance for the next street
name on/off.
Select to set IPD road guid-
ance on/off.
Select to set favorite POI
categories that are used for
POI selection to display on
the map screen.
232
Select to adjust the current
position mark manually or
to adjust miscalculation of
the distance caused by tire
replacement.
233
Select to set display of pop-
up information on/off.
Select to set display of low
fuel warning on/off.234
Select to reset all setup
items.
FAVORITE POI CATEGORIES
(SELECT POI ICONS)
Up to 6 POI icons, which are used for
selecting POIs on the map screen, can
be selected as favorites.
Page 234 of 276
234
5. SETUP
■TIRE CHANGE CALIBRATION
1Select “Tire Change” .
The message appears and the quick dis -
tance calibration starts automatically.
1Display the “Detailed Navi. Settings”
screen. ( P. 2 3 1)
2Select “Low Fuel Warning Pop-up” .
3Select “On” or “Off” .
■SEARCHING GAS STATION IN LOW
FUEL WARNING
1Select “Yes” when the low fuel warn -
ing appears.
2Select the desired nearby gas station.
3Select “Enter ” to set as a destina -
tion.
“Info” : Select to display gas station infor-
mation. ( P.190)
The tire change calibration function will
be used when replacing the tires. This
function will adjust miscalculation
caused by the circumference differ-
ence between the old and new tires.
INFORMATION
●If this procedure is not performed when
the tires are replaced, the current posi-
tion mark may be incorrectly displayed.
LOW FUEL WARNING POP-UP
When the fuel level is low, a warning
message will pop up on the screen.
A nearby gas station can be selected
as a destination.