Page 201 of 568

2014-5. Using the driving support systems
4
Driving
CAMRY_U (OM33D37U)
■Temporary cancelation of the LDA system functions
If any of the following occurs, the LDA system functions will be temporarily
canceled. The functions will resume after the necessary operating conditions
have returned.
●The turn signal lever is operated.
● The vehicle speed deviates from the operating range of the LDA system
functions.
● When the lane lines cannot be recognized while driving.
● When the lane departure warning function is activated.
The lane departure warning function will not operate again for a several sec-
onds after it has been activated, even if the vehicle leaves the lane again.
■ The lane departure warning
Depending on the audio system sound level or air conditioning fan noise
while the audio system or air conditioning system is in use, it may be difficult
to hear the warning sound.
■ After the vehicle has been parked in the sun
The LDA system may not be available and a warning message ( P. 457) will
be displayed for a while after driving has started. When the temperature in the
cabin decreases and the temperature around the camera sensor ( P. 199)
becomes suitable for its operation, the functions will begin to operate.
■ If there are lane markers on only one side of the vehicle
The lane departure warning will not operate for the side on which lane mark-
ers could not be recognized.
Page 226 of 568

2264-5. Using the driving support systems
CAMRY_U (OM33D37U)
The Blind Spot Monitor is a system that has 2 functions;
● The Blind Spot Monitor function
Assists the driver in making t he decision when changing lanes
● The Rear Cross Traffic Alert function
Assists the driver when backing up
These functions use same sensors.
BSM (Blind Spot Monitor)
: If equipped
Summary of the Blind Spot Monitor
BSM main switch
Pressing the switch turns the system on or off. When the switch is set to
on, the switch’s indicator illuminates and the buzzer sounds. Common
switch for Blind Spot Monitor functi on and Rear Cross Traffic Alert func-
tion.
Outside rear view mirror indicators
Blind Spot Monitor function:
When a vehicle is detected in the bli nd spot, the outside rear view mirror
indicator comes on while the turn signal lever is not operated and the out-
side rear view mirror indicator flashes while the turn signal lever is oper-
ated.
Rear Cross Traffic Alert function:
When a vehicle approaching from the right or left rear of the vehicle is
detected, the outside rear view mirror indicators flash.
1
2
Page 260 of 568
2605-4. Using the radio
CAMRY_U (OM33D37U)
Search for desired stations by turning the “TUNE/SCROLL” knob or
pressing the “ ” or “ ” button on “SEEK/TRACK”.
Select “(add new)”.
To change the preset station to a different one, select and hold the preset
station.
Select “Yes”.
Select “OK” after setting the new preset station.
■Refreshing the station list Select “Refresh” on the “Station List” screen.
To cancel the refresh, select “Cancel Refresh”.
■Reception sensitivity
●Maintaining perfect radio reception at all times is difficult due to the continu-
ally changing position of the antenna, differences in signal strength and sur-
rounding objects, such as trains, transmitters, etc.
● The radio antenna is mounted inside the rear window. To maintain clear
radio reception, do not attach metallic window tinting or other metallic
objects to the antenna wire mounted inside the rear window.
Setting station presets
1
2
3
4
1
Page 285 of 568

2855-7. Connecting Bluetooth®
5
Audio system
CAMRY_U (OM33D37U)
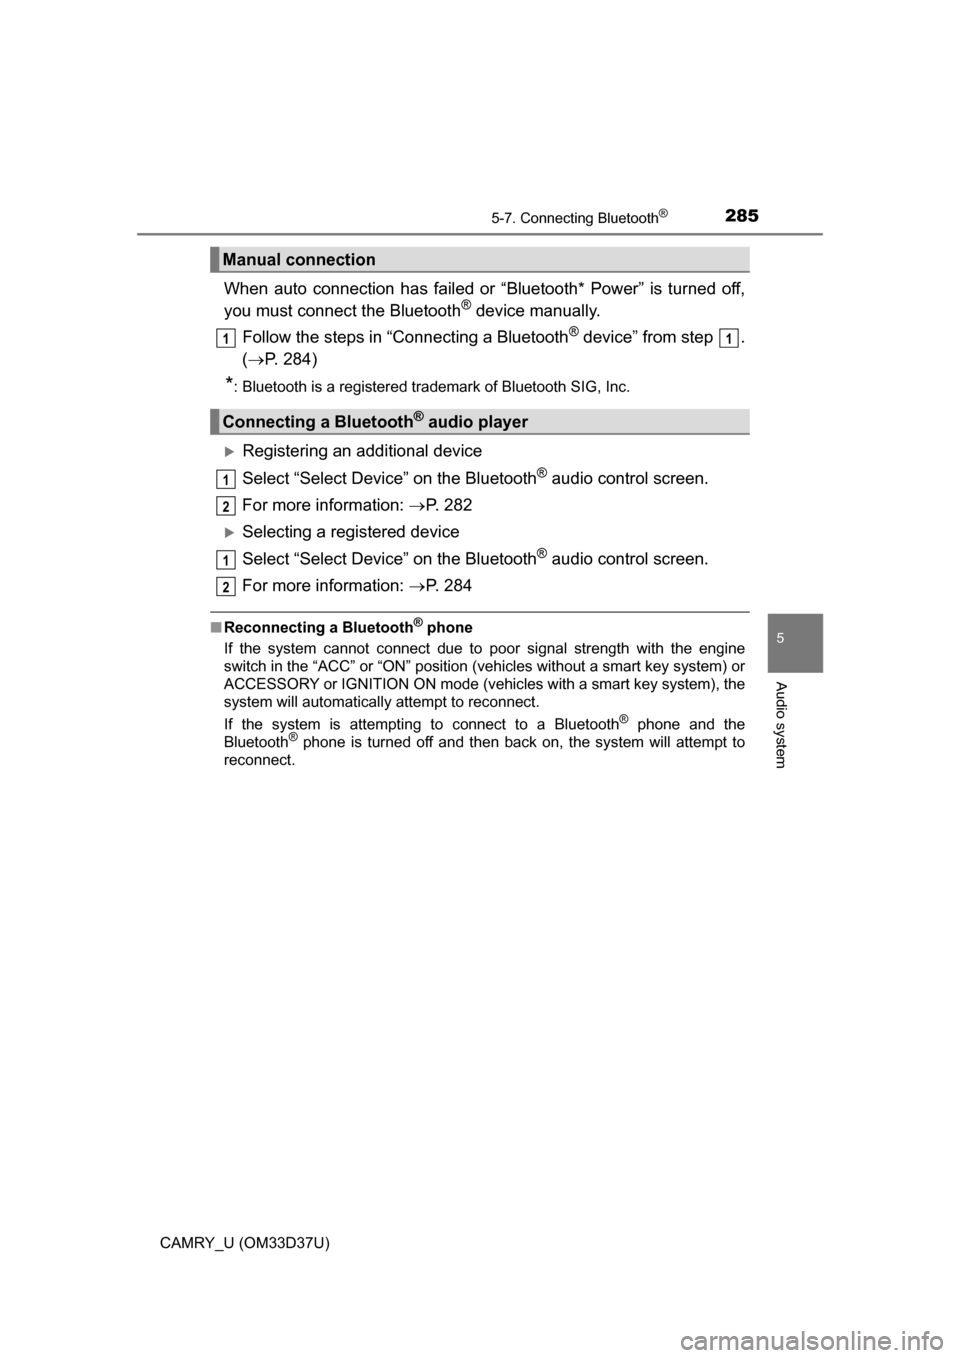
When auto connection has failed or “Bluetooth* Power” is turned off,
you must connect the Bluetooth® device manually.
Follow the steps in “Connecting a Bluetooth
® device” from step .
( P. 284)
*: Bluetooth is a registered trademark of Bluetooth SIG, Inc.
Registering an additional device
Select “Select Device” on the Bluetooth
® audio control screen.
For more information: P. 2 8 2
Selecting a registered device
Select “Select Device” on the Bluetooth
® audio control screen.
For more information: P. 2 8 4
■Reconnecting a Bluetooth® phone
If the system cannot connect due to poor signal strength with the engine
switch in the “ACC” or “ON” position (vehicles without a smart key system) or
ACCESSORY or IGNITION ON mode (vehicles with a smart key system), the
system will automatically attempt to reconnect.
If the system is attempting to connect to a Bluetooth
® phone and the
Bluetooth® phone is turned off and then back on, the system will attempt to
reconnect.
Manual connection
Connecting a Bluetooth® audio player
11
1
2
1
2
Page 405 of 568

4057-3. Do-it-yourself maintenance
7
Maintenance and care
CAMRY_U (OM33D37U)■
How to initialize the tire pressure warning system
Park the vehicle in a safe place and turn the engine switch off.
Initialization cannot be performed while the vehicle is moving.
Adjust the tire inflation pressure to the specified cold tire inflation
pressure level. ( P. 504)
Make sure to adjust the tire pressu re to the specified cold tire infla-
tion pressure level. The tire pressure warning system will operate
based on this pressure level.
Vehicles without a smart key system:
Turn the engine switch to the “ON” position.
Vehicles with a smart key system:
Turn the engine switch to IGNITION ON mode.
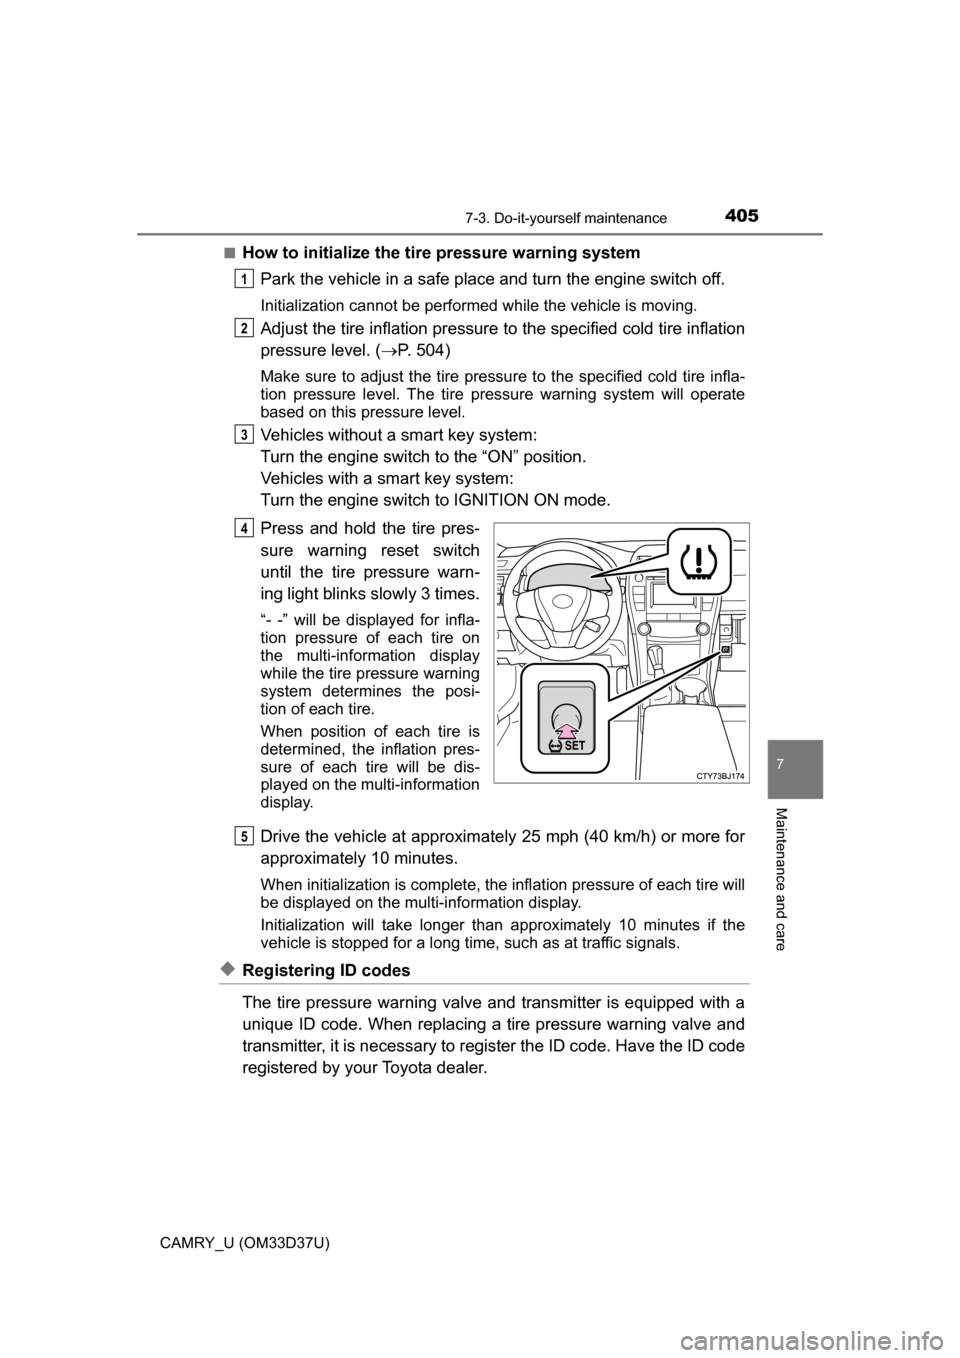
Press and hold the tire pres-
sure warning reset switch
until the tire pressure warn-
ing light blinks slowly 3 times.
“- -” will be displayed for infla-
tion pressure of each tire on
the multi-information display
while the tire pressure warning
system determines the posi-
tion of each tire.
When position of each tire is
determined, the inflation pres-
sure of each tire will be dis-
played on the multi-information
display.
Drive the vehicle at approximately 25 mph (40 km/h) or more for
approximately 10 minutes.
When initialization is co mplete, the inflation pre ssure of each tire will
be displayed on the multi-information display.
Initialization will take longer than approximat ely 10 minutes if the
vehicle is stopped for a long time, such as at traffic signals.
◆Registering ID codes
The tire pressure warning valve and transmitter is equipped with a
unique ID code. When replacing a tire pressure warning valve and
transmitter, it is necessary to register the ID code. Have the ID code
registered by your Toyota dealer.
1
2
3
4
5
Page 427 of 568
4277-3. Do-it-yourself maintenance
7
Maintenance and care
CAMRY_U (OM33D37U)
Check the wattage of the light bulb to be replaced. (P. 506)
Light bulbs
You may replace the following bulb s yourself. The difficulty level
of replacement varies depending on the bulb. If necessary bulb
replacement seems difficult to perform, contact your Toyota
dealer.
For more information about replacing other light bulbs, contact
your Toyota dealer.
Preparing for light bulb replacement
Bulb locations
FrontRear
Headlight high beams (halogen
bulb)/daytime running lights
(halogen bulb)
Headlight low beams (halogen
bulb)
Front side marker lights
Front turn signal/parking lights
(bulb type) Back-up lights
Rear turn signal lights
Stop/tail/rear side marker
lights
License plate lights
1
2
3
4
1
2
3
4
Page 430 of 568
4307-3. Do-it-yourself maintenance
CAMRY_U (OM33D37U)■
Front turn signal/parking lights (bulb type)
To ensure enough space to
perform work, turn the steer-
ing wheel to rotate the front
wheel away from the bulb to
be replaced.
Turn the steering wheel to the
left when replacing the right side
light bulb, and turn the steering
wheel to the right when replac-
ing the left side light bulb.
Remove the fender liner
screws.
Remove the fender liner clip.After turning the clip, pull
the clip until it stops.
Turn the clip again, and
then pull out the clip.
Partly remove the fender
liner and turn the bulb base
counterclockwise.
*1: Vehicles without LED daytime running lights
*2: Vehicles with LED daytime run-ning lights
1
2
3
1
2
*1*2
4
Page 431 of 568
4317-3. Do-it-yourself maintenance
7
Maintenance and care
CAMRY_U (OM33D37U)
Remove the light bulb.
When installing, reverse the steps listed.
■Stop/tail/rear side marker lights and rear turn signal lights
Open the trunk lid and
remove the luggage trim
cover clips. ( P. 435)
Pull the hook while depress-
ing the button.
Partly remove the luggage
trim cover.
5
6
1
2
3