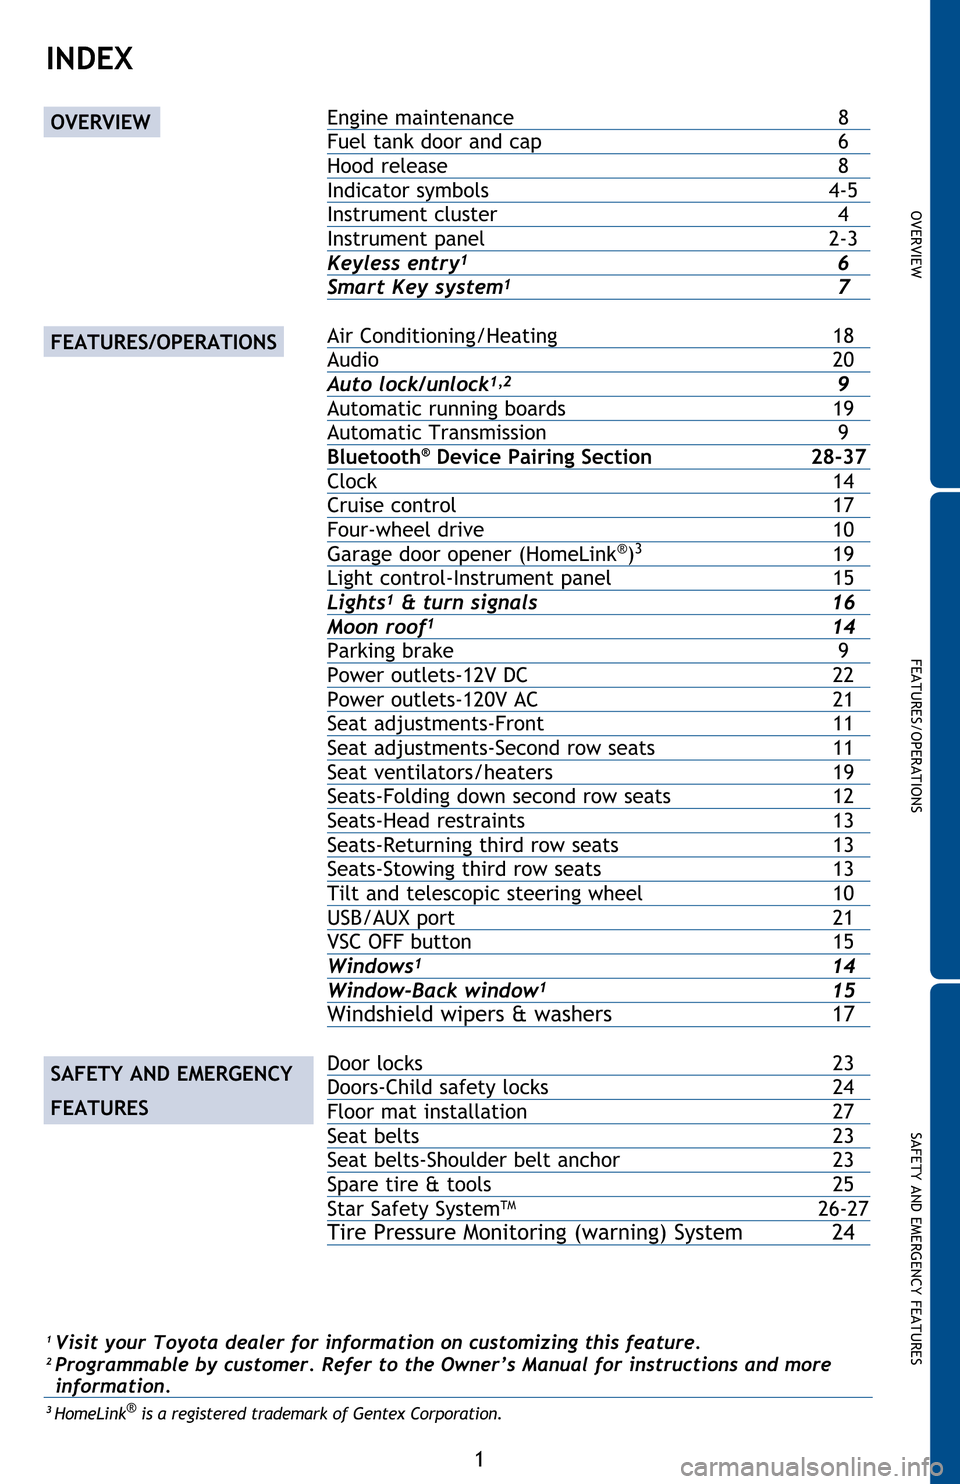
Page 3 of 44

OVERVIEW
FEATURES/OPERATIONS
SAFETY AND EMERGENCY FEATURES
1
INDEX
1 Visit your Toyota dealer for information on customizing this feature.2 Programmable by customer. Refer to the Owner’s Manual for instructions and more
information.
3 HomeLink® is a registered trademark of Gentex Corporation.
Engine maintenance 8
Fuel tank door and cap 6
Hood release 8
Indicator symbols 4-5
Instrument cluster 4
Instrument panel 2-3
Keyless entry
1 6Smart Key system1 7
Air Conditioning/Heating 18
Audio 20
Auto lock/unlock1,2 9Automatic running boards 19
Automatic Transmission 9
Bluetooth
® Device Pairing Section 28-37
Clock 14
Cruise control 17
Four-wheel drive 10
Garage door opener (HomeLink
®)3 19Light control-Instrument panel 15Lights1 & turn signals 16
Moon roof1 14Parking brake 9
Power outlets-12V DC 22
Power outlets-120V AC 21
Seat adjustments-Front 11
Seat adjustments-Second row seats 11
Seat ventilators/heaters 19
Seats-Folding down second row seats 12
Seats-Head restraints 13
Seats-Returning third row seats 13
Seats-Stowing third row seats 13
Tilt and telescopic steering wheel 10
USB/AUX port 21
VSC OFF button 15
Windows1 14
Window-Back window1 15Windshield wipers & washers 17 Door locks 23
Doors-Child safety locks 24
Floor mat installation 27
Seat belts 23
Seat belts-Shoulder belt anchor 23
Spare tire & tools 25
Star Safety System
TM 26-27Tire Pressure Monitoring (warning) System 24
OVERVIEW
FEATURES/OPERATIONS
SAFETY AND EMERGENCY
FEATURES
Page 16 of 44
14
FEATURES/OPERATIONS
Clock
H- Hour set
M- Minute set
Windows
Automatic operation Push the switch completely down or pull it completely up
and release to fully open or close. To stop the window partway, operate the
switch in the opposite direction.
Window lock switch Deactivates all passenger windows. Driver’s window remains
operable.
Up
Down
Window lock
switch
Moon roof (if equipped)
Sliding operationTilting operation
Open
Close
Close
Tilt
Push once to open partway; again to
open completely.
Push once to close completely. To
stop partway, press switch lightly.
Recommended open
position to minimize
wind noise.
Driver side
Page 27 of 44
OVERVIEW
FEATURES/OPERATIONS
SAFETY AND EMERGENCY FEATURES
25
Spare tire & tools
Tool location
Removing the spare tire
(1) Assemble the jack handle.
(2) Insert the jack handle end through the opening in the bumper, and into the
lowering screw.
(3) Turn the jack handle counterclockwise.
Refer to the Owner’s Manual for tire changing and jack positioning procedures.
(1)
(2)(3)
Tool bag
Jack
Spare tire