Page 5 of 190
If Model S is unable to detect the key, the
touchscreen displays a message indicating that a key is not inside. Place the key where
Model S can best detect it, which is below the
12V power socket (see Key Not Inside on page
41).
Radio equipment on a similar frequency can
affect the key. If this happens, move the key at
least one foot (30 cm) away from other electronic devices (phone, laptop, etc). If the
key does not work, you may need to change
its battery. If the key
Page 113 of 190

USB Hub Connections
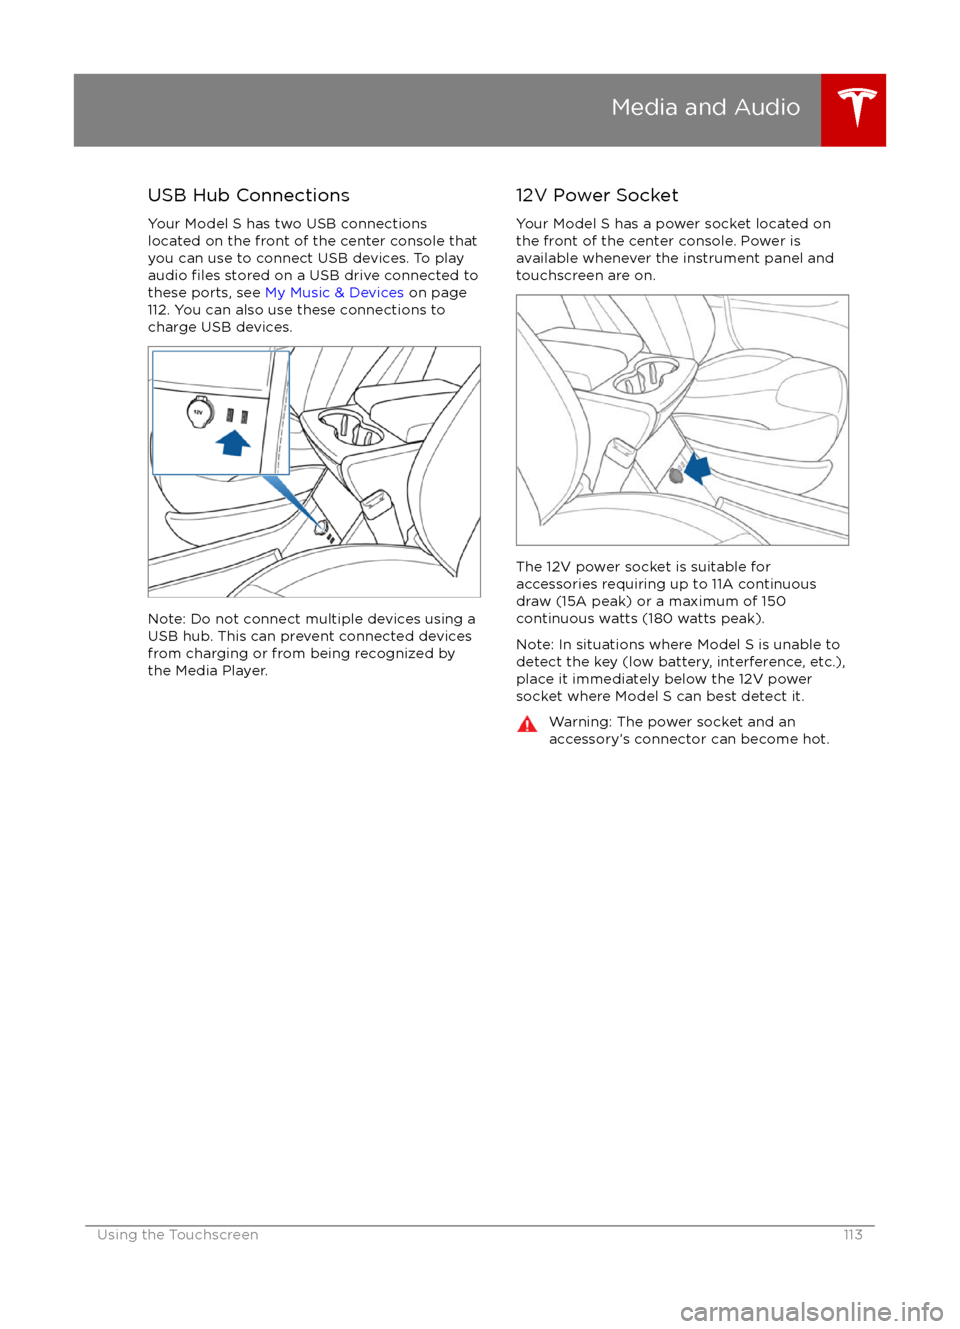
Your Model S has two USB connections
located on the front of the center console that
you can use to connect USB devices. To play
audio
files stored on a USB drive connected to
these ports, see My Music & Devices on page
112. You can also use these connections to charge USB devices.
Note: Do not connect multiple devices using a
USB hub. This can prevent connected devices
from charging or from being recognized by
the Media Player.
12V Power Socket
Your Model S has a power socket located on
the front of the center console. Power is
available whenever the instrument panel and
touchscreen are on.
The 12V power socket is suitable for
accessories requiring up to 11A continuous
draw (15A peak) or a maximum of 150
continuous watts (180 watts peak).
Note: In situations where Model S is unable to detect the key (low battery, interference, etc.),
place it immediately below the 12V power
socket where Model S can best detect it.
Warning: The power socket and an
accessory
Page 141 of 190
Inflating with Sealant and Air
If you have a Tesla tire repair kit, follow these
steps to temporarily repair a small tire
puncture (less than 1/4”/6 mm)).
1. Stop Model S in a safe place away from
traffic and ask passengers to wait in a safe
area.
2. Turn on the hazard warning
flashers to
alert other road users.
3. If possible, position the wheel with the puncture at the bottom.
4. Detach the power supply connector from the back of the compressor and plug it
into the 12V power socket located on the
front of center console.
5. Release the clear plastic hose from the tire
compressor.
6. Remove the red cap and screw the end of the hose onto the tire
Page 142 of 190

Inflating with Air Only
If you have a Tesla tire repair kit, follow these
steps to
inflate a tire with air:
1. Detach the power supply connector from the rear of the compressor and plug it into
the 12V power socket located in Model S
on the front of center console.
2. Release the black air hose from the compressor.
3. Attach the air hose to the valve and press the lever down to secure it in place.
4. Ensure the compressor is lying on a level
surface with the pressure gauge facing tothe side where you can read it.
5. To add air, turn on the compressor and
inflate until the desired pressure is
reached.
6. To release air, turn
off the compressor,
then press and hold the red button until
the desired pressure is reached.
Note: For your convenience, the tire repair kit
includes a selection of adapters that allow you to
inflate other items. These adapters are
located in a compartment on the back of the
compressor.
Caution: To avoid overheating, do not use
the compressor continuously for more
than eight minutes. Allow the compressor
to cool for 15 minutes between uses.Caution: The compressor runs slowly
when overheated from excessive use. Turn
it
off and allow it to cool.Temporary Tire Repair
142Model S Owner
Page 155 of 190
Fuse Box 2FuseRatingCircuit Protected2825 AWindow Lift Motor (Right Rear)2910 AContactor Power3025 AWindow Lift Motor (Right Front)3115 AForward Camera/Active Safety3210 ADoor Controls (Right Side)3315 ANot Used3410 AForward Camera Defog3515 A12V Power Socket3610 AAir Suspension3725 AWindow Lift Motor (Left Rear)385 ADriver
Page 156 of 190
FuseRatingCircuit Protected495 AInstrument Panel505 ASiren, Intrusion/Tilt Sensor (Europe Only)5120 ATouchscreen5230 AHeated Rear Window535 ABattery Management System5415 AWiper De-icer5530 ALeft Front Electric Seat5630 ARight Front Electric Seat5730 ACabin Fan5830 A12V Outlet/Forward Camera Subfeed5930 AHVAC2 Power
Fuses
156Model S Owner
Page 167 of 190

Brakes
Type
4-wheel anti-lock braking system (ABS)
with Electronic Brake Force Distribution,
Integrated Advanced Stability Control and
Electronic Accelerator pedal actuated
regenerative braking systemCalipersFour piston fixedRotor Diameters (ventilated)Front: 13.98”/355 mm
Rear: 14.37”/365 mmFront Rotor thicknessNew: 1.26”/32 mm
Service limit: 1.18”/30 mmRear Rotor thicknessNew: 1.10”/28 mm
Service limit: 1.02”/26 mmFront Brake Pad Thickness (excluding back plate)New: 0.354”/9.0 mm
Service limit: 0.078”/2 mmRear Brake Pad Thickness (excluding back plate)New: 0.315”/8.0 mm
Service limit: 0.078”/2 mmElectronic Parking Brake (EPB) Pad Thickness
(excluding back plate). Electronic calipers self-
adjust for pad wear.New: 0.216”/5.5 mm
Service limit: 0.039”/1 mmParking brakeElectrically actuated parking brake
calipers
Suspension
FrontIndependent, double wishbone, air spring
or coil spring/telescopic damper, sway barRearIndependent, multi-link, air spring or coil
spring/telescopic damper, sway bar (air
suspension vehicles only)
Battery - 12V
Rating33 amp-hr or higherVoltage and Polarity12V negative (-) ground
Subsystems
Specifications167
Page 175 of 190

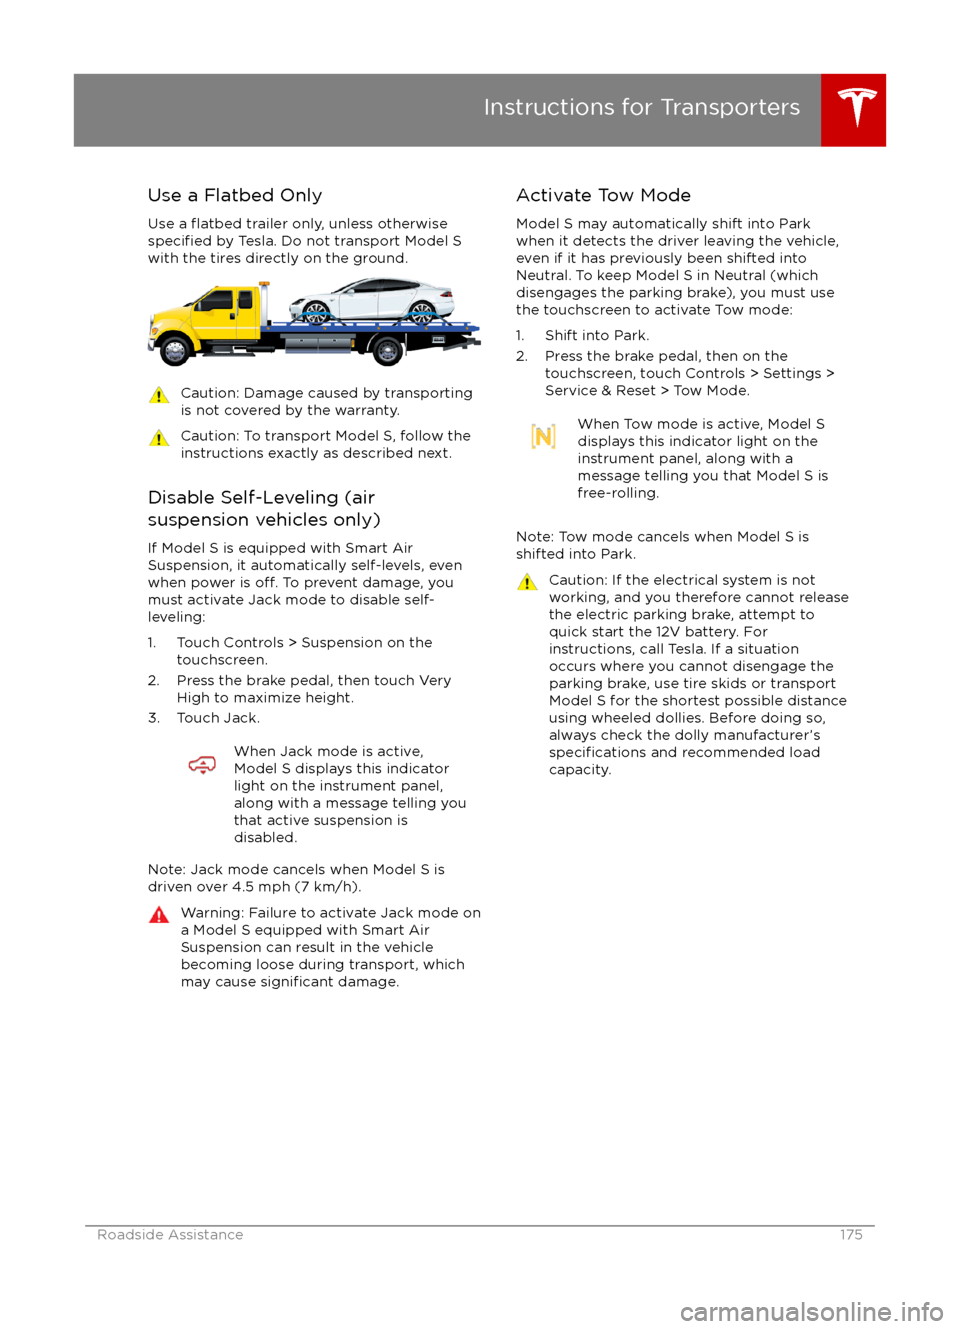
Use a Flatbed OnlyUse a
flatbed trailer only, unless otherwisespecified by Tesla. Do not transport Model S
with the tires directly on the ground.
Caution: Damage caused by transporting is not covered by the warranty.Caution: To transport Model S, follow theinstructions exactly as described next.
Disable Self-Leveling (air
suspension vehicles only)
If Model S is equipped with Smart AirSuspension, it automatically self-levels, even
when power is
off. To prevent damage, you
must activate Jack mode to disable self- leveling:
1. Touch Controls > Suspension on the touchscreen.
2. Press the brake pedal, then touch Very High to maximize height.
3. Touch Jack.
When Jack mode is active,
Model S displays this indicator
light on the instrument panel,
along with a message telling you
that active suspension is
disabled.
Note: Jack mode cancels when Model S is
driven over 4.5 mph (7 km/h).
Warning: Failure to activate Jack mode on
a Model S equipped with Smart Air Suspension can result in the vehicle
becoming loose during transport, which
may cause
significant damage.
Activate Tow Mode
Model S may automatically shift into Park
when it detects the driver leaving the vehicle,
even if it has previously been shifted into Neutral. To keep Model S in Neutral (which
disengages the parking brake), you must use
the touchscreen to activate Tow mode:
1. Shift into Park.
2. Press the brake pedal, then on the touchscreen, touch Controls > Settings >
Service & Reset > Tow Mode.When Tow mode is active, Model S
displays this indicator light on the
instrument panel, along with a
message telling you that Model S is
free-rolling.
Note: Tow mode cancels when Model S is
shifted into Park.
Caution: If the electrical system is not
working, and you therefore cannot release
the electric parking brake, attempt to
quick start the 12V battery. For
instructions, call Tesla. If a situation
occurs where you cannot disengage the
parking brake, use tire skids or transport Model S for the shortest possible distance
using wheeled dollies. Before doing so,
always check the dolly manufacturer