2016 Ram ProMaster belt
[x] Cancel search: beltPage 171 of 448

•Buzzer Volume
• Seat Belt Buzzer (*)
• (*) just available after SBR disable made by CHR
Service
• Service (Diesel Only)
• DRL - Daytime Running Light (if equipped)
• Exit menu
NOTE:
• If equipped with Uconnect 5.0/5.0N radio, some
customer programmable features will display in the
Uconnect 5.0/5.0N system. Refer to the Uconnect
Settings for further Uconnect 5.0/5.0N information.
• The EVIC clock setting and Uconnect 5.0/5.0N clock
setting procedure can be done through the radio or
the EVIC.Uconnect RH3
Introduction
Your vehicle is equipped with a radio that has an
AM/FM radio receiver and a USB port for playing MP3,
WMA and AAC files. The device has been designed
according to the specific characteristics of the vehicle,
with a design matching the style of the instrument panel.
The radio is installed in an ergonomic position for the
driver and passenger with a diagram on the front panel
that allows the user commands to be identified quickly
and easily.
The directions for use are described below, and we advise
you to read these carefully.
NOTE: The operation of many of the resources men-
tioned in this publication depends on technology used by
radio stations and other base stations, which may not be
available at certain times and/or in particular locations.
4
UNDERSTANDING YOUR INSTRUMENT PANEL 169
Page 222 of 448

STARTING PROCEDURES
Before starting your vehicle, adjust your seat, adjust both
inside and outside mirrors, and fasten your seat belts.
WARNING!
•Never leave children alone in a vehicle, or with
access to an unlocked vehicle.
• Allowing children to be in a vehicle unattended is
dangerous for a number of reasons. A child or
others could be seriously or fatally injured. Chil-
dren should be warned not to touch the parking
brake, brake pedal or the transmission gear selec-
tor.
• Do not leave the Key Fob in or near the vehicle (or
in a location accessible to children). A child could
operate power windows, other controls, or move
the vehicle.
Automatic Transmission — If Equipped
The shift lever must be in the PARK or NEUTRAL
position before you can start the engine. Press the brake
pedal before shifting to any driving gear.
NOTE: You must press the brake pedal before shifting
out of PARK.
Normal Starting
NOTE: Normal starting of either a cold or a warm
engine is obtained without pumping or pressing the
accelerator pedal.
Turn the ignition switch to the AVV/ACC (START)
position and release it when the engine starts. If the
engine fails to start within 10 seconds, turn the ignition
switch to the STOP (OFF/LOCK) position, wait 10 to 15
seconds, then repeat the “Normal Starting” procedure.
220 STARTING AND OPERATING
Page 368 of 448

Air Conditioner Maintenance
For best possible performance, your air conditioner
should be checked and serviced by an authorized dealer
at the start of each warm season. This service should
include cleaning of the condenser fins and a performance
test. Drive belt tension should also be checked at this
time.
WARNING!
•Use only refrigerants and compressor lubricants
approved by the manufacturer for your air condi-
tioning system. Some unapproved refrigerants are
flammable and can explode, injuring you. Other
unapproved refrigerants or lubricants can cause the
system to fail, requiring costly repairs. Refer to
Warranty Information Book, located on the DVD,
for further warranty information.
(Continued)
WARNING! (Continued)
•The air conditioning system contains refrigerant
under high pressure. To avoid risk of personal
injury or damage to the system, adding refrigerant
or any repair requiring lines to be disconnected
should be done by an experienced technician.
CAUTION!
Do not use chemical flushes in your air conditioning
system as the chemicals can damage your air condi-
tioning components. Such damage is not covered by
the New Vehicle Limited Warranty.
Refrigerant Recovery And Recycling
R-134a Air Conditioning Refrigerant is a hydrofluoro-
carbon (HFC) that is endorsed by the Environmental
366 MAINTAINING YOUR VEHICLE
Page 387 of 448

To minimize the possibility of scratching the lenses and
reducing light output, avoid wiping with a dry cloth. To
remove road dirt, wash with a mild soap solution fol-
lowed by rinsing.
Do not use abrasive cleaning components, solvents, steel
wool or other aggressive material to clean the lenses.
Glass Surfaces
All glass surfaces should be cleaned on a regular basis
with MOPAR Glass Cleaner, or any commercial
household-type glass cleaner. Never use an abrasive type
cleaner. Use caution when cleaning the inside rear win-
dow equipped with electric defrosters or windows
equipped with radio antennas. Do not use scrapers or
other sharp instrument that may scratch the elements.
When cleaning the rear view mirror, spray cleaner on the
towel or cloth that you are using. Do not spray cleaner
directly on the mirror.
Cleaning Plastic Instrument Cluster Lenses
The lenses in front of the instruments in this vehicle are
molded in clear plastic. When cleaning the lenses, care
must be taken to avoid scratching the plastic.
1. Clean with a wet soft cloth. A mild soap solution maybe used, but do not use high alcohol content or
abrasive cleaners. If soap is used, wipe clean with a
clean damp cloth.
2. Dry with a soft cloth.
Seat Belt Maintenance
Do not bleach, dye, or clean the belts with chemical
solvents or abrasive cleaners. This will weaken the fabric.
Sun damage can also weaken the fabric.
If the belts need cleaning, use MOPAR Total Clean, a mild
soap solution, or lukewarm water. Do not remove the
belts from the vehicle to wash them. Dry with a soft cloth.
7
MAINTAINING YOUR VEHICLE 385
Page 388 of 448

Replace the belts if they appear frayed or worn or if the
buckles do not work properly.
WARNING!
A frayed or torn belt could rip apart in a collision and
leave you with no protection. Inspect the belt system
periodically, checking for cuts, frays, or loose parts.
Damaged parts must be replaced immediately. Do
not disassemble or modify the system. Seat belt
assemblies must be replaced after a collision if they
have been damaged (i.e., bent retractor, torn web-
bing, etc.).
Cleaning The Instrument Panel Cupholders
Removal
Pull the flexible liner from the cupholder drawer starting
at one edge to ease removal.
Cleaning
The liner is top shelf dishwasher safe, or you may follow
the cleaning procedure below.
Soak the liner in a mixture of medium hot tap water and
one teaspoon of mild liquid dish soap. Let soak for
approximately 30 minutes. After 30 minutes, pull the
liner from the water and dip it back into the water about
six times. This will loosen any remaining debris. Rinse
the liner thoroughly under warm running water. Shake
the excess water from the liner and dry the outer surfaces
with a clean soft cloth.
Installation
Place the liner into the cupholder drawer and push the
liner into place so that the retention tabs seat into the
corresponding openings in the drawer.
386 MAINTAINING YOUR VEHICLE
Page 433 of 448

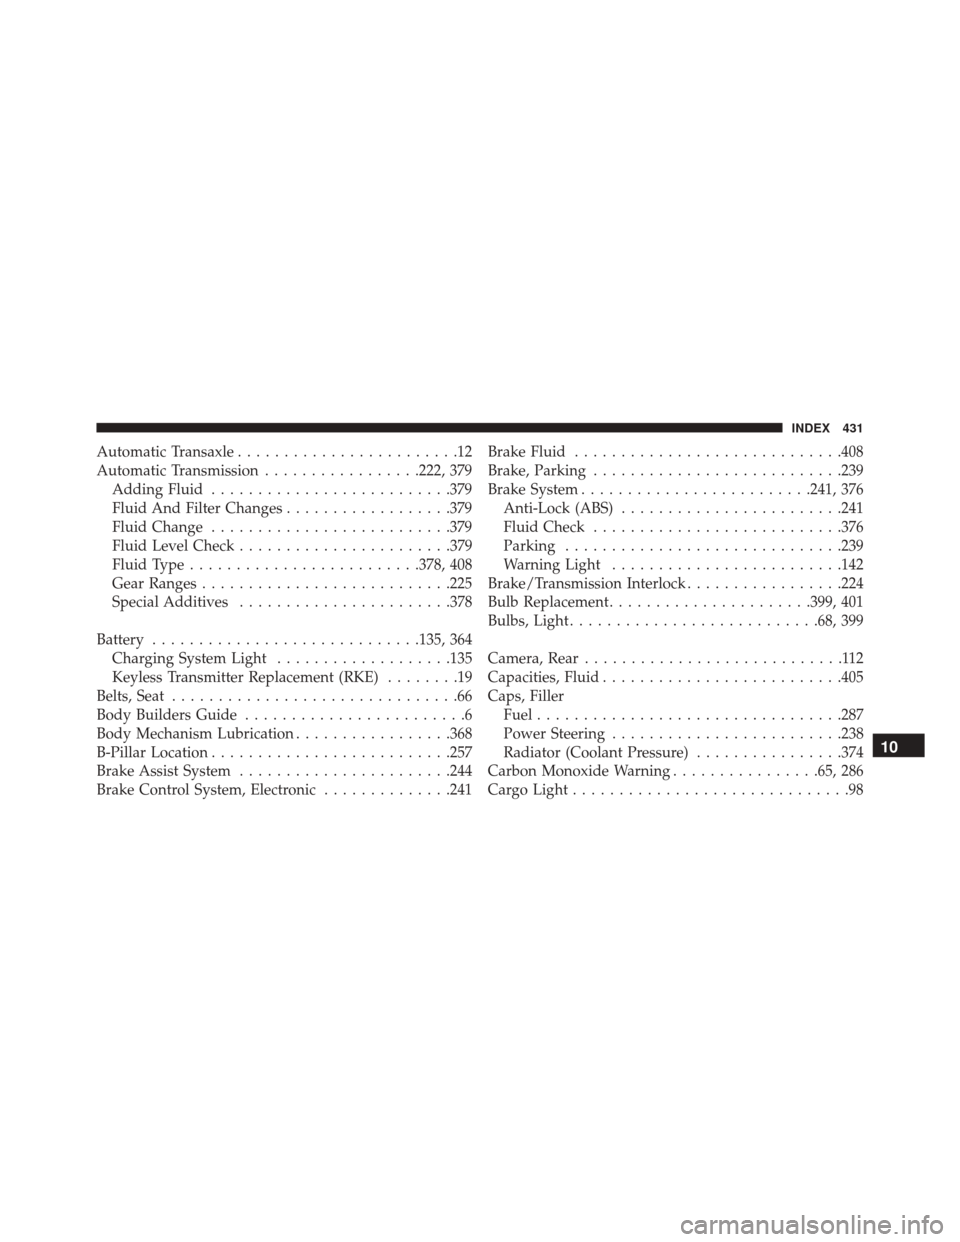
Automatic Transaxle........................12
Automatic Transmission .................222, 379
Adding Fluid ......................... .379
Fluid And Filter Changes ..................379
Fluid Change ......................... .379
Fluid Level Check ...................... .379
Fluid Type ........................ .378, 408
Gear Ranges .......................... .225
Special Additives ...................... .378
Battery ............................ .135, 364
Charging System Light ...................135
Keyless Transmitter Replacement (RKE) ........19
Belts, Seat ...............................66
Body Builders Guide ........................6
Body Mechanism Lubrication .................368
B-Pillar Location ......................... .257
Brake Assist System ...................... .244
Brake Control System, Electronic ..............241Brake Fluid
............................ .408
Brake, Parking .......................... .239
Brake System ........................ .241, 376
Anti-Lock (ABS) ....................... .241
Fluid Check .......................... .376
Parking ............................. .239
Warning Light ........................ .142
Brake/Transmission Interlock .................224
Bulb Replacement ..................... .399, 401
Bulbs, Light .......................... .68, 399
Camera, Rear ............................112
Capacities, Fluid ......................... .405
Caps, Filler Fuel ................................ .287
Power Steering ........................ .238
Radiator (Coolant Pressure) ................374
Carbon Monoxide Warning ................65, 286
Cargo Light ..............................98
10
INDEX 431
Page 439 of 448

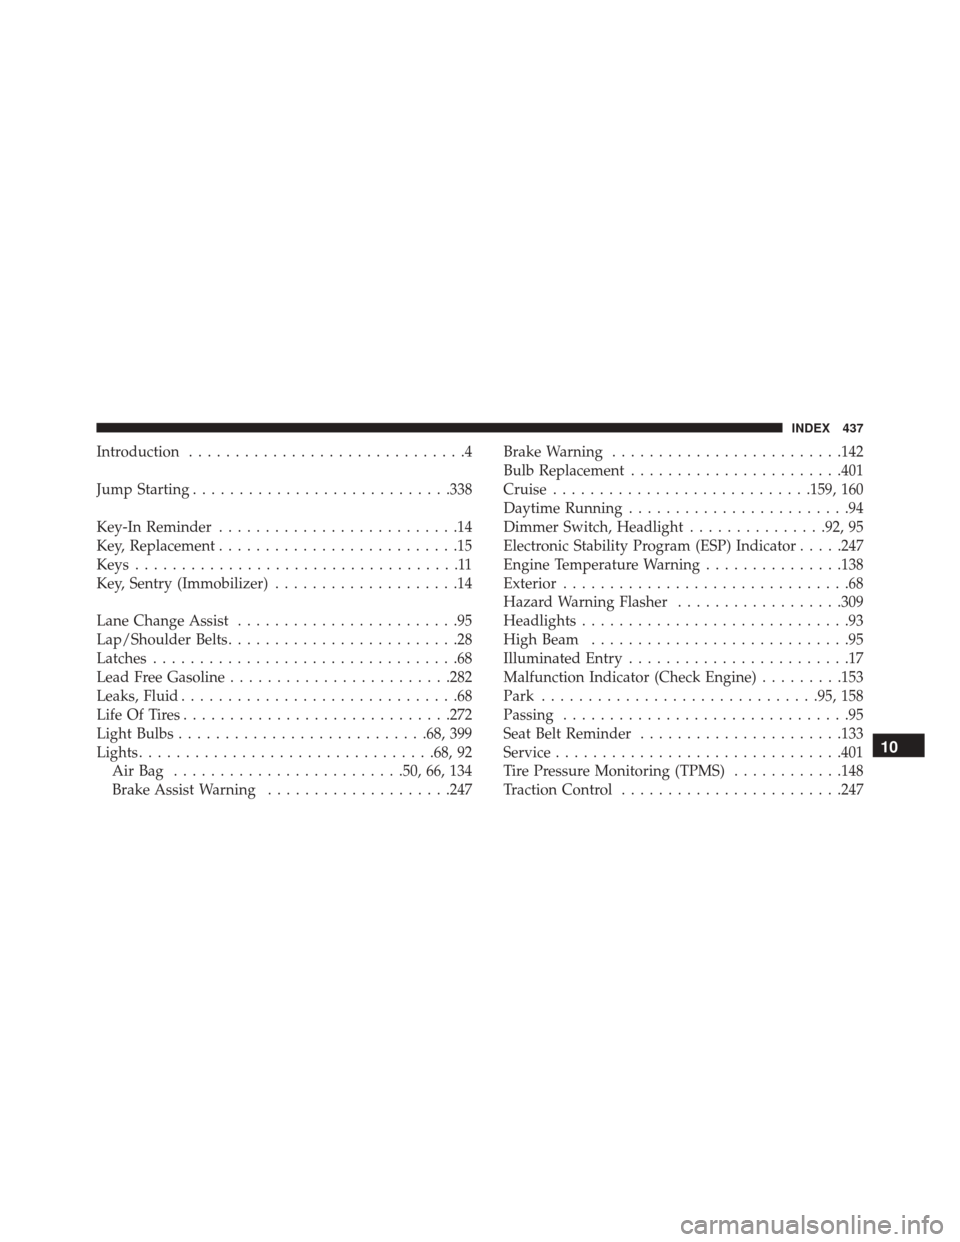
Introduction..............................4
Jump Starting ........................... .338
Key-In Reminder ..........................14
Key, Replacement ..........................15
Keys ...................................11
Key, Sentry (Immobilizer) ....................14
Lane Change Assist ........................95
Lap/Shoulder Belts .........................28
Latches .................................68
Lead Free Gasoline ....................... .282
Leaks, Fluid ..............................68
Life Of Tires ............................ .272
Light Bulbs .......................... .68, 399
Lights ............................... .68, 92
AirBag .........................50, 66, 134
Brake Assist Warning ....................247 Brake Warning
........................ .142
Bulb Replacement ...................... .401
Cruise ........................... .159, 160
Daytime Running ........................94
Dimmer Switch, Headlight ...............92, 95
Electronic Stability Program (ESP) Indicator .....247
Engine Temperature Warning ...............138
Exterior ...............................68
Hazard Warning Flasher ..................309
Headlights .............................93
High Beam ............................95
Illuminated Entry ........................17
Malfunction Indicator (Check Engine) .........153
Park ............................. .95, 158
Passing ...............................95
Seat Belt Reminder ..................... .133
Service .............................. .401
Tire Pressure Monitoring (TPMS) ............148
Traction Control ....................... .247
10
INDEX 437
Page 441 of 448

Checking............................ .358
Disposal ............................. .361
Filter ............................ .361, 406
Filter Disposal ........................ .361
Identification Logo ..................... .359
Materials Added To ..................... .361
Pressure Warning Light ...................144
Recommendation ....................359, 405
Synthetic ............................ .360
Viscosity ......................... .360, 405
Oil Filter, Change ........................ .361
Oil Filter, Selection ....................... .361
Oil Pressure Light ........................ .144
Onboard Diagnostic System ..................354
Operator Manual (Owner’s Manual) .............4
Outside Rearview Mirrors ....................72
Overhead Console .........................116
Overheating, Engine ...................... .309Owner’s Manual (Operator Manual)
..........4,424
Paint Care ............................. .380
Parking Brake ........................... .239
ParkSense System, Rear .....................107
Passing Light .............................95
Personal Settings ......................... .190
Pets ....................................63
Placard, Tire And Loading Information ..........258
Power Mirrors ...............................73
Steering .......................... .237, 238
Windows ..............................22
Power Steering Fluid ...................... .408
Pregnant Women And Seat Belts ...............35
Pretensioners Seat Belts ..............................35
Radial Ply Tires ......................... .265
10
INDEX 439