Page 28 of 145

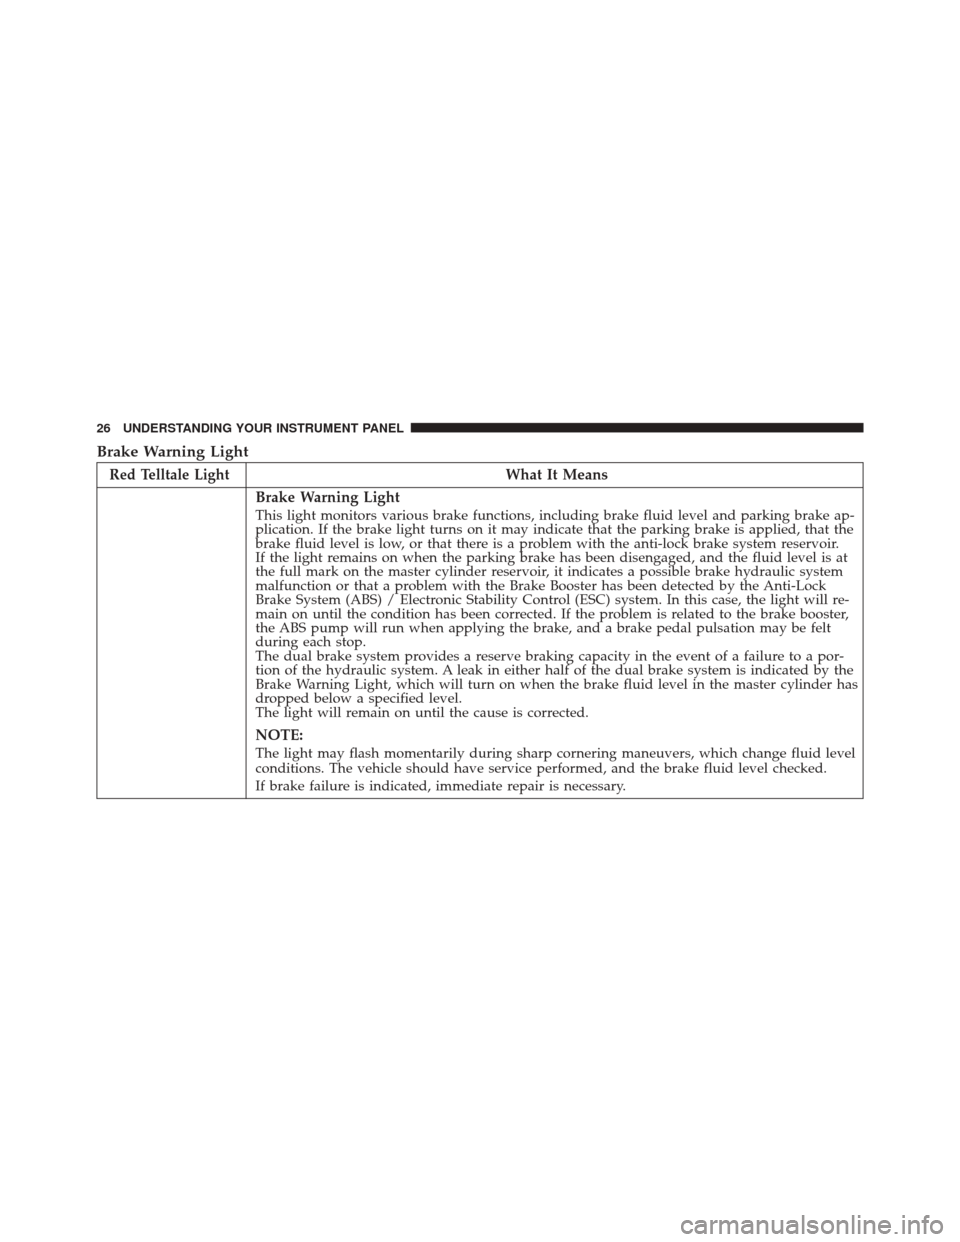
Brake Warning Light
Red Telltale LightWhat It Means
Brake Warning Light
This light monitors various brake functions, including brake fluid level and parking brake ap-
plication. If the brake light turns on it may indicate that the parking brake is applied, that the
brake fluid level is low, or that there is a problem with the anti-lock brake system reservoir.
If the light remains on when the parking brake has been disengaged, and the fluid level is at
the full mark on the master cylinder reservoir, it indicates a possible brake hydraulic system
malfunction or that a problem with the Brake Booster has been detected by the Anti-Lock
Brake System (ABS) / Electronic Stability Control (ESC) system. In this case, the light will re-
main on until the condition has been corrected. If the problem is related to the brake booster,
the ABS pump will run when applying the brake, and a brake pedal pulsation may be felt
during each stop.
The dual brake system provides a reserve braking capacity in the event of a failure to a por-
tion of the hydraulic system. A leak in either half of the dual brake system is indicated by the
Brake Warning Light, which will turn on when the brake fluid level in the master cylinder has
dropped below a specified level.
The light will remain on until the cause is corrected.
NOTE:
The light may flash momentarily during sharp cornering maneuvers, which change fluid level
conditions. The vehicle should have service performed, and the brake fluid level checked.
If brake failure is indicated, immediate repair is necessary.
26 UNDERSTANDING YOUR INSTRUMENT PANEL
Page 57 of 145

6. Check that the oil pressure warning light has turnedoff.
7. Release the parking brake.
To start the engine if the transmission is faulty, the
“Delayed startup” procedure may be required.
NOTE: Not all Transmission Failures requires the “De-
layed startup” Procedure, it depends on the type of
failure.
(refer to �Instrument Cluster Messages� under�Auto-
mated Manual Transmission� in this section for further
information):
• Begin with the key in the OFF position.
• Press and hold the brake pedal. •
Turn the key to the START/AVV position and hold it
there for at least seven seconds with the brake de-
pressed. The engine will start, and the transmission
will operate in recovery mode (maximum gear permit-
ted = 3rd, automatic mode not available). If the engine
does not start, contact your authorized dealer.
Starting Fluids
The engine is equipped with a glow plug preheating
system. If the instructions in this manual are followed,
the engine should start in all conditions and no type of
starting fluid should be used.
WARNING!
• Do not leave children or animals inside parked
vehicles in hot weather. Interior heat build up may
cause serious injury or death.
(Continued)
5
STARTING AND OPERATING 55
Page 103 of 145
MAINTAINING YOUR VEHICLE
CONTENTS
�ENGINE COMPARTMENT — 3.0L DIESEL . . . .102
� MAINTENANCE PROCEDURES ...........103
▫ Engine Oil ......................... .104
▫ Engine Air Cleaner Filter ................106
▫ Draining Fuel Filter/Water Separator .......107
▫ Fuel Filter Replacement .................108
▫ Priming If The Engine Has Run Out Of Fuel . .108
▫ Intervention Regeneration Strategy —
Message Process Flow ..................110 ▫
Maintenance-Free Batteries ..............110
▫ Cooling System .......................111
▫ Brake System ........................117
▫ Automated Manual Transmission ..........118
� FLUID CAPACITIES ....................119
� FLUIDS, LUBRICANTS AND GENUINE
PARTS ............................. .120
▫ Engine ............................ .120
▫ Chassis ........................... .123
6
Page 104 of 145
ENGINE COMPARTMENT — 3.0L DIESEL
1 — Washer Solvent Reservoir4 — Engine Oil Dipstick7 — Front Power Distribution Center
(Fuses)
2 — Power Steering Reservoir 5 — Brake Fluid Reservoir8 — Jump Starting Location
3 — Engine Oil Fill 6 — Fuel Filter Housing Location9 — Coolant Reservoir
102 MAINTAINING YOUR VEHICLE
Page 119 of 145

Brake System
Brake Master Cylinder — Brake Fluid Level Check
The fluid level of the master cylinder should be checked
when performing under the hood service, or immedi-
ately if the “Brake System Warning Light” indicates
system failure.
The brake master cylinder has a translucent plastic
reservoir. On the outboard side of the reservoir, there is a
“MAX” mark and a “MIN” mark. The fluid level must be
kept within these two marks. Do not add fluid above the
full mark because leakage may occur at the cap.
With disc brakes, the fluid level can be expected to fall as
the brake linings wear. However, an unexpected drop in
fluid level may be caused by a leak and a system check
should be conducted.Refer to “Fluids, Lubricants, And Genuine Parts” in
“Maintaining Your Vehicle” for further information.WARNING!
•
Use only manufacturer’s recommended brake
fluid. Refer to “Fluids, Lubricants, and Genuine
Parts” in “Maintaining Your Vehicle” for further
information. Using the wrong type of brake fluid
can severely damage your brake system and/or
impair its performance. The proper type of brake
fluid for your vehicle is also identified on the
original factory installed hydraulic master cylinder
reservoir.
• To avoid contamination from foreign matter or
moisture, use only new brake fluid or fluid that has
been in a tightly closed container. Keep the master
cylinder reservoir cap secured at all times. Brake
(Continued)
6
MAINTAINING YOUR VEHICLE 117
Page 120 of 145

WARNING!(Continued)
fluid in a open container absorbs moisture from the
air resulting in a lower boiling point. This may
cause it to boil unexpectedly during hard or pro-
longed braking, resulting in sudden brake failure.
This could result in a accident.
• Overfilling the brake fluid reservoir can result in
spilling brake fluid on hot engine parts, causing
the brake fluid to catch fire. Brake fluid can also
damage painted and vinyl surfaces, care should be
taken to avoid its contact with these surfaces.
• Do not allow petroleum based fluid to contaminate
the brake fluid. Brake seal components could be
damaged, causing partial or complete brake failure.
This could result in an accident.
Automated Manual Transmission
Checking Fluid Levels
To check the gear oil and check/replace the hydraulic
clutch operating system fluid, contact only your autho-
rized dealer.
NOTE: Do not add or use leak detection dye in the
hydraulic clutch operating system fluid.
WARNING!
Used gear oil contains substances that are hazardous
for the environment. It is advisable to have oil
changed by your authorized dealer where used oil
will be disposed of according to the law.
118 MAINTAINING YOUR VEHICLE
Page 125 of 145
Chassis
ComponentFluid, Lubricant, or Genuine Part
Automated Manual Transmission
• Gearbox: Full synthetic 75W-85 manual transmis-
sion fluid meeting the API GL4 specification.
• Control system: MOPAR C Series DDCT SAE 75W
Hydraulic Fluid or equivalent.
• Hydraulic Clutch Operating System: MOPAR
Brake and Clutch Fluid DOT 4 Motor Vehicle or
equivalent.
Failure to use the correct fluid may affect the function or
performance of your transmission.
Brake Master Cylinder We recommend you use MOPAR DOT 4.
Power Steering Reservoir Use Pentosin CHF 11S power steering fluid meeting
FCA US Material Standard MS-11655.
6
MAINTAINING YOUR VEHICLE 123
Page 128 of 145

MAINTENANCE SCHEDULE — DIESEL ENGINE
Your vehicle is equipped with an automatic oil change
indicator system. The oil change indicator system will
remind you that it is time to take your vehicle in for
scheduled maintenance.
Based on engine operation conditions, the oil change
indicator message will illuminate in the instrument clus-
ter. This means that service is required for your vehicle.
Operating conditions such as frequent short-trips, trailer
tow, and extremely hot or cold ambient temperatures will
influence when the “Oil Change Required” message is
displayed. Severe Operating Conditions can cause the
change oil message to illuminate as early as 3,500 miles
(5,600 km) since last reset. Have your vehicle serviced as
soon as possible, within the next 500 miles (805 km).
Your authorized dealer will reset the oil change indicator
message after completing the scheduled oil change. If a
scheduled oil change is performed by someone otherthan your authorized dealer, the message can be reset by
referring to the steps described under “Electronic Vehicle
Information Center (EVIC)” in “Understanding Your
Instrument Panel” for further information.
NOTE:
Under no circumstances should oil change inter-
vals exceed 18,500 miles (29,773 km) or twelve months,
whichever comes first.
Once A Month Or Before A Long Trip:
• Check engine oil level
• Check windshield washer fluid level
• Check the tire inflation pressures and look for unusual
wear or damage
• Check the fluid levels of the coolant reservoir, brake
master cylinder, and power steering and fill as needed
• Check function of all interior and exterior lights
126 MAINTENANCE SCHEDULE