Page 258 of 338

•DO NOT OVERFILL. DEF will freeze below 12ºF
(-11ºC). The DEF system is designed to work in
temperatures below the DEF freezing point, how-
ever, if the tank is overfilled and")
CAUTION!(Continued)
•DO NOT OVERFILL. DEF will freeze below 12ºF
(-11ºC). The DEF system is designed to work in
temperatures below the DEF freezing point, how-
ever, if the tank is overfilled and freezes, the
system could be damaged.
• When DEF is spilled, clean the area immediately
with water and use an absorbent material to soak
up the spills on the ground.
• Do not attempt to start your engine if DEF is
accidentally added to the diesel fuel tank as it can
result in severe damage to your engine, including
but not limited to failure of the fuel pump and
injectors.
(Continued)
CAUTION! (Continued)
•Never add anything other than DEF to the tank –
especially any form of hydrocarbon such as diesel
fuel, fuel system additives, gasoline, or any other
petroleum-based product. Even a very small
amount of these (less than 100 parts per million or
less than 1 oz. per 78 gallons) will contaminate the
entire DEF system and will require replacement. If
owners use a container, funnel or nozzle when
refilling the tank, it should either be new or one
that is has only been used for adding DEF. MOPAR
provides an attachable nozzle with its DEF for this
purpose.
3. Stop filling the DEF tank immediately when any of the following happen: DEF stops flowing from the fill
bottle into the DEF tank, DEF splashes out the filler
neck, or a DEF pump nozzle automatically shuts off.
256 STARTING AND OPERATING
Page 261 of 338
•UQS Sensor
The DEF injection system and SCR catalyst enable the
achievement of diesel emissions requirements; while
maintaining outstanding fuel economy, drivability,
torque and power ratings.
Refer to “Electronic Vehicle Information Center (EVIC) or
�Driver Information Display (DID)” in “Understanding
Your Instrument Panel” for system messages and warn-
ings. NOTE:
•
Your vehicle is equipped with a DEF injection system.
You may occasionally hear an audible clicking noise.
This is normal operation.
• The DEF pump will run for a period of time after
engine shutdown to purge the DEF system. This is
normal operation.
5
STARTING AND OPERATING 259
Page 269 of 338
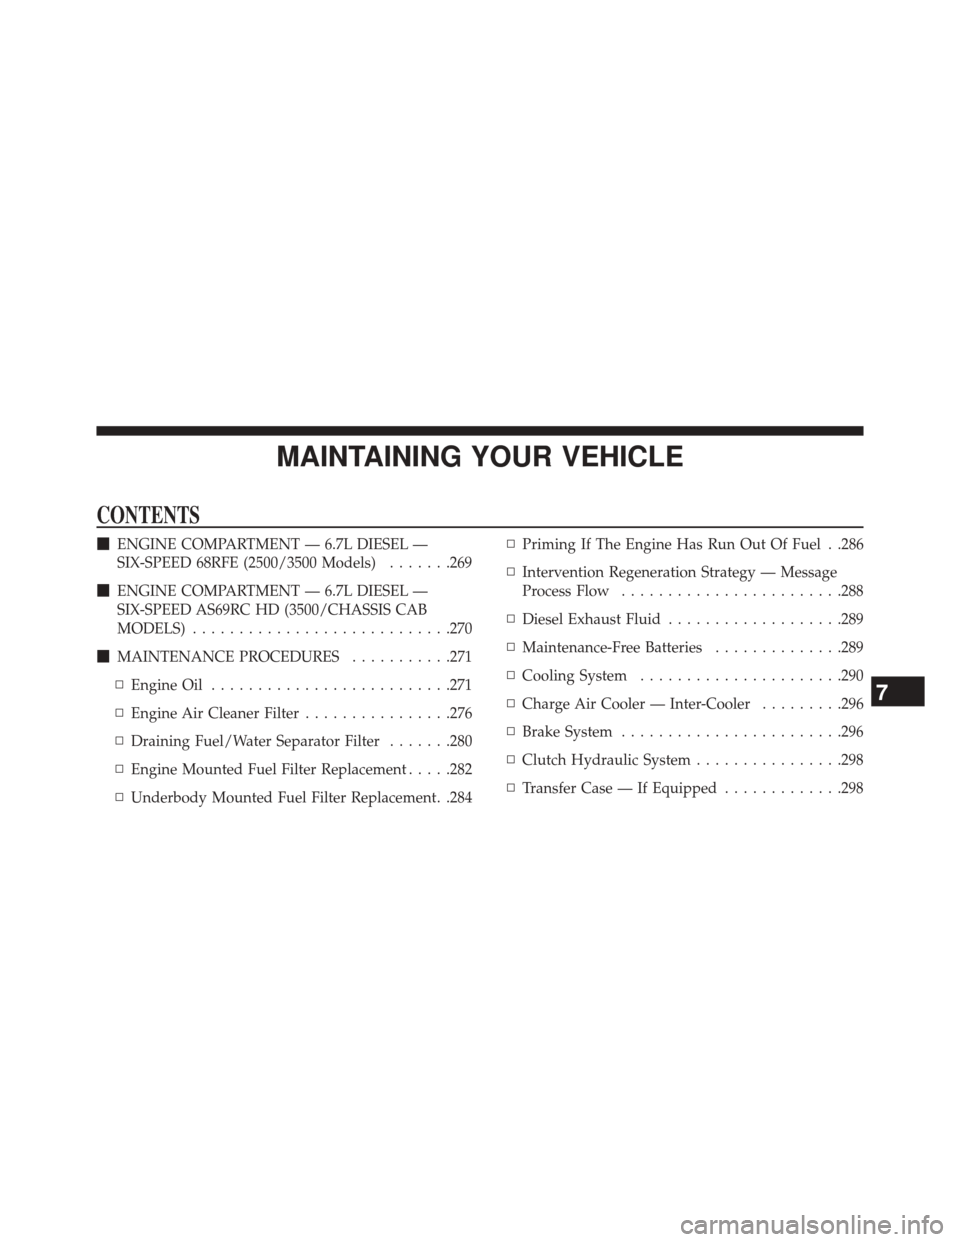
MAINTAINING YOUR VEHICLE
CONTENTS
�ENGINE COMPARTMENT — 6.7L DIESEL —
SIX-SPEED 68RFE (2500/3500 Models) .......269
� ENGINE COMPARTMENT — 6.7L DIESEL —
SIX-SPEED AS69RC HD (3500/CHASSIS CAB
MODELS) ........................... .270
� MAINTENANCE PROCEDURES ...........271
▫ Engine Oil ......................... .271
▫ Engine Air Cleaner Filter ................276
▫ Draining Fuel/Water Separator Filter .......280
▫ Engine Mounted Fuel Filter Replacement .....282
▫ Underbody Mounted Fuel Filter Replacement. .284 ▫
Priming If The Engine Has Run Out Of Fuel . .286
▫ Intervention Regeneration Strategy — Message
Process Flow ....................... .288
▫ Diesel Exhaust Fluid ...................289
▫ Maintenance-Free Batteries ..............289
▫ Cooling System ..................... .290
▫ Charge Air Cooler — Inter-Cooler .........296
▫ Brake System ....................... .296
▫ Clutch Hydraulic System ................298
▫ Transfer Case — If Equipped .............298
7
Page 282 of 338
3. Remove the air cleaner filter element from the housingassembly. Engine Air Cleaner Filter Installation
NOTE:
Inspect and clean the housing if dirt or debris is
present before replacing the air filter element.
1. Install the air cleaner filter element into the housing assembly with the air cleaner filter inspection surface
facing downward.
2. Install the air cleaner cover onto the housing assembly locating tabs.
3. Install screws to secure the air cleaner cover to the housing assembly.
Draining Fuel/Water Separator Filter
There are two fuel filter assemblies. One is located on the
driver’s side of the engine. The best access to this water
drain valve is from under the hood. The second one is on
the under body, located in front of the rear axle above the
drive shaft on pick-up models. The Chassis Cab modelsAir Cleaner Filter
1 — Air Cleaner Filter
2 — Air Cleaner Filter Inspection Surface 280 MAINTAINING YOUR VEHICLE
Page 283 of 338

second filter location is on the frame behind the front
axle. The best access to this water drain valve is from
under the vehicle.
CAUTION!
•Do not drain the fuel/water separator filters when
the engine is running.
• Diesel fuel will damage blacktop paving surfaces.
Drain the filters into an appropriate container.
If water is detected in the water separator while the
engine is running, or while the ignition switch is in the
ON position, the “Water In Fuel Indicator Light” will
illuminate and an audible chime will be heard five times.
At this point you should stop the engine and drain the
water from both of the filters.
CAUTION!
If the “Water In Fuel Indicator Light” remains on, DO
NOT START the engine before you drain water from
the fuel filters to avoid engine damage.
If the “Water In Fuel Indicator Light” comes on and a
single chime is heard while you are driving, or with the
ignition switch in the ON position, there may be a
problem with your water separator wiring or sensor. See
your authorized dealer for service.
Upon proper draining of the water from both fuel filters,
the “Water In Fuel Indicator Light” will remain illumi-
nated for approximately 10 seconds. If the water was
drained while the engine was running, the “Water In Fuel
Indicator Light” may remain on for approximately three
minutes.
7
MAINTAINING YOUR VEHICLE 281
Page 284 of 338

NOTE:Care should be taken in disposing of used fluids
from your vehicle. Used fluids, indiscriminately dis-
carded, can present a problem to the environment. Con-
tact an authorized dealer, service station, or government
agency for advice on recycling programs and for where
used fluids and filters can be properly disposed of in
your area.
Drain the fuel/water separator filters when the “Water In
Fuel Indicator Light” is ON. Within 10 minutes of vehicle
shutdown, turn the engine mounted filter drain valve
(located on the side of the filter assembly) counterclock-
wise 1/4 turn, and turn the under body mounted filter
drain valve (located on the bottom of the filter assembly)
counterclock wise 1 full turn. Then turn the ignition
switch to the ON position, and allow any accumulated
water to drain. Leave the drain valve open until all water
and contaminants have been removed. When clean fuel is
visible, close the drain valves by turning them fully
clockwise, and turn the ignition switch to OFF. If more than a couple ounces/milliliters of fuel have been
drained, follow the directions for “Priming If The Engine
Has Run Out Of Fuel.”
Engine Mounted Fuel Filter Replacement
NOTE:
•
Using a fuel filter that does not meet the manufactur-
er’s filtration and water separating requirements can
severely impact fuel system life and reliability.
•
The engine mounted filter housing is equipped with a
No-Filter-No-Run (NFNR) feature. Engine will not run if:
1. No filter is installed.
2. Inferior/Non-approved filter is used. Use of OEM
filter is required to ensure vehicle will run.
282 MAINTAINING YOUR VEHICLE
Page 285 of 338
CAUTION!
•Diesel fuel will damage blacktop paving surfaces.
Drain the filter into an appropriate container.
• Do not prefill the fuel filter when installing a new
fuel filter. There is a possibility debris could be
introduced into the fuel filter during this action. It
is best to install the filter dry and allow the in-tank
lift pump to prime the fuel system.
1. Ensure engine is turned off.
2. Place drain pan under the fuel filter drain hose.
3. Open the water drain valve 1/4 turn counterclockwise and completely drain fuel and water into the ap-
proved container.
4. Close the water drain valve.
Engine Mounted Fuel Filter Assembly
1 — Drain Valve7
MAINTAINING YOUR VEHICLE 283
Page 286 of 338

5. Remove lid using a socket or strap wrench. Rotatecounterclockwise for removal. Remove used o-ring
and discard it.
6. Remove the used filter cartridge from the housing and dispose of according to your local regulations.
7. Wipe clean the sealing surfaces of the lid and housing.
8. Install new o-ring back into ring groove on the filter housing and lubricate with clean engine oil.
9. Remove new filter cartridge from plastic bag and install into housing.
NOTE: Do not remove cartridge from bag until you reach
this step in order to keep cartridge clean.
10. Push down on the cartridge to ensure it is properly seated. Do not pre-fill the filter housing with fuel.
11. Install lid onto housing and tighten to 22.5 ft lbs (30.5 N.m). Do not overtighten the lid. 12. Prime the engine using the procedure in “Priming If
The Engine Has Run Out Of Fuel.” Then start the
engine and confirm there are no leaks.
Underbody Mounted Fuel Filter Replacement
NOTE:
•Using a fuel filter that does not meet the manufactur-
er’s filtration and water separating requirements can
severely impact fuel system life and reliability.
• The underbody mounted filter housing will cause the
engine not to run if:
1. No filter is installed.
284 MAINTAINING YOUR VEHICLE