Page 625 of 916

the brake while stopped on an incline, HSA will continue
to hold the brake pressure for a short period. If the driver
does not apply the throttle before this time expires, the
system will release brake pressure and the vehicle will
roll down the hill as normal.
The following conditions must be met in order for HSA to
activate:
•The feature must be enabled.
•The vehicle must be stopped.
•Park brake must be off.
•Driver door must be closed.
•The vehicle must be on a sufficient grade.
•The gear selection must match vehicle uphill direction
(i.e., vehicle facing uphill is in forward gear; vehicle
backing uphill is in REVERSE gear).•HSA will work in REVERSE gear and all forward
gears. The system will not activate if the transmission
is in PARK or NEUTRAL. For vehicles equipped with
a manual transmission if the clutch is pressed HSA will
remain active.
WARNING!
There may be situations where the Hill Start Assist
(HSA) will not activate and slight rolling may occur,
such as on minor hills or with a loaded vehicle, or
while pulling a trailer. HSA is not a substitute for
active driving involvement. It is always the driver ’s
responsibility to be attentive to distance to other
vehicles, people, and objects, and most importantly
brake operation to ensure safe operation of the ve-
hicle under all road conditions. Your complete atten-
tion is always required while driving to maintain
(Continued)
5
STARTING AND OPERATING 623
Page 633 of 916
 in")
when ESC becomes inactive following the maneuver
that caused the ESC activation.
The “ESC OFF Indicator Light” indicates the
customer has elected to have the Electronic
Stability Control (ESC) in a reduced mode.
Electronic Roll Mitigation (ERM)
This system anticipates the potential for wheel lift by
monitoring the driver ’s steering wheel input and the
speed of the vehicle. When ERM determines that the rate
of change of the steering wheel angle and vehicle’s speed
are sufficient to potentially cause wheel lift, it then
applies the appropriate brake and may also reduce
engine power to lessen the chance that wheel lift will
occur. ERM can only reduce the chance of wheel lift
occurring during severe or evasive driving maneuvers; itcannot prevent wheel lift due to other factors, such as
road conditions, leaving the roadway, or striking objects
or other vehicles.
NOTE:ERM is disabled anytime the ESC is in “Full Off”
mode (if equipped). Refer to “Electronic Stability Control
(ESC)” in this section for a complete explanation of the
available ESC modes.WARNING!
Many factors, such as vehicle loading, road condi-
tions and driving conditions, influence the chance
that wheel lift or rollover may occur. ERM cannot
prevent all wheel lift or roll overs, especially those
that involve leaving the roadway or striking objects
or other vehicles. The capabilities of an ERM-
equipped vehicle must never be exploited in a reck-
less or dangerous manner which could jeopardize the
user’s safety or the safety of others.
5
STARTING AND OPERATING 631
Page 636 of 916

•9th = 5.6 mph (9 km/h) – If Equipped
NOTE:During HDC the +/- shifter input is used for
HDC target speed selection but will not affect the gear
chosen by the transmission")
•8th = 5.0 mph (8 km/h)
•9th = 5.6 mph (9 km/h) – If Equipped
NOTE:During HDC the +/- shifter input is used for
HDC target speed selection but will not affect the gear
chosen by the transmission. When actively controlling
HDC the transmission will shift appropriately for the
driver-selected set speed and corresponding driving con-
ditions.
Driver Override
The driver may override HDC activation with throttle or
brake application at anytime.
Deactivating HDC
HDC will be deactivated but remain available if any of
the following conditions occur:
•Driver overrides HDC set speed with throttle or brake
application.•Vehicle speed exceeds 20 mph (32 km/h) but remains
below 40 mph (64 km/h).
•Vehicle is on a downhill grade of insufficient magni-
tude, is on level ground, or is on an uphill grade.
•Vehicle is shifted to park.
Disabling HDC
HDC will be deactivated and disabled if any of the
following conditions occur:
•The driver pushes the HDC switch.
•The driveline is shifted out of 4WD Low Range.
•The parking brake is applied.
•Driver door opens.
•The vehicle is driven greater than 20 mph (32 km/h)
for greater than 70 seconds.
634 STARTING AND OPERATING
Page 637 of 916

(HDC exits immediately).
•HDC detects excessive brake temperature.
Feedback To The Driver
The instrument cluster has an HDC icon and the HDC
sw")
•The vehicle is driven greater than 40 mph (64 km/h)
(HDC exits immediately).
•HDC detects excessive brake temperature.
Feedback To The Driver
The instrument cluster has an HDC icon and the HDC
switch has an LED which offer feedback to the driver
about the state HDC is in.
•The cluster icon and switch lamp will illuminate and
remain on solid when HDC is enabled or activated.
This is the normal operating condition for HDC.
•The cluster icon and switch lamp will flash for several
seconds then extinguish when the driver pushes the
HDC switch but enable conditions are not met.•The cluster icon and switch lamp will flash for several
seconds then extinguish when HDC disables due to
excess speed.
•The cluster icon and switch lamp will flash when HDC
deactivates due to overheated brakes. The flashing will
stop and HDC will activate again once the brakes have
cooled sufficiently.
WARNING!
HDC is only intended to assist the driver in control-
ling vehicle speed when descending hills. The driver
must remain attentive to the driving conditions and
is responsible for maintaining a safe vehicle speed.
5
STARTING AND OPERATING 635
Page 640 of 916
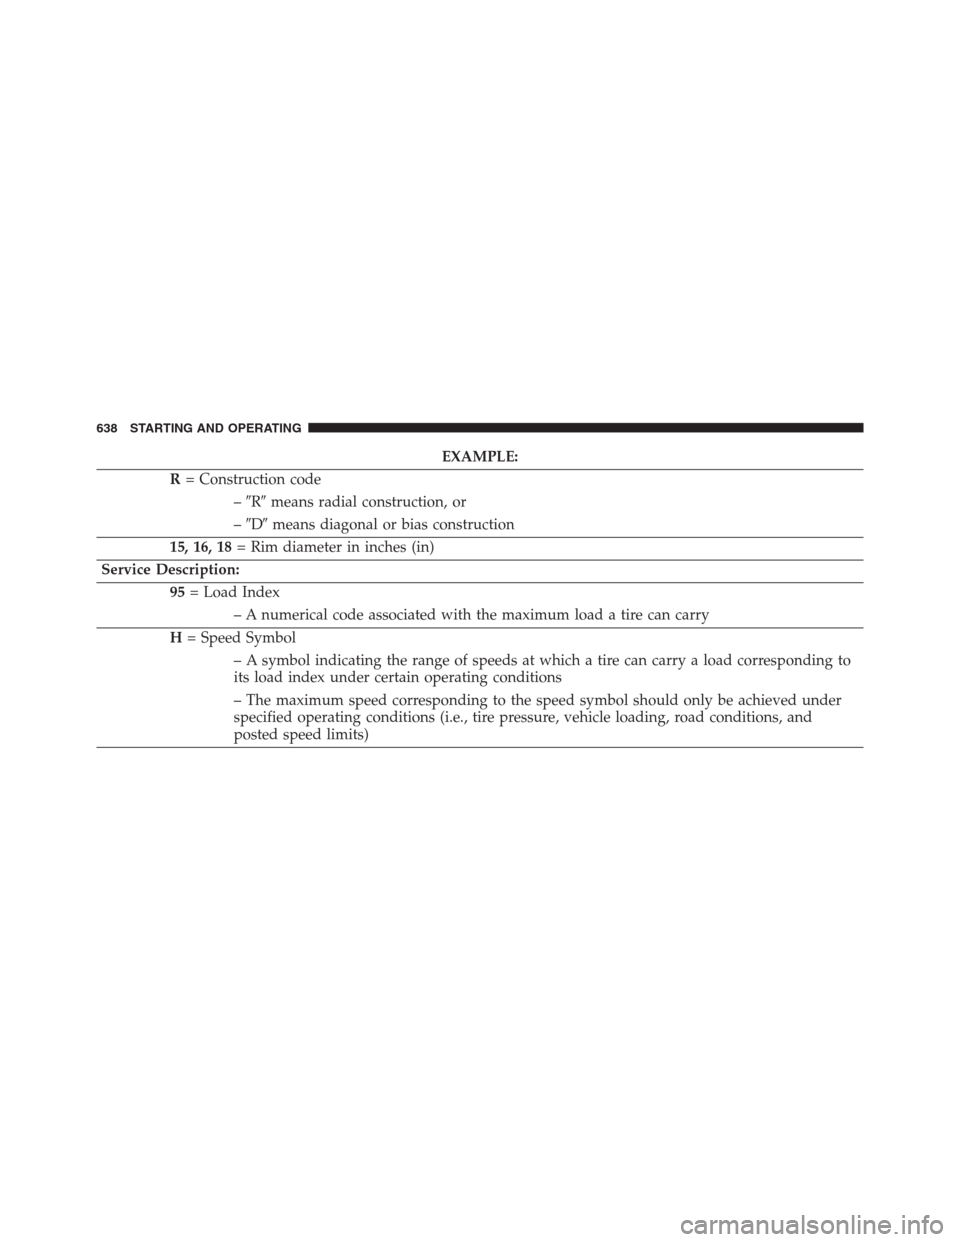
EXAMPLE:
R= Construction code
–�R�means radial construction, or
–�D�means diagonal or bias construction
15, 16, 18= Rim diameter in inches (in)
Service Description:
95= Load Index
– A numerical code associated with the maximum load a tire can carry
H= Speed Symbol
– A symbol indicating the range of speeds at which a tire can carry a load corresponding to
its load index under certain operating conditions
– The maximum speed corresponding to the speed symbol should only be achieved under
specified operating conditions (i.e., tire pressure, vehicle loading, road conditions, and
posted speed limits)
638 STARTING AND OPERATING
Page 650 of 916

•Unequal tire pressures from one side of the vehicle
to the other can cause the vehicle to drift to the
right or left.
•Always drive with each tire inflated to the recom-
mende")
WARNING!(Continued)
•Unequal tire pressures from one side of the vehicle
to the other can cause the vehicle to drift to the
right or left.
•Always drive with each tire inflated to the recom-
mended cold tire inflation pressure.
Both under-inflation and over-inflation affect the stability
of the vehicle and can produce a feeling of sluggish
response or over responsiveness in the steering.
NOTE:
•Unequal tire pressures from side to side may cause
erratic and unpredictable steering response.
•Unequal tire pressure from side to side may cause the
vehicle to drift left or right.
Fuel Economy
Underinflated tires will increase tire rolling resistance
resulting in higher fuel consumption.
Tread Wear
Improper cold tire inflation pressures can cause abnor-
mal wear patterns and reduced tread life, resulting in the
need for earlier tire replacement.
Ride Comfort And Vehicle Stability
Proper tire inflation contributes to a comfortable ride.
Over-inflation produces a jarring and uncomfortable
ride.
Tire Inflation Pressures
The proper cold tire inflation pressure is listed on the
driver’s side B-Pillar or rear edge of the driver’s side
door.
648 STARTING AND OPERATING
Page 651 of 916

At least once a month:
•Check and adjust tire pressure with a good quality
pocket-type pressure gauge. Do not make a visual
judgement when determining proper inflation. Tires
may look properly inflated even when they are under-
inflated.
•Inspect tires for signs of tire wear or visible damage.
CAUTION!
After inspecting or adjusting the tire pressure, al-
ways reinstall the valve stem cap. This will prevent
moisture and dirt from entering the valve stem,
which could damage the valve stem.
Inflation pressures specified on the placard are always
“cold tire inflation pressure”. Cold tire inflation pressure
is defined as the tire pressure after the vehicle has not
been driven for at least three hours, or driven less than 1mile (1.6 km) after sitting for a minimum of three hours.
The cold tire inflation pressure must not exceed the
maximum inflation pressure molded into the tire side-
wall.
Check tire pressures more often if subject to a wide range
of outdoor temperatures, as tire pressures vary with
temperature changes.
Tire pressures change by approximately 1 psi (7 kPa) per
12°F (7°C) of air temperature change. Keep this in mind
when checking tire pressure inside a garage, especially in
the Winter.
Example: If garage temperature = 68°F (20°C) and the
outside temperature = 32°F (0°C) then the cold tire
inflation pressure should be increased by 3 psi (21 kPa),
which equals 1 psi (7 kPa) for every 12°F (7°C) for this
outside temperature condition.
5
STARTING AND OPERATING 649
Page 663 of 916

between front and rear axles can cause unpredictable
handling. You could lose control and have a collision.
CAUTION!
To avoid damage to your")
WARNING!
Using tires of different size and type (M+S, Snow)
between front and rear axles can cause unpredictable
handling. You could lose control and have a collision.
CAUTION!
To avoid damage to your vehicle or tires, observe the
following precautions:
•Because of restricted traction device clearance be-
tween tires and other suspension components, it is
important that only traction devices in good condi-
tion are used. Broken devices can cause serious
damage. Stop the vehicle immediately if noise
occurs that could indicate device breakage. Remove
the damaged parts of the device before further use.
(Continued)
CAUTION!(Continued)
•Install device as tightly as possible and then re-
tighten after driving about ½ mile (0.8 km).
•Do not exceed 30 mph (48 km/h).
•Drive cautiously and avoid severe turns and large
bumps, especially with a loaded vehicle.
•Do not drive for a prolonged period on dry pave-
ment.
•Observe the traction device manufacturer ’s instruc-
tions on the method of installation, operating
speed, and conditions for use. Always use the
suggested operating speed of the device manufac-
turer ’s if it is less than 30 mph (48 km/h).
•Do not use traction devices on a compact spare tire.
5
STARTING AND OPERATING 661