2016 Peugeot 308 window
[x] Cancel search: windowPage 102 of 398
100
308_en_Chap03_ergonomie-et-confort_ed02-2015
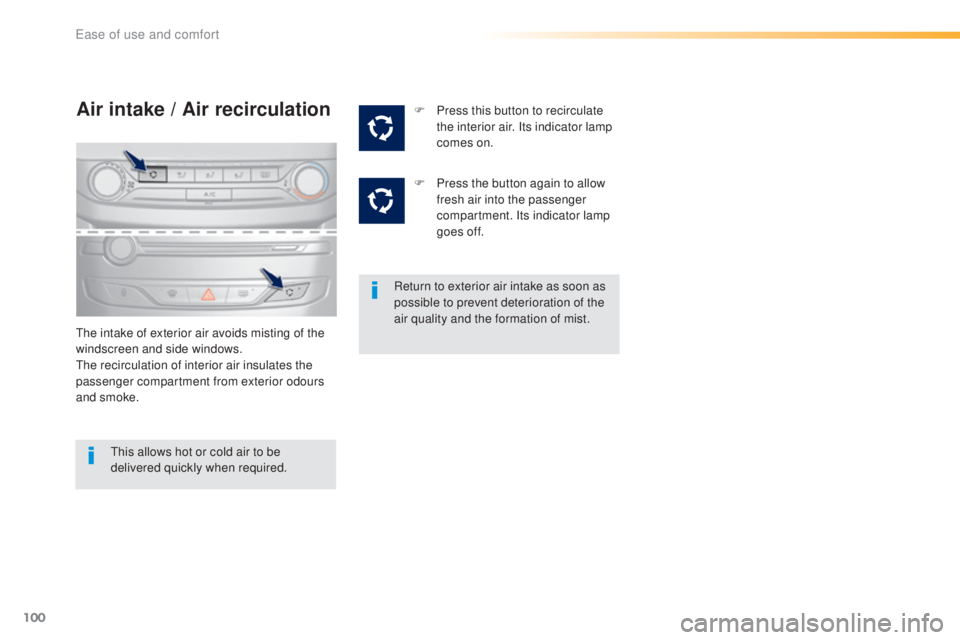
Air intake / Air recirculation
the intake of exterior air avoids misting of the
w indscreen and side windows.
the r
ecirculation of interior air insulates the
passenger compartment from exterior odours
and smoke. Return to exterior air intake as soon as
possible to prevent deterioration of the
air quality and the formation of mist.
thi
s allows hot or cold air to be
delivered quickly when required. F
Pr
ess this button to recirculate
the interior air. Its indicator lamp
comes on.
F
Pr
ess the button again to allow
fresh air into the passenger
compartment. Its indicator lamp
goes off.
ease of use and comfort
Page 103 of 398
101
308_en_Chap03_ergonomie-et-confort_ed02-2015
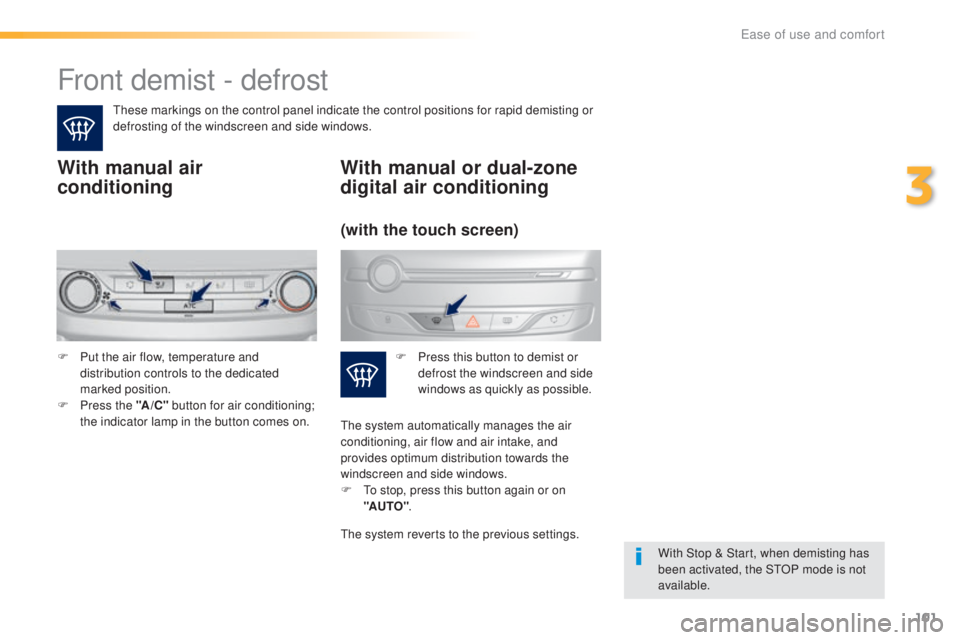
Front demist - defrost
these markings on the control panel indicate the control positions for rapid demisting or
d efrosting of the windscreen and side windows.
With manual air
conditioning
With Stop & Start, when demisting has
been activated, the StOP m ode is not
available.
With manual or dual-zone
digital air conditioning
F Put the air flow, temperature and
d istribution controls to the dedicated
marked position.
F
Pr
ess the "A /C " button for air conditioning;
the indicator lamp in the button comes on. F Pr
ess this button to demist or
defrost the windscreen and side
windows as quickly as possible.
(with the touch screen)
the system automatically manages the air
c onditioning, air flow and air intake, and
provides optimum distribution towards the
windscreen and side windows.
F
t
o st
op, press this button again or on
"AUTO" .
the s
ystem reverts to the previous settings.
3
ease of use and comfort
Page 130 of 398
128
308_en_Chap05_securite_ed02-2015
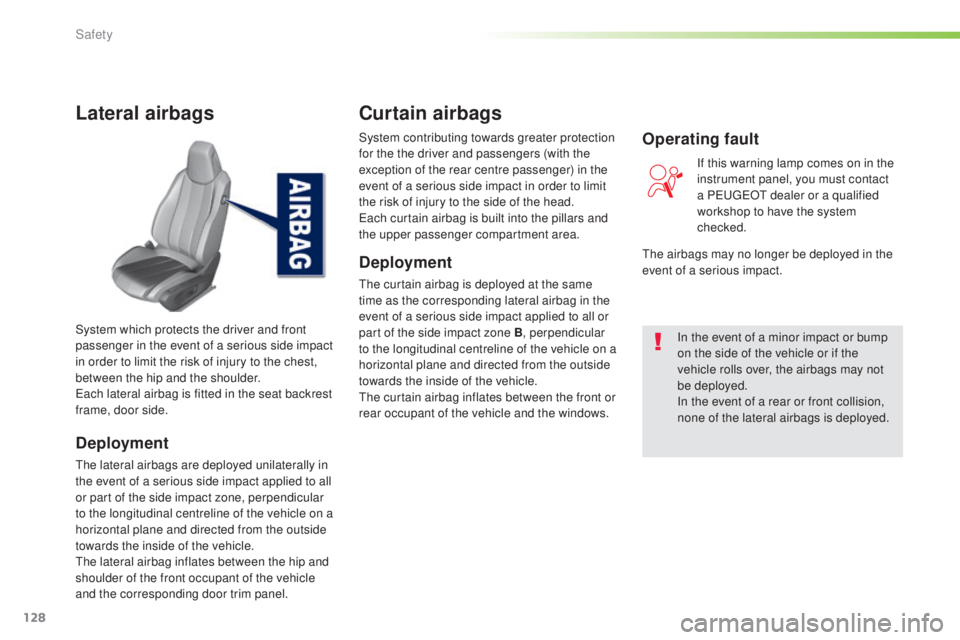
Lateral airbags
Deployment
the lateral airbags are deployed unilaterally in
t he event of a serious side impact applied to all
or part of the side impact zone, perpendicular
to the longitudinal centreline of the vehicle on a
horizontal plane and directed from the outside
towards the inside of the vehicle.
the l
ateral airbag inflates between the hip and
shoulder of the front occupant of the vehicle
and the corresponding door trim panel. System which protects the driver and front
passenger in the event of a serious side impact
in order to limit the risk of injury to the chest,
between the hip and the shoulder.
eac
h lateral airbag is fitted in the seat backrest
frame, door side. System contributing towards greater protection
for the the driver and passengers (with the
exception of the rear centre passenger) in the
event of a serious side impact in order to limit
the risk of injury to the side of the head.
eac
h curtain airbag is built into the pillars and
the upper passenger compartment area.
Deployment
the curtain airbag is deployed at the same
t ime as the corresponding lateral airbag in the
event of a serious side impact applied to all or
part of the side impact zone B, perpendicular
to the longitudinal centreline of the vehicle on a
horizontal plane and directed from the outside
towards the inside of the vehicle.
the c
urtain airbag inflates between the front or
rear occupant of the vehicle and the windows. In the event of a minor impact or bump
on the side of the vehicle or if the
vehicle rolls over, the airbags may not
be deployed.
In the event of a rear or front collision,
none of the lateral airbags is deployed.If this warning lamp comes on in the
instrument panel, you must contact
a P
eu
ge
Ot d
ealer or a qualified
workshop to have the system
checked.
Operating fault
Curtain airbags
the airbags may no longer be deployed in the
e vent of a serious impact.
Safety
Page 146 of 398
144
308_en_Chap05_securite_ed02-2015
Child seatsInstalling a booster
cushion
Recommendations
the legislation on carrying a child on the
f ront passenger seat is specific to each
country. Refer to the legislation in force in
the country in which you are driving.
Deactivate the passenger's front airbag
when a rear ward facing child seat is installed
on the front passenger seat. Otherwise, the
child would risk being seriously injured or
killed if the airbag were deployed. For optimum installation of the forward facing
child seat, ensure that the back of the child
seat is as close as possible to the backrest
of the vehicle's seat, or in contact if possible.
the h
ead restraint must be removed before
installing a child seat with a backrest on the
passenger seat.
ens
ure that the head restraint is stowed or
attached securely so that it is not thrown
around the vehicle in the event of sharp
braking.
Refit the head restraint as soon as the child
seat is removed.
the i
ncorrect installation of a child seat in a
vehicle compromises the child's protection in
the event of an accident.
Check that there is no seat belt or seat belt
buckle under the child seat as this could
destabilise it.
Remember to fasten the seat belts or the
child seat harnesses keeping the slack in
relation to the child's body to a minimum ,
even for short journeys.
For the installation of a child seat using a
seat belt, ensure that this is well tensioned
on the child seat and that it is holding the
child seat firmly against the seat of your
vehicle. If your front passenger seat is
adjustable, move it forward if necessary.
At the rear seats, always leave sufficient
space between the front seat and:
-
a re
ar ward facing child seat,
-
th
e feet of a child seated in a for ward
facing child seat.
For this, move the front seat for ward and if
necessary straighten its backrest.
Children at the front
the chest part of the seat belt must be
p ositioned on the child's shoulder without
touching the neck.
ens
ure that the lap part of the seat belt
passes correctly over the child's thighs.
P
eu
ge
Ot r
ecommends the use of a booster
seat which has a back, fitted with a seat belt
guide at shoulder level.
As a safety precaution, do not leave:
-
on
e or more children alone and
unsupervised in a vehicle,
-
a ch
ild or an animal in a vehicle which
is exposed to the sun, with the windows
closed,
-
th
e keys within reach of children inside
the vehicle.
to pr
event accidental opening of the doors,
use the child lock.
tak
e care not to open the rear windows by
more than one third.
to pr
otect young children from the rays of
the sun, fit side blinds on the rear windows.
Safety
Page 222 of 398
220
308_en_Chap07_info-pratiques_ed02-2015
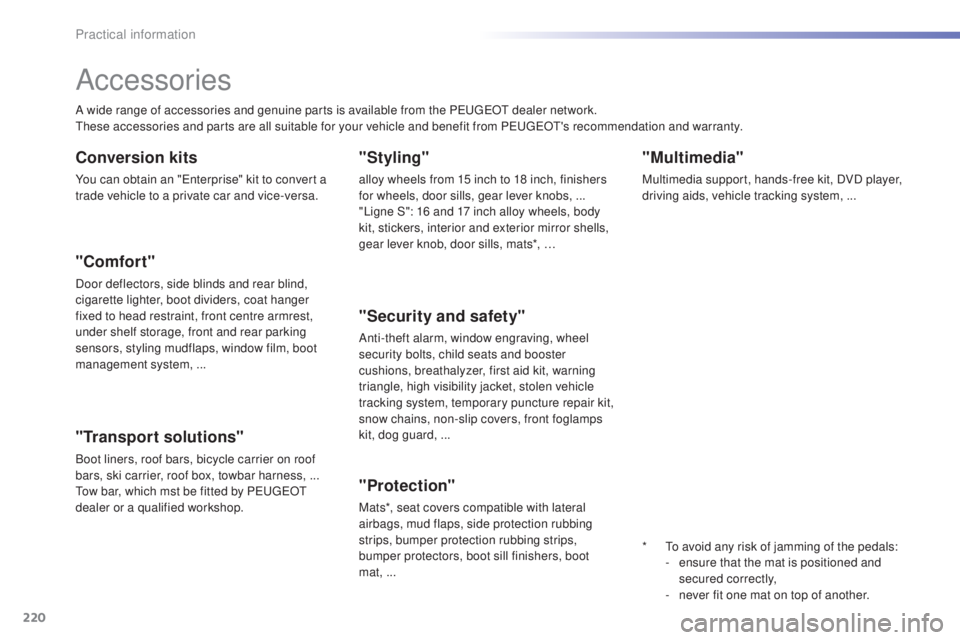
"Multimedia"
Multimedia support, hands-free kit, DVD player,
driving aids, vehicle tracking system, ...
Accessories
A wide range of accessories and genuine parts is available from the PeugeOt d ealer network.the
se accessories and parts are all suitable for your vehicle and benefit from Peu geOt's r ecommendation and warranty.
"Transport solutions"
Boot liners, roof bars, bicycle carrier on roof
bars, ski carrier, roof box, towbar harness, ...
tow b
ar, which mst be fitted by P
eu
ge
Ot
d
ealer or a qualified workshop.
Conversion kits
You can obtain an "ent erprise" kit to convert a
trade vehicle to a private car and vice-versa.
"Styling"
alloy wheels from 15 inch to 18 inch, finishers
for wheels, door sills, gear lever knobs, ...
"Ligne S": 16 and 17 inch alloy wheels, body
kit, stickers, interior and exterior mirror shells,
gear lever knob, door sills, mats*, …
"Comfort"
Door deflectors, side blinds and rear blind,
cigarette lighter, boot dividers, coat hanger
fixed to head restraint, front centre armrest,
under shelf storage, front and rear parking
sensors, styling mudflaps, window film, boot
management system, ...
*
t
o av
oid any risk of jamming of the pedals:
-
en
sure that the mat is positioned and
secured correctly,
-
ne
ver fit one mat on top of another.
"Security and safety"
Anti-theft alarm, window engraving, wheel
security bolts, child seats and booster
cushions, breathalyzer, first aid kit, warning
triangle, high visibility jacket, stolen vehicle
tracking system, temporary puncture repair kit,
snow chains, non-slip covers, front foglamps
kit, dog guard, ...
"Protection"
Mats*, seat covers compatible with lateral
airbags, mud flaps, side protection rubbing
strips, bumper protection rubbing strips,
bumper protectors, boot sill finishers, boot
mat,
...
Practical information
Page 275 of 398

273
308_en_Chap08_en-cas-de-panne_ed02-2015
Starting using another battery
First check that the slave battery has a
nominal voltage of 12 V and a capacity
at least equal to that of the discharged
battery.
Do not try to start the engine by
connecting a battery charger.
Do not disconnect the (+) terminal when
the engine is running.
F
Re
move the plastic cover from
the
(
+)
t
erminal, if your vehicle has one.
F
Co
nnect the red cable to the positive
terminal (+) of the flat battery A , then to the
positive terminal (+) of the slave battery B.
F
Co
nnect one end of the green or black
cable to the negative terminal (-) of the
slave battery B (or earth point on the other
vehicle).
F
Co
nnect the other end of the green or black
cable to the earth point C on the broken
down vehicle (or on the engine mounting).
F
St
art the engine of the vehicle with the
good battery and leave it running for a
few
m
inutes. F
Op
erate the starter on the broken down
vehicle and let the engine run
If t
he engine does not start straight
away, switch off the ignition and wait a
few
m
oments before trying again.
F
Wa
it until the engine returns to idle then
disconnect the jump lead cables in the
reverse order.
F
Re
fit the plastic cover to the (+) terminal, if
your vehicle has one.
When your vehicle's battery is discharged, the
engine can be started using a slave battery
(external or on another vehicle) and jump lead
cables.Before disconnecting the battery
Wait 2 minutes after switching off the ignition
before disconnecting the battery.
Close the windows and the doors before
disconnecting the battery.
Following reconnection of the
battery
Following reconnection of the battery, switch on
the ignition and wait 1 minute before starting to
permit initialisation of the electronic systems.
However, if problems remain following this
operation, contact a P
eu
ge
Ot d
ealer or a
qualified workshop.
Referring to the corresponding section, you
must yourself reinitialise (depending on
version):
-
th
e remote control key,
-
th
e electric blind(s),
-
... S
ome functions are not available if the
battery is not sufficiently charged.
8
In the event of a breakdown
Page 363 of 398
361
308_en_Chap10c_SMegplus_ed02-2015
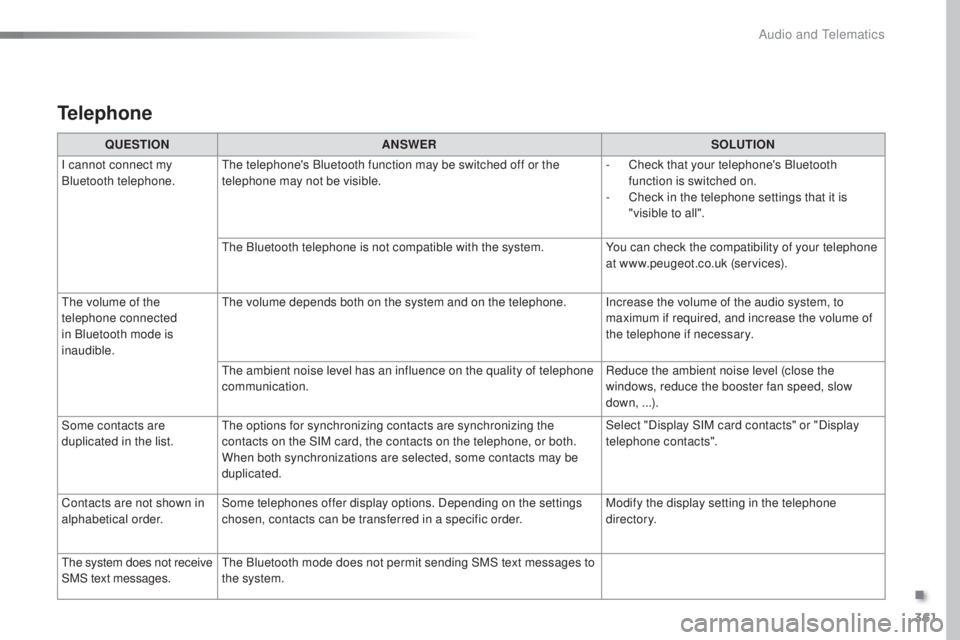
Telephone
QUESTIONANSWER SOLUTION
I cannot connect my
Bluetooth telephone.
the t
elephone's Bluetooth function may be switched off or the
telephone may not be visible. -
Ch
eck that your telephone's Bluetooth
function is switched on.
-
Ch
eck in the telephone settings that it is
"visible to all".
the B
luetooth telephone is not compatible with the system. You can check the compatibility of your telephone
at www.peugeot.co.uk (services).
the v
olume of the
telephone connected
in Bluetooth mode is
inaudible.
the v
olume depends both on the system and on the telephone. Increase the volume of the audio system, to maximum if required, and increase the volume of
the telephone if necessary.
the a
mbient noise level has an influence on the quality of telephone
communication. Reduce the ambient noise level (close the
windows, reduce the booster fan speed, slow
down, ...).
Some contacts are
duplicated in the list.
the o
ptions for synchronizing contacts are synchronizing the
contacts on the SIM card, the contacts on the telephone, or both.
When both synchronizations are selected, some contacts may be
duplicated. Select "Display SIM card contacts" or "Display
telephone contacts".
Contacts are not shown in
alphabetical order. Some telephones offer display options. Depending on the settings
chosen, contacts can be transferred in a specific order. Modify the display setting in the telephone
di r e c to r y.
the s
ystem does not receive
SMS text messages.
the B
luetooth mode does not permit sending SMS text messages to
the system.
.
Audio and telematics
Page 376 of 398
374
308_en_Chap10d_RD45_ed02-2015
telephone
Pairing a Bluetooth® telephone
Screen C
(Available according to model and version)
As a safety measure and because they
require prolonged attention on the part
of the driver, the operations for pairing
of the Bluetooth mobile telephone with
the Bluetooth hands-free system of
your audio equipment must be carried
out with the vehicle stationary and the
ignition on.
go t
o www.peugeot.co.uk for more information
(compatibility, more help, ...).
Activate the telephone's Bluetooth function
and ensure that it is "visible to all" (telephone
configuration).
Press the MENU button. In the menu, select:
- "
Bl
uetooth: Telephone - Audio "
-
" B
luetooth configuration"
-
" P
erform a Bluetooth search"
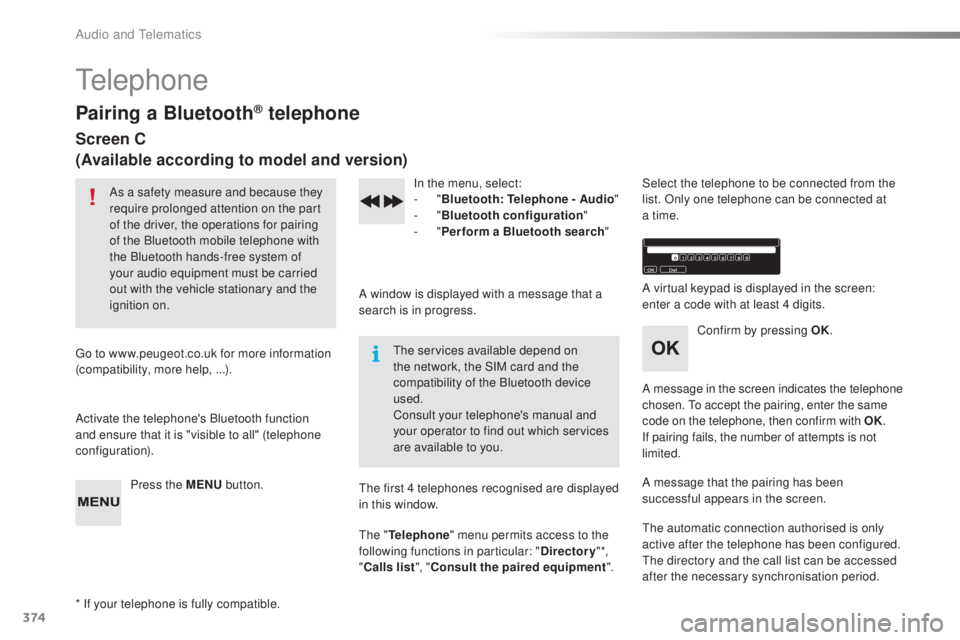
A window is displayed with a message that a
search is in progress.
the ser
vices available depend on
the network, the SIM card and the
compatibility of the Bluetooth device
used.
Consult your telephone's manual and
your operator to find out which services
are available to you.
* If your telephone is fully compatible.
the f
irst 4 telephones recognised are displayed
in this window.
the " T
elephone" menu permits access to the
following functions in particular: " Directory" *,
" Calls list ", "Consult the paired equipment ".Select the telephone to be connected from the
list. Only one telephone can be connected at
a time.
A virtual keypad is displayed in the screen:
enter a code with at least 4 digits.
Confirm by pressing OK.
A message in the screen indicates the telephone
chosen.
to a
ccept the pairing, enter the same
code on the telephone, then confirm with OK.
If pairing fails, the number of attempts is not
limited.
A message that the pairing has been
successful appears in the screen.
the a
utomatic connection authorised is only
active after the telephone has been configured.
the d
irectory and the call list can be accessed
after the necessary synchronisation period.
Audio and telematics