2016 NISSAN TITAN instrument panel
[x] Cancel search: instrument panelPage 2 of 40
Beneath the
instrument panel
2
3
5
4
1617
7
8
18
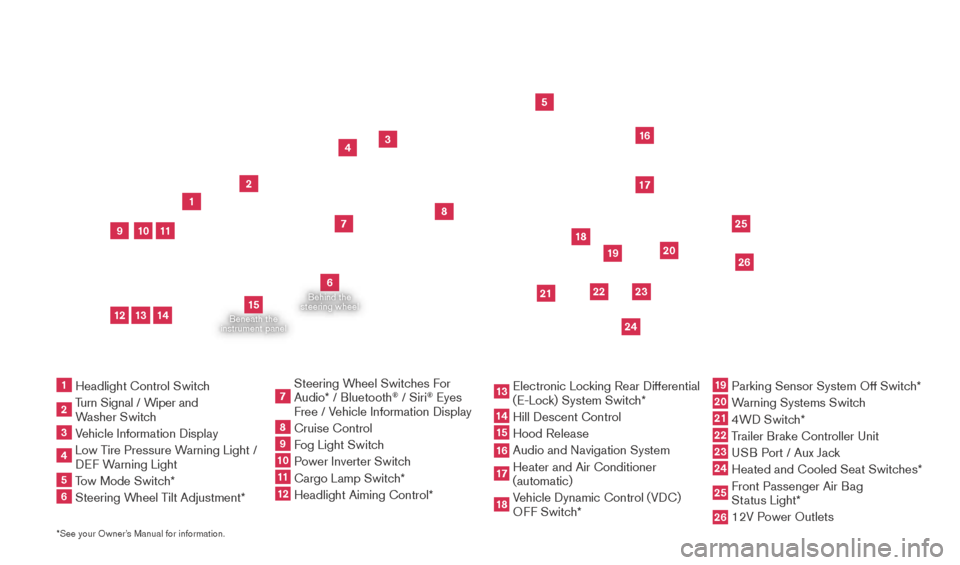
*See your Owner’s Manual for information.1 Headlight Control Switc h2 Turn Signal / Wiper and
Washer Switch
3 Vehicle Information Display4 Low T ire Pressure Warning Light /
DEF Warning Light5 Tow Mode Switch*6 Steering W heel Tilt Adjustment*
7 Steering W heel Switches For
Audio* / Bluetooth
® / Siri
® Eyes
Free / Vehicle Information Display
8 Cruise Control 9 Fog Light Switch10 P ower Inverter Switch11 Cargo Lamp Switc h*12 Headlight Aiming Control*
13 Electronic Loc king Rear Differential
(E-Lock) System Switch*14 Hill Descent Control
15 Hood Release
16 Audio and Navigation System 17 Heater and Air Conditioner
(automatic)
18 Vehicle Dynamic Control (VDC)
OFF Switch*
19 Parking Sensor System Off Switc h*20 Warning Systems Switch21 4WD Switch*22 Trailer Brake Controller Unit23 USB Port / Aux Jack24 Heated and Cooled Seat Switc
hes* 25 Front Passenger Air Bag
Status Light*26 12V P ower Outlets
23
1
24
15
21
6
Behind the
steering wheel
2219
2526
11
9
1013
12
14
20
2027886_16b_Titan_US_pQRG_010716.indd 41/7/16 2:01 PM
Page 5 of 40
3
Stolen Vehicle Locator – A Response Specialist will attempt to obtain location information from a reported stolen vehicle and provide that information \
to local law
enforcement agencies to assist in the recovery of your stolen vehicle.
Remote Door Loc k/Unlock – Remotely access your vehicle via a NissanConnect
Services Response Specialist, the NissanConnect Services companion app or
website to remotely lock or unlock your vehicle.
Remote Engine St art – Start your engine remotely using the NissanConnect Services
companion app or website.
Remote Sound Horn and Flash Lights – Sound the horn and flash the l\
ights remotely
using the Niss anConnect Services companion app or website.
Alarm Notification – T his system will notify you when the factory-installed vehicle alarm
system has been activated.
Maintenance Alert – Receive notifications via a selected method of \
a vehicle system
malfunction that triggers instrument panel warning lights.
Connected Searc h – Select “Connected Search” from the Destination menu on the
vehicle’s Navigation System to conduct a Point Of Interest (POI) search within a
certain distance of the vehicle’s location.
Assisted Searc h – Allows the subscriber to verbally request POI destination data from
a live operator.
Destination Download – Use the Niss anConnect Services companion app or website
to search for and send destinations directly to the vehicle.
Journey Planner – Send a route with up to five waypoints and a dest\
ination directly to
the vehicle.
Boundary Alert – Monitor the movement of your vehicle within a specifi\
ed region. Set up boundaries in the Monitoring section of the NissanConnect Services web portal.
Speed Alert – Set up a maximum speed on the Niss anConnect Services web portal.
You will receive notifications if your vehicle exceeds the maximum spee\
d setting.
Account Management – Speak with a live Agent regarding your Niss anConnect
Services account.
Curfew Alert – Specify curfew limits via the Niss anConnect Services companion app
or website and be notified via a selected method if curfew is violated\
.
1 Only use Niss anConnectSM Services powered by SiriusXM® and NissanConnectSM Mobile Apps when safe to
do so. NissanConnectSM Services and Mobile Apps availability is dependent on vehicle model, tr\
im level,
packaging, and/or options. See www.NissanUSA.com/connect for complete product and service availability
details. Late availability for some features. Compatible smartphone require\
d to operate NissanConnect
SM Mobile Apps.
Services require an operating vehicle device and cellular and GPS coverage. Cellular network and GPS signals
are not available in all areas and/or at all times. Neither NISSAN nor SiriusXM are responsible for associated costs,
if any, for continued operation due to cellular network termination/changes. Cellular provider may terminate/restrict
service without notice. Certain services require a PIN for activation. Applicable Subscription Agreement required. See
www.NissanUSA.com/connect for details and service limitations. Enrollment is required to receive the full suite of
services. Text rates and/or data usage may apply.
For more information, refer to the “Information (section 5)” of your Navigation System Owner’s Manual.
2027886_16b_Titan_US_pQRG_010716.indd 31/7/16 2:01 PM
To view detailed instructional videos regarding these and other features, please go to www.nissanownersinfo.mobi.
Page 10 of 40
8
NEW SYSTEM FEATURES
DIESEL PARTICULATE FILTER (DPF) (diesel models only)
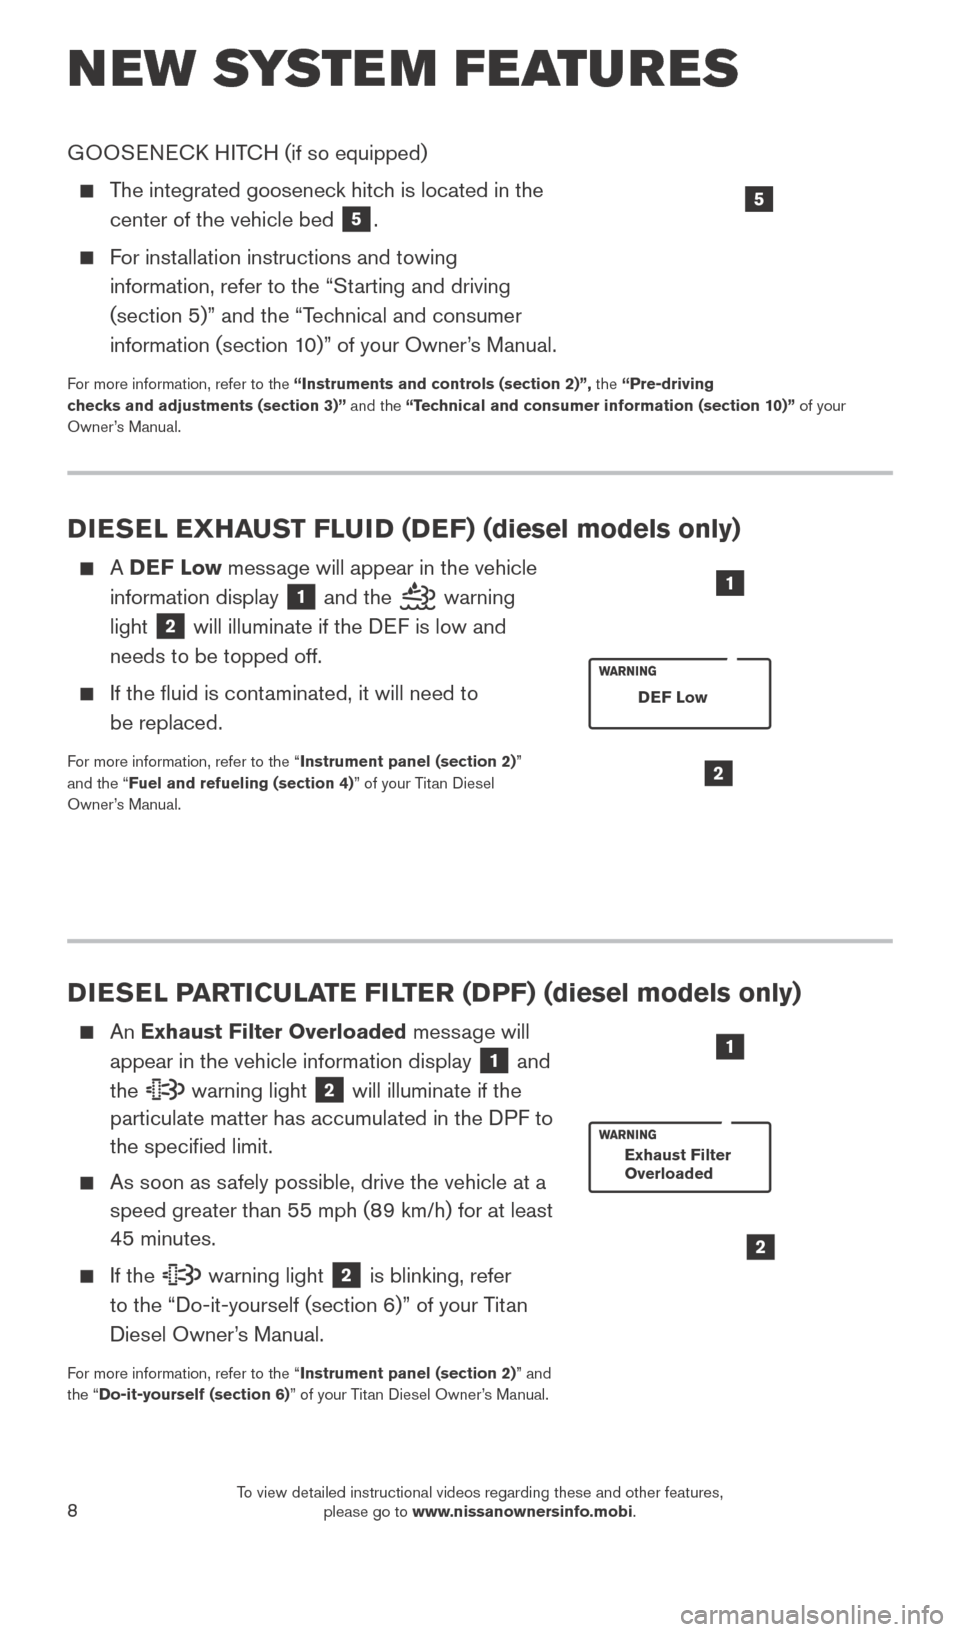
An Exhaust Filter Overloaded message will
appear in the vehicle information display
1 and
the warning light 2 will illuminate if the
particulate matter has accumulated in the DPF to
the specified limit.
As soon as s afely possible, drive the vehicle at a
speed greater than 55 mph (89 km/h) for at least
45 minutes.
If the warning light 2 is blinking, refer
to the “Do-it-yourself (section 6)” of your Titan
Diesel Owner’s Manual.
For more information, refer to the “Instrument panel (section 2)” and
the “Do-it-yourself (section 6)” of your Titan Diesel Owner’s Manual.
2
1
Exhaust Filter
Overloaded
DIESEL EXHAUST FLUID (DEF) (diesel models only)
A DEF Low message will appear in the vehicle
information display
1 and the warning
light
2 will illuminate if the DEF is low and
needs to be topped off.
If the fluid is cont aminated, it will need to
be replaced.
For more information, refer to the “Instrument panel (section 2)”
and the “Fuel and refueling (section 4)” of your Titan Diesel
Owner’s Manual.2
DEF Low
1
GOOSENECK HITCH (if so equipped)
The integrated gooseneck hitch is located in the center of the vehicle bed
5.
For installation instructions and towing information, refer to the “Starting and driving
(section 5)” and the “Technical and consumer
information (section 10)” of your Owner’s Manual.
For more information, refer to the “Instruments and controls (section 2)”, the “Pre-driving
checks and adjustments (section 3)” and the “Technical and consumer information (section 10)” of your
Owner’s Manual.
5
2027886_16b_Titan_US_pQRG_010716.indd 81/7/16 2:02 PM
To view detailed instructional videos regarding these and other features, please go to www.nissanownersinfo.mobi.
Page 17 of 40
15
POWER SEAT ADJUSTMENTS (if so equipped)
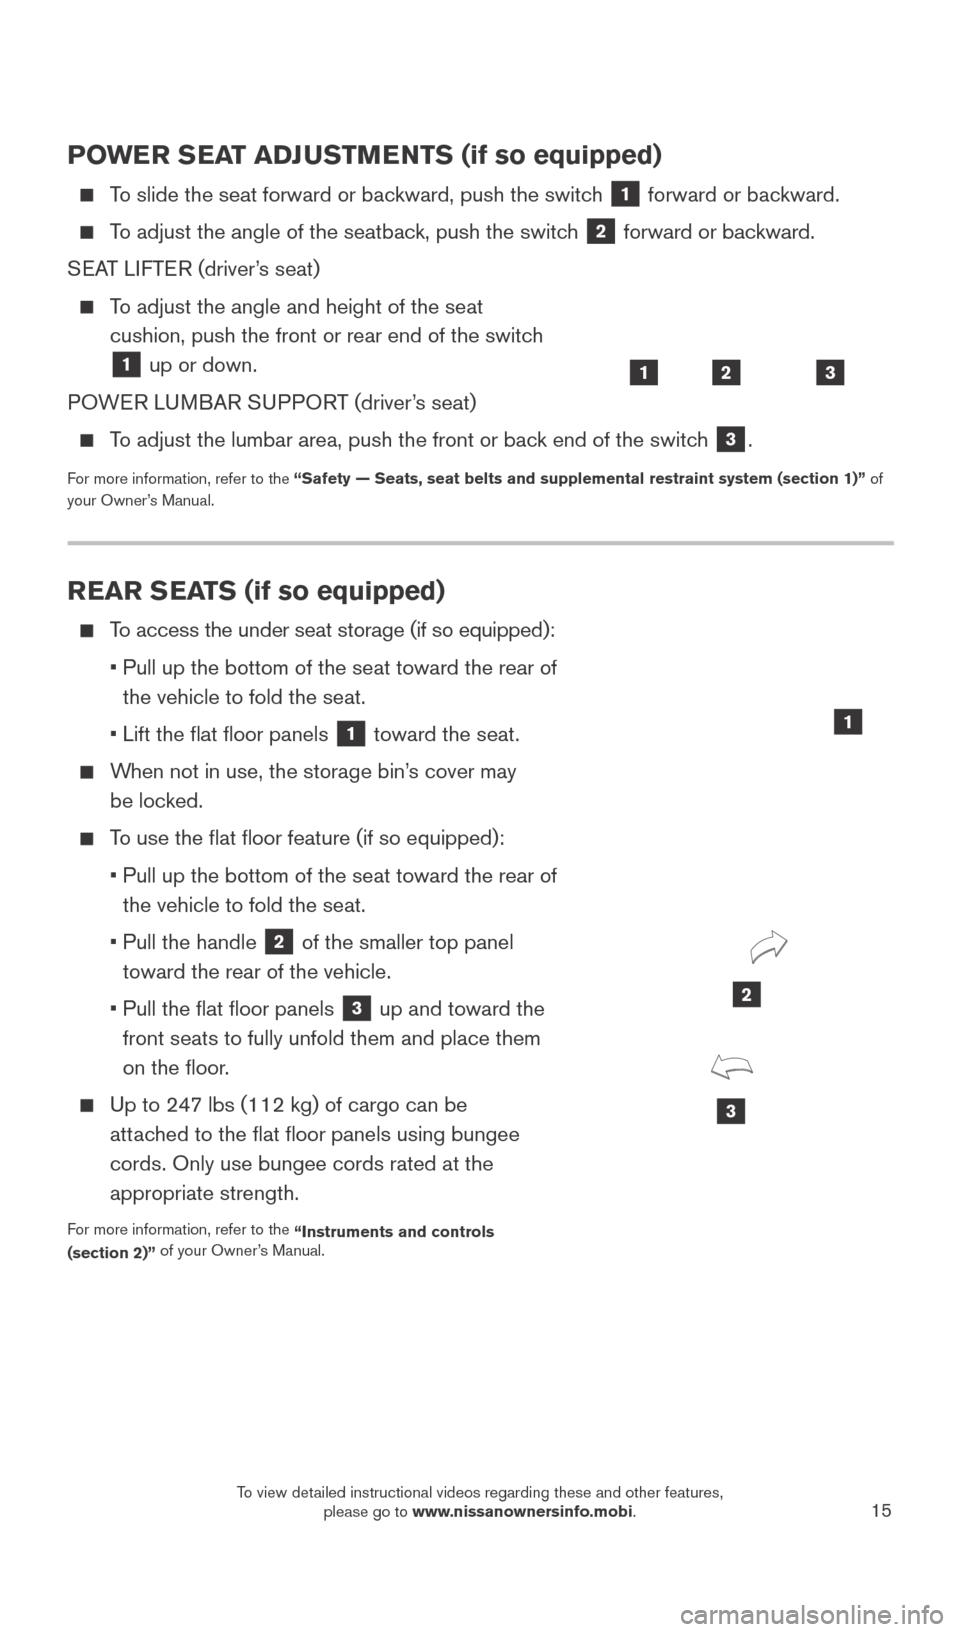
To slide the seat forward or backward, push the switch 1 forward or backward.
To adjust the angle of the seatback, push the switch 2 forward or backward.
SEAT LIFTER (driver’s seat)
To adjust the angle and height of the seat cushion, push the front or rear end of the switch
1 up or down.
POWER LUMBAR SUPPORT (driver’s seat)
To adjust the lumbar area, push the front or back end of the switch 3.
For more information, refer to the “Safety — Seats, seat belts and supplemental restraint system (se\
ction 1)” of
your Owner’s Manual.
123
REAR SEATS (if so equipped)
To access the under seat storage (if so equipped):
•
Pull up the bottom of the seat toward the rear of
the vehicle to fold the seat.
• Lift the flat floor panels 1 toward the seat.
When not in use, the storage bin’s cover may be locked.
To use the flat floor feature (if so equipped):
•
Pull up the bottom of the seat toward the rear of
the vehicle to fold the seat.
•
Pull the handle 2 of the smaller top panel
toward the rear of the vehicle.
•
Pull the flat floor panels 3 up and toward the
front seats to fully unfold them and place them
on the floor.
Up to 247 lbs (112 kg) of cargo can be attached to the flat floor panels using bungee
cords. Only use bungee cords rated at the
appropriate strength.
For more information, refer to the “Instruments and controls
(section 2)” of your Owner’s Manual.
3
2
1
2027886_16b_Titan_US_pQRG_010716.indd 151/7/16 2:03 PM
To view detailed instructional videos regarding these and other features, please go to www.nissanownersinfo.mobi.
Page 19 of 40
17
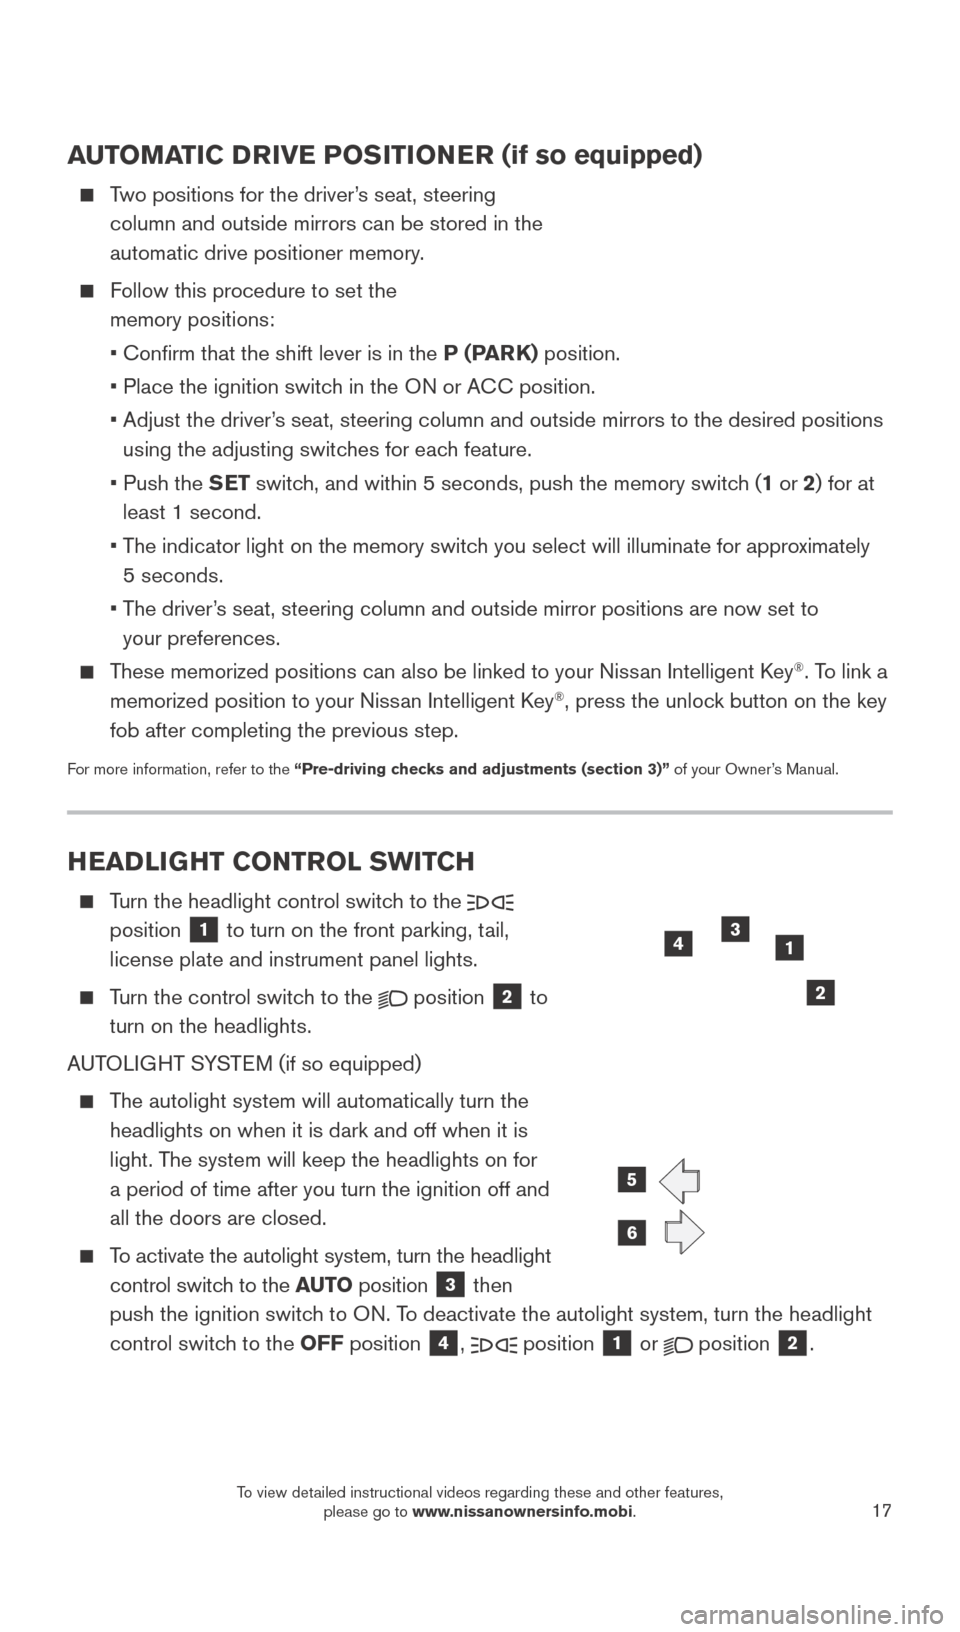
HEADLIGHT CONTROL SWITCH
Turn the headlight control switch to the
position 1 to turn on the front parking, tail,
license plate and instrument panel lights.
Turn the control switch to the
position 2 to
turn on the headlights.
AUTOLIGHT SYSTEM (if so equipped)
The autolight system will automatically turn the headlights on when it is dark and off when it is
light. The system will keep the headlights on for
a period of time after you turn the ignition off and
all the doors are closed.
To activate the autolight system, turn the headlight control switch to the AUTO position
3 then
push the ignition switch to ON. To deactivate the autolight system, turn the headlight
control switch to the OFF position
4, position 1 or position 2.
6
5
AUTOMATIC DRIVE POSITIONER (if so equipped)
Two positions for the driver’s seat, steering
column and outside mirrors can be stored in the
automatic drive positioner memory.
Follow this procedure to set the memory positions:
•
Confirm that the shift lever is in the
P (PARK) position.
• Place the ignition switc
h in the ON or ACC position.
•
Adjust the driver
’s seat, steering column and outside mirrors to the desired positions
using the adjusting switches for each feature.
•
Push the
SET switch, and within 5 seconds, push the memory switch (1 or 2) for at
least 1 second.
•
T
he indicator light on the memory switch you select will illuminate for approximately
5 seconds.
•
T
he driver’s seat, steering column and outside mirror positions are now set to
your preferences.
These memorized positions can also be linked to your Nissan Intelligent Key®. To link a
memorized position to your Nissan Intelligent Key®, press the unlock button on the key
fob after completing the previous step.
For more information, refer to the “Pre-driving checks and adjustments (section 3)” of your Owner’s Manual.
13
2
4
2027886_16b_Titan_US_pQRG_010716.indd 171/7/16 2:03 PM
To view detailed instructional videos regarding these and other features, please go to www.nissanownersinfo.mobi.
Page 20 of 40
18
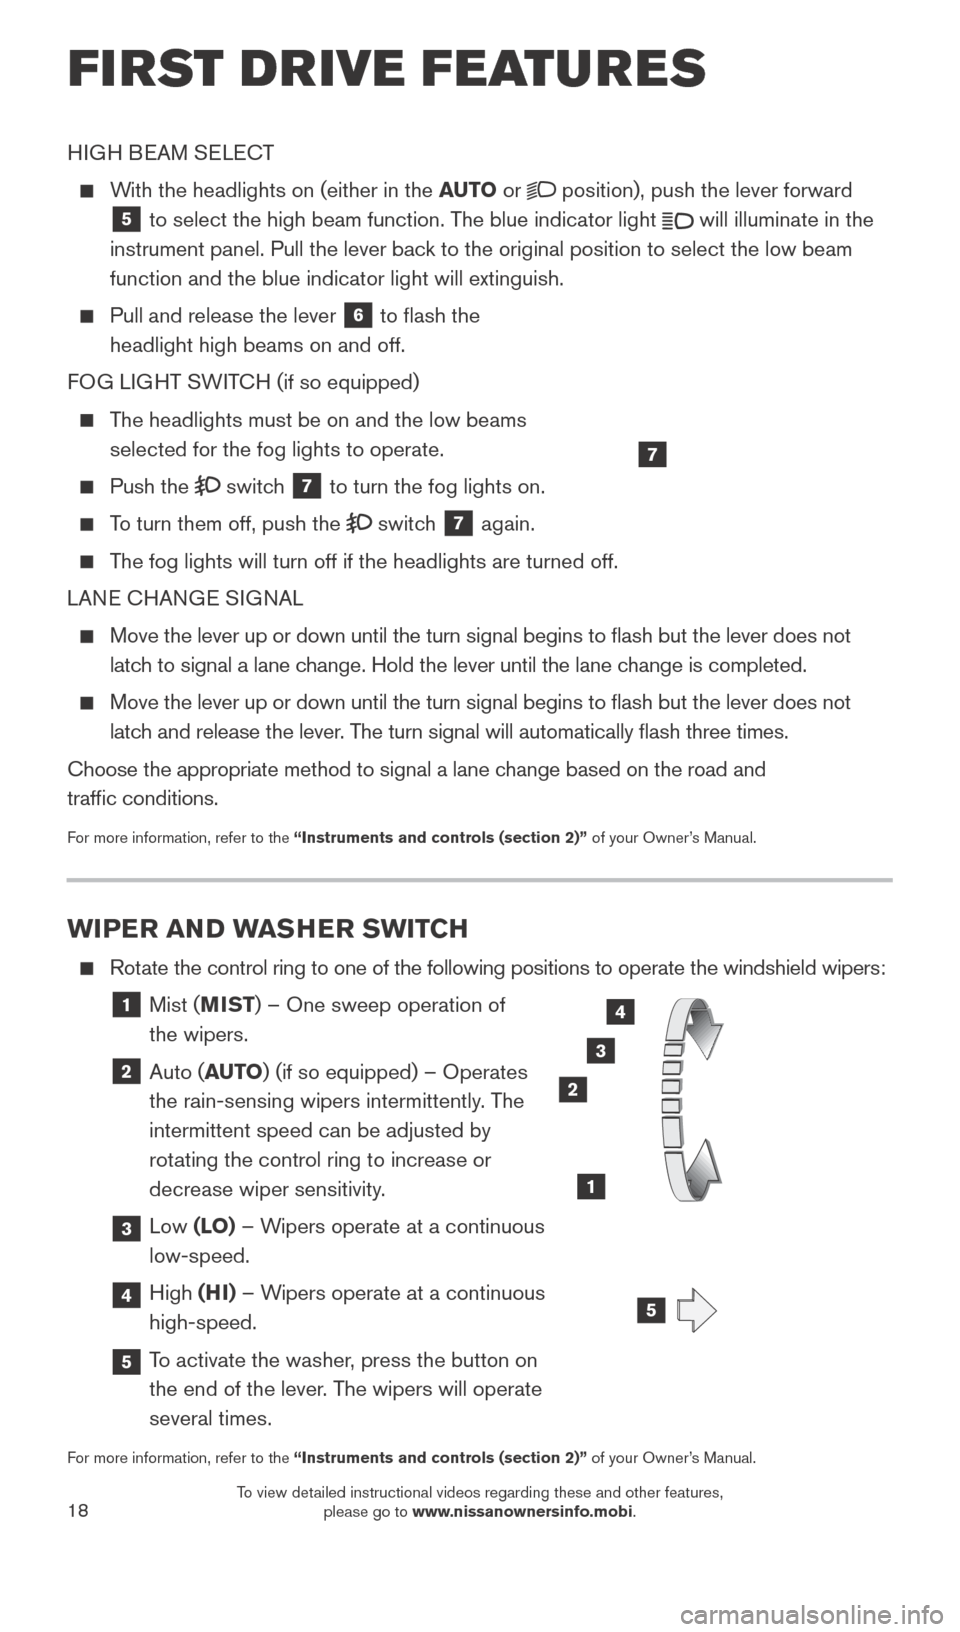
WIPER AND WASHER SWITCH
Rotate the control ring to one of the following positions to operate the wi\
ndshield wipers:
1 Mist (MIST) – One sweep operation of
the wipers.
2 Auto ( AUTO) (if so equipped) – Operates
the rain-sensing wipers intermittently. The
intermittent speed can be adjusted by
rotating the control ring to increase or
decrease wiper sensitivity.
3 Low (LO) – Wipers operate at a continuous
low-speed.
4 High (HI) – Wipers operate at a continuous
high-speed.
5 To activate the washer, press the button on the end of the lever. The wipers will operate
several times.
For more information, refer to the “Instruments and controls (section 2)” of your Owner’s Manual.
3
2
1
4
LO HI
AUTO OFF
MIST
HIGH BEAM SELECT
With the headlights on (either in the AUTO
or position), push the lever forward
5 to select the high beam function. The blue indicator light
will illuminate in the
instrument panel. Pull the lever back to the original position to select the low beam
function and the blue indicator light will extinguish.
Pull and release the lever
6 to flash the
headlight high beams on and off.
FOG LIGHT SWITCH (if so equipped)
The headlights must be on and the low beams selected for the fog lights to operate.
Push the switch 7 to turn the fog lights on.
To turn them off, push the switch 7 again.
The fog lights will turn off if the headlights are turned off.
LANE CHANGE SIGNAL
Move the lever up or down until the turn signal begins to flash but th\
e lever does not
latch to signal a lane change. Hold the lever until the lane change is completed.
Move the lever up or down until the turn signal begins to flash but th\
e lever does not
latch and release the lever. The turn signal will automatically flash three times.
Choose the appropriate method to signal a lane change based on the road and
traffic conditions.
For more information, refer to the “Instruments and controls (section 2)” of your Owner’s Manual.
7
5
FI RST DRIVE FEATURES
2027886_16b_Titan_US_pQRG_010716.indd 181/7/16 2:03 PM
To view detailed instructional videos regarding these and other features, please go to www.nissanownersinfo.mobi.
Page 21 of 40
19
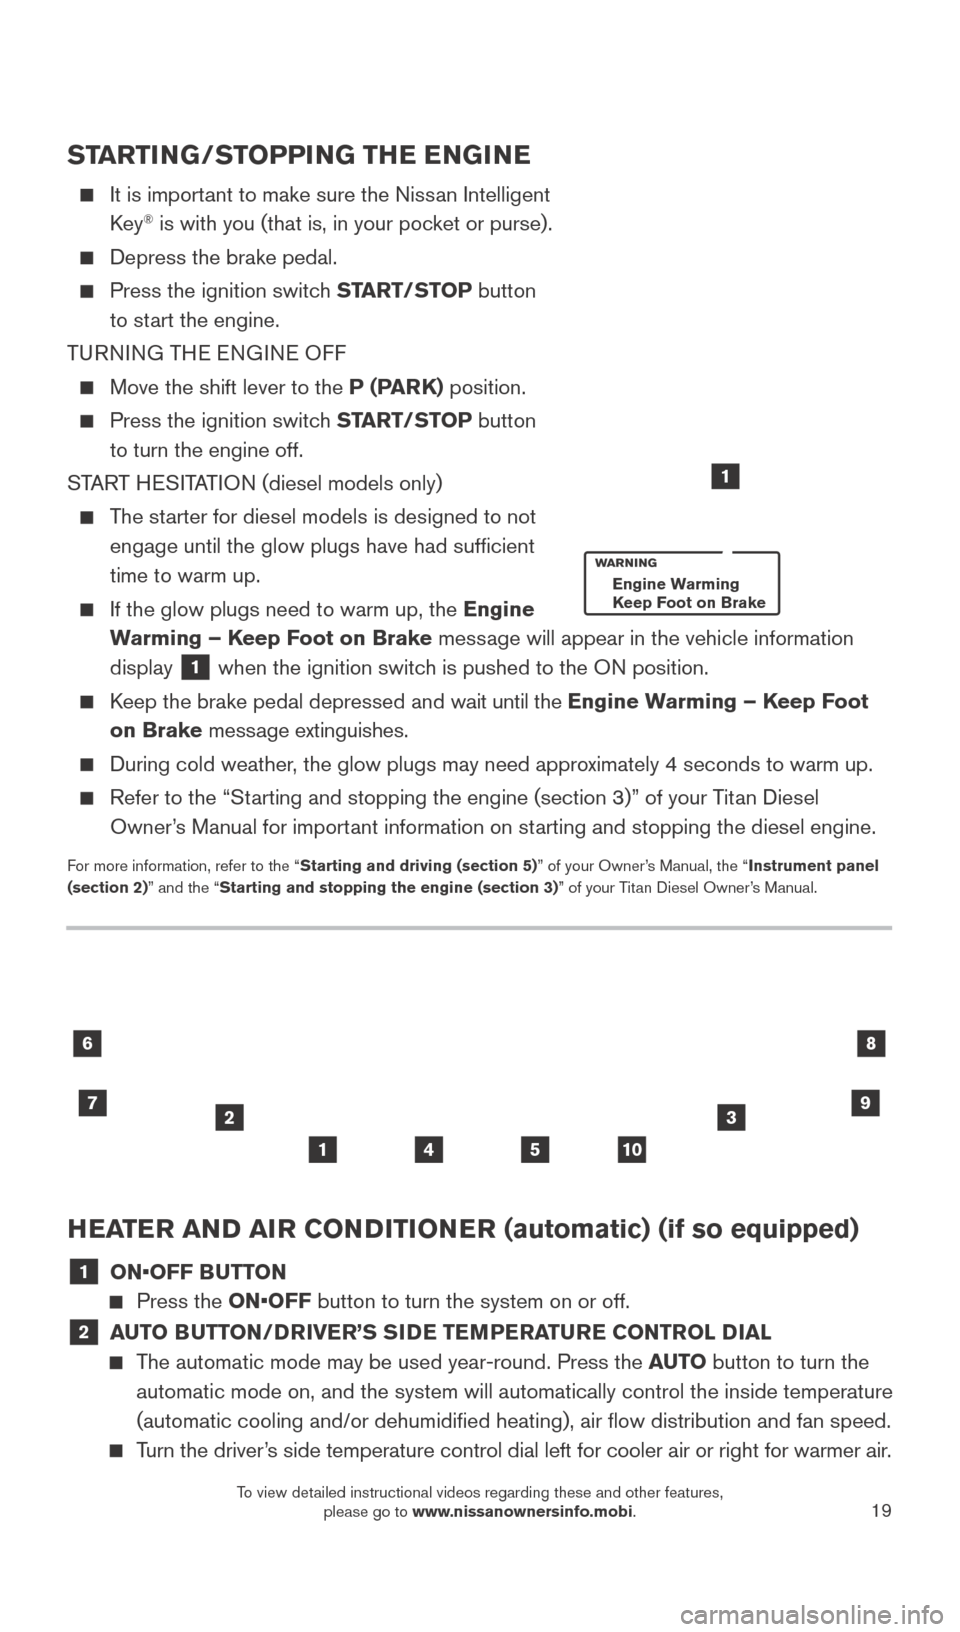
HEATER AND AIR CONDITIONER (automatic) (if so equipped)
1 ON•OFF BUTTON
Press the ON•OFF button to turn the system on or off.
2 AUTO BUTTON/DRIVER’S SIDE TEMPERATURE CONTROL DIAL
The automatic mode may be used year-round. Press the AUTO button to turn the
automatic mode on, and the system will automatically control the inside \
temperature
(automatic cooling and/or dehumidified heating), air flow distribu\
tion and fan speed.
Turn the driver’s side temperature control dial left for cooler air or right for warmer \
air.
23
10
6
7
8
541
9
STARTING/STOPPING THE ENGINE
It is import ant to make sure the Nissan Intelligent
Key® is with you (that is, in your pocket or purse).
Depress the brake pedal.
Press the ignition switc h START/STOP button
to start the engine.
TURNING THE ENGINE OFF
Move the shift lever to the P (PARK) position.
Press the ignition switch START/STOP button
to turn the engine off.
START HESITATION (diesel models only)
The starter for diesel models is designed to not engage until the glow plugs have had sufficient
time to warm up.
If the glow plugs need to warm up, the Engine
Warming – Keep Foot on Brake message will appear in the vehicle information
display
1 when the ignition switch is pushed to the ON position.
Keep the brake pedal depressed and wait until the Engine Warming – Keep Foot
on Brake message extinguishes.
During cold weather , the glow plugs may need approximately 4 seconds to warm up.
Refer to the “Starting and stopping the engine (section 3)” of your Titan Diesel
Owner’s Manual for important information on starting and stopping the diesel engine.
For more information, refer to the “Starting and driving (section 5)” of your Owner’s Manual, the “Instrument panel
(section 2)” and the “Starting and stopping the engine (section 3)” of your Titan Diesel Owner’s Manual.
1
Engine Warming
Keep Foot on Brake
2027886_16b_Titan_US_pQRG_010716.indd 191/7/16 2:03 PM
To view detailed instructional videos regarding these and other features, please go to www.nissanownersinfo.mobi.
Page 25 of 40
23
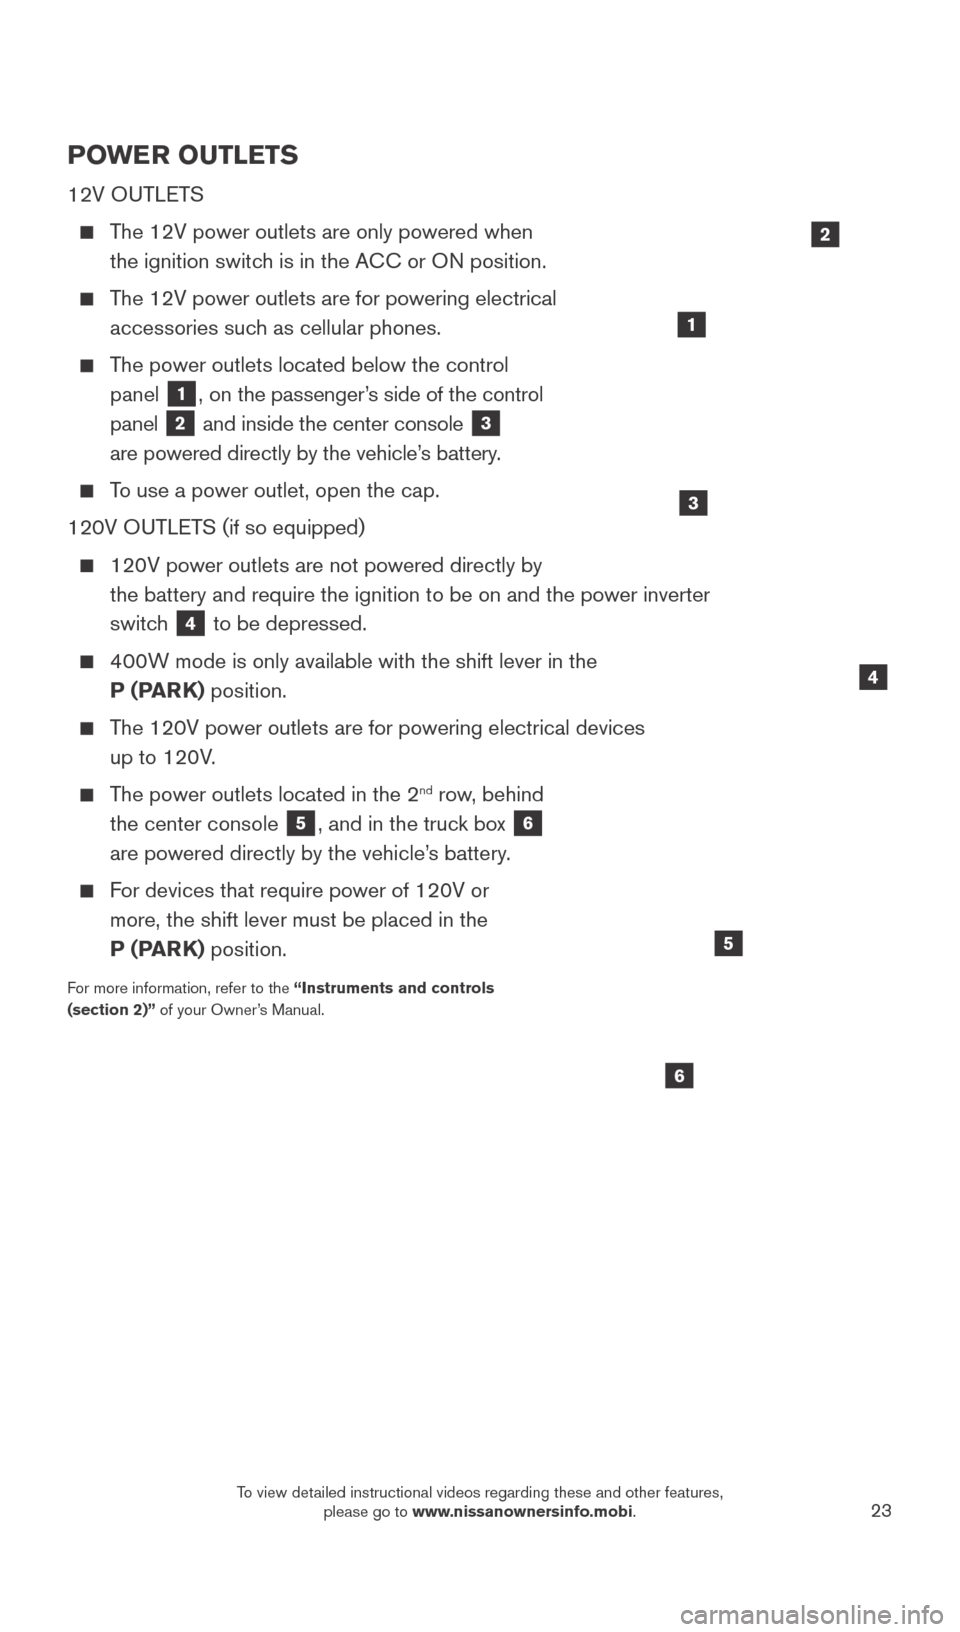
POWER OUTLETS
12V OUTLETS
The 12V power outlets are only powered when the ignition switch is in the ACC or ON position.
The 12V power outlets are for powering electrical accessories such as cellular phones.
The power outlets located below the control panel
1, on the passenger’s side of the control
panel
2 and inside the center console 3
are powered directly by the vehicle’s battery.
To use a power outlet, open the cap.
120V OUTLETS (if so equipped)
120V power outlets are not powered directly by
the battery and require the ignition to be on and the power inverter
switc
h
4 to be depressed.
400W mode is only available with the shift lever in the P (PARK) position.
The 120V power outlets are for powering electrical devices up to 120V.
The power outlets located in the 2nd row, behind
the center console
5, and in the truck box 6
are powered directly by the vehicle’s battery.
For devices that require power of 120V or more, the shift lever must be placed in the
P (PARK) position.
For more information, refer to the “Instruments and controls
(section 2)” of your Owner’s Manual.
4
1
6
5
2
3
2027886_16b_Titan_US_pQRG_010716.indd 231/7/16 2:04 PM
To view detailed instructional videos regarding these and other features, please go to www.nissanownersinfo.mobi.