2016 NISSAN TITAN buttons
[x] Cancel search: buttonsPage 305 of 636
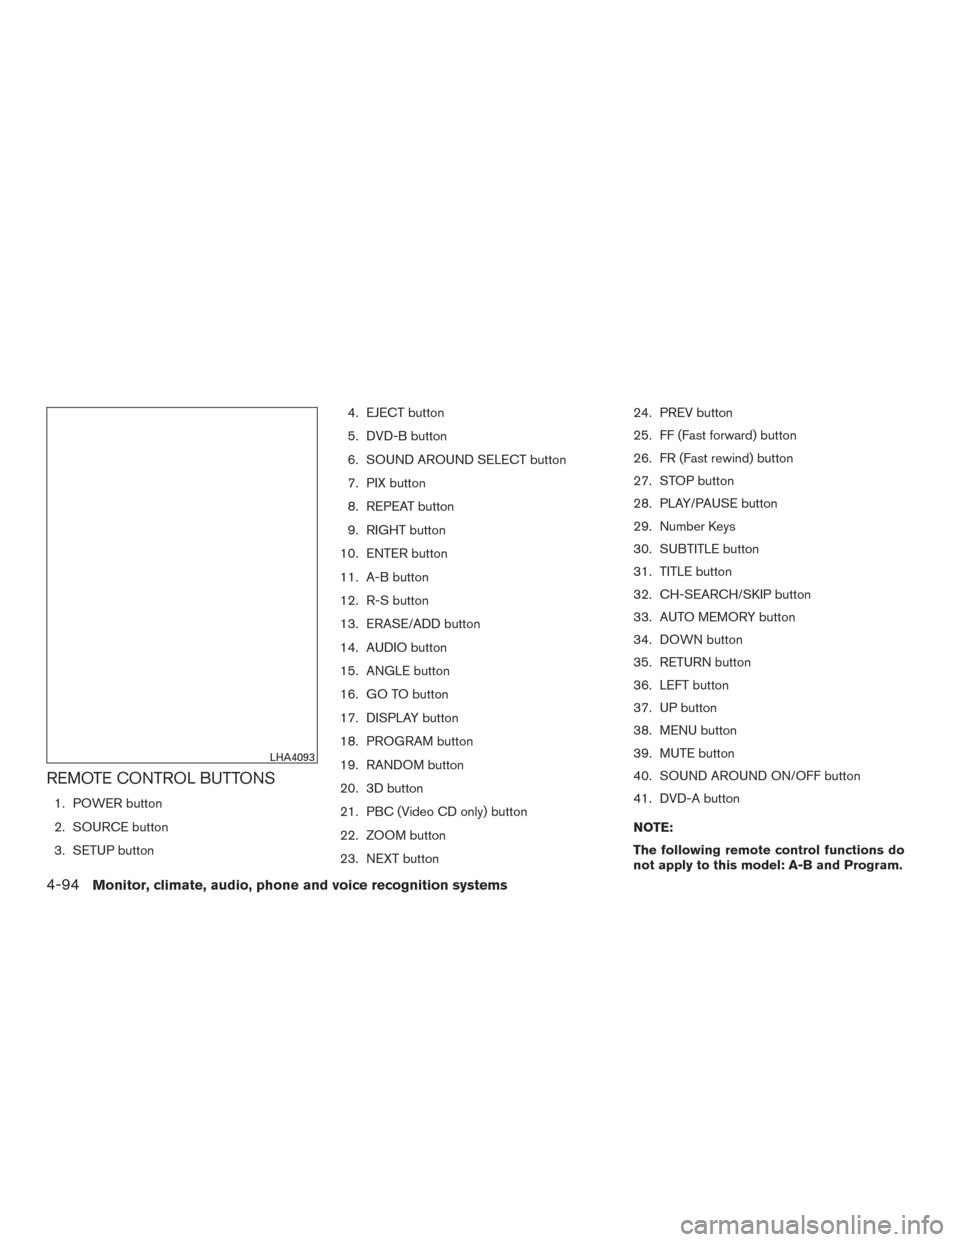
REMOTE CONTROL BUTTONS
1. POWER button
2. SOURCE button
3. SETUP button4. EJECT button
5. DVD-B button
6. SOUND AROUND SELECT button
7. PIX button
8. REPEAT button
9. RIGHT button
10. ENTER button
11. A-B button
12. R-S button
13. ERASE/ADD button
14. AUDIO button
15. ANGLE button
16. GO TO button
17. DISPLAY button
18. PROGRAM button
19. RANDOM button
20. 3D button
21. PBC (Video CD only) button
22. ZOOM button
23. NEXT button 24. PREV button
25. FF (Fast forward) button
26. FR (Fast rewind) button
27. STOP button
28. PLAY/PAUSE button
29. Number Keys
30. SUBTITLE button
31. TITLE button
32. CH-SEARCH/SKIP button
33. AUTO MEMORY button
34. DOWN button
35. RETURN button
36. LEFT button
37. UP button
38. MENU button
39. MUTE button
40. SOUND AROUND ON/OFF button
41. DVD-A button
NOTE:
The following remote control functions do
not apply to this model: A-B and Program.
LHA4093
4-94Monitor, climate, audio, phone and voice recognition systems
Page 306 of 636
POWER button
Press this button to turn the monitor on. Press
this button again to turn the monitor off.
Source button
Press this button to cycle between monitor A
audio/video sources and monitor B audio/video
sources.
Setup button
Press this button to navigate the DVD OSD
menu. For additional information, refer to “How to
use the DVD OSD menu” in this section.
Eject button
Press this button to eject the disc.
DVD–B button
Press this button to transmit the remote control
codes and functions to operate monitor B.
SOUND AROUND SELECT button
Selects a FM transmitter channel.
PIX button
Press this button to access the picture adjust-
ment menu and select between BRIGHTNESS,
CONTRAST, SATURATION, HUE, SHARP-NESS, IR HEADPHONE, LANGUAGE, and RE-
SET. Press the
orbuttons to
adjust the screen.
REPEAT button
Press this button to select between different
repeat modes.
ENTER button
Press this button to make a selection or begin
playback of the media.
RIGHT button
Press this button to navigate right when display-
ing a menu or file list.
A-B button
Press the A-B button once to set point A and
then press again to set point B. Playback will now
repeat between point A and point B.
R-S button
Non-functioning.
ERASE / ADD button
Non-functioning.
AUDIO button
Press this button to select and listen to different
audio streams (this function only applies to DVD
titles that support multiple audio streams) .
ANGLE button
Press this button to select different viewing
angles (this function only applies to DVD titles
that support multiple angles) .
GO TO button
Non-functioning.
DISPLAY button
Press this button to display various information
including title, chapter/track, elapsed time, time
remaining, or turn off the display.
PROGRAM button
Edit a playback program containing desired titles
in the DVD or tracks in the CD-DA.
RANDOM button
Press this button to play content in a random
order.
Monitor, climate, audio, phone and voice recognition systems4-95
Page 309 of 636
Additional information on Media
Compatibility
This system is compatible with the following me-
dia formats:
Format Extension
Audio MP3 .mp3
WMA .wma
Video AVI
.avi
MPEG-1 .mpg
MPEG-2 .mpg
Image JPEG .jpg
Due to ongoing technological advancements,
some USB flash drives may be incompatible with
this system.
● The text information of some audio and video
files may not be correctly displayed.
● There may be a slight delay before playback
of files using a USB flash drive with complex
folder hierarchies.
● Some audio, video, and image files may be
incompatible with this system due to file
characteristics, file format, recording soft-
ware used, directory structure, and/or the
type of audio/video encoding used.
HOW TO USE THE DVD OSD MENU
This section describes how to set and adjust
settings using On-Screen Display (OSD) Menu.
You can use the OSD menu to adjust all the
settings. Follow the steps outlined below to se-
lect the desired function.
General Setup Page
Press the SETUP button on the remote control.
Use the
orand the
orbuttons to navigate the Setup Page.
Press ENTER to select and then
to
return to the sub–menu. To cancel the Setup
Display, press the SETUP button on the remote.
LHA3851
4-98Monitor, climate, audio, phone and voice recognition systems
Page 310 of 636
OSD Language
The OSD Lang sub-menu allows the user to
select the language for the on-screen display.
When the OSD Lang option is highlighted, press
the
button once and then use
the
orbuttons on the re-
mote control to select the desired language. The
user can select English, Simplified/Traditional
Chinese, French, German, Italian, Spanish, Por-
tuguese, or Korean for the OSD language. Press
ENTER to select and then the
button
to return to the sub-menu.
Angle Mark
The angle mark is an option for different viewing
angles on the DVD. When the Angle Mark option
is highlighted, press the
button once
and then use the
orbuttons
on the remote control to turn the angle mark
setting on or off. Press ENTER to select and then
the
button to return to the sub-menu.
Speaker Setup Page
Downmix— When the Downmix option is high-
lighted, press the
button once and
then use the
orbuttons on
the remote control to select between Stereo or
LT/RT. Press ENTER to select and then
the
button to return to the sub-menu.
LHA3852LHA3853LHA3854
Monitor, climate, audio, phone and voice recognition systems4-99
Page 312 of 636
Preference Page
If a disc or USB device is playing, press STOP
twice (full stop) . Press the SETUP button on the
remote control. Use the
or
and theorbuttons on the
remote control to navigate the Setup Page. Press
ENTER to select and then the
to return
to the sub-menu.
Audio
The Audio sub-menu allows the user to select the
audio stream in the desired language for play-
back. When the Audio option is highlighted,
press the
button once and then use
the
orbuttons on the re-
mote control to select the desired language. The
user can select English, French, Spanish, Chi-
nese, Japanese, German, Portuguese, Italian, Ko-
rean, Russian or Thai for the audio stream lan-
guage. Press ENTER to select and then
the
button to return to the sub-menu.
The DVD title must include the desired audio
stream in order for it to be heard during playback.
Subtitle
The Subtitle sub-menu allows the user to select
the subtitle in the desired language for playback.
When the Subtitle option is highlighted, press
the
button once and then use
the
orbuttons on the re-
mote control to select the desired language. The
user can select English, French, Spanish, Chi-
nese, Japanese, German, Portuguese, Italian, Ko-
rean, Russian, Thai or OFF for the subtitle lan-
guage. Press ENTER to select and then
the
button to return to the sub-menu.
The DVD title must include the desired audio
stream in order for it to be heard during playback.
LHA3857LHA3858LHA3859
Monitor, climate, audio, phone and voice recognition systems4-101
Page 313 of 636
Disc Menu
The Disc Menu sub-menu allows the user to
select the desired language of the DVD disc
menu. When the Disc Menu option is highlighted,
press the
button once and then use
the
orbuttons on the re-
mote control to select the desired language. The
user can select English, French, Spanish, Chi-
nese, Japanese, German, Portuguese, Italian, Ko-
rean, Russian or Thai for the Disc Menu language.
Press ENTER to select and then the
button to return to the sub-menu. The DVD title
must include the desired menu language in order
for it to be displayed during playback.
Default
This section of the Setup Menu allows the user to
restore all controls and values to the default
levels. When the Default option is highlighted,
press the
button once and then press
ENTER to perform the reset. This will not affect
parental control setting.
Parental
This section of the Setup Menu allows the user to
select the level of movie content playback from
KID SAFE to ADULT. The parental control func-
tion allows you to limit viewing to your preference.
The rating levels range from 1 to 8 and are
country dependent. The lower rating number, the
stricter the playback limitation is. When the Pa-
rental option is highlighted, press the
button once and then use the
orbuttons on the remote control to
select the desired parental control setting and
press ENTER. A password is required to change
the Parental settings. Using the remote control,
LHA3860LHA3861LHA3862
4-102Monitor, climate, audio, phone and voice recognition systems
Page 314 of 636
enter the password (0000) and press ENTER to
confirm the setting and return to the sub-menu.
HOW TO USE THE MONITOR OSD
MENU
This section describes how to set and adjust the
following monitor settings using the monitor on-
screen display (OSD) Menu:● Press the PIX button on the remote control
to select between the options in the table
below.
● After selecting the desired option, use
the
orbuttons on the re-
mote control to adjust the setting.
Option Descrip-
tion Range Default
Brightness Adjust to
brighten or darken the picture. 0 — 100 50
Contrast Adjust to
increase or de-
crease
picture
contrast. 0 — 100 50
Saturation Adjust to
increase or de-
crease color
intensity. 0 — 100 50
Hue Adjust to
increase or de-
crease the color hue. 0 — 100 50
LHA3863
Monitor, climate, audio, phone and voice recognition systems4-103
Page 316 of 636
Repeat Modes
To access the repeat mode options, press the
REPEAT button on the remote control. The re-
peat mode options are as follows:●
REPEAT ALL: Repeat the entire disc
(default) .
●
REPEAT ONE: Repeat the current
track.
● REPEAT OFF: Playback stops after the disc
in its entirety.
Random Mode
You can choose what order the tracks will be
played. To access the random play mode, press
the RANDOM button on the remote control. All
tracks on the disc will playback in random order.
Press RANDOM again to cancel random mode.
Direct Track Access
Press the number keys on the remote control
(0–9) to access a track directly. For example, to
go to track 14, press “1”,”4”, then ENTER on the
remote control.
PLAYING AUDIO FILES
MP3 and WMA are formats for storing digital
audio. A CD quality song can be compressed into
the MP3 or WMA format with very little loss of
quality, while talking up much less storage space.
Encoded discs and USB devices that include
MP3 or WMA audio files can be played on this
system.
Insert a disc or USB device into the unit and
select monitor A mode (if using monitor A) or
monitor B (if using monitor B) using the front
panel controls or the remote control.
Using a USB Device
Insert a USB device into the USB connection
port. When inserting a USB device, the top side
of the devices should face upwards.
When an MP3/WMA encoded disc or USB de-
vice is inserted, the information screen appears
automatically and playback will begin.
Display
During audio file playback, press the DISPLAY
button on the remote control to select between
the file list and currently playing file.
Selecting Files
1. To change files when a file is playing, press
the
orbuttons on the re-
mote control to display the file list, and then
press the
orbuttons to
select the desired file.
2. Once the desired file is highlighted, press the ENTER button on the remote control to
select it.
LHA3865
Monitor, climate, audio, phone and voice recognition systems4-105