2016 NISSAN SENTRA key
[x] Cancel search: keyPage 3 of 32
NEW SYSTEM FEATURESDrive Modes .....................................................................2
NissanConnectsm Services (if so equipped)............................................2
RearView Monitor (if so equipped) ...................................................4
Blind Spot Warning (BSW) with Rear Cross Traffic Alert (RCTA) (if so equipped)
............5
Forward Emergency Braking (FEB) (if so equipped)
....................................
5
Siri
® Eyes Free (if so equipped) .....................................................6
SiriusXM Travel Link and SiriusXM Traffic (if so equipped) ...............................6
ESSENTIAL INFORMATION Tire Pressure Monitoring System (TPMS) with Easy Fill Tire Alert (if so equipped)............7
Loose Fuel Cap...................................................................8
Fuel-filler Door
....................................................................8
Clock Set/Adjustment
.............................................................8
FIRST DRIVE FEATURESNissan Intelligent Key® System (if so equipped) .......................................10
T
runk Lid Release Switch .........................................................10
Front P
ower Seat Adjustments (if so equipped for driver’s seat)
.......................... 11
Outside Mirror Control Switch
.....................................................11
Starting/Stopping the Engine
......................................................11
Headlight Control Switch
..........................................................12
Wiper and Washer Switch
.........................................................13
Heater and Air Conditioner (automatic) (if so equipped)
................................
14
FM/AM/SiriusXM
® Satellite Radio (if so equipped) with CD Player .......................15
USB (Universal Serial Bus) Connection Port/Aux Jack and iPod® Interface.................16
Cruise Control...................................................................17
Intelligent Cruise Control (I
CC) (if so equipped)
.......................................18
SYSTEM GUIDEVehicle Information Display ........................................................19
Hands-free Text Messaging Assistant (if so equipped) .................................20
NissanConnect
sm Mobile Apps (if so equipped) .......................................21
Bluetooth® Hands-free Phone System...............................................22 •
System Operating Tips........................................................22
Bluetooth
® System without Navigation (if so equipped).................................22
Bluetooth® System with Navigation (if so equipped) ...................................24
Navigation System (if so equipped) .................................................26
HomeLink
® Universal Transceiver (if so equipped) .....................................27
TAB LE OF CONTE NTS
Please see your Owner’s Manual for important safety information and system operation limitations.
• A cellular telephone should not be used for any purpose while driving
so full attention may be given to vehicle operation.
• Always wear your seat belt.
• Supplement
al air bags do not replace proper seat belt usage.
•
Children 12 and under should always ride in the rear seat properly secur\
ed
in c
hild restraints or seat belts according to their age and weight.
• Do not drink and drive.
For more information, refer to the “Safety — Seats, seat belts and supplemental restraint system (se\
ction 1)”,
the “Monitor, climate, audio, phone and voice recognition systems (section 4)” and the “Starting and driving
(section 5)” of your Owner’s Manual.
Additional information about your vehicle is also available in your Owne\
r’s Manual, Navigation System
Owner’s Manual and at www.NissanUSA.com.
1938277_16c_Sentra_US_pQRG_050516.indd 45/6/16 10:26 AM
Page 11 of 32
9
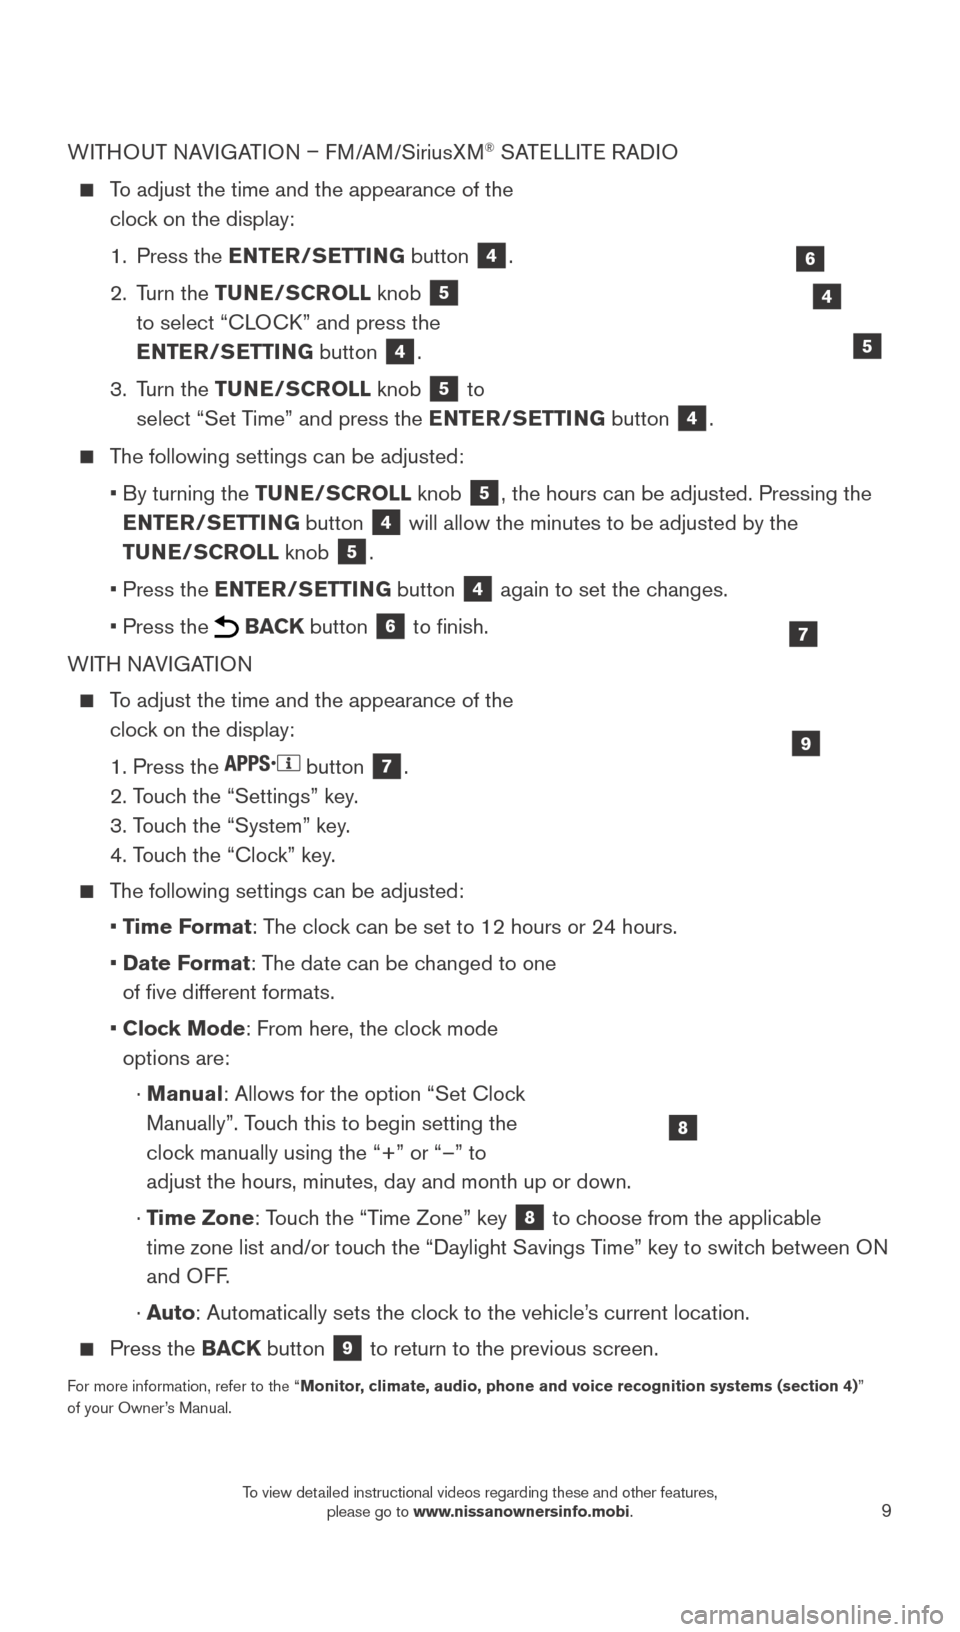
WITHOUT NAVIGATION – FM/AM/SiriusXM® SATELLITE RADIO
To adjust the time and the appearance of the
clock on the display:
1.
Press the
ENTER/SETTING button
4.
2.
Turn the TUNE/SCROLL knob
5
to select “CLOCK” and press the
ENTER/SETTING button
4.
3.
Turn the TUNE/SCROLL knob
5 to
select “Set Time” and press the ENTER/SETTING button 4.
The following settings can be adjusted:
•
By turning the
TUNE/SCROLL knob
5, the hours can be adjusted. Pressing the
ENTER/SETTING button
4 will allow the minutes to be adjusted by the
TUNE/SCROLL knob
5.
•
Press the
ENTER/SETTING button
4 again to set the changes.
• Press the BACK button 6 to finish.
WITH NAVIGATION
To adjust the time and the appearance of the clock on the display:
1. Press the button 7.
2. T
ouch the “Settings” key.
3. T
ouch the “System” key.
4. T
ouch the “Clock” key.
The following settings can be adjusted:
•
T
ime Format: The clock can be set to 12 hours or 24 hours.
•
Date F
ormat: The date can be changed to one
of five different formats.
•
Cloc
k Mode: From here, the clock mode
options are:
·
Manual
: Allows for the option “Set Clock
Manually”. Touch this to begin setting the
clock manually using the “+” or “–” to
adjust the hours, minutes, day and month up or down.
·
T
ime Zone: Touch the “Time Zone” key
8 to choose from the applicable
time zone list and/or touch the “Daylight Savings Time” key to switch between ON
and OFF.
·
A
uto: Automatically sets the clock to the vehicle’s current location.
Press the BAC K button 9 to return to the previous screen.
For more information, refer to the “Monitor, climate, audio, phone and voice recognition systems (section 4) ”
of your Owner’s Manual.
9
7
8
4
5
6
1938277_16c_Sentra_US_pQRG_050516.indd 95/6/16 10:28 AM
To view detailed instructional videos regarding these and other features, please go to www.nissanownersinfo.mobi.
Page 12 of 32
10
TRUNK LID RELEASE SWITCH
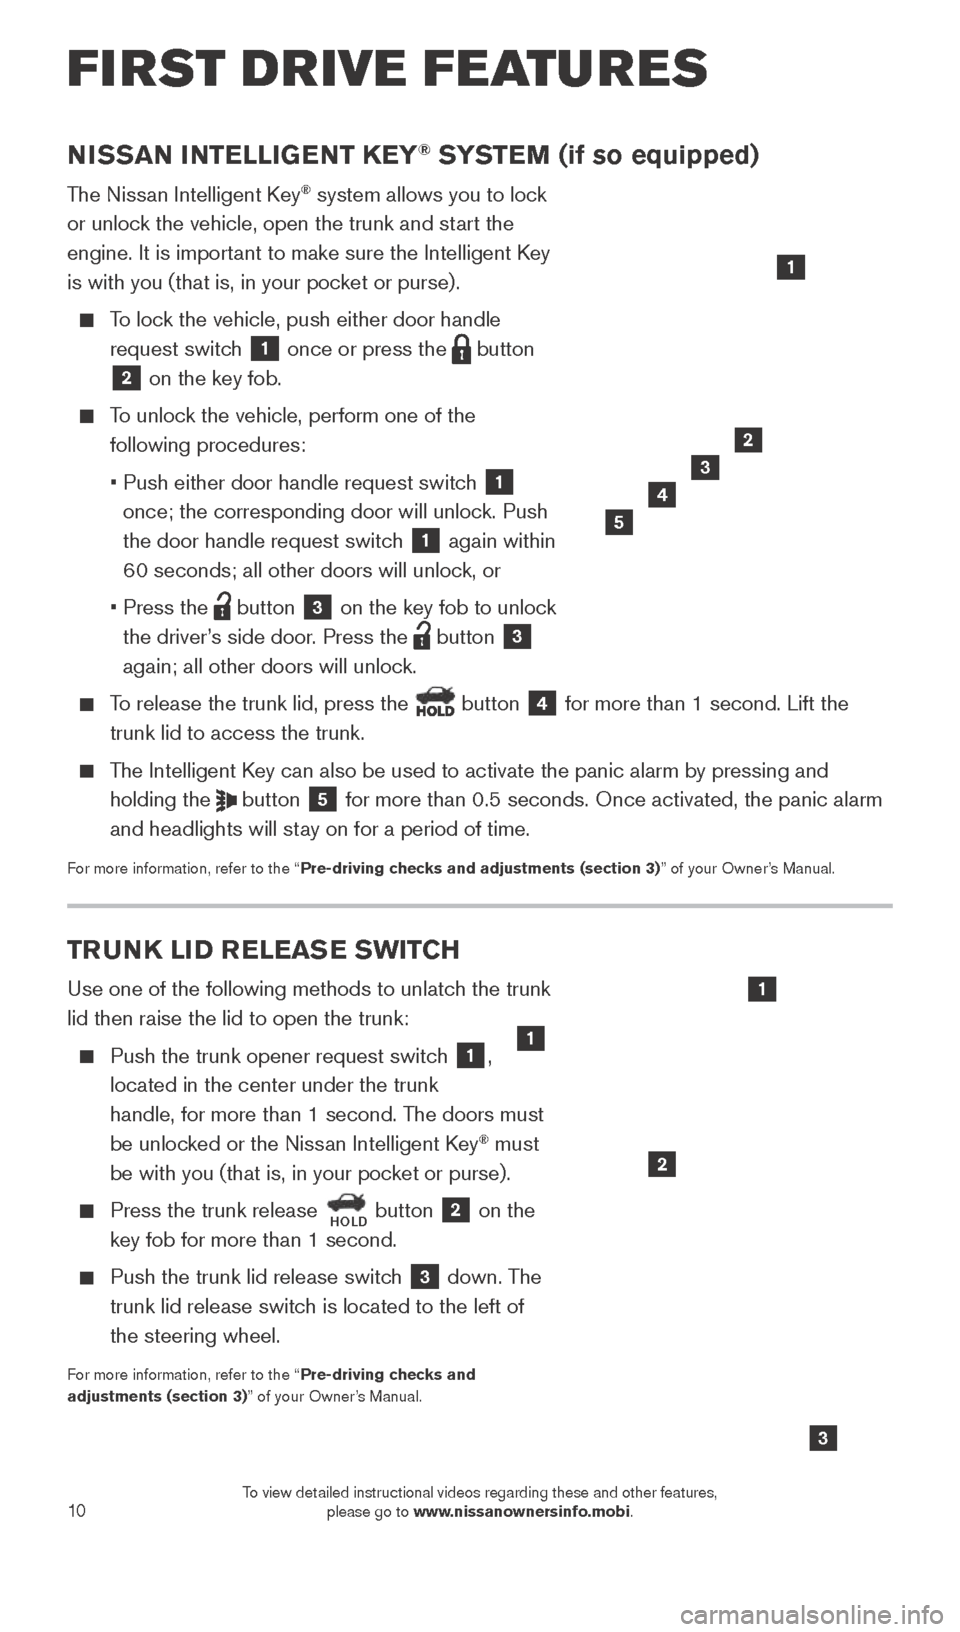
Use one of the following methods to unlatch the trunk
lid then raise the lid to open the trunk:
Push the trunk opener request switch 1,
located in the center under the trunk
handle, for more than 1 second. The doors must
be unlocked or the Nissan Intelligent Key
® must
be with you (that is, in your pocket or purse).
Press the trunk release HOLD button 2 on the
key fob for more than 1 second.
Push the trunk lid release switc h 3 down. The
trunk lid release switch is located to the left of
the steering wheel.
For more information, refer to the “Pre-driving checks and
adjustments (section 3)” of your Owner’s Manual.
3
NISSAN INTELLIGENT KEY® SYSTEM (if so equipped)
The Nissan Intelligent Key® system allows you to lock
or unlock the vehicle, open the trunk and start the
engine. It is important to make sure the Intelligent Key
is with you (that is, in your pocket or purse).
To lock the vehicle, push either door handle request switch
1 once or press the button
2 on the key fob.
To unlock the vehicle, perform one of the following procedures:
•
Push either door handle request switc
h
1
once; the corresponding door will unlock. Push
the door handle request switch
1 again within
60 seconds; all other doors will unlock, or
•
Press the button 3 on the key fob to unlock
the driver’s side door. Press the
button 3
again; all other doors will unlock.
To release the trunk lid, press the button 4 for more than 1 second. Lift the
trunk lid to access the trunk.
The Intelligent Key can also be used to activate the panic alarm by pressing and holding the
button 5 for more than 0.5 seconds. Once activated, the panic alarm
and headlights will stay on for a period of time.
For more information, refer to the “Pre-driving checks and adjustments (section 3)” of your Owner’s Manual.
1
2
3
4
2
5
1
FIRST DRIVE FEATURES
1
1938277_16c_Sentra_US_pQRG_050516.indd 105/6/16 10:28 AM
To view detailed instructional videos regarding these and other features, please go to www.nissanownersinfo.mobi.
Page 13 of 32
11
STARTING/STOPPING THE ENGINE
CONTINUOUSLY VARIABLE TRANSMISSION
(Nissan Intelligent Key® models only - if so equipped)
It is important to make sure the Intelligent Key is with you (that is, in your pocket
or purse).
Depress the brake pedal.
•
If the brake pedal is not depressed, pushing the
ignition switc
h once enters the ACC mode.
•
If the ignition switc
h is pushed a second time,
the vehicle will enter the ON mode.
Move the shift lever to the P (PARK) position.
Push the ignition switch to start the engine.
MANUAL TRANSMISSION (if so equipped)
Depress the brake pedal.
Depress the clutch pedal to the floor.
Move the shift lever to the N (NEUTRAL) position.
Turn the key to the START position.
FRONT POWER SEAT ADJUSTMENTS (if so equipped for
driver ’s seat)
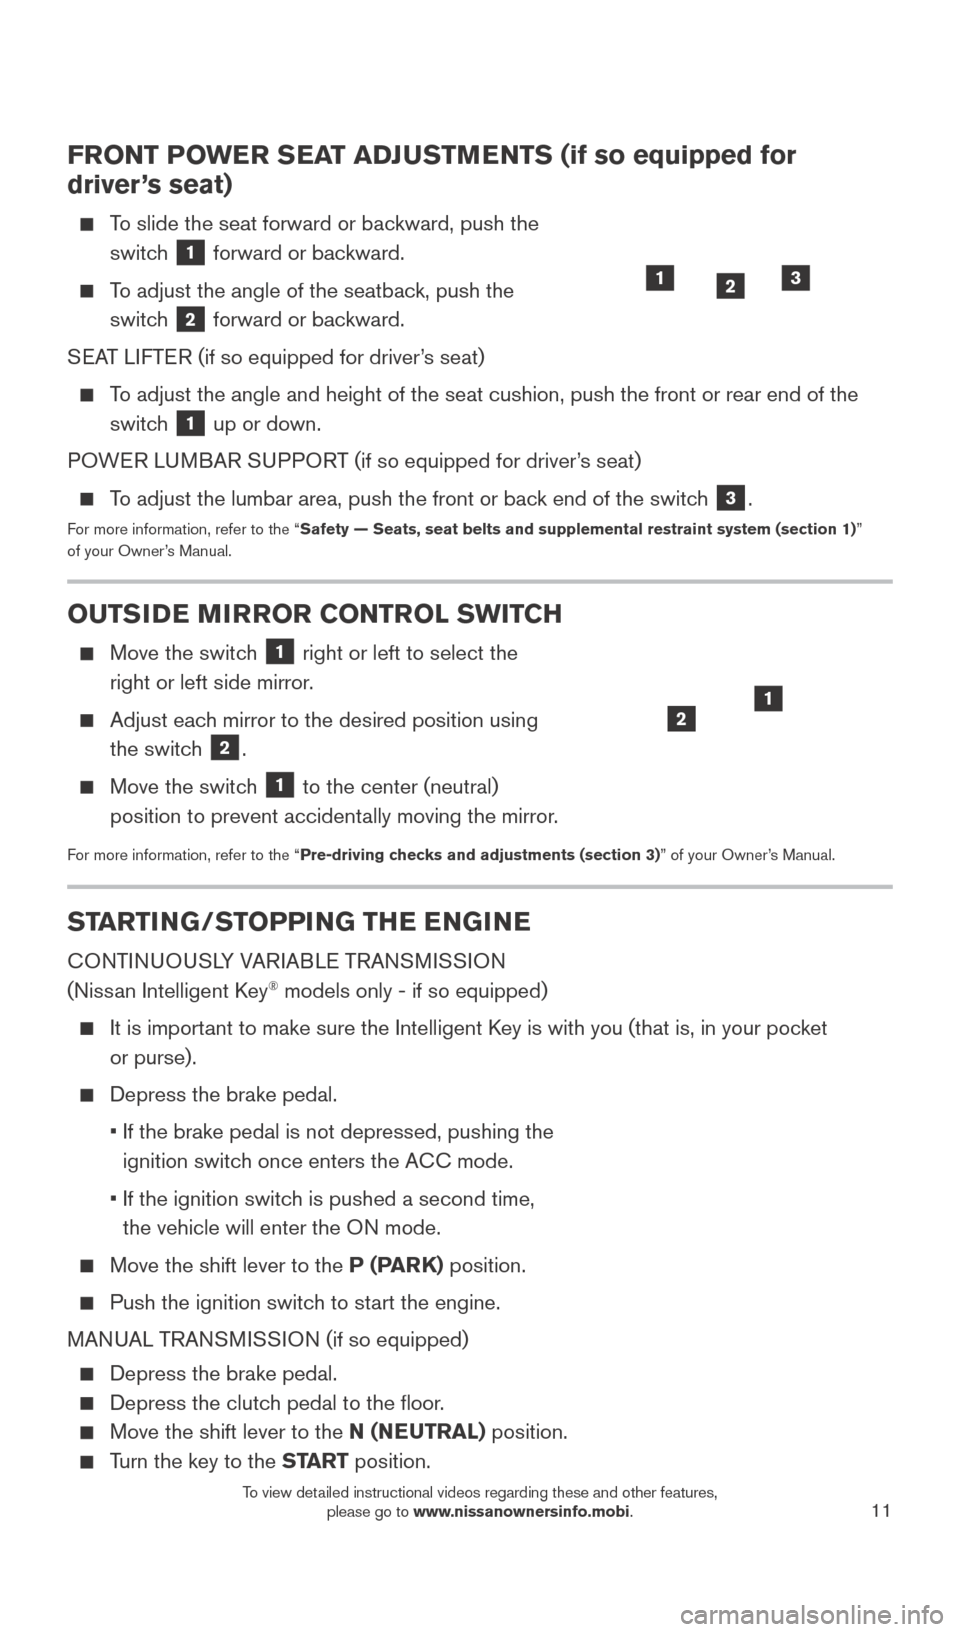
To slide the seat forward or backward, push the
switch
1 forward or backward.
To adjust the angle of the seatback, push the switch
2 forward or backward.
SEAT LIFTER (if so equipped for driver’s seat)
To adjust the angle and height of the seat cushion, push the front or rea\
r end of the switch
1 up or down.
POWER LUMBAR SUPPORT (if so equipped for driver’s seat)
To adjust the lumbar area, push the front or back end of the switch 3.
For more information, refer to the “Safety — Seats, seat belts and supplemental restraint system (sectio\
n 1) ”
of your Owner’s Manual.
23
OUTSIDE MIRROR CONTROL SWITCH
Move the switc h 1 right or left to select the
right or left side mirror.
Adjust eac h mirror to the desired position using
the switch
2.
Move the switc h 1 to the center (neutral)
position to prevent accidentally moving the mirror.
For more information, refer to the “Pre-driving checks and adjustments (section 3)” of your Owner’s Manual.
21
1
1938277_16c_Sentra_US_pQRG_050516.indd 115/6/16 10:28 AM
To view detailed instructional videos regarding these and other features, please go to www.nissanownersinfo.mobi.
Page 18 of 32
16
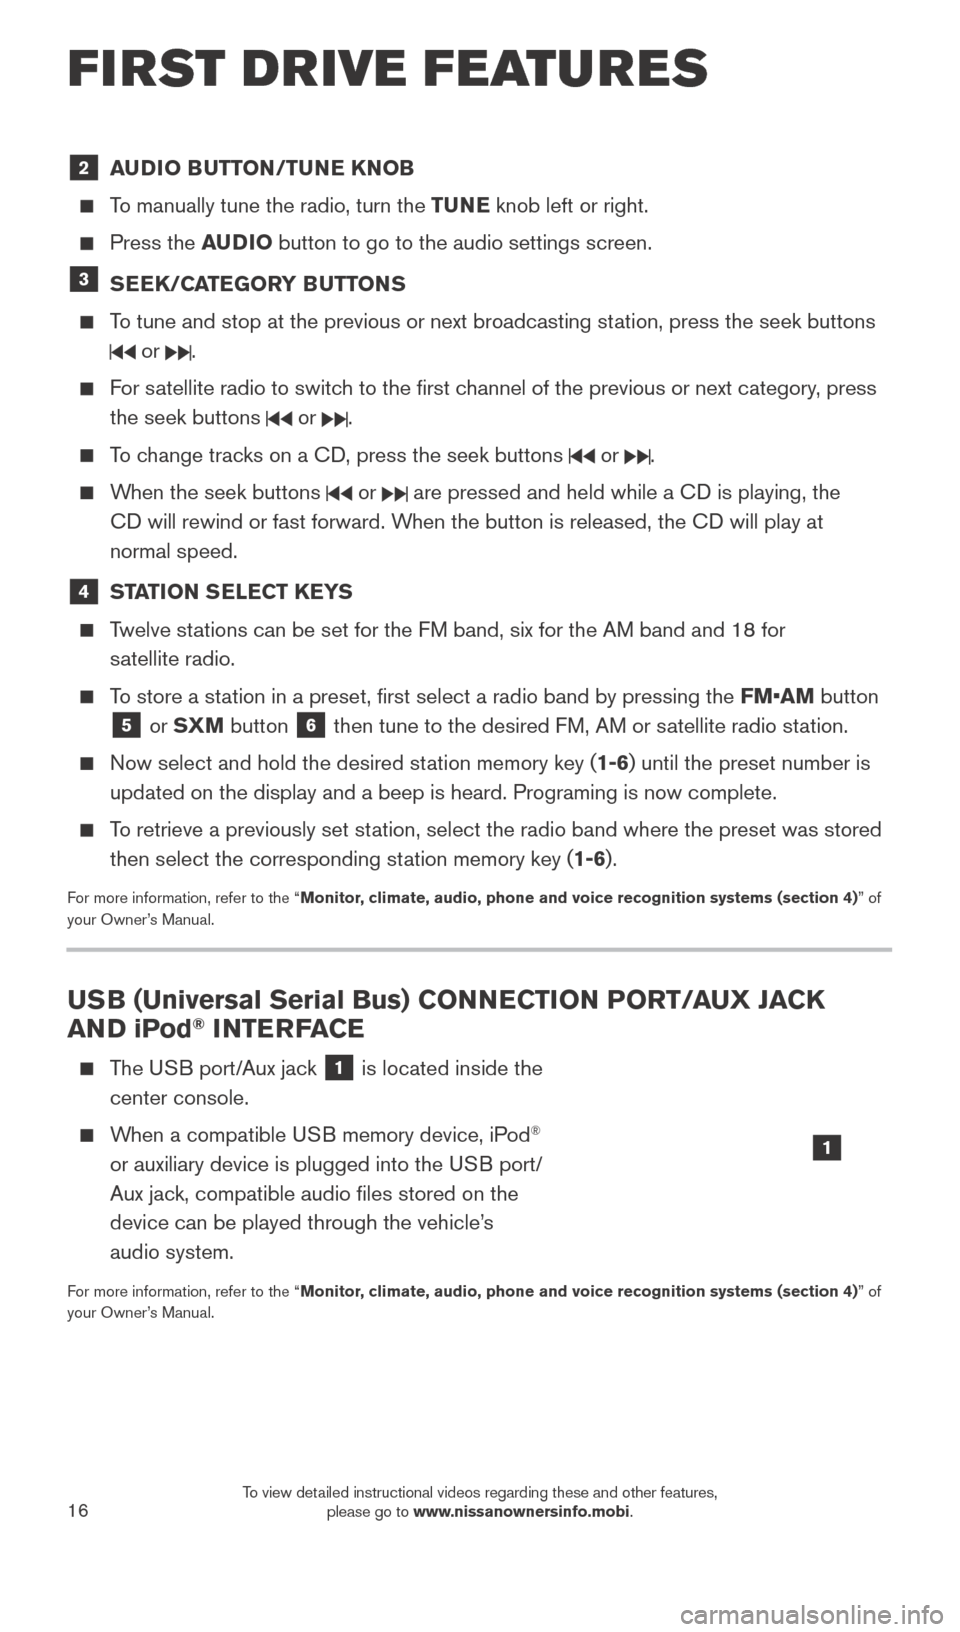
2 AUDIO BUTTON/TUNE KNOB
To manually tune the radio, turn the TUNE knob left or right.
Press the AUDIO button to go to the audio settings screen.
3 SEEK/CATEGORY BUTTONS
To tune and stop at the previous or next broadcasting station, press the seek buttons
or .
For satellite radio to switch to the first channel of the previous or next category, press
the seek buttons
or .
To change tracks on a CD, press the seek buttons or .
When the seek buttons or are pressed and held while a CD is playing, the
CD will rewind or fast forward. When the button is released, the CD will play at
normal speed.
4 STATION SELECT KEYS
Twelve stations can be set for the FM band, six for the AM band and 18 for satellite radio.
To store a station in a preset, first select a radio band by pressing the FM•AM button
5 or SXM button 6 then tune to the desired FM, AM or satellite radio station.
Now select and hold the desired st ation memory key (1-6) until the preset number is
updated on the display and a beep is heard. Programing is now complete. \
To retrieve a previously set station, select the radio band where the preset was stored then select the corresponding station memory key (1-6).
For more information, refer to the “Monitor, climate, audio, phone and voice recognition systems (section 4) ” of
your Owner’s Manual.
USB (Universal Serial Bus) CONNECTION PORT/AUX JACK
AND iPod® INTERFACE
The USB port/Aux jack 1 is located inside the
center console.
When a compatible USB memory device, iPod®
or auxiliary device is plugged into the USB port/
Aux jack, compatible audio files stored on the
device can be played through the vehicle’s
audio system.
For more information, refer to the “Monitor, climate, audio, phone and voice recognition systems (section 4) ” of
your Owner’s Manual.
1
FIRST DRIVE FEATURES
1938277_16c_Sentra_US_pQRG_050516.indd 165/6/16 10:29 AM
To view detailed instructional videos regarding these and other features, please go to www.nissanownersinfo.mobi.
Page 21 of 32
19
SYSTEM GUIDE
VEHICLE INFORMATION DISPLAY (if so equipped)
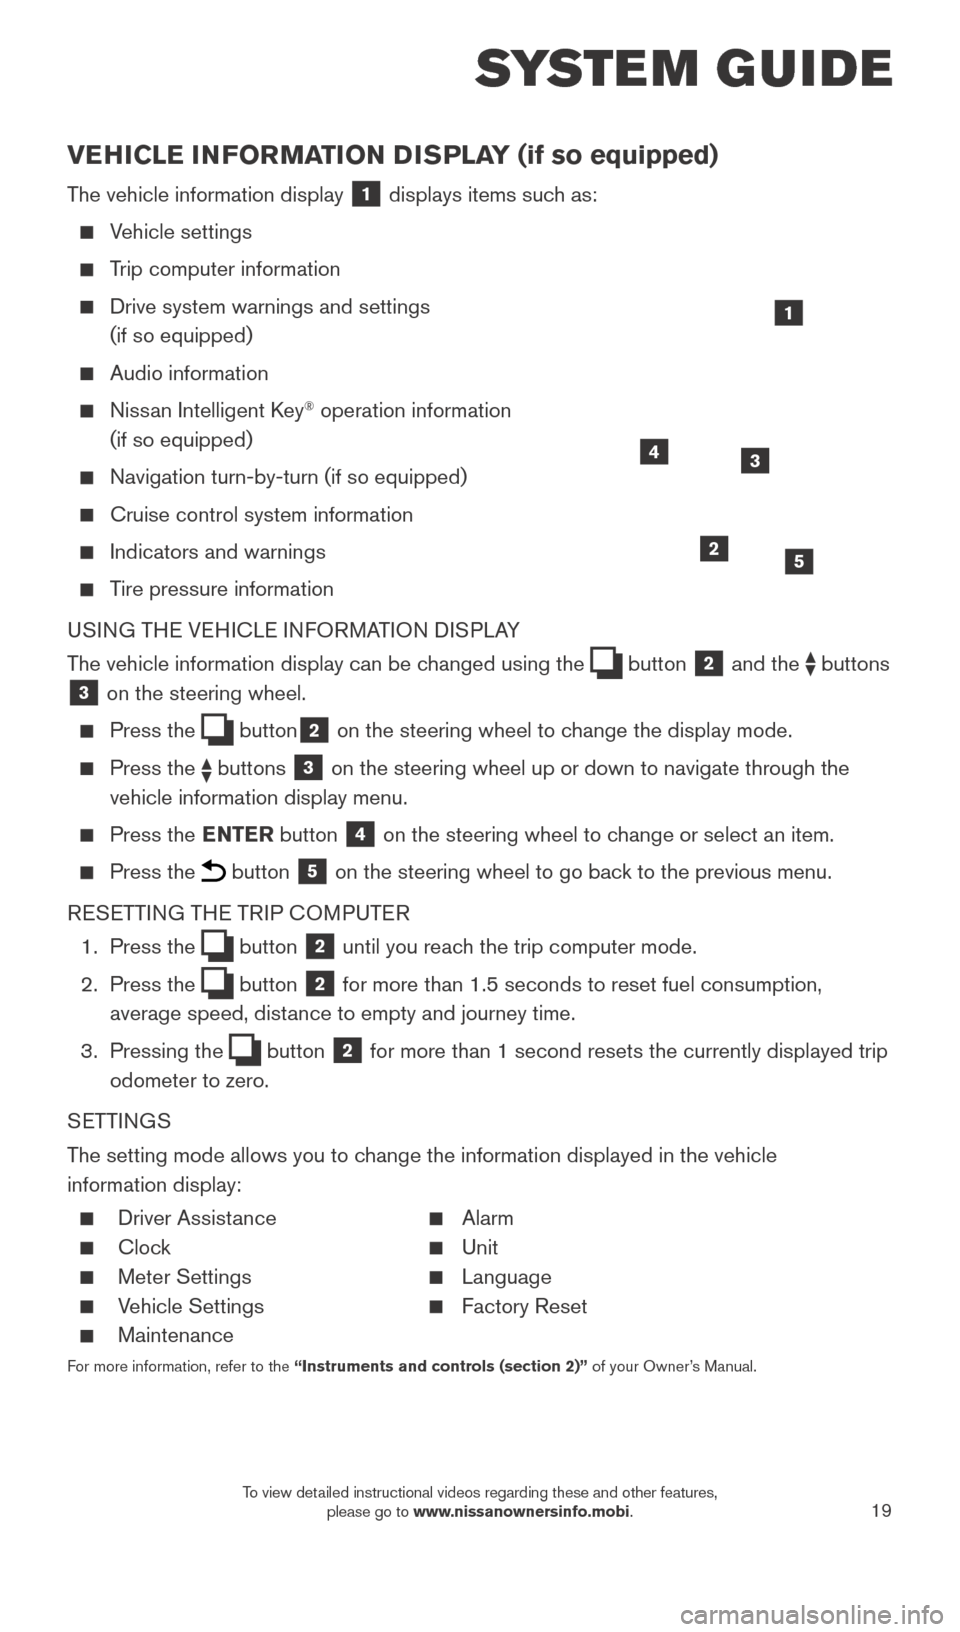
The vehicle information display 1 displays items such as:
Vehicle settings
Trip computer information
Drive system warnings and settings
(if so equipped)
Audio information
Nissan Intelligent Key® operation information
(if so equipped)
Navigation turn-by-turn (if so equipped)
Cruise control system information
Indicators and warnings
Tire pressure information
USING THE VEHICLE INFORMATION DISPLAY
The vehicle information display can be changed using the
button 2 and the buttons 3 on the steering wheel.
Press the button2 on the steering wheel to change the display mode.
Press the buttons 3 on the steering wheel up or down to navigate through the
vehicle information display menu.
Press the ENTER button 4 on the steering wheel to change or select an item.
Press the button 5 on the steering wheel to go back to the previous menu.
RESETTING THE TRIP COMPUTER
1.
Press the
button 2 until you reach the trip computer mode.
2.
Press the
button 2 for more than 1.5 seconds to reset fuel consumption,
average speed, distance to empty and journey time.
3.
Pressing the
button 2 for more than 1 second resets the currently displayed trip
odometer to zero.
SETTINGS
The setting mode allows you to change the information displayed in the vehicle
information display:
Driver Assist ance Alarm
Clock Unit
Meter Settings Language
Vehicle Settings Factory Reset
Maintenance
For more information, refer to the “Instruments and controls (section 2)” of your Owner’s Manual.
2
1
34
5
1938277_16c_Sentra_US_pQRG_050516.indd 195/6/16 10:29 AM
To view detailed instructional videos regarding these and other features, please go to www.nissanownersinfo.mobi.
Page 26 of 32
24
BLUETOOTH® SYSTEM WITH NAVIGATION1,2 (if so equipped)
Send predefined or custom text messages3 through your vehicle’s Bluetooth®,2 system.
Receive texts through your vehicle’s Bluetooth®,2 system that can be read to you.
Bluetooth®,2 Streaming Audio allows you to use a compatible Bluetooth®,2 device to
play audio files. Your compatible Bluetooth®,2 device can be connected to the vehicle’s
audio system, allowing audio files to play through the vehicle’s speakers.
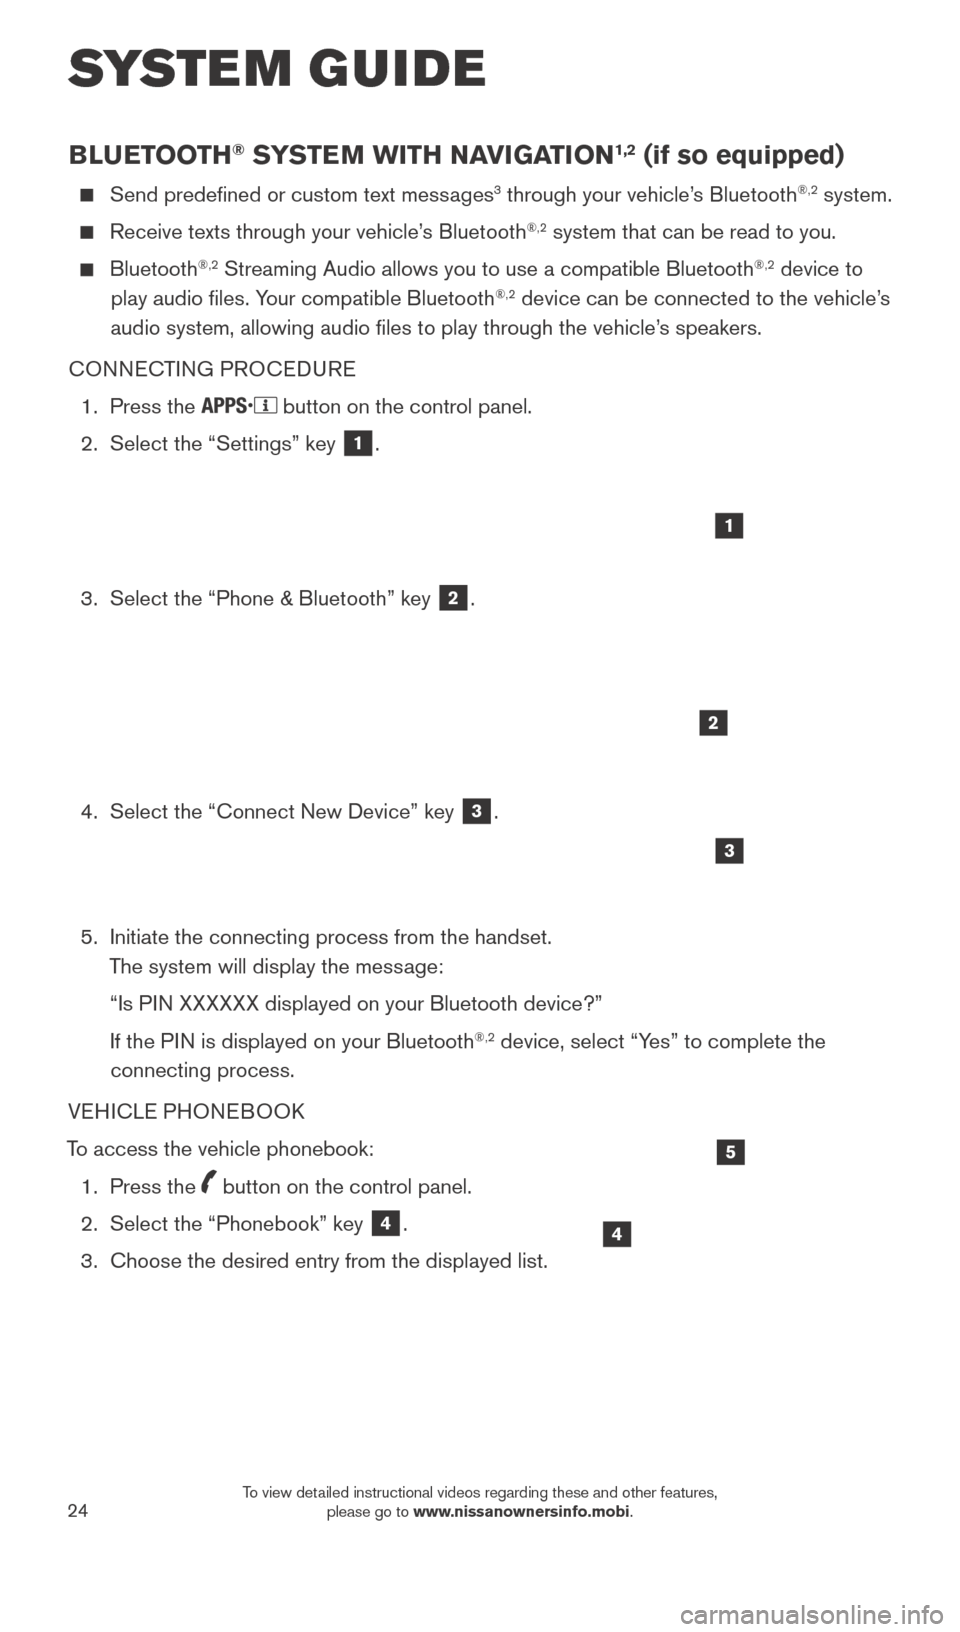
CONNECTING PROCEDURE
1.
Press the button on the control panel.
2.
Select the “Settings” key 1.
3.
Select the “Phone & Bluetooth” key 2.
4.
Select the “Connect New Device” key 3.
5.
Initiate the connecting process from the handset.
T
he system will display the message:
“Is P
IN XXXXXX displayed on your Bluetooth device?”
If the P
IN is displayed on your Bluetooth
®,2 device, select “Yes” to complete the
connecting process.
VEHICLE PHONEBOOK
To access the vehicle phonebook:
1.
Press the button on the control panel.
2.
Select the “Phonebook” key 4.
3.
Choose the desired entry from the displayed list.
1
2
3
4
5
SYSTEM GUIDE
1938277_16c_Sentra_US_pQRG_050516.indd 245/6/16 10:30 AM
To view detailed instructional videos regarding these and other features, please go to www.nissanownersinfo.mobi.
Page 27 of 32
25
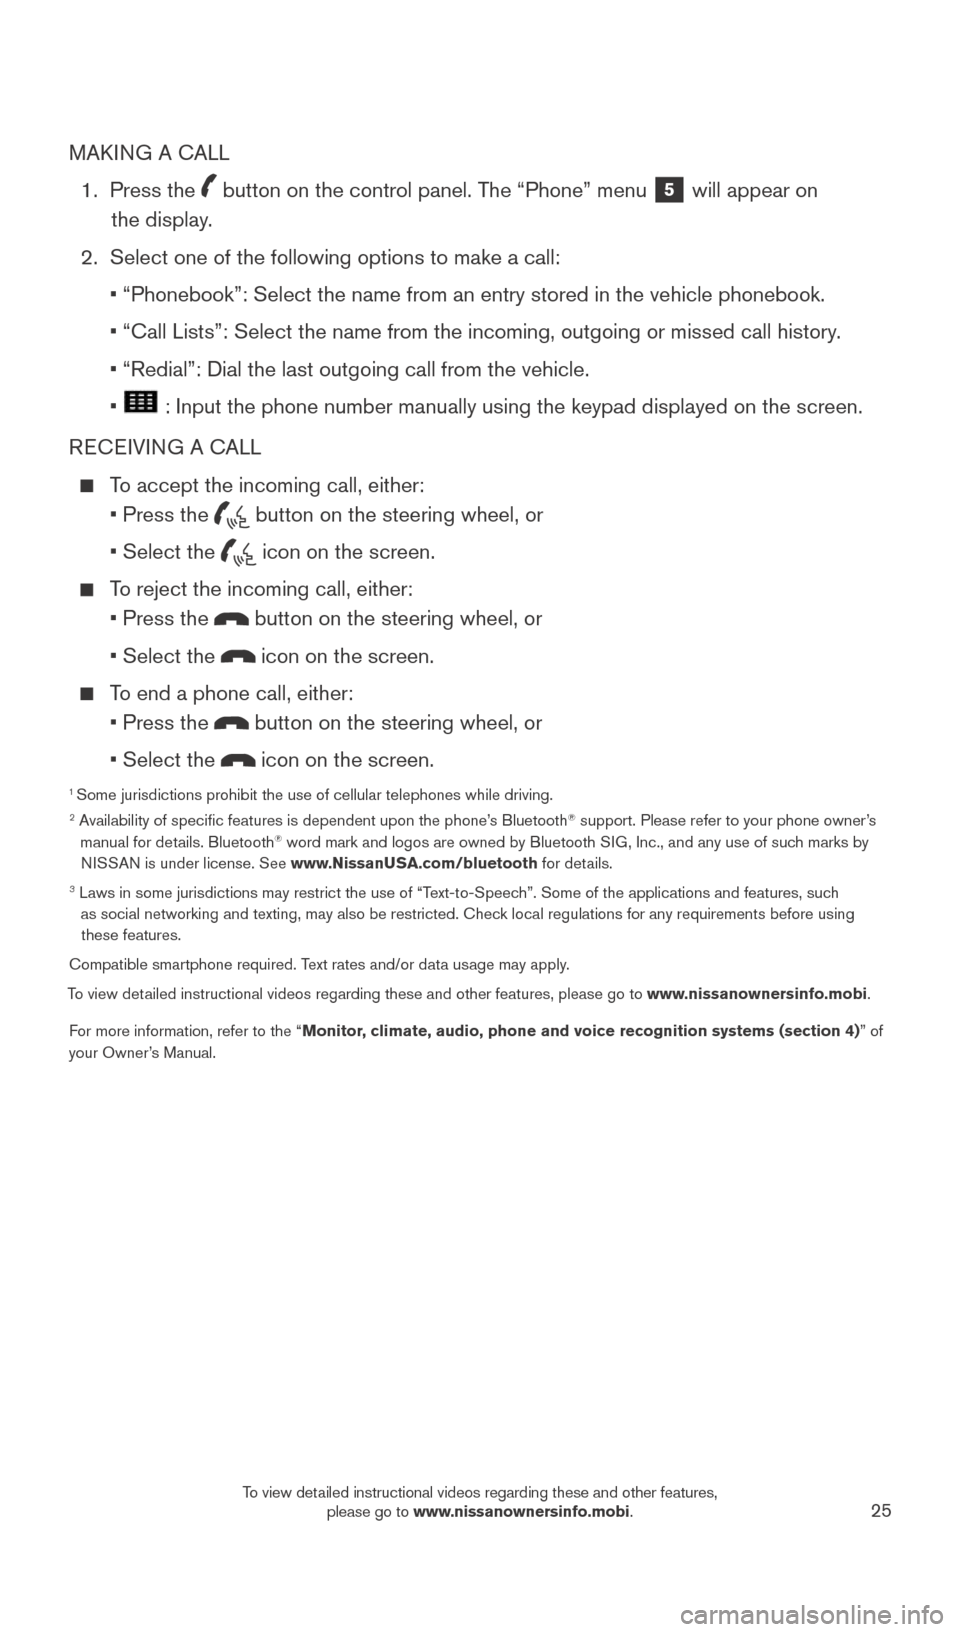
MAKING A CALL
1.
Press the
button on the control panel. The “Phone” menu 5 will appear on
the display.
2.
Select one of the following options to make a call:
•
“Phonebook”: Select the name from an entry stored in the vehicle p\
honebook.
•
“Call Lists”: Select the name from the incoming, outgoing or misse\
d call history
.
• “Redial”: Dial the last outgoing call from the vehicle.
• : Input the phone number manually using the keypad displayed on the scr\
een.
RECEIVING A CALL
To accept the incoming call, either:
•
Press the button on the steering wheel, or
• Select the icon on the screen.
To reject the incoming call, either:
•
Press the button on the steering wheel, or
• Select the icon on the screen.
To end a phone call, either:
•
Press the button on the steering wheel, or
• Select the icon on the screen.
1 Some jurisdictions prohibit the use of cellular telephones while driving\
. 2 Availability of specific features is dependent upon the phone’s Bluetooth® support. Please refer to your phone owner’s
manual for details. Bluetooth® word mark and logos are owned by Bluetooth SIG, Inc., and any use of such marks by
NISSAN is under license. See www.NissanUSA.com/bluetooth for details.
3 Laws in some jurisdictions may restrict the use of “T ext-to-Speech”. Some of the applications and features, such
as social networking and texting, may also be restricted. Check local regulations for any requirements before using these features.
Compatible smartphone required. Text rates and/or data usage may apply.
To view detailed instructional videos regarding these and other features, please go\
to www.nissanownersinfo.mobi.
For more information, refer to the “Monitor, climate, audio, phone and voice recognition systems (section 4) ” of
your Owner’s Manual.
1938277_16c_Sentra_US_pQRG_050516.indd 255/6/16 10:30 AM
To view detailed instructional videos regarding these and other features, please go to www.nissanownersinfo.mobi.