Page 376 of 558

The operating range of the engine start function
is inside of the vehicle
�1.
● The luggage area is not included in the op-
erating range, but the Intelligent Key may
function.
● If the Intelligent Key is placed on the instru-
ment panel, inside the glove box, storage bin
or door pocket, the Intelligent Key may not
function.
● If the Intelligent Key is placed near the door
or window outside the vehicle, the Intelligent
Key may function.
PUSH-BUTTON IGNITION SWITCH
POSITIONS
LOCK (Normal parking position)
The ignition switch can only be locked in this
position.
The ignition switch will be unlocked when it is
pushed to the ACC position while carrying the
Intelligent Key.
The ignition switch will lock when any door is
opened or closed with the ignition switched off. ACC (Accessories)
This position activates electrical accessories,
such as the radio, when the engine is not running.
ACC has a battery saver feature that will turn the
ignition switch to the OFF position after a period
of time under the following conditions:
● All doors are closed.
● Shift lever is in P (Park) .
The battery saver feature will be canceled if any of
the following occur: ● Any door is opened.
● Shift lever is moved out of P (Park) .
● Ignition switch changes position.
ON (Normal operating position)
This position turns on the ignition system and
electrical accessories.
ON has a battery saver feature that will turn the
ignition switch to the OFF position, if the vehicle
is not running, after some time under the follow-
ing conditions: ● All doors are closed.
● Shift lever is in P (Park) .
The battery saver feature will be canceled if any of
the following occur: ●
Any door is opened.
● Shift lever is moved out of the P (Park)
position.
● Ignition switch changes position.
Page 378 of 558

●Make sure the area around the vehicle is
clear.
● Check fluid levels such as engine oil, cool-
ant, brake fluid, and windshield-washer fluid
as frequently as possible, or at least when-
ever you refuel.
● Check that all windows and lights are clean.
● Visually inspect tires for their appearance
and condition. Also check tires for proper
inflation.
● Check that all doors are closed.
● Position seat and adjust head
restraints/headrests.
● Adjust inside and outside mirrors.
● Fasten seat belts and ask all passengers to
do likewise.
● Check the operation of warning lights when
the ignition switch is placed in the ON posi-
tion. For additional information, refer to
“Warning lights, indicator lights and audible
reminders” in the “Instruments and controls”
section of this manual. 1. Apply the parking brake.
2. Move the shift lever to P (Park) or N (Neu-
tral) . P (Park) is recommended.
The starter is designed not to operate if
the shift lever is in any of the driving
positions.
3. Push the ignition switch to the ON position. Depress the brake pedal and push the igni-
tion switch to start the engine.
To start the engine immediately, push and
release the ignition switch while depressing
the brake pedal with the ignition switch in
any position.
● If the engine is very hard to start in ex-
tremely cold weather or when restarting,
depress the accelerator pedal a little (ap-
proximately 1/3 to the floor) and while
holding, crank the engine. Release the
accelerator pedal when the engine starts.
● If the engine is very hard to start because
it is flooded, depress the accelerator
pedal all the way to the floor and hold it.
Push the ignition switch to the ON posi-
tion to start cranking the engine. After five
or six seconds, stop cranking by pushing
the ignition switch to LOCK. After crank-
ing the engine, release the accelerator
pedal. Crank the engine with your foot off the accelerator pedal by depressing the
brake pedal and pushing the push-button
ignition switch to start the engine. If the
engine starts, but fails to run, repeat the
above procedure.
Page 380 of 558
Starting the vehicle
1. After starting the engine, fully depress thefoot brake pedal before moving the shift
lever out of the P (Park) position.
This CVT is designed so that the foot
brake pedal must be depressed before
shifting from P (Park) to any driving
position while the ignition switch is in
the ON position.
The shift lever cannot be moved out of
the P (Park) position and into any of the
other positions if the ignition switch is
placed in the LOCK, OFF or ACC position
while the ready light illuminates.
2. Keep the foot brake pedal depressed andmove the shift lever to a driving position.
3. Release the parking brake and foot brake pedal and then gradually start the vehicle in
motion.
Page 382 of 558
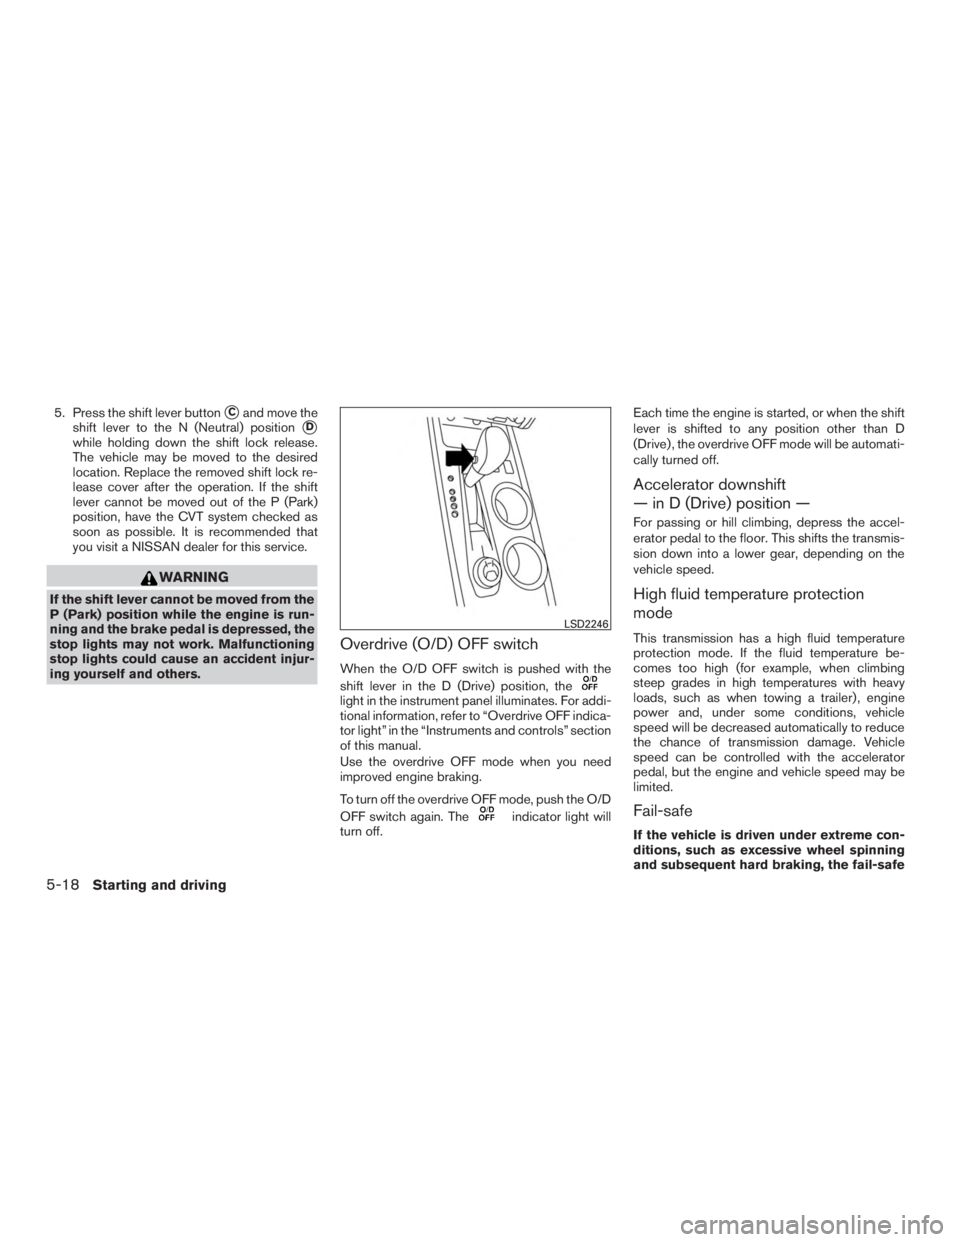
5. Press the shift lever button�Cand move the
shift lever to the N (Neutral) position
�D
while holding down the shift lock release.
The vehicle may be moved to the desired
location. Replace the removed shift lock re-
lease cover after the operation. If the shift
lever cannot be moved out of the P (Park)
position, have the CVT system checked as
soon as possible. It is recommended that
you visit a NISSAN dealer for this service.
Page 427 of 558

●If a warning message continues to be
displayed after the above operations,
have your vehicle checked as soon as
possible. It is recommended that you
visit a NISSAN dealer for this service.
4WD shift switch
The 4WD system is used to select the 2WD,
AUTO or LOCK mode depending on the driving
conditions.
Turn the 4WD mode switch, located on the cen-
ter console, to select 2WD, AUTO, or LOCK.
● 2WD – Turn the 4WD mode switch to the
2WD position. The 2WD indicator light in
the vehicle information display illuminates.
● AUTO – Turn the 4WD mode switch to the
neutral (AUTO) position. The 4WD AUTO
indicator light in the vehicle information dis-
play illuminates. ●
LOCK – To engage the LOCK mode, turn
the 4WD mode switch to the LOCK posi-
tion. The switch will return to the AUTO
position automatically and the 4WD LOCK
indicator light in the vehicle information dis-
play illuminates. To disengage the LOCK
mode, turn the switch to the LOCK position
again. The switch will return to the AUTO
position automatically, and the 4WD LOCK
indicator light turns into the AUTO indicator
light. The LOCK mode will automatically be
canceled when the ignition switch is turned
to the OFF position.
Page 429 of 558

CAUTION
●Depending on the driving condition, the
4WD mode may automatically change
from 2WD to 4WD even when the 2WD
mode is selected. If this occurs while
driving, the 4WD mode indicator light
will not illuminate.
● Do not start the engine with the 4WD
mode switch in any mode in the follow-
ing cases:
– when the vehicle is placed on a fre- eroller or jacking up the vehicle with
the front tires raised and the rear
tires on the ground.
– when towing the vehicle with the rear tires raised from the ground.
● Operate the 4WD mode switch only
when driving straight. Do not operate
the 4WD mode switch when making a
turn or backing up.
● Do not operate the 4WD mode switch
with the front wheel spinning.
● Engine idling speed is high while warm-
ing up the engine. Be especially careful
when starting or driving on slippery sur-
faces with the 4WD mode switch set in
the AUTO mode.
4WD mode indicator lights
The 2WD, 4WD AUTO and LOCK mode indica-
tor lights are located in the vehicle information
display.
The 4WD mode indicator lights will display the
mode selected by the 4WD mode switch while
the engine is running.
The 4WD AUTO indicator light illuminates when
selecting the AUTO mode.
The 4WD LOCK indicator light illuminates when
selecting the LOCK mode and the 2WD indicator
light illuminates when selecting the 2WD mode.
Starting and driving5-65
Page 430 of 558

WARNING
●Do not stop or park the vehicle over
flammable materials such as dry grass,
waste paper or rags. They may ignite
and cause a fire.
● Safe parking procedures require that
both the parking brake be set and the
transmission placed into P (Park) . Fail-
ure to do so could cause the vehicle to
move unexpectedly or roll away and re-
sult in an accident. Make sure the shift
lever has been pushed as far forward as
it can go and cannot be moved without
depressing the foot brake pedal. ●
Never leave the engine running while
the vehicle is unattended.
● To help avoid risk of injury or death
through unintended operation of the
vehicle and/or its systems, do not leave
children, people who require the assis-
tance of others or pets unattended in
your vehicle. Additionally, the tempera-
ture inside a closed vehicle on a warm
day can quickly become high enough to
cause a significant risk of injury or
death to people and pets. 1. Firmly apply the parking brake.
2. Move the shift lever to the P (Park) position.
3. To help prevent the vehicle from rolling into
traffic when parked on an incline, it is a good
practice to turn the wheels as illustrated.
● HEADED DOWNHILL WITH CURB
�A:
Turn the wheels into the curb and move the
vehicle forward until the curb side wheel
gently touches the curb.
● HEADED UPHILL WITH CURB
�B:
Turn the wheels away from the curb and
move the vehicle back until the curb side
wheel gently touches the curb.
● HEADED UPHILL OR DOWNHILL, NO
CURB
�C:
Turn the wheels toward the side of the road
so the vehicle will move away from the cen-
ter of the road if it moves.
4. Place the ignition switch in the LOCK posi- tion.
Page 432 of 558

WARNING
●While driving on a slippery surface, be
careful when braking, accelerating or
downshifting. Abrupt braking or accel-
erating could cause the wheels to skid
and result in an accident.
● If the engine is not running or is turned
off while driving, the power assist for
the brakes will not work. Braking will be
harder.
Wet brakes
When the vehicle is washed or driven through
water, the brakes may get wet. As a result, your
braking distance will be longer and the vehicle
may pull to one side during braking.
To dry the brakes, drive the vehicle at a safe
speed while lightly pressing the brake pedal to
heat up the brakes. Do this until the brakes return
to normal. Avoid driving the vehicle at high
speeds until the brakes function correctly.
Parking brake break-in
Break in the parking brake shoes whenever the
stopping effect of the parking brake is weakened
or whenever the parking brake shoes and/or
drums/rotors are replaced, in order to assure the
best braking performance. This procedure is described in the vehicle service
manual. It is recommended that you visit a
NISSAN dealer for this service.
ANTI-LOCK BRAKING SYSTEM
(ABS)
 position.
This CVT is designed so that the foot
brake pedal must")