2016 NISSAN MURANO reset
[x] Cancel search: resetPage 21 of 36

19
3 / (seek and cat/track) BUTTONS
To scan quickly through each broadcasting station, press the or button to
move to the previous or next broadcast station.
For satellite radio to switch to the first channel of the previous or next category, press the
or button.
To change tracks on a CD, press the or button.
To rewind or fast forward a track on a CD, press and hold the or button.
4 PUSH SOUND BUTTON/TUNE/SCROLL KNOB
Press the PU SH SOUND button to cycle through the audio settings individually
and use the TUNE/SCROLL knob to adjust the current setting.
Touch the “Settings” key on the Launch Bar and then touch the “Sound” key to
view all audio settings.
To manually tune the radio, turn the TUNE/SCROLL knob left or right.
5 AUDIO (source) BUTTON
Pressing this button will give access to the AM, FM, SXM, CD, USB1/iPod,
USB2/iPod, Bluetooth Audio or AUX audio source.
Twelve memory stations can be set for the FM band, six for the AM band and 18 for
satellite radio. These appear at the bottom of the screen when one of these sources
is selected.
To store a station in a preset, you must first select a radio band by touching the “AM”
6, “FM” 7 or “SXM” key 8 then tune to the desired AM, FM or satellite
radio station. Next, touch and hold the desired station preset key (1-6) until you
hear a beep. The channel indicator will then display, and the sound will resume.
Programing is now complete.
To retrieve a previously set station, select the radio band where the preset was stored then touch the corresponding station select key (1-6).
6 AM KEY / 7 FM KEY
Touch the “AM” 6 or “FM” 7 key. Next, the touch “AM Menu” or “FM Menu” key
to view the station list or turn HD mode on or off.
Tag favorite songs to save to an iPod®.
•
Apple® website: If you are listening to a radio station that supports iTunes
Tagging, you can tag a song you hear so you can preview and purchase it later on
the iTunes Store. Songs that can be tagged are marked with a tag icon next to the
song title or on the “Now Playing” screen.
8 SXM KEY
Touch the “SXM” key 8. Next, touch the “SXM Menu” key to bring up the
categories, favorites and replay options.
9 CD KEY
Touch the “CD Menu” key to view track list.
10 AUX KEY
A cable with 1/8-in (3.5 mm) stereo mini plugs is required for audio p\
laybac k.
For more information, refer to the “Audio system (section 3)” of your Navigation System Owner’s Manual.
1978380_16b_Murano_US_pQRG_042916.indd 194/29/16 3:02 PM
To view detailed instructional videos regarding these and other features, please go to www.nissanownersinfo.mobi.
Page 23 of 36

21
To set a cruising speed, accelerate the vehicle to the desired speed, pus\
h the
SET/- switch 2 on the steering wheel and release. Take your foot off the accelerator
pedal. Your vehicle will maintain the set speed.
To reset at a faster cruising speed, push and hold the RES/+ switch 3 on the
steering wheel. When the vehicle attains the desired speed, release the switch.
To reset at a slower cruising speed, push and hold the SET/- switch 2 on the steering
wheel. Release the switch when the vehicle slows to the desired speed.
To cancel the preset speed, tap the brake pedal or push the CANCEL switch 4
on the steering wheel.
To turn off cruise control, push the ON/OFF switch 1 on the steering wheel. The
CRUISE indicator light in the instrument panel will extinguish.
For more information, refer to the “Starting and driving (section 5)” of your Owner’s Manual.
INTELLIGENT CRUISE CONTROL (ICC) (if so equipped)
VEHICLE-TO-VEHICLE DISTANCE CONTROL MODE
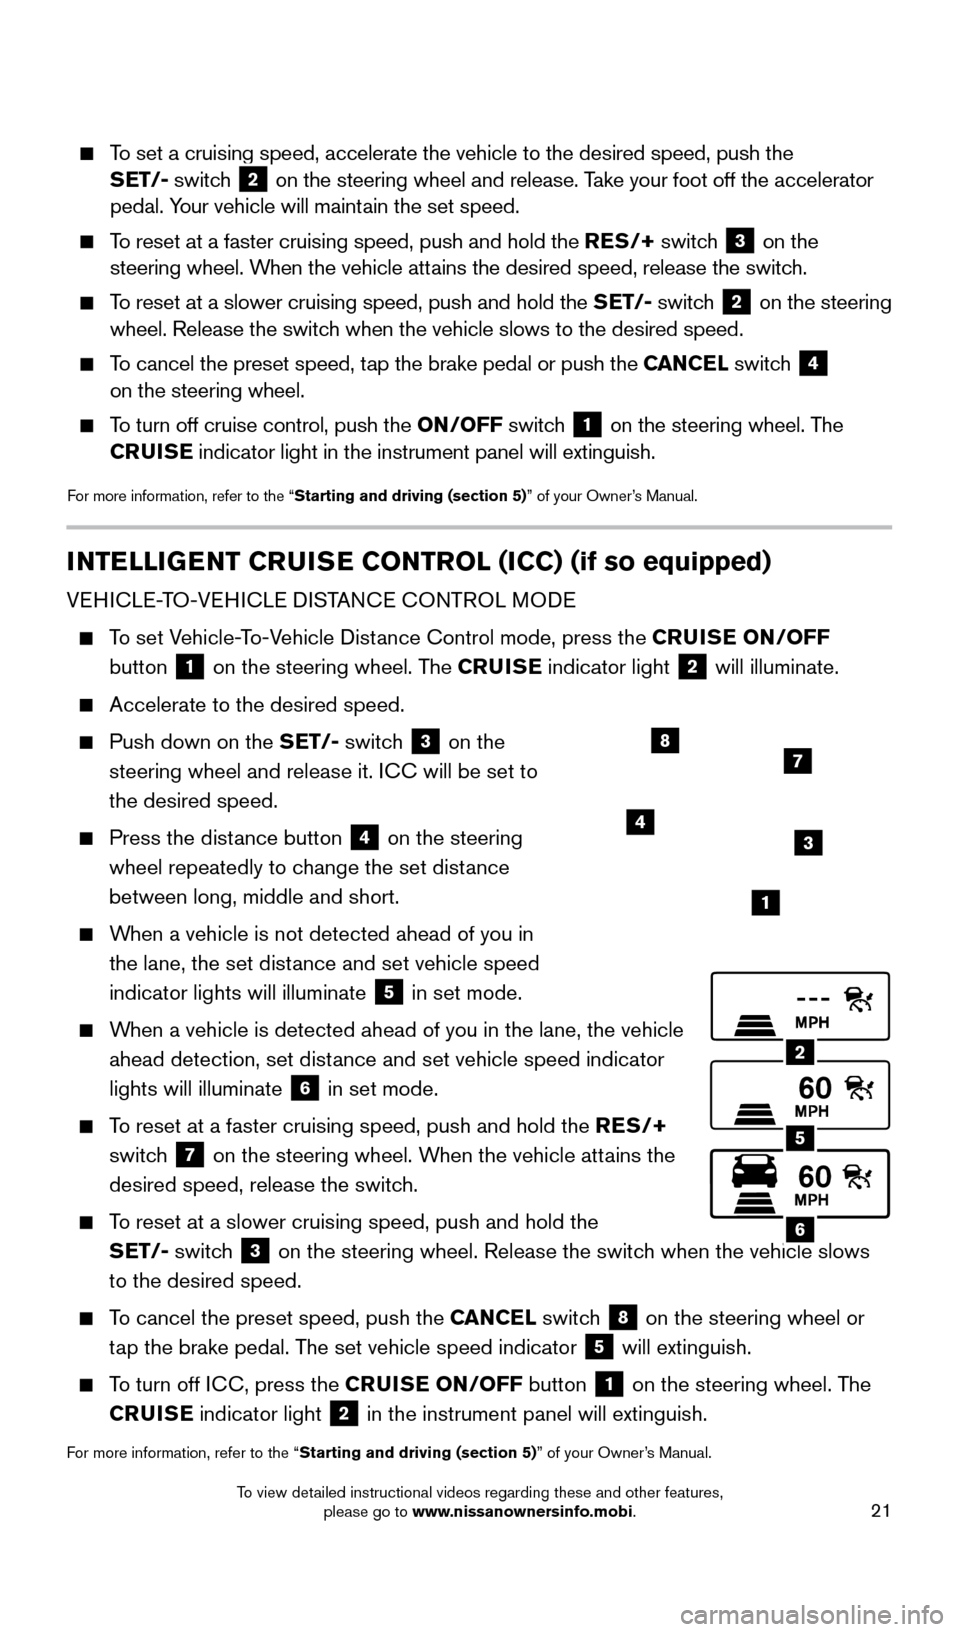
To set Vehicle-To-Vehicle Distance Control mode, press the CRUISE ON/OFF
button
1 on the steering wheel. The CRUISE
indicator light 2 will illuminate.
Accelerate to the desired speed.
Push down on the SET/- switch 3 on the
steering wheel and release it. ICC will be set to
the desired speed.
Press the dist ance button 4 on the steering
wheel repeatedly to change the set distance
between long, middle and short.
When a vehicle is not detected ahead of you in the lane, the set distance and set vehicle speed
indicator lights will illuminate
5 in set mode.
When a vehicle is detected ahead of you in the lane, the vehicle ahead detection, set distance and set vehicle speed indicator
lights will illuminate
6 in set mode.
To reset at a faster cruising speed, push and hold the RES/+
switch
7 on the steering wheel. When the vehicle attains the
desired speed, release the switch.
To reset at a slower cruising speed, push and hold the SET/- switch
3 on the steering wheel. Release the switch when the vehicle slows
to the desired speed.
To cancel the preset speed, push the CANCEL switch 8 on the steering wheel or
tap the brake pedal. The set vehicle speed indicator
5 will extinguish.
To turn off ICC, press the CRUISE ON/OFF button 1 on the steering wheel. The
CRUISE indicator light 2 in the instrument panel will extinguish.
For more information, refer to the “Starting and driving (section 5)” of your Owner’s Manual.
2
5
6
1
4
87
3
1978380_16b_Murano_US_pQRG_042916.indd 214/29/16 3:02 PM
To view detailed instructional videos regarding these and other features, please go to www.nissanownersinfo.mobi.
Page 24 of 36

22
SYSTEM GUIDE
TRIP COMPUTER
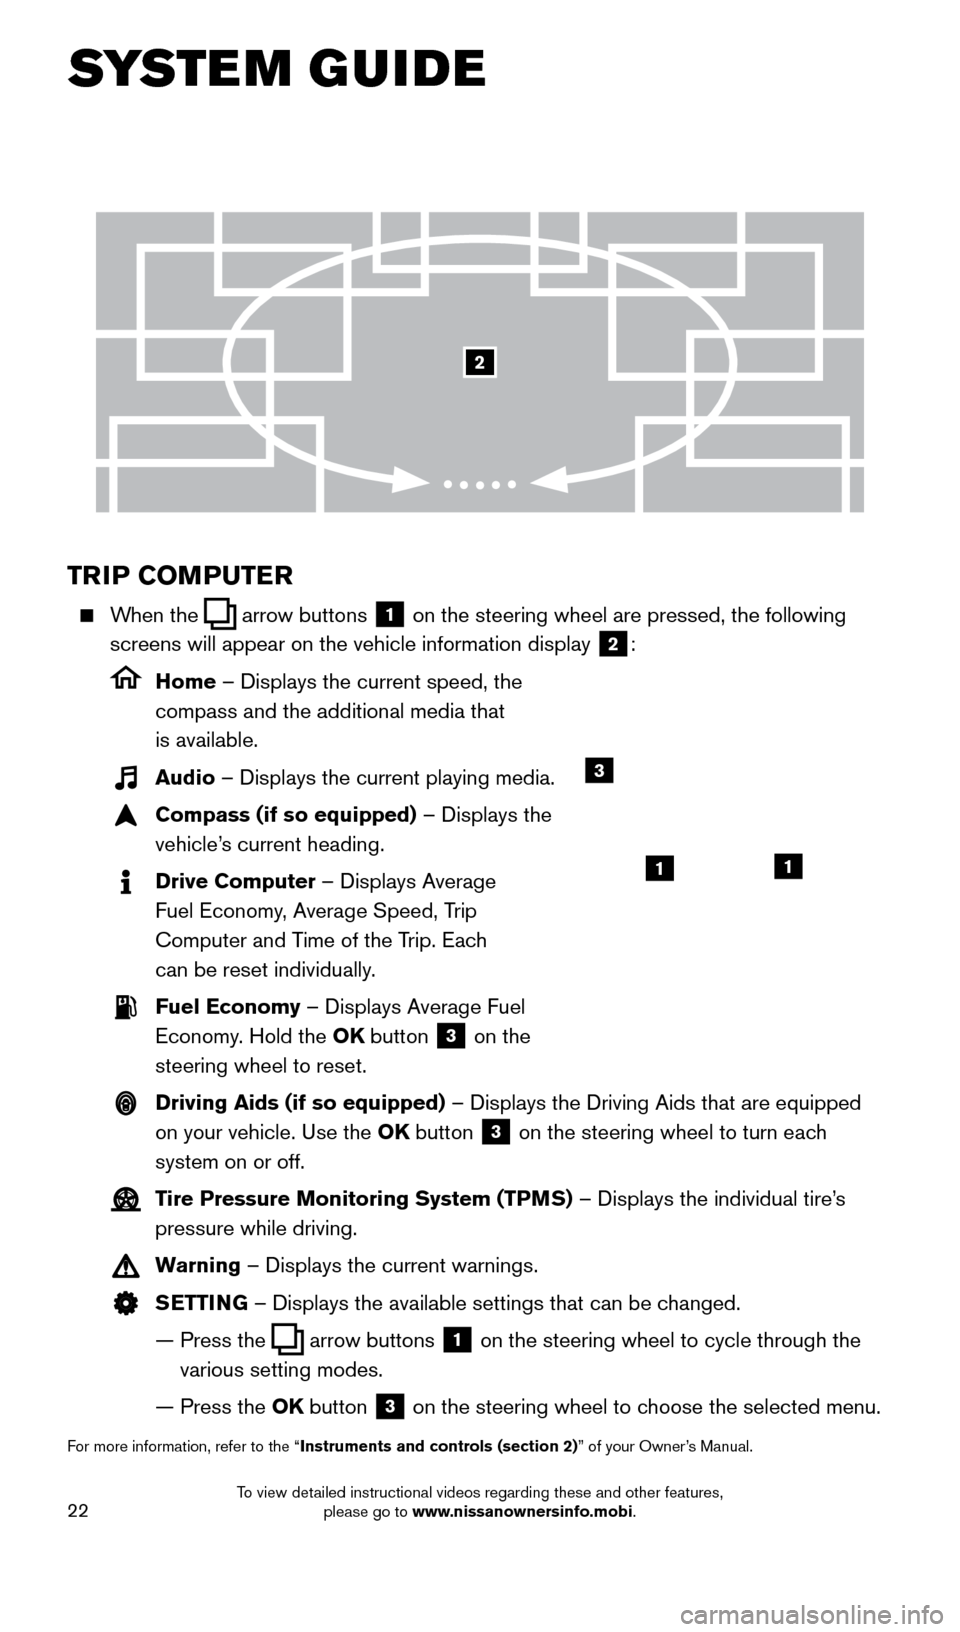
When the arrow buttons 1 on the steering wheel are pressed, the following
screens will appear on the vehicle information display
2:
Home – Displays the current speed, the
compass and the additional media that
is available.
Audio – Displays the current playing media.
Compass (if so equipped) – Displays the
vehicle’s current heading.
Drive Computer – Displays Average
Fuel Economy, Average Speed, Trip
Computer and Time of the Trip. Each
can be reset individually.
Fuel Economy – Displays Average Fuel Economy. Hold the OK button
3 on the
steering wheel to reset.
Driving Aids (if so equipped) – Displays the Driving Aids that are equipped on your vehicle. Use the OK button
3 on the steering wheel to turn each
system on or off.
Tire Pressure Monitoring System (TPMS) – Displays the individual tire’s pressure while driving.
Warning – Displays the current warnings.
SETTING – Displays the available settings that can be changed.
—
Press the arrow buttons 1 on the steering wheel to cycle through the
various setting modes.
— Press the
OK button
3 on the steering wheel to choose the selected menu.
For more information, refer to the “Instruments and controls (section 2)” of your Owner’s Manual.
3
11
2
1978380_16b_Murano_US_pQRG_042916.indd 224/29/16 3:02 PM
To view detailed instructional videos regarding these and other features, please go to www.nissanownersinfo.mobi.
Page 31 of 36

29
CONNECTING PROCEDURE WITH NAVIGATION SYSTEM (if so equipped)
1.
Touch the
“Audio” key and select the “Bluetooth Audio” key.
2.
A prompt to connect your device will display
.
• If the device needs to be connected:
a. T
ouch the
“Settings” key.
b. T
ouch the “Bluetooth” key.
c. T
ouch the “Connect Device” key
1.
Touch the “BT Menu” key to view track listing, artist, songs or albums.**
Touch the “BT Settings” key to change which device is playing audio.
CONNECTING PROCEDURE WITHOUT
NAVIGATION SYSTEM ( if so equipped)
To connect your Bluetooth
®,1 audio device to the
vehicle, follow the procedure below:
1.
Press the
SETTING button.
2.
Select “
Bluetooth”.
3.
Select “Add Phone”. This same screen can be
accessed to remove, replace or select a different
Bluetooth
®,1 device.
4.
T
he system acknowledges the command and
asks you to initiate connecting from the cellular
phone handset. The connecting procedure of the
cellular phone varies according to each cellular
phone model. For additional information, refer to
the cellular phone’s Owner’s Manual for details.
You can also visit www.NissanUSA.com/bluetooth for instructions on connecting
NISSAN-recommended cellular phones.
To switch to the Bluetooth®,1 audio mode, press the MEDIA button repeatedly until
the Bluetooth®,1 audio mode is displayed on the screen. If attempting to stream audio
from your device over Bluetooth®,1, please ensure that your device’s music application
is open and audio is ready to be played.
The controls for the Bluetooth
®,1 audio are displayed on the screen. Use the preset 3
button for play and the preset 4 button for pause.
*Some jurisdictions prohibit the use of cellular telephones while drivin\
g.
**Not all cellular phones/devices support this feature.
1 Availability of specific features is dependent upon the cellular phone’\
s Bluetooth® support. Please refer to your cellular
phone’s Owner’s Manual for details. Bluetooth® word mark and logos are owned by Bluetooth SIG, Inc., and any use of
such marks by NISSAN is under license. See www.NissanUSA.com/bluetooth for details.
For more information, refer to the “Display screen, heater, air conditioner, audio and phone systems
(section 4)” of your Owner’s Manual or the “Audio system (section 3)” of your Navigation System Owner’s Manual or
please visit www.NissanUSA.com/bluetooth.
1
1978380_16b_Murano_US_pQRG_042916.indd 294/29/16 3:03 PM
To view detailed instructional videos regarding these and other features, please go to www.nissanownersinfo.mobi.