2016 NISSAN MURANO HYBRID window
[x] Cancel search: windowPage 16 of 443
Drive your vehicle with smooth accelera-
tion and deceleration.● While driving, energy is recovered through
the regenerative brake as the vehicle decel-
erates. However, for most efficient use, do
not accelerate or decelerate your vehicle
more than necessary.
● Avoid abrupt acceleration and deceleration.
● The power of the Li-ion battery can be
checked on the Energy Flow in the center
display or Li-ion battery status meter in the
vehicle information display. For additional
information, refer to “Energy Flow” in this
section or “Vehicle information display” in
the “Instruments and controls” section of
this manual. Gradual or non-abrupt accel-
eration and deceleration will make more ef-
fective use of the electric power.
● When parking, be sure to place the shift
lever in the P (Park) position. While driving,
place the shift lever in the D (Drive) position. The VSP system is a function that uses sound to
help alert pedestrians of the presence of the
vehicle when it is being driven at a low speed in
the electric drive mode under the following con-
ditions:
● The sound starts when the vehicle starts
accelerating.
● The sound stops when the vehicle speed is
more than 19 mph (30 km/h) while acceler-
ating only when vehicle is powered by the
electric motor.
● The sound starts when the vehicle speed is
less than 16 mph (25 km/h) while deceler-
ating only when the vehicle is powered by
the electric motor.
● The sound stops when the vehicle stops.
● The sound does not stop with the vehicle in
the R (Reverse) position even if the vehicle
stops.
The VSP system is automatically turned on when
the vehicle is in the READY to drive mode. If there is a malfunction in the VSP system, the
Approaching Vehicle Sound for Pedestrians
(VSP) OFF indicator light in the meter illuminates.
For additional information, refer to “Approaching
Vehicle Sound for Pedestrians (VSP) OFF indi-
cator light” in the “Instruments and controls” sec-
tion of this manual.
WARNING
●
If the sound from the VSP system is not
heard while driving, stop the vehicle in a
safe and quiet location. Open a window,
and then place the vehicle in the R (Re-
verse) position with the brake pedal
firmly depressed. Check that the oper-
ating sound can be heard from the front
side of the vehicle.
● If the sound cannot be heard, it is rec-
ommended that you immediately con-
tact a NISSAN dealer for this service.
EFFICIENT USE OF YOUR VEHICLE APPROACHING VEHICLE SOUND
FOR PEDESTRIANS (VSP) SYSTEM
HEV OverviewHEV-9
Page 22 of 443
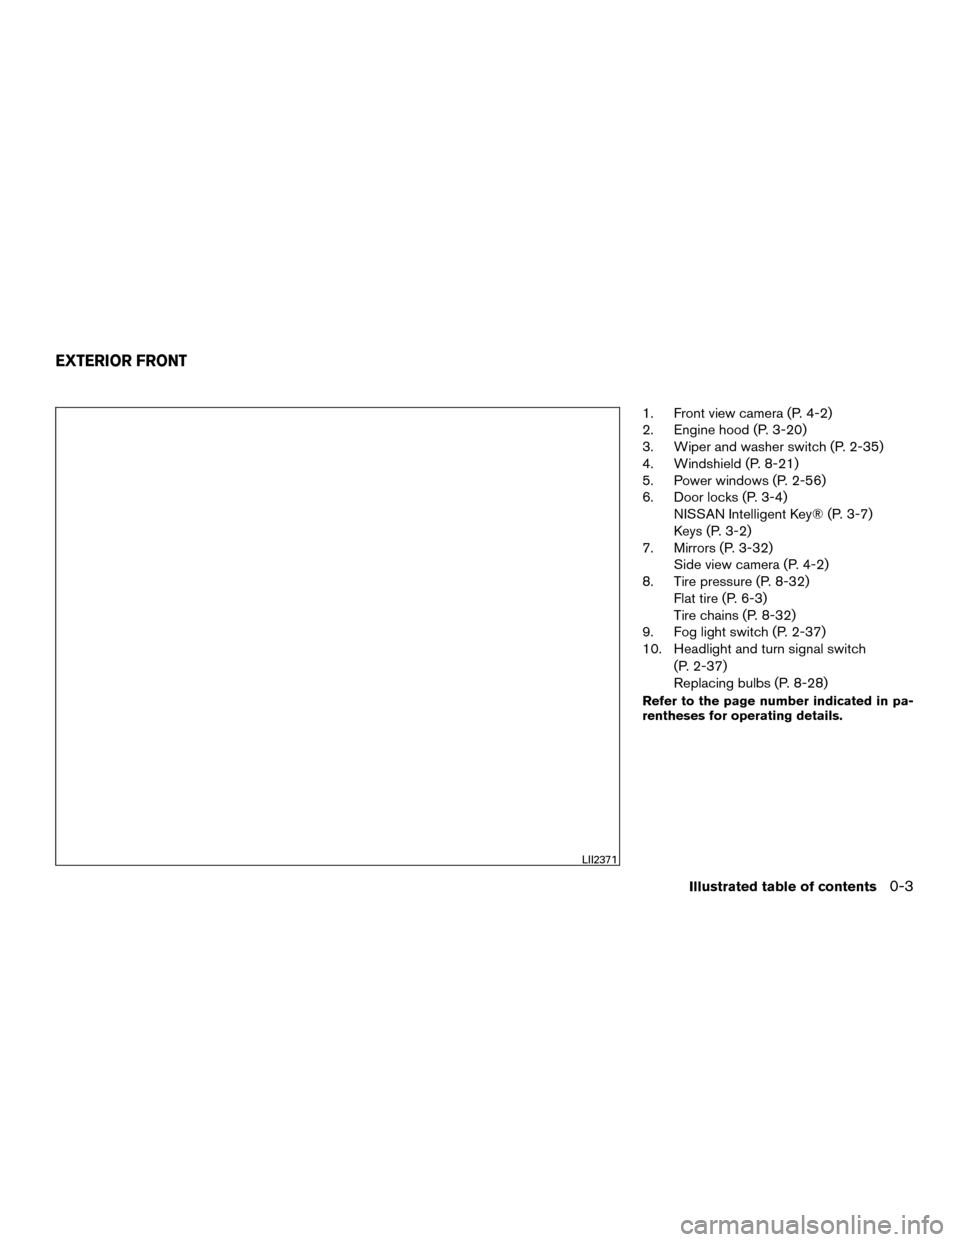
1. Front view camera (P. 4-2)
2. Engine hood (P. 3-20)
3. Wiper and washer switch (P. 2-35)
4. Windshield (P. 8-21)
5. Power windows (P. 2-56)
6. Door locks (P. 3-4)NISSAN Intelligent Key® (P. 3-7)
Keys (P. 3-2)
7. Mirrors (P. 3-32) Side view camera (P. 4-2)
8. Tire pressure (P. 8-32) Flat tire (P. 6-3)
Tire chains (P. 8-32)
9. Fog light switch (P. 2-37)
10. Headlight and turn signal switch
(P. 2-37)
Replacing bulbs (P. 8-28)
Refer to the page number indicated in pa-
rentheses for operating details.
LII2371
EXTERIOR FRONT
Illustrated table of contents0-3
Page 78 of 443
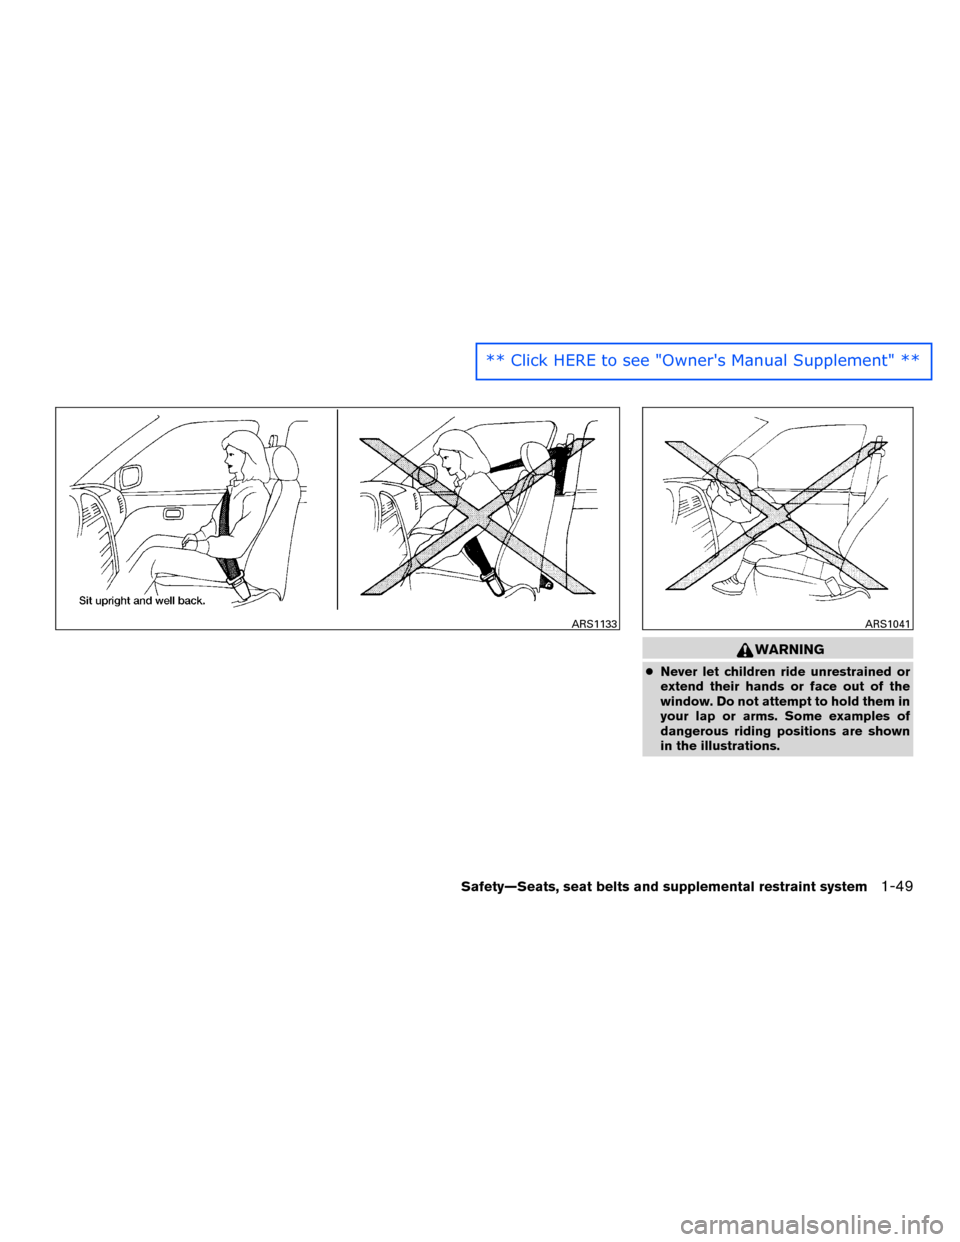
WARNING
●Never let children ride unrestrained or
extend their hands or face out of the
window. Do not attempt to hold them in
your lap or arms. Some examples of
dangerous riding positions are shown
in the illustrations.
ARS1133ARS1041
Safety—Seats, seat belts and supplemental restraint system1-49
** Click HERE to see "Owner's Manual Supplement" **
Page 81 of 443
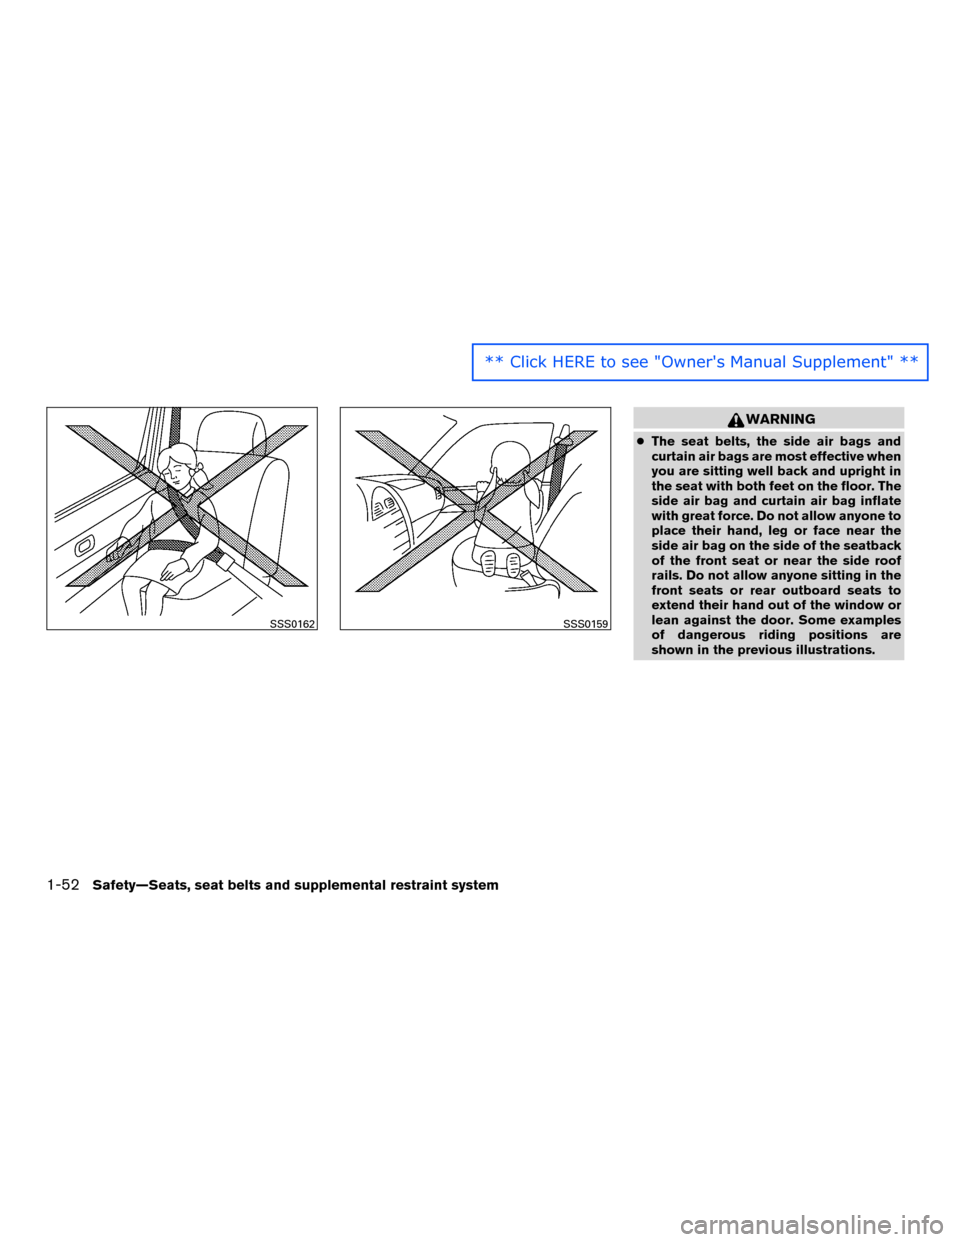
WARNING
●The seat belts, the side air bags and
curtain air bags are most effective when
you are sitting well back and upright in
the seat with both feet on the floor. The
side air bag and curtain air bag inflate
with great force. Do not allow anyone to
place their hand, leg or face near the
side air bag on the side of the seatback
of the front seat or near the side roof
rails. Do not allow anyone sitting in the
front seats or rear outboard seats to
extend their hand out of the window or
lean against the door. Some examples
of dangerous riding positions are
shown in the previous illustrations.
SSS0162SSS0159
1-52Safety—Seats, seat belts and supplemental restraint system
** Click HERE to see "Owner's Manual Supplement" **
Page 99 of 443
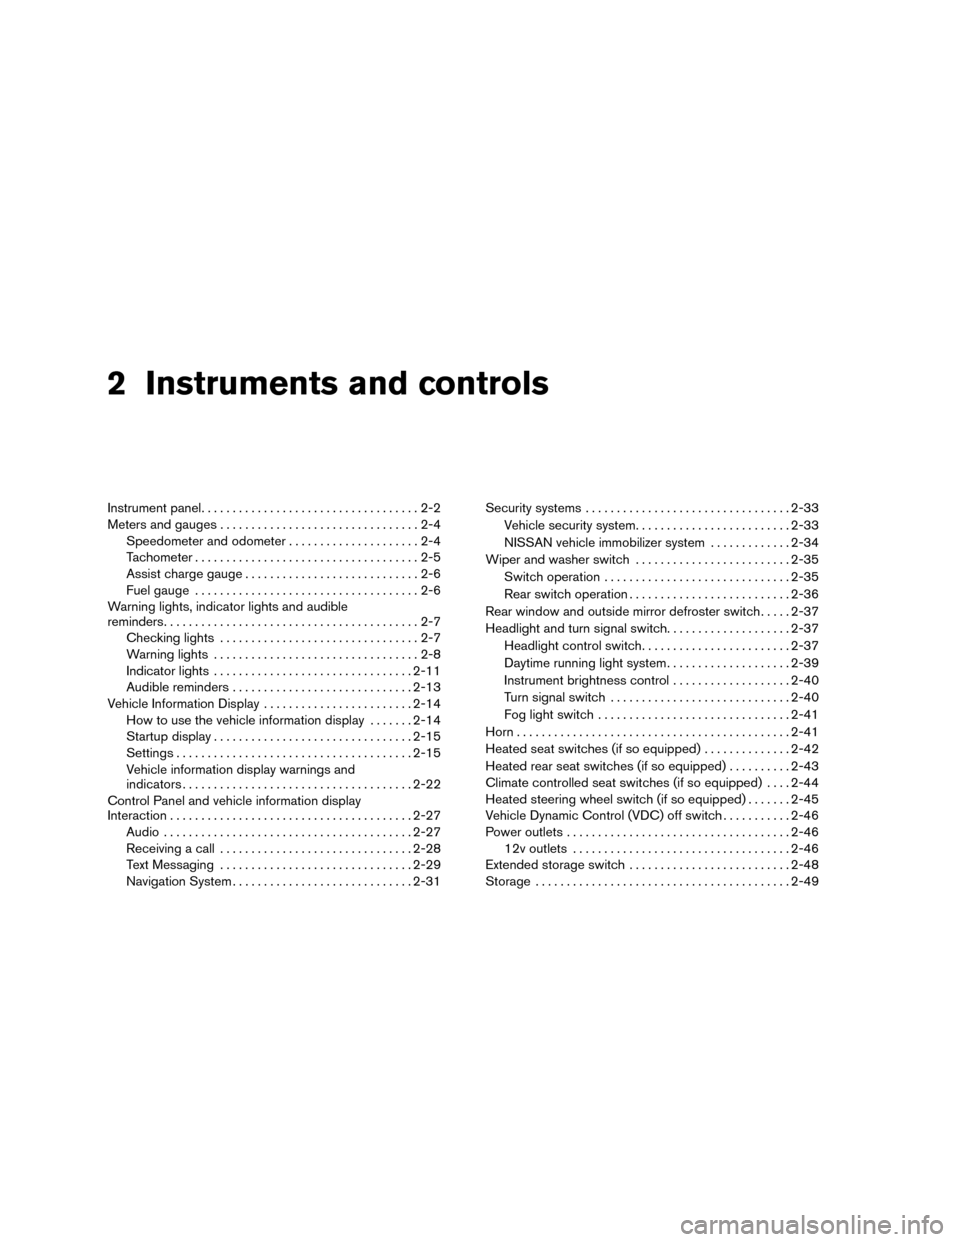
2 Instruments and controls
Instrument panel...................................2-2
Meters and gauges ................................2-4
Speedometer and odometer .....................2-4
Tachometer ....................................2-5
Assist charge gauge ............................2-6
Fuel gauge ....................................2-6
Warning lights, indicator lights and audible
reminders .........................................2-7
Checking lights ................................2-7
Warning lights .................................2-8
Indicator lights ................................ 2-11
Audible reminders ............................. 2-13
Vehicle Information Display ........................2-14
How to use the vehicle information display .......2-14
Startup display ................................ 2-15
Settings ...................................... 2-15
Vehicle information display warnings and
indicators ..................................... 2-22
Control Panel and vehicle information display
Interaction ....................................... 2-27
Audio ........................................ 2-27
Receiving a call ............................... 2-28
Text Messaging ............................... 2-29
Navigation System ............................. 2-31Security systems
................................. 2-33
Vehicle security system ......................... 2-33
NISSAN vehicle immobilizer system .............2-34
Wiper and washer switch ......................... 2-35
Switch operation .............................. 2-35
Rear switch operation .......................... 2-36
Rear window and outside mirror defroster switch .....2-37
Headlight and turn signal switch ....................2-37
Headlight control switch ........................ 2-37
Daytime running light system ....................2-39
Instrument brightness control ...................2-40
Turn signal switch ............................. 2-40
Fog light switch ............................... 2-41
Horn ............................................ 2-41
Heated seat switches (if so equipped) ..............2-42
Heated rearseat
switches (if so equipped) ..........2-43
Climate controlled seat switches (if so equipped) ....2-44
Heated steering wheel switch (if so equipped) .......2-45
Vehicle Dynamic Control (VDC) off switch ...........2-46
Power outlets .................................... 2-46
12v outlets ................................... 2-46
Extended storage switch .......................... 2-48
Storage ......................................... 2-49
Page 100 of 443
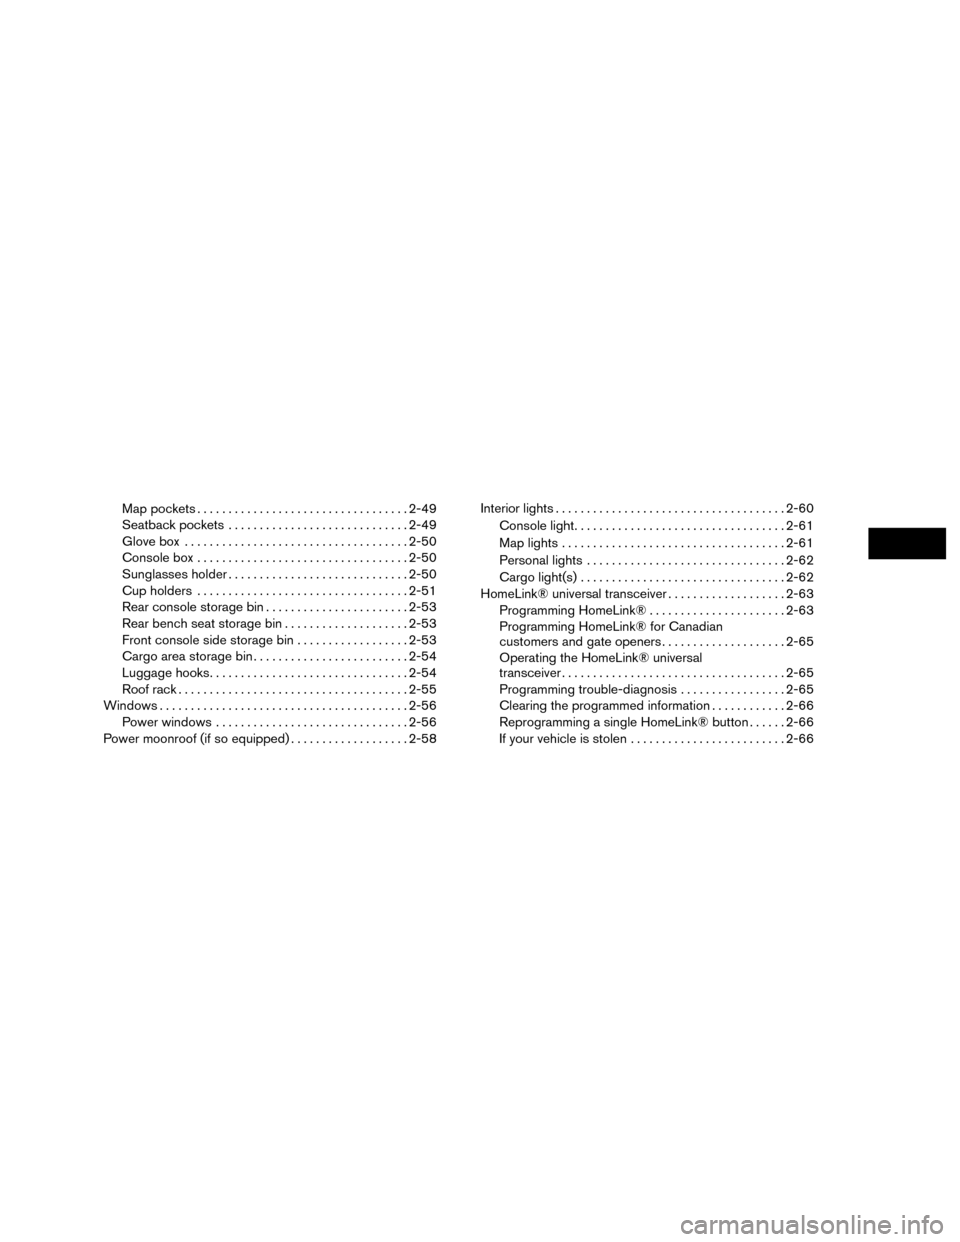
Map pockets.................................. 2-49
Seatback pockets ............................. 2-49
Glove box .................................... 2-50
Console box .................................. 2-50
Sunglasses holder ............................. 2-50
Cup holders .................................. 2-51
Rear console storage bin .......................2-53
Rear bench seat storage bin ....................2-53
Front console side storage bin . . ................2-53
Cargo area storage bin ......................... 2-54
Luggage hooks ................................ 2-54
Roof rack ..................................... 2-55
Windows ........................................ 2-56
Power windows ............................... 2-56
Power moonroof (if so equipped) ...................2-58Interior lights
..................................... 2-60
Console light .................................. 2-61
Map lights .................................... 2-61
Personal lights ................................ 2-62
Cargo light(s) ................................. 2-62
HomeLink® universal transceiver ...................2-63
Programming HomeLink® ......................2-63
Programming HomeLink® for Canadian
customers and gate openers ....................2-65
Operating the HomeLink® universal
transceiver .................................... 2-65
Programming trouble-diagnosis .................2-65
Clearing the programmed information ............2-66
Reprogramming a single HomeLink® button ......2-66
If your vehicle is stolen ......................... 2-66
Page 128 of 443
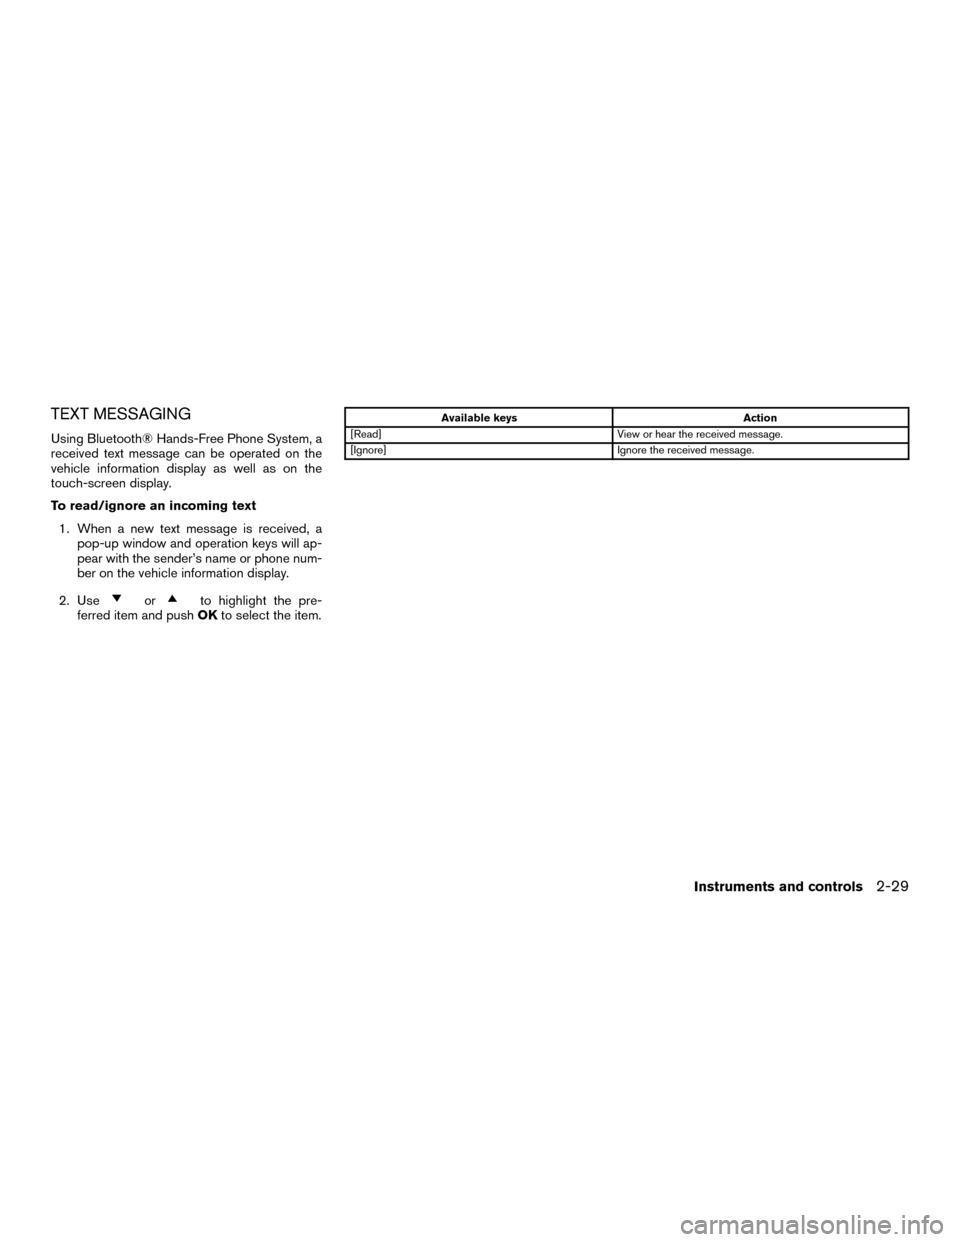
TEXT MESSAGING
Using Bluetooth® Hands-Free Phone System, a
received text message can be operated on the
vehicle information display as well as on the
touch-screen display.
To read/ignore an incoming text1. When a new text message is received, a pop-up window and operation keys will ap-
pear with the sender’s name or phone num-
ber on the vehicle information display.
2. Use
orto highlight the pre-
ferred item and push OKto select the item.
Available keys Action
[Read] View or hear the received message.
[Ignore] Ignore the received message.
Instruments and controls2-29
Page 132 of 443
Your vehicle has two types of security systems:● Vehicle security system
● NISSAN Vehicle Immobilizer System
VEHICLE SECURITY SYSTEM
The vehicle security system provides visual and
audible alarm signals if someone opens the
doors, trunk, liftgate or the hood when the system
is armed. It is not, however, a motion detection
type system that activates when a vehicle is
moved or when a vibration occurs.
The system helps deter vehicle theft but cannot
prevent it, nor can it prevent the theft of interior or
exterior vehicle components in all situations. Al- ways secure your vehicle even if parking for a
brief period. Never leave your Intelligent Key in
the vehicle, and always lock the vehicle when
unattended. Be aware of your surroundings, and
park in secure, well-lit areas whenever possible.
Many devices offering additional protection, such
as component locks, identification markers, and
tracking systems, are available at auto supply
stores and specialty shops. A NISSAN dealer
may also offer such equipment. Check with your
insurance company to see if you may be eligible
for discounts for various theft protection features.
How to arm the vehicle security
system
1. Close all windows.
(The system can be
armed even if the windows are open.)
2. Remove the Intelligent Key from the vehicle.
3. Close all doors, hood and trunk/liftgate. Lock all doors. The doors can be locked with
the Intelligent Key, door handle request
switch (if so equipped) , or mechanical key.
4. Confirm that the
security indicator
light stays on for about 30 seconds. The
vehicle security system is now pre-armed.
The vehicle security system will automati-
cally shift into the armed phase. The
security light begins to flash once every three seconds. If during the pre-armed
phase one of the following occurs, the sys-
tem will not arm:
● Any door is unlocked with the mechanical
key, the Intelligent Key or door request
switch (if so equipped) .
● Ignition switch is placed in ACC or ON
position.
● Even when the driver and/or passen-
gers are in the vehicle, the system will
activate with all the doors, hood and
trunk lid locked with the ignition switch
placed in the LOCK position. When
placing the ignition switch in the ACC
or ON position, the system will be re-
leased.
Vehicle security system activation
The vehicle security system will give the following
alarm:
● The headlights blink and the horn sounds
intermittently but synchronously.
● The alarm automatically turns off after a pe-
riod of time. However, the alarm reactivates if
the vehicle is tampered with again.
LIC2930
SECURITY SYSTEMS
Instruments and controls2-33