2016 NISSAN GT-R buttons
[x] Cancel search: buttonsPage 13 of 24

11
7 DEFROSTING/DEFOGGING REAR WINDOW AND
OUTSIDE HEATED MIRRORS
Push the rear window defroster switc h
to turn the system on or off.
This function automatically turns off after approximately 15 minutes.
8 AI R RECIRCULATION BUTTON
Press the air recirculation button to recirculate interior air inside the vehicle.
This setting can be used to assist in avoiding outside odors and in cooli\
ng down the
vehicle’s interior.
The air recirculation mode cannot be activated when the climate control s\
ystem is in the front defroster mode
or the front defroster and foot vent mode .
9 OUTS IDE AIR CIRCULATION BUTTON
Press the outside air circulation button
to bring fresh, outside air into the vehicle.
This setting helps defog the vehicle’s windows.
For more information, refer to the “Instruments and controls (section 2)” of your Owner’s Manual and the “Heater and
air conditioner (section 5)” of your Multi Function Display Owner’s Manual.
AM/FM/SiriusXM®* SATELLITE RADIO WITH CD PLAYER
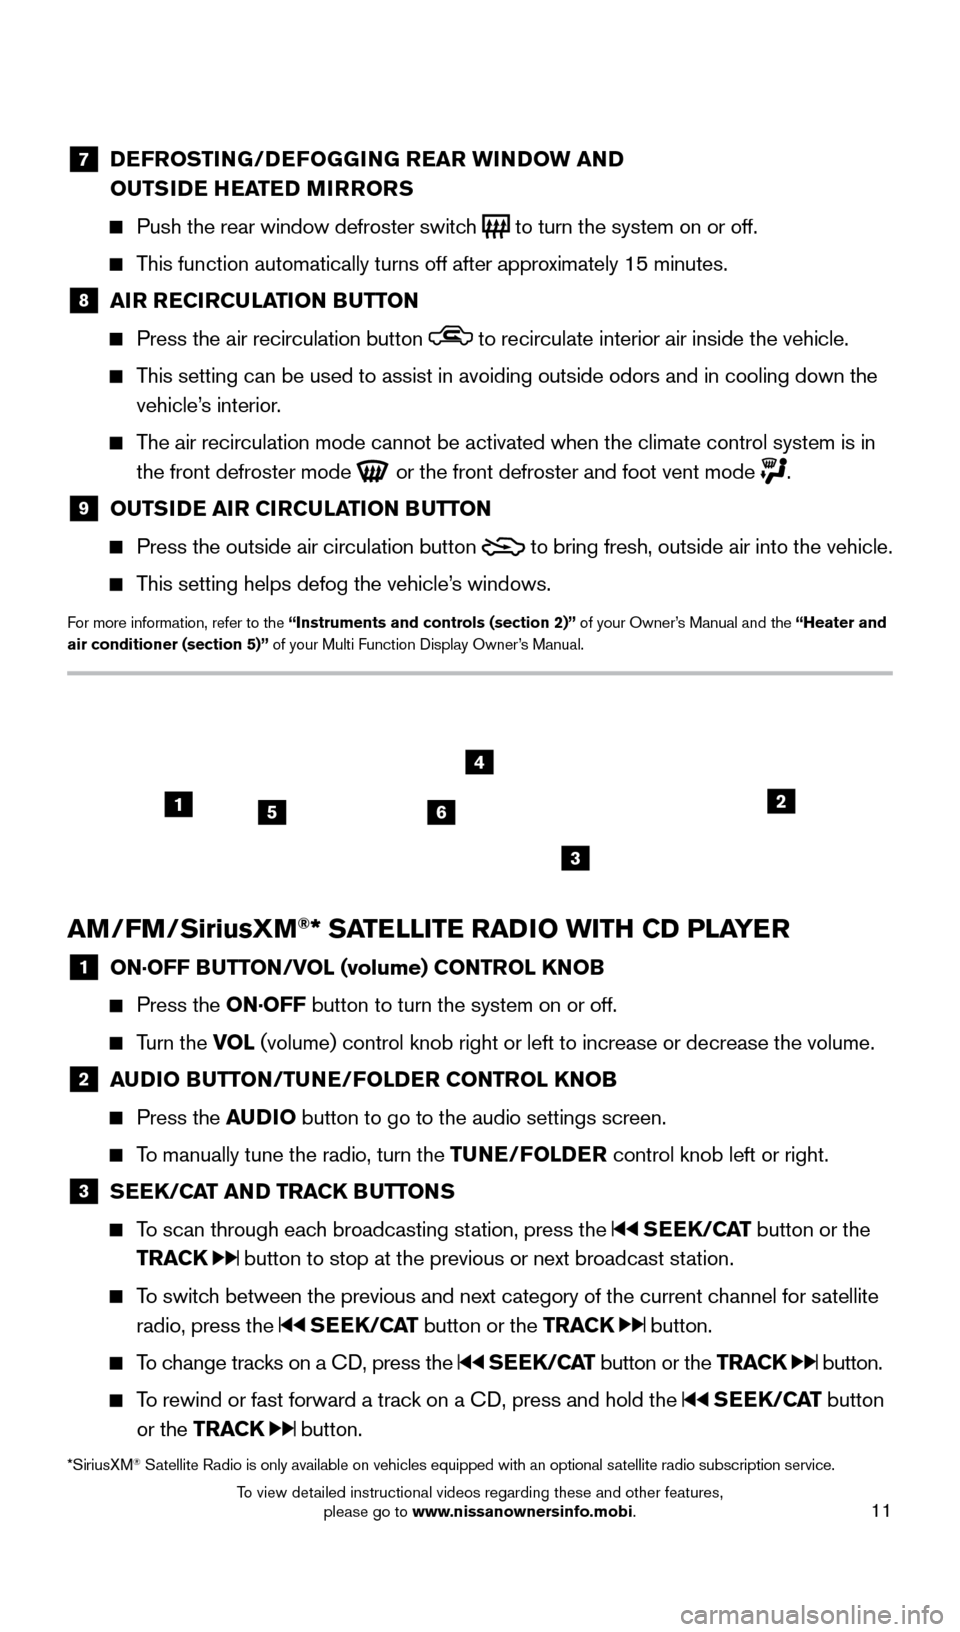
1 ON·OFF B UTTON/VOL (volume) CONTROL KNOB
Press the
ON·OFF button to turn the system on or off.
Turn the VOL (volume) control knob right or left to increase or decrease the volume.
2 AUDIO BUTTON/TUNE/FOLDER CONTROL KNOB
Press the
AUDIO button to go to the audio settings screen.
To manually tune the radio, turn the TUNE/FOLDER control knob left or right.
3 SEEK/CAT AND TRACK BUTTONS
To scan through each broadcasting station, press the
SEEK/CAT button or the
TRACK
button to stop at the previous or next broadcast station.
To switch between the previous and next category of the current channel for satellite radio, press the
SEEK/CAT button or the TRACK button.
To change tracks on a CD, press the SEEK/CAT button or the TRACK button.
To rewind or fast forward a track on a CD, press and hold the SEEK/CAT button
or the TRACK
button.
*SiriusXM® Satellite Radio is only available on vehicles equipped with an optional s\
atellite radio subscription service.
256
3
4
1
1852879_16a_GTR_QRG_Guts_123014.indd 1112/30/14 11:37 AM
To view detailed instructional videos regarding these and other features, please go to www.nissanownersinfo.mobi.
Page 14 of 24

12
FIRST DRIVE FEATURES
CRUISE CONTROL
The cruise control system enables you to set a constant cruising speed above 25 mph (40 km/h).
The system will automatically maintain the set speed until you tap the brake pedal, accelerate,
cancel or turn the system off.
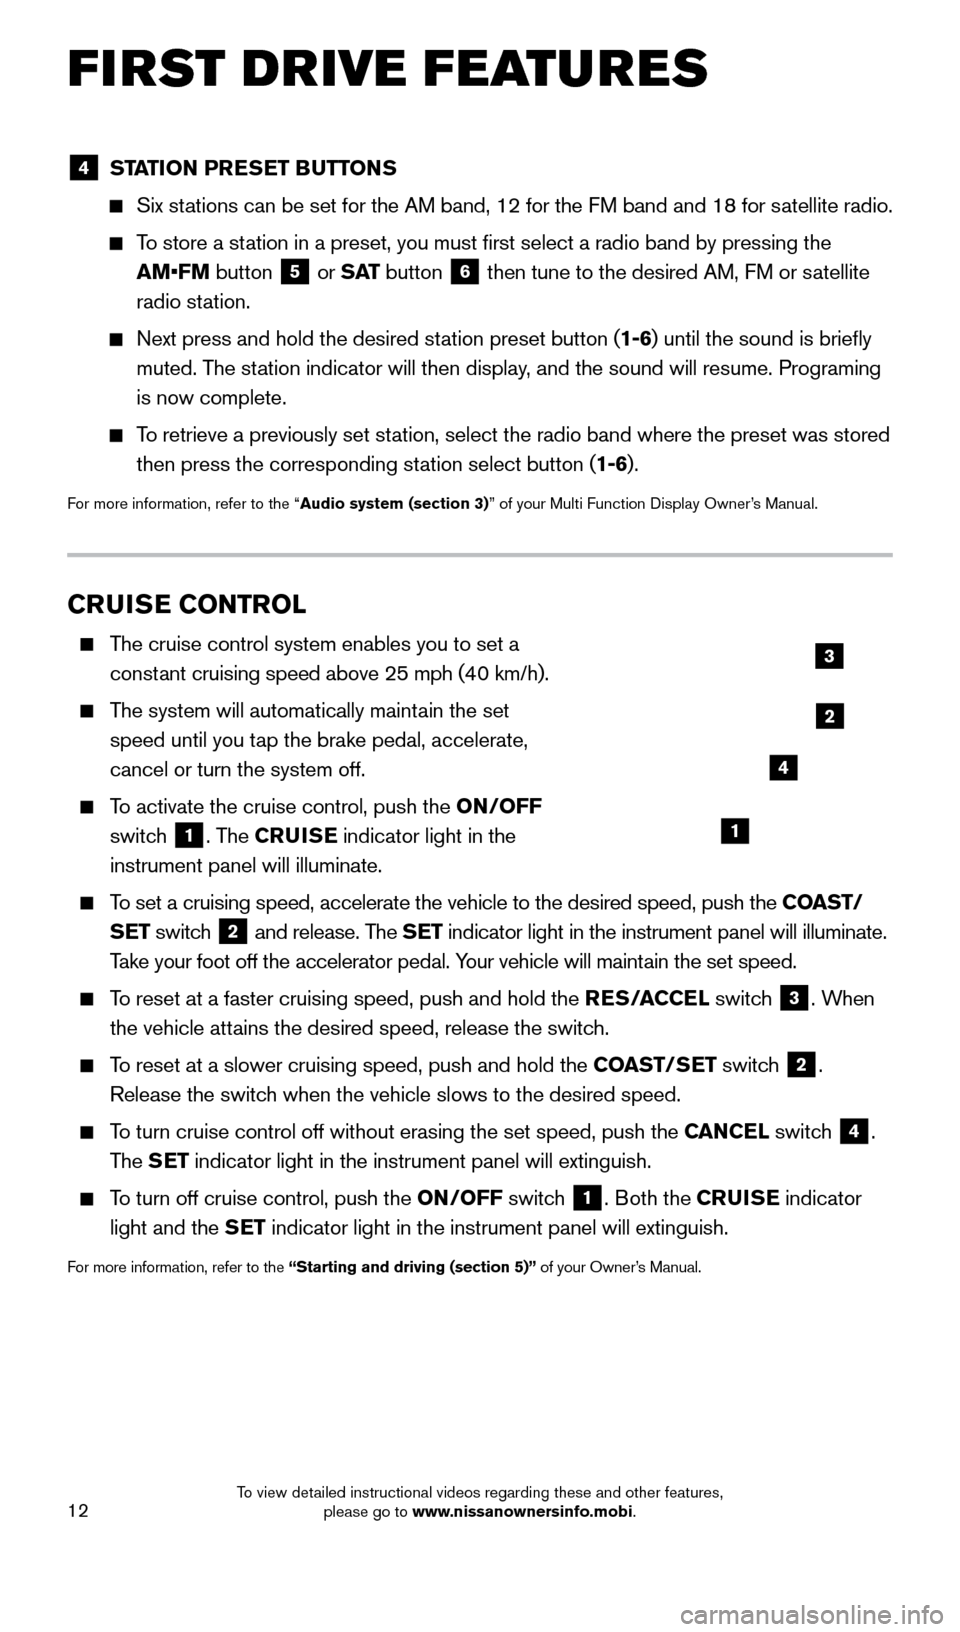
To activate the cruise control, push the ON/OFF
switch
1. The CRUISE indicator light in the
instrument panel will illuminate.
To set a cruising speed, accelerate the vehicle to the desired speed, pus\
h the COAST/ SET switch
2 and release. The SET indicator light in the instrument panel will illuminate.
Take your foot off the accelerator pedal. Your vehicle will maintain the set speed.
To reset at a faster cruising speed, push and hold the RES/ACCEL switch
3. When
the vehicle attains the desired speed, release the switch.
To reset at a slower cruising speed, push and hold the COAST/SET switch 2.
Release the switch when the vehicle slows to the desired speed.
To turn cruise control off without erasing the set speed, push the CANCEL switch 4.
The SET indicator light in the instrument panel will extinguish.
To turn off cruise control, push the ON/OFF switch
1. Both the CRUISE indicator
light and the SET indicator light in the instrument panel will extinguish.
For more information, refer to the “Starting and driving (section 5)” of your Owner’s Manual.
1
2
3
4
4 STATION PRESET BUTTONS
Six stations can be set for the AM band, 12 for the FM band and 18 for satellite radio.
To store a station in a preset, you must first select a radio band by pressing the
AM•FM button
5 or
S AT button 6 then tune to the desired AM, FM or satellite
radio station.
Next press and hold the desired st ation preset button (1-6) until the sound is briefly
muted. The station indicator will then display, and the sound will resume. Programing
is now complete.
To retrieve a previously set station, select the radio band where the preset was stored
then press the corresponding station select button (1-6).
For more information, refer to the “Audio system (section 3)” of your Multi Function Display Owner’s Manual.
1852879_16a_GTR_QRG_Guts_123014.indd 1212/30/14 11:37 AM
To view detailed instructional videos regarding these and other features, please go to www.nissanownersinfo.mobi.
Page 20 of 24

18
NAVIGATION SYSTEM
The Navigation System starts when the ignition switch is placed in the ACC or ON
position. To help ensure safe driving, some functions are grayed out or muted while driving.
Park the vehicle in a safe location and then operate the Navigation System.
STORING YOUR HOME LOCATION
IN YOUR ADDRESS BOOK
Press the DEST button.
Touch the “Home (Add New)” key. If you have
already stored your home, this key may not appear.
When you touch the “Home (Add New)” key,
a confirmation message is displayed.
Touch the “Yes” key.
Make sure the correct region is selected. To change the region, touch the “Change Region”
key and select the appropriate region.
Touch the “Street Address” key. A character input
screen is displayed.
Enter the street number of your home then touc h
the “OK” key.
Enter your street name then touc h the “OK” key.
The map screen is displayed.
Press the directional buttons to adjust your home
location if necessary. After adjusting the location,
touch the “ENTER” key.
Your home is displayed at the center of the map.
A confirmation message is displayed, and the
system sets your home as the destination.
SYSTEM GUIDE
1852879_16a_GTR_QRG_Guts_123014.indd 1812/30/14 11:38 AM
To view detailed instructional videos regarding these and other features, please go to www.nissanownersinfo.mobi.
Page 22 of 24

20
SYSTEM GUIDE
HOMELINK® UNIVERSAL TRANSCEIVER
The HomeLink® Universal Transceiver can learn and consolidate the functions of up to
three different hand-held transmitters, operating items such as garage doors, property
gates, outdoor and indoor lights or alarm systems.
To program the HomeLink® Universal Transceiver:
•
P
osition the handheld transceiver 1-3 in (26-76 mm) away from the HomeLink surface,
keeping the HomeLink indicator light in view.
•
Press and hold the desired HomeLink button and the handheld transmitter \
button
simultaneously until the HomeLink indicator light flashes slowly and then ra\
pidly.
•
B
oth buttons may be released when the indicator light flashes rapidly.
To verify the programing is complete, press and hold the HomeLink button \
and observe the indicator light:
•
A solid, continuous light indicates the programing is complete and the H\
omeLink
button will activate your device.
•
A blinking light that turns to a solid, continuous light after 2 seconds\
indicates
additional steps are required to complete the programing.
An additional person may make the remaining steps easier . To complete the
programing process:
•
At the receiver of the device that you are programing to the HomeLink bu\
tton, press
and release the learn or smart button (the name may vary by manufacture\
r, but it is
usually located near where the hanging antenna wire is attached to the unit). You have
approximately 30 seconds to initiate the following step.
•
Press and hold the programed HomeLink button for 2 seconds and release.
You may have to repeat the previous two steps up to 3 times to complete t\
he programing process. HomeLink should now activate your device.
For more information, refer to the “Instruments and controls (section 2)” of your Owner’s Manual, the HomeLink website
at www.homelink.com or call 1-800-355-3515.
HOMELINK
1852879_16a_GTR_QRG_Guts_123014.indd 2012/30/14 11:38 AM
To view detailed instructional videos regarding these and other features, please go to www.nissanownersinfo.mobi.