Page 16 of 469
Rear sonar switch (if so equipped)
(P. 2-38)
Vehicle Dynamic Control (VDC) OFF
switch (P. 2-35)
16. Shift lever (P. 5-14, 5-18)
17. 4WD shift switch (if so equipped)
(P. 5-25)
18. Climate controls (P.4-16)
19. Hazard warning flasher switch (P. 6-2)
20. Ignition switch (P. 5-10)
21. Tilt steering wheel control
(if so equipped) (P. 3-13)
22. Cargo lamp switch (P. 2-33)
23. Clutch interlock (clutch start) switch
(if so equipped) (P. 2-37)
Hill descent control switch
(if so equipped) (P. 2-35)
24. Outside mirror controls (if so equipped)
(P. 3-17)
Illustrated table of contents
0-7
Page 109 of 469

2 Instruments and controls
Instrument panel...................................2-2
Meters and gauges ................................2-3
Speedometer and odometer .....................2-4
Tachometer ....................................2-6
Engine coolant temperature gauge ...............2-6
Fuel gauge ....................................2-7
Engine oil pressure gauge (if so equipped) ........2-8
Voltmeter (if so equipped) .......................2-8
Trip computer (if so equipped) ...................2-9
Compass and outside temperature display
(if so equipped) .................................. 2-10
Outside temperature display ....................2-11
Compass ..................................... 2-11
Warning lights, indicator lights and audible
reminders ........................................ 2-14
Checking lights ............................... 2-15
Warning lights ................................ 2-15
Indicator lights ................................ 2-20
Audible reminders ............................. 2-24
Security systems (if so equipped) ..................2-24
Vehicle security system (if so equipped) ..........2-24
NISSAN vehicle immobilizer system
(if so equipped) ............................... 2-25
Wiper and washer switch ......................... 2-27Switch operation
.............................. 2-27
Rear window or outside mirror defroster switch
(if so equipped) .................................. 2-28
Headlight and turn signal switch ....................2-29
Headlight control switch ........................ 2-29
Daytime running light system (Canada only) ......2-31
Instrument brightness control ...................2-32
Turn signal switch ............................. 2-32
Fog light switch (if so equipped) ................2-33
Horn ............................................ 2-33
Cargo lamp switch................................ 2-33
Heated seats (if so equipped) ......................2-34
Vehicle Dynamic Control (VDC) off switch ...........2-35
Hill descent control switch (if so equipped) ..........2-35
Electronic locking rear differential (E-Lock) system
switch (if so equipped) ............................ 2-36
Clutch interlock (clutch start) switch
(if so
equipped) .................................. 2-37
Rear sonar system off switch (if so equipped) ........2-38
Power outlets .................................... 2-38
Storage ......................................... 2-39
Storage trays ................................. 2-39
Console box .................................. 2-40
Under-seat storage bins ........................ 2-42
Page 112 of 469
Rear sonar switch (if so equipped)
(P. 2-38)
Vehicle Dynamic Control (VDC) OFF
switch (P. 2-35)
16. Shift lever (P. 5-14, 5-18)
17. 4WD shift switch (if so equipped)
(P. 5-25)
18. Climate controls (P.4-16)
19. Hazard warning flasher switch (P. 6-2)
20. Ignition switch (P. 5-10)
21. Tilt steering wheel control
(if so equipped) (P. 3-13)
22. Cargo lamp switch (P. 2-33)
23. Clutch interlock (clutch start) switch
(if so equipped) (P. 2-37)
Hill descent control switch
(if so equipped) (P. 2-35)
24. Outside mirror controls (if so equipped)
(P. 3-17)
1. Warning and indicator lights
2. Tachometer
3. Speedometer
4. Fuel gauge
5. Change/reset button
6. Voltmeter (if so equipped) 7. Odometer
Twin trip odometer (if so equipped)
Trip computer (if so equipped)
8. Engine oil pressure gauge
(if so equipped)
9. Engine coolant temperature gauge
LIC3327
METERS AND GAUGES
Instruments and controls2-3
Page 119 of 469

Trip computer reset
Pressing the change/reset button for more than
3 seconds will reset all modes except Trip A and
distance to empty.This unit has the following functions:
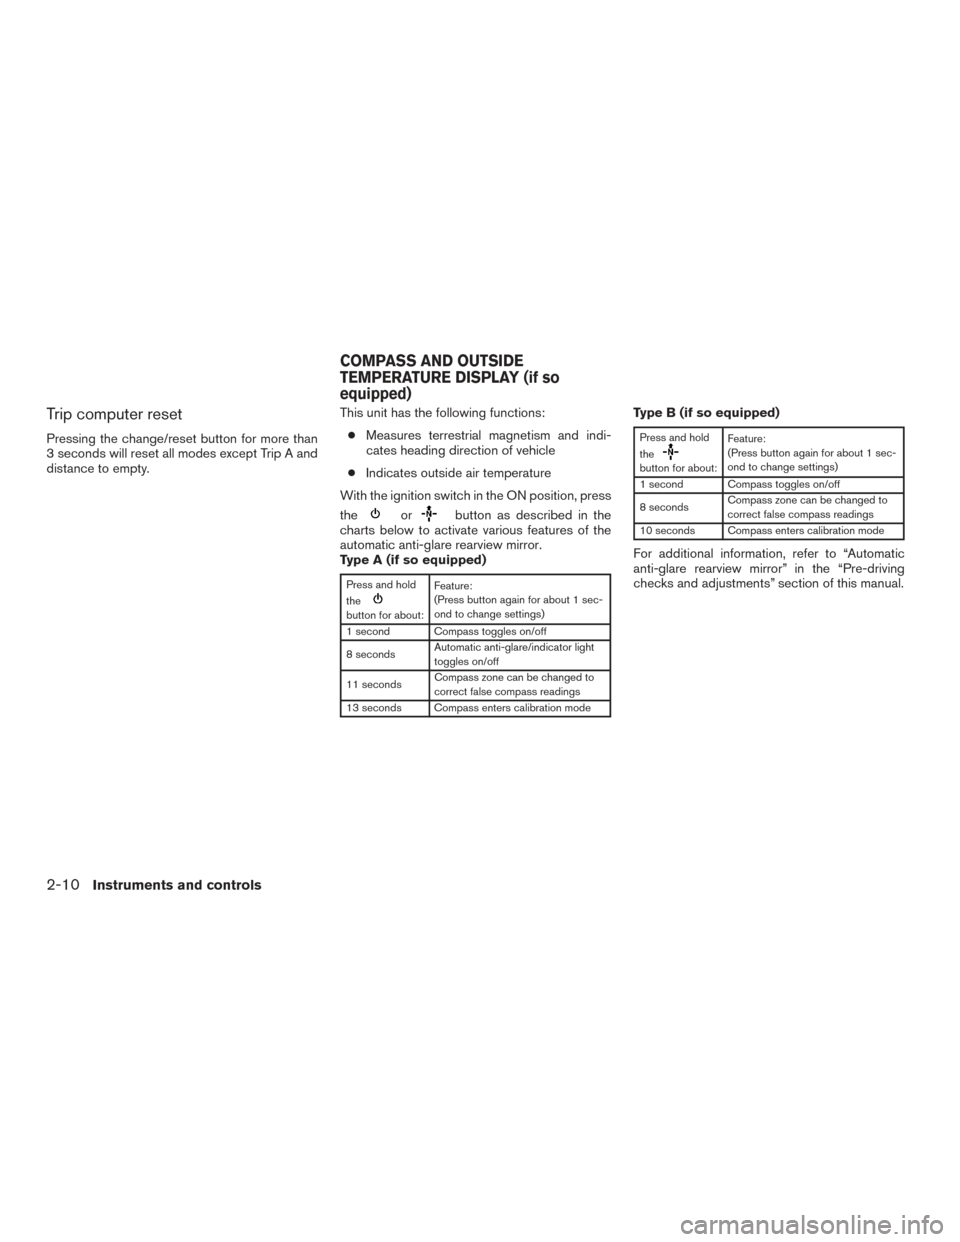
● Measures terrestrial magnetism and indi-
cates heading direction of vehicle
● Indicates outside air temperature
With the ignition switch in the ON position, press
the
orbutton as described in the
charts below to activate various features of the
automatic anti-glare rearview mirror.
Type A (if so equipped)
Press and hold
the
button for about: Feature:
(Press button again for about 1 sec-
ond to change settings)
1 second Compass toggles on/off
8 seconds Automatic anti-glare/indicator light
toggles on/off
11 seconds Compass zone can be changed to
correct false compass readings
13 seconds Compass enters calibration mode
Type B (if so equipped)
Press and hold
the
button for about: Feature:
(Press button again for about 1 sec-
ond to change settings)
1 second Compass toggles on/off
8 seconds Compass zone can be changed to
correct false compass readings
10 seconds Compass enters calibration mode
For additional information, refer to “Automatic
anti-glare rearview mirror” in the “Pre-driving
checks and adjustments” section of this manual.
COMPASS AND OUTSIDE
TEMPERATURE DISPLAY (if so
equipped)
2-10Instruments and controls
Page 122 of 469
CAUTION
●Do not install a ski rack, antenna, etc.,
which are attached to the vehicle by
means of a magnet. They affect the op-
eration of the compass.
● When cleaning the mirror, use a paper
towel or similar material dampened
with glass cleaner. Do not spray glass
cleaner directly on the mirror as it may
cause the liquid cleaner to enter the
mirror housing.
Instruments and controls2-13
Page 137 of 469
To defrost the rear window glass (if so equipped) ,
start the engine and push the rear window de-
froster switch on. The rear window defroster in-
dicator light on the switch comes on. Push the
switch again to turn the defroster off.
To defrost the outside mirrors (if so equipped) ,
start the engine and push the outside mirror
defroster switch on. The outside mirror defroster
indicator light on the switch comes on. Push the
switch again to turn the defroster off.
The rear window/outside mirror defroster auto-
matically turns off after approximately 15 minutes.CAUTION
When cleaning the inner side of the rear
window, be careful not to scratch or dam-
age the rear window defroster.
Type A (if so equipped)
LIC0783
Type B (if so equipped)
LIC1419
Type C (if so equipped)
LIC3278
REAR WINDOW OR OUTSIDE
MIRROR DEFROSTER SWITCH (if so
equipped)
2-28Instruments and controls
Page 183 of 469
For information on HomeLink® Universal Trans-
ceiver (if so equipped) operation, refer to the
“HomeLink® Universal Transceiver” in the “In-
struments and controls” section of this manual.
For additional information about the compass
�2
and compass features, refer to “Compass dis-
play” in the “Instruments and controls” section of
this manual.
OUTSIDE MIRRORS
WARNING
●Objects viewed in the outside mirror on
the passenger side are closer than they
appear. Be careful when moving to the
right. Using only this mirror could cause
an accident. Use the inside mirror or
glance over your shoulder to properly
judge distances to other objects.
● Do not adjust the mirrors while driving.
You could lose control of your vehicle
and cause an accident.
Manual control type (if so equipped)
The outside mirror can be moved in any direction
for a better rear view.
Type B (if so equipped)
LPD0470WPD0170
3-16Pre-driving checks and adjustments
Page 184 of 469

Electric control type (if so equipped)
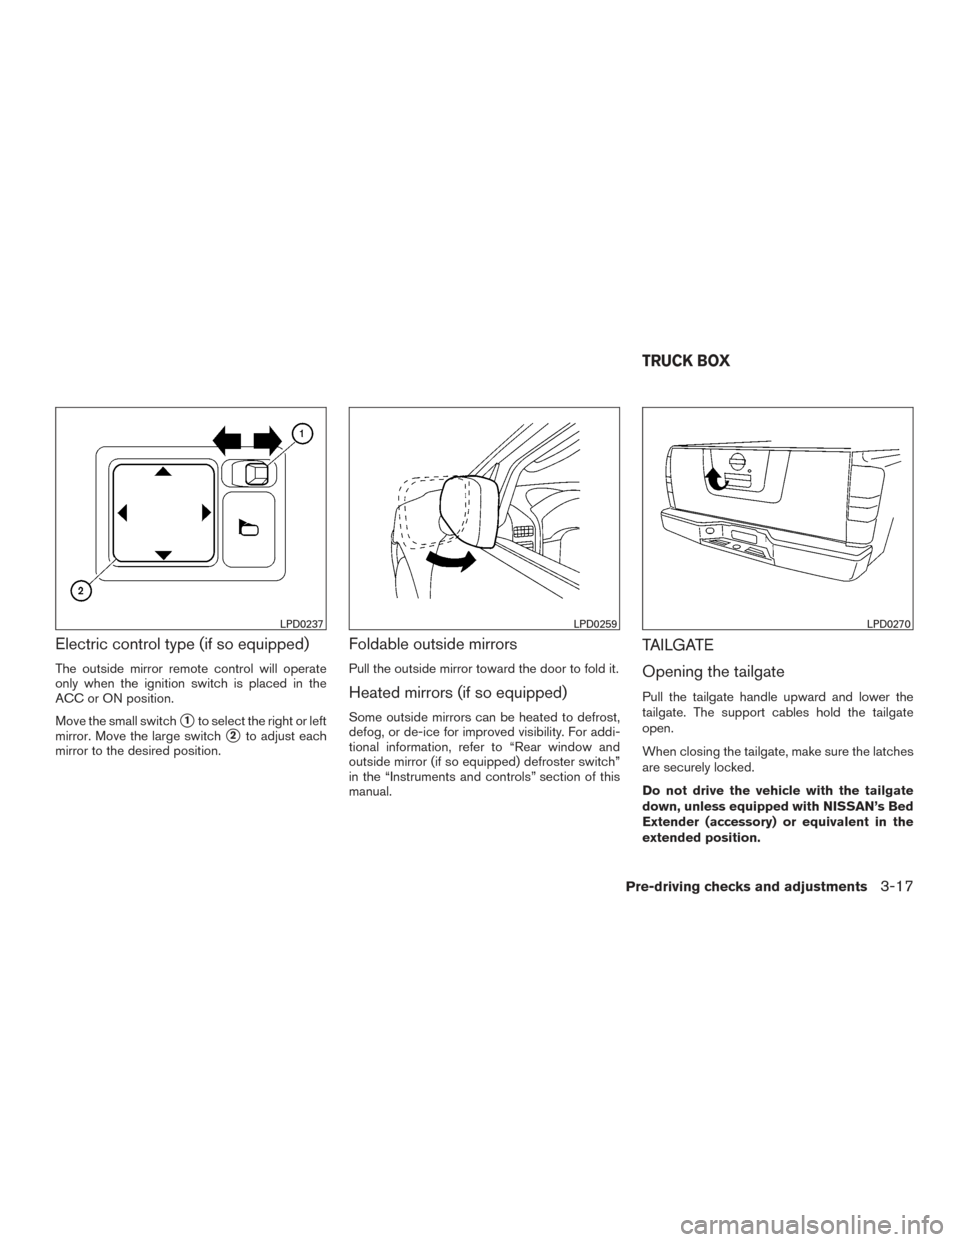
The outside mirror remote control will operate
only when the ignition switch is placed in the
ACC or ON position.
Move the small switch
�1to select the right or left
mirror. Move the large switch
�2to adjust each
mirror to the desired position.
Foldable outside mirrors
Pull the outside mirror toward the door to fold it.
Heated mirrors (if so equipped)
Some outside mirrors can be heated to defrost,
defog, or de-ice for improved visibility. For addi-
tional information, refer to “Rear window and
outside mirror (if so equipped) defroster switch”
in the “Instruments and controls” section of this
manual.
TAILGATE
Opening the tailgate
Pull the tailgate handle upward and lower the
tailgate. The support cables hold the tailgate
open.
When closing the tailgate, make sure the latches
are securely locked.
Do not drive the vehicle with the tailgate
down, unless equipped with NISSAN’s Bed
Extender (accessory) or equivalent in the
extended position.
LPD0237LPD0259LPD0270
TRUCK BOX
Pre-driving checks and adjustments3-17