2016 MERCEDES-BENZ S-COUPE trunk
[x] Cancel search: trunkPage 214 of 410

The 360° camera will not function or will
function in a limited manner:
Rif the doors are open
Rif the exterior mirrors are folded in
Rif the trunk lid is open
Rin heavy rain, snow or fog
Rat night or in very dark places
Rif the cameras are exposed to very bright
light
Rif the area is lit by fluorescent bulbs or LED
lighting (the display may flicker)
Rif the camera lenses fog up, e.g. when driv-
ing into a heated garage in winter, causing
a rapid change in temperature
Rif the camera lenses are dirty or covered.
Observe the notes on cleaning
(
Ypage 336)
Rif the vehicle components in which the
cameras are installed are damaged. In this
event, have the camera position and setting
checked at a qualified specialist workshop.
Do not use the 360° camera in this case. You
can otherwise injure others or cause damage
to objects or the vehicle.
The guide lines in the COMAND display show
the distances to your vehicle. The distances
only apply to road level.
iThe camera in the rear area is protected
from raindrops and dust by means of a flap. This flap opens when the 360° camera is
activated.
The flap closes again when:
Ryou have finished the maneuvering proc-
ess
Ryou switch off the engine
Ryou open the trunk
Observe the notes on cleaning
(
Ypage 336).
For technical reasons, the flap may remain
open briefly after the 360° camera has
been deactivated. On vehicles with height-adjustable chassis,
depending on technical conditions, leaving
the standard height can result in:
Rinaccuracies in the guide lines
Rinaccuracies in the display of generated
images (top view)
Activation conditions
The 360° camera image can be displayed if:
RCOMAND is switched on (see the separate
operating instructions)
Rthe 360° Camerafunction is switched on
iIf the 360° camera is activated at speeds
above approximately 19 mph (30 km/h) , a
warning message appears.
The warning message disappears if:
Rthe vehicle's speed falls below approx-
imately 19 mph (30 km/h). The 360°
camera is then activated.
Rthe message is confirmed with the %
button.
Switching the 360° camera on and off
using the button
XTo switch on: press button:.
Depending on whether position Dor Ris
engaged, the following is shown:
Rfull screen display with the image from
the front camera
Rfull screen display with the image from
the rear view camera
XTo switch off: press button:again.
212Driving systems
Driving and parking
Page 215 of 410
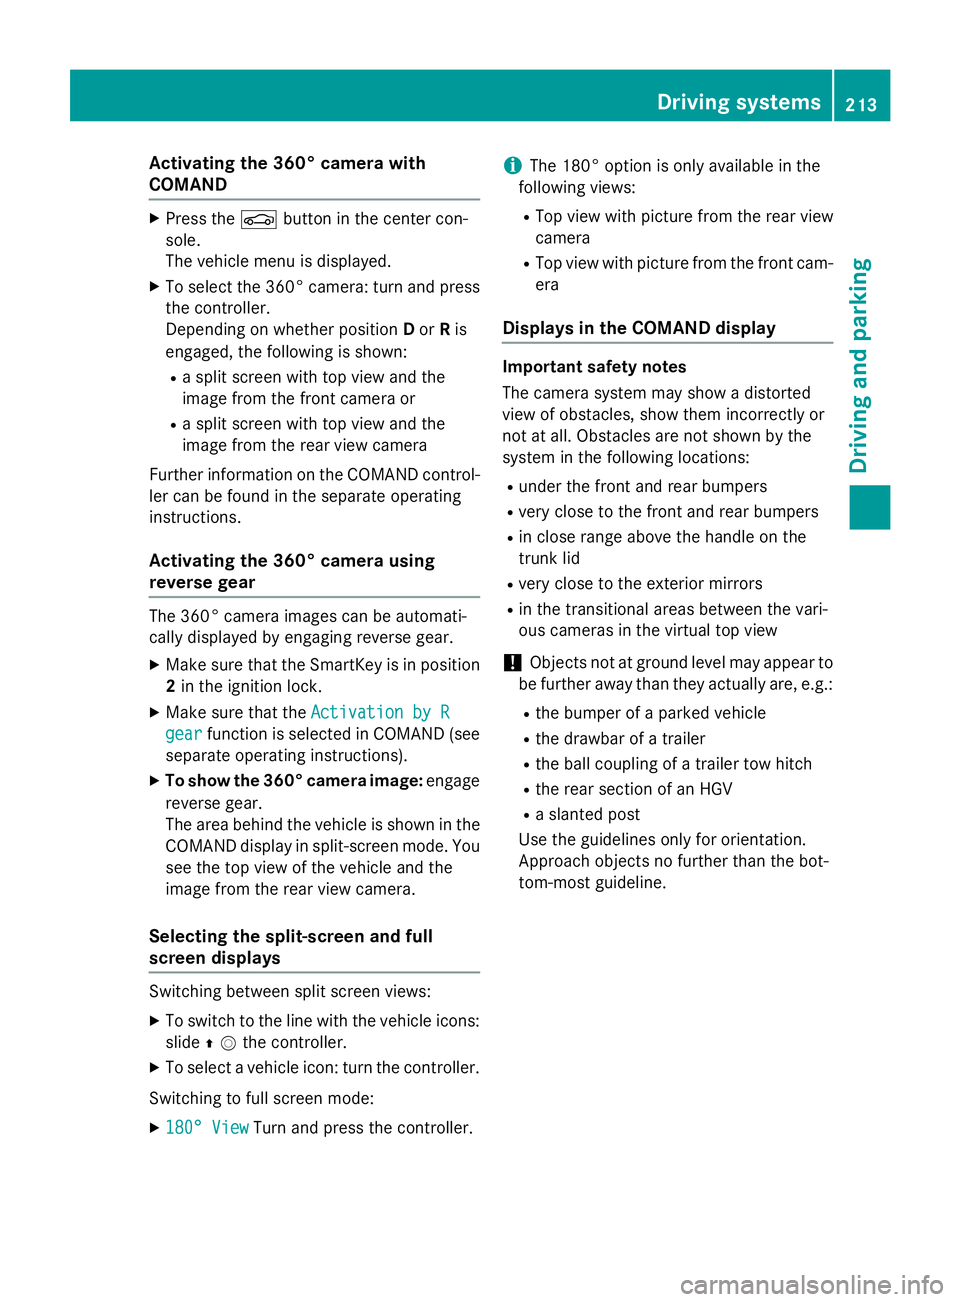
Activating the360°camera with
COMAND
XPress th eØ buttonin th ecenter con-
sole .
The vehicl emen uis displayed.
XTo select th e360° camera: tur nand press
th econtroller .
Dependin gon whether position Dor Ris
engaged, th efollowin gis shown:
Rasplit scree nwit hto pvie wand th e
imag efrom th efron tcamera or
Ra split scree nwit hto pvie wand th e
imag efrom th erear vie wcamera
Further information on th eCOMAND control -
ler can be foun din th eseparat eoperating
instructions.
Activating the 360°camera using
reverse gear
The 360° camera images can be automati-
call ydisplayed by engagin grevers egear .
XMakesur ethat th eSmartKey is in position
2 in th eignition lock.
XMak esur ethat th eActivatio nby R
gearfunction is selected in COMAND (see
separat eoperating instructions).
XTo sho wth e360° camera image: engage
revers egear .
The area behind th evehicl eis shown in th e
COMAND display in split-screen mode. You
see th eto pvie wof th evehicl eand th e
imag efrom th erear vie wcamera.
Selecting the split-screen and full
screen displays
Switchin gbetween split scree nviews:
XTo switch to th elin ewit hth evehicl eicons :
slide ZVthe controller.
XTo select a vehicle icon: turn the controller.
Switching to full screen mode:
X180° ViewTurn and press the controller.
iThe 180° option is only available in the
following views:
RTop view with picture from the rear view
camera
RTop view with picture from the front cam-
era
Displays in the COMAND display
Important safety notes
The camera system may show a distorted
view of obstacles, show them incorrectly or
not at all. Obstacles are not shown by the
system in the following locations:
Runder the front and rear bumpers
Rvery close to the front and rear bumpers
Rin close range above the handle on the
trunk lid
Rvery close to the exterior mirrors
Rin the transitional areas between the vari-
ous cameras in the virtual top view
!Objects not at ground level may appear to
be further away than they actually are, e.g.:
Rthe bumper of a parked vehicle
Rthe drawbar of a trailer
Rthe ball coupling of a trailer tow hitch
Rthe rear section of an HGV
Ra slanted post
Use the guidelines only for orientation.
Approach objects no further than the bot-
tom-most guideline.
Driving system s213
Driving an d parking
Z
Page 284 of 410
Display messagesPossible causes/consequences andMSolutions
Reversing Not Pos‐
sible Service
Required
You cannotshift into th etransmissio nposition Rdue to amal-
function .
The transmissio nposition sP, Nor Dcontinue to be available.
A warnin gtone also sounds.
XVisit aqualified specialist workshop .
Transmission Mal‐
function Stop
Amalfunction has occurred in th emechanica ltransmissio ncom-
ponents .
A warnin gtone also sounds. The gearbox automatically shift sto
position N.
XPull ove rand stop th evehicl esafely as soo nas possible, payin g
attention to roa dand traffic conditions.
XShift th eselector lever to position P.
XSecureth evehicl eagainst rollin gaway (Ypage 170).
XNotify aqualified specialist workshop or breakdown service.
Auxiliary Batter y
Malfunction
The auxiliarybattery fo rth etransmissio nis no longer bein g
charged.
XVisit aqualified specialist workshop at th enext opportunity.
XUnti lthen ,shift th eselector lever to position Pbefore you switch
of fth eengine.
XBefore leavin gth evehicle, apply th eelectric parkin gbrake.
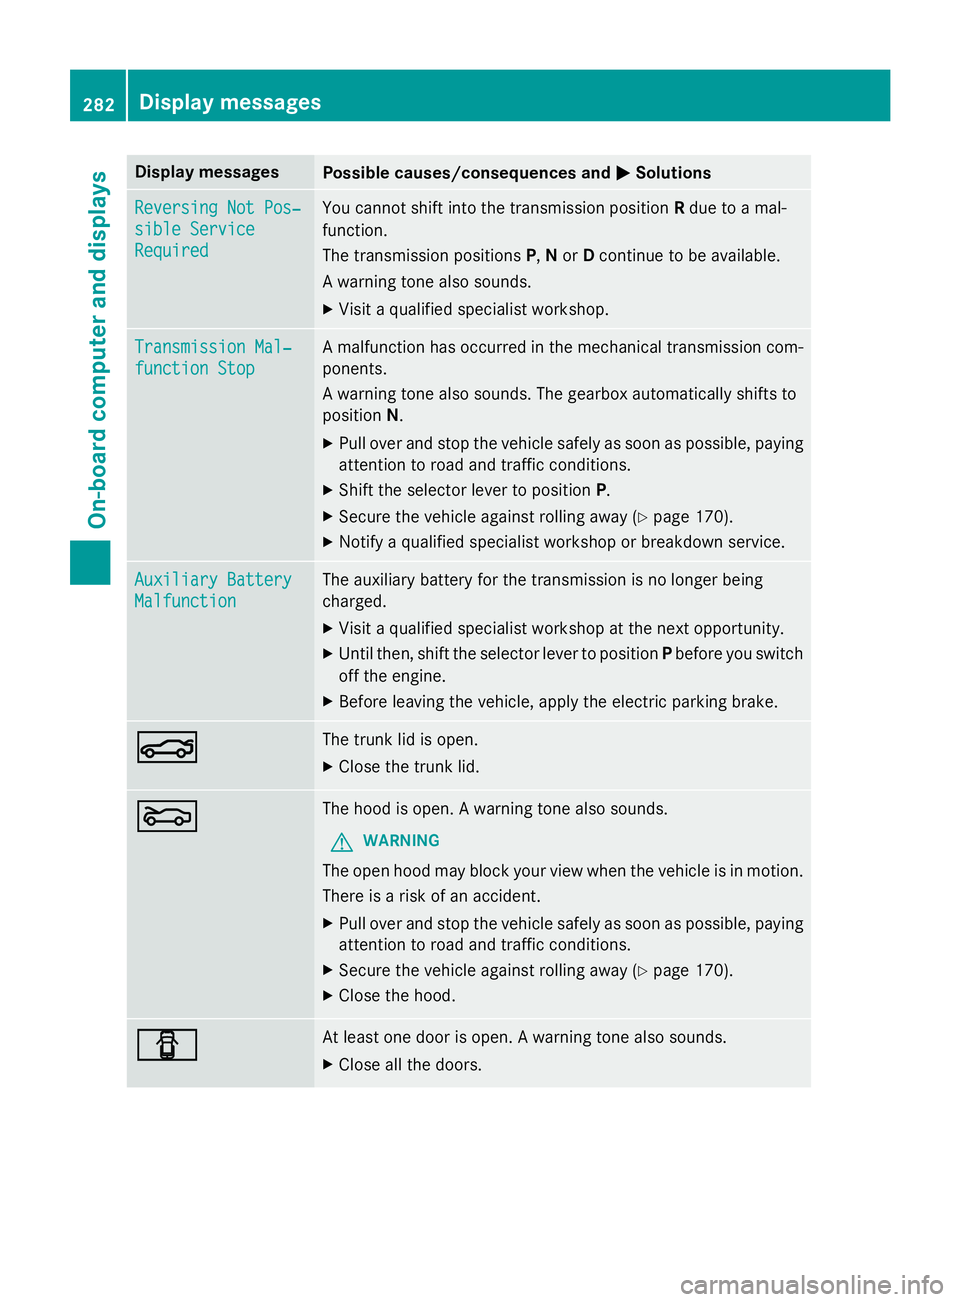
NThe trunk lid is open .
XCloseth etrunk lid.
MThe hoo dis open . Awarnin gtone also sounds.
GWARNIN G
The open hoo dmay bloc kyour vie wwhen th evehicl eis in motion .
There is aris kof an accident.
XPull ove rand stop th evehicl esafely as soo nas possible, payin g
attention to roa dand traffic conditions.
XSecur eth evehicl eagainst rollin gaway (Ypage 170).
XCloseth ehood.
CAt leas ton edoo ris open . Awarnin gtone also sounds.
XClos eall th edoors .
282Display messages
On-board computer and displays
Page 302 of 410
Useful information
i
This Operator's Manual describes all
models and all standard and optional equip-
ment of your vehicle available at the time of
publication of the Operator's Manual.
Country-specific differences are possible.
Please note that your vehicle may not be
equipped with all features described. This
also applies to safety-related systems and
functions.
iRead the information on qualified special-
ist workshops (
Ypage 26).
Stowage areas
Loading guidelines
GWARNING
Combustion engines emit poisonous exhaust
gases such as carbon monoxide. Exhaust
gases can enter the vehicle interior if the
trunk lid is open when the engine is running,
especially if the vehicle is in motion. There is a
risk of poisoning.
Always switch off the engine before opening
the trunk lid. Never drive with the trunk lid
open.
GWARNING
If objects, luggage or loads are not secured or
not secured sufficiently, they could slip, tip
over or be flung around and thereby hit vehicle
occupants. There is a risk of injury, particu-
larly in the event of sudden braking or a sud-
den change in direction.
Always store objects so that they cannot be
flung around. Secure objects, luggage or
loads against slipping or tipping before the
journey.
GWARNING
The exhaust tail pipe and tail pipe trim can
become very hot. If you come into contact
with these parts of the vehicle, you could burn
yourself. There is a risk of injury.
Always be particularly careful around the
exhaust tail pipe and the tail pipe trim. Allow
these components to cool down before touch-
ing them.
The handling characteristics of a laden vehi-
cle are dependent on the distribution of the
load within the vehicle. For this reason, you
should observe the following notes when
transporting a load:
RNever exceed the maximum permissible
gross vehicle weight or the gross axle
weight rating of the vehicle (including occu-
pants). The values are specified on the vehi-
cle identification plate on the B-pillar of the
driver's door.
RThe trunk is the preferred place to carry
objects.
RPosition heavy loads as far forwards as pos-
sible and as low down in the trunk as pos-
sible.
RThe load must not protrude above the
upper edge of the seat backrests.
RAlways place the load behind unoccupied
seats if possible.
RSecure the load with sufficiently strong and
wear-resistant tie-downs. Pad sharp edges
for protection.
Stowage spaces
Important safety notes
GWARNING
If you do not correctly store objects in the
vehicle interior, they can slip or be flung
around, thus striking vehicle occupants.
There is a risk of injury, especially when brak- ing or abruptly changing directions.
RAlways store objects so that they cannot be
flung around in these or in similar situa-
tions.
RAlways make sure that objects do not pro-
trude from stowage compartments, parcel
nets or stowage nets.
300Stowage areas
Stowage and features
Page 303 of 410
RClose lockablestowage compartments
while driv ing.
RStow and secure objects that are heavy,
hard, pointy, sharp-edged, fragile or too
large inthe trunk.
Observe the loading guidelines (Ypage 300).
Stowage compartments in the front
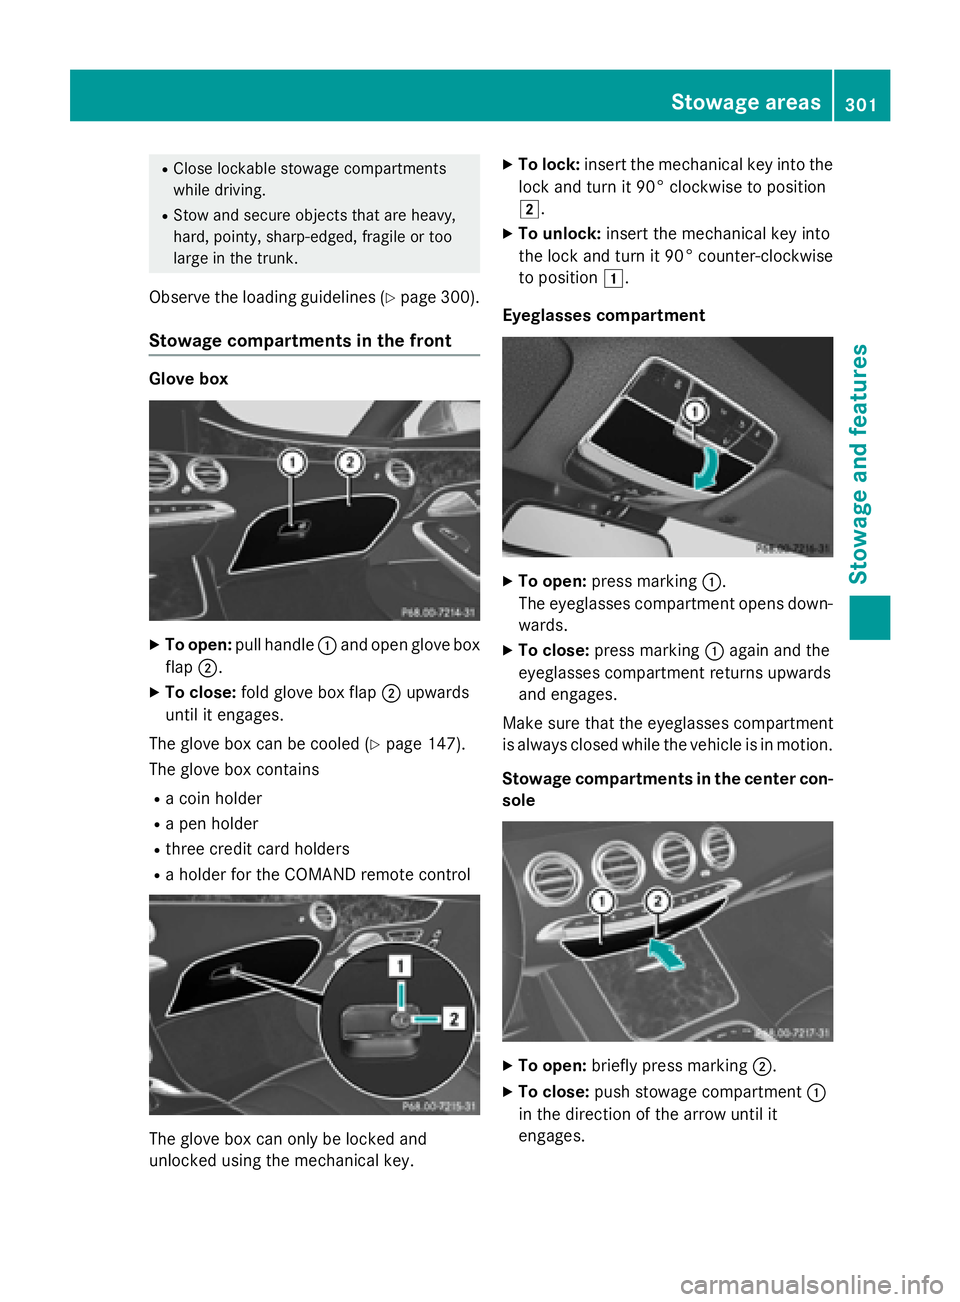
Glove box
XTo open: pull handle :and open glove box
flap ;.
XTo close: fold glove box flap ;upwards
until it engages.
The glove box can be cooled (
Ypage 147).
The glove box contains
Ra coin holder
Ra pen holder
Rthree credit card holders
Ra holder for the COMAND remote control
The glove box can only be locked and
unlocked using the mechanical key.
XTo lock: insert the mechanical key into the
lock and turn it 90° clockwise to position
2.
XTo unlock: insert the mechanical key into
the lock and turn it 90° counter-clockwise
to position 1.
Eyeglasses compartment
XTo open: press marking :.
The eyeglasses compartment opens down- wards.
XTo close: press marking :again and the
eyeglasses compartment returns upwards
and engages.
Make sure that the eyeglasses compartment
is always closed while the vehicle is in motion.
Stowage compartments in the center con-
sole
XTo open: briefly press marking ;.
XTo close:push stowage compartment :
in the direction of the arrow until it
engages.
Stowage areas301
Stowage and features
Z
Page 305 of 410
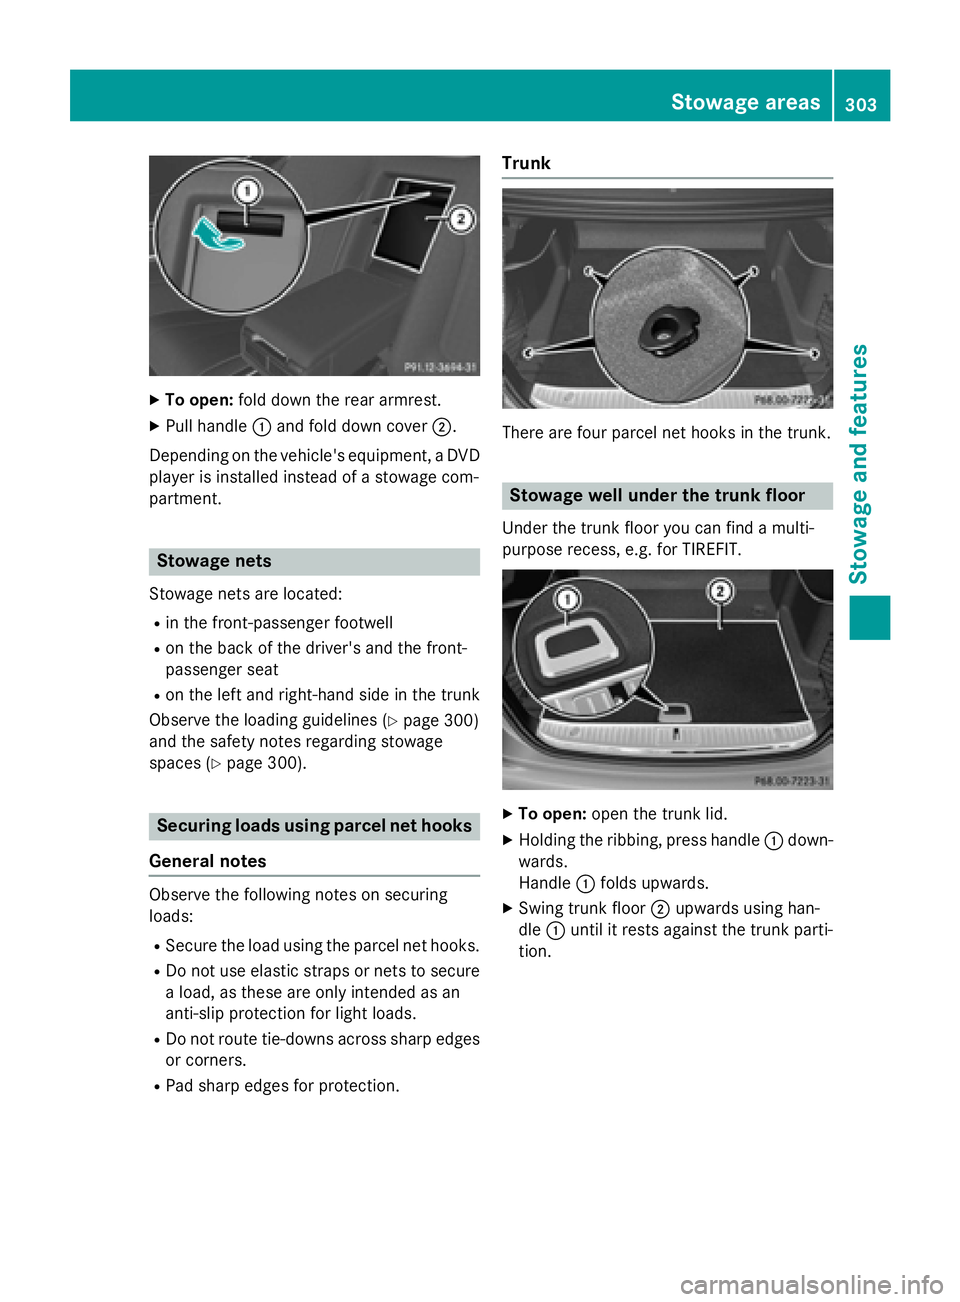
XTo open:fold down the rear armrest.
XPull handle :and fold down cover ;.
Depending on the vehicle's equipment, a DVD
player is installed instead of a stowage com-
partment.
Stowage nets
Stowage nets are located:
Rin the front-passenger footwell
Ron the back of the driver's and the front-
passenger seat
Ron the left and right-hand side in the trunk
Observe the loading guidelines (
Ypage 300)
and the safety notes regarding stowage
spaces (
Ypage 300).
Securing loads using parcel net hooks
General notes
Observe the following notes on securing
loads:
RSecure the load using the parcel net hooks.
RDo not use elastic straps or nets to secure a load, as these are only intended as an
anti-slip protection for light loads.
RDo not route tie-downs across sharp edges
or corners.
RPad sharp edges for protection.
Trunk
There are four parcel net hooks in the trunk.
Stowage well under the trunk floor
Under the trunk floor you can find a multi-
purpose recess, e.g. for TIREFIT.
XTo open: open the trunk lid.
XHolding the ribbing, press handle :down-
wards.
Handle :folds upwards.
XSwing trunk floor ;upwards using han-
dle :until it rests against the trunk parti-
tion.
Stowage areas303
Stowag ean d features
Z
Page 306 of 410
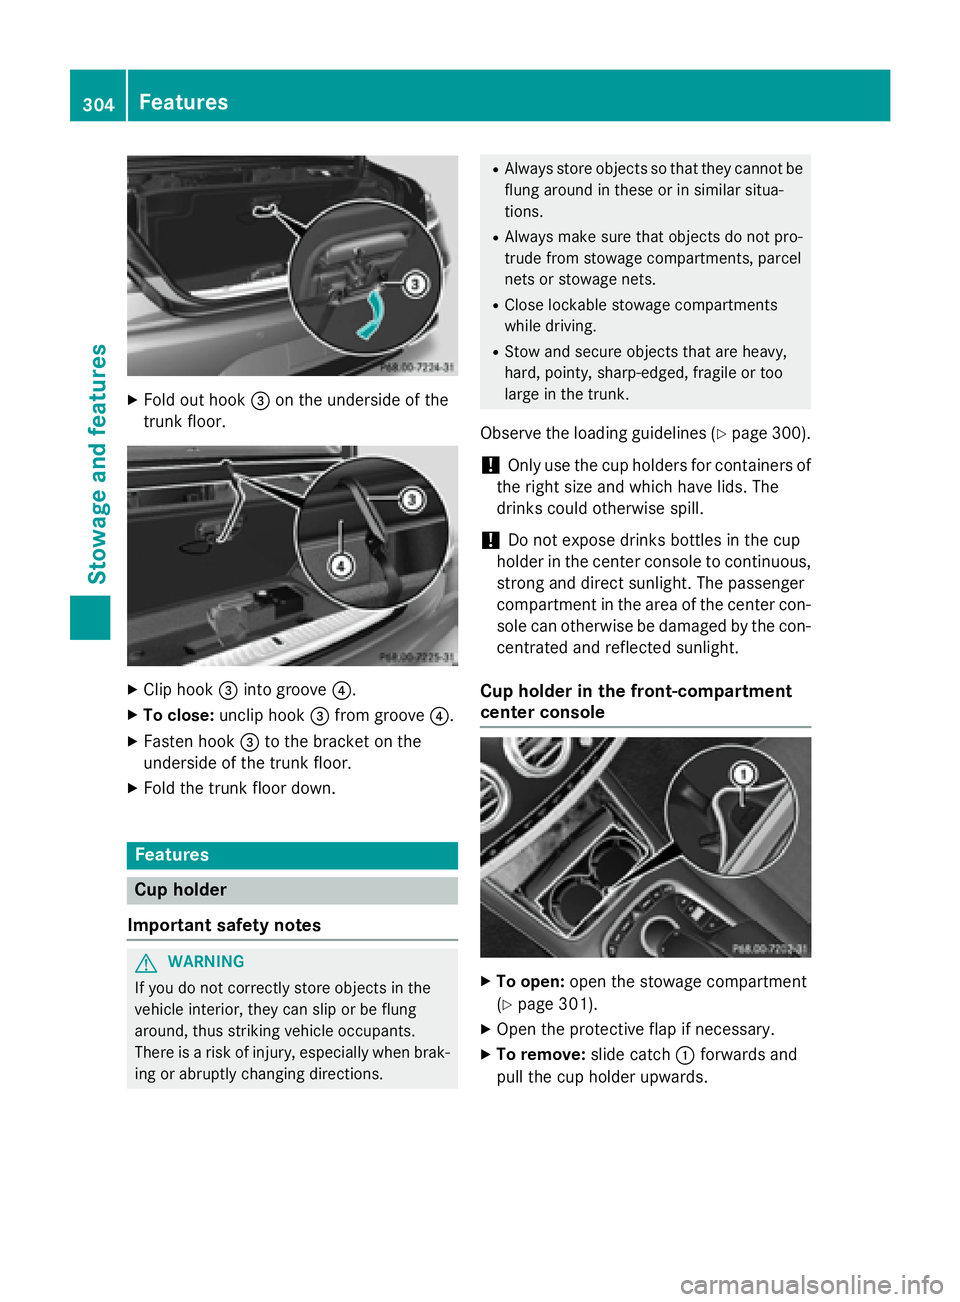
XFold out hook=on the underside of the
trunk floor.
XClip hook =into groove ?.
XTo close:unclip hook =from groove ?.
XFasten hook =to the bracket on the
underside of the trunk floor.
XFold the trunk floor down.
Features
Cup holder
Important safety notes
GWARNING
If you do not correctly store objects in the
vehicle interior, they can slip or be flung
around, thus striking vehicle occupants.
There is a risk of injury, especially when brak- ing or abruptly changing directions.
RAlways store objects so that they cannot be
flung around in these or in similar situa-
tions.
RAlways make sure that objects do not pro-
trude from stowage compartments, parcel
nets or stowage nets.
RClose lockable stowage compartments
while driving.
RStow and secure objects that are heavy,
hard, pointy, sharp-edged, fragile or too
large in the trunk.
Observe the loading guidelines (Ypage 300).
!Only use the cup holders for containers of
the right size and which have lids. The
drinks could otherwise spill.
!Do not expose drinks bottles in the cup
holder in the center console to continuous,
strong and direct sunlight. The passenger
compartment in the area of the center con- sole can otherwise be damaged by the con-
centrated and reflected sunlight.
Cup holder in the front-compartment
center console
XTo open: open the stowage compartment
(
Ypage 301).
XOpen the protective flap if necessary.
XTo remove: slide catch:forwards and
pull the cup holder upwards.
304Features
Stowage and features
Page 310 of 410
XTo open:open the stowage compartment
(
Ypage 302).
XOpen socket cover :or;.
XTo close: close the cover of the stowage
compartment.
Socket in the trunk
XLift up the cover of socket :.
Coolbox in the rear compartment
Important safety notes
GWARNING
If you cover the ventilation grille for the cool-
box, it may overheat. There is a risk of fire.
Always make sure that the ventilation grille is not covered.
The ventilation grille for the coolbox is in the
trunk.
The coolbox can bear a maximum load of
7.7 lb (3.5 kg).
If you want to store a bottle in the upper com-
partment of the coolbox, the capacity of the
bottle must not exceed 17 fl. oz. (0.5 l).
Store only plastic bottles in the upper com-
partment of the coolbox.
Using the coolbox
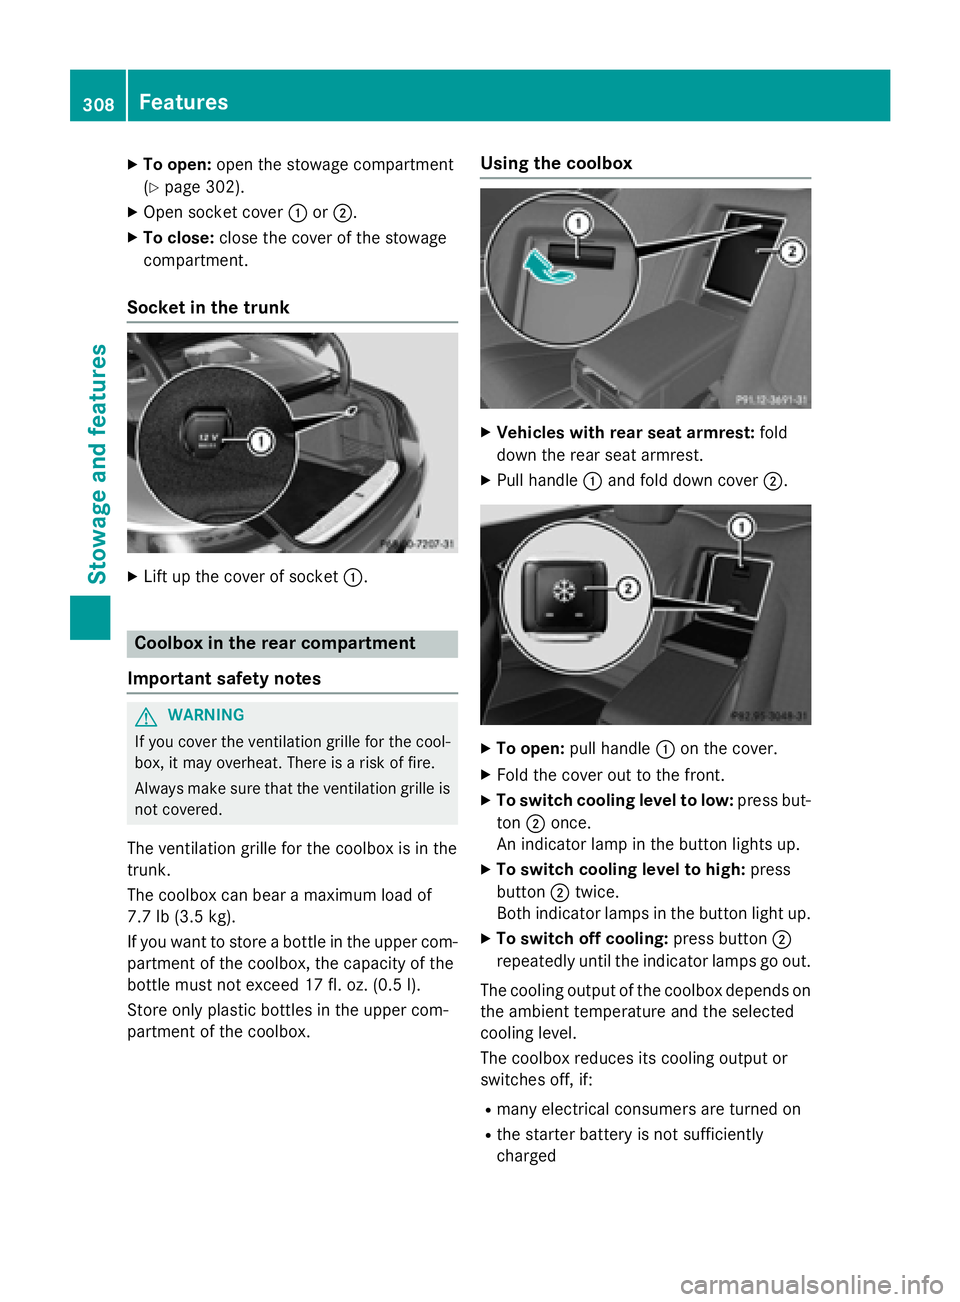
XVehicles with rear seat armrest: fold
down the rear seat armrest.
XPull handle :and fold down cover ;.
XTo open:pull handle :on the cover.
XFold the cover out to the front.
XTo switch cooling level to low: press but-
ton ;once.
An indicator lamp in the button lights up.
XTo switch cooling level to high: press
button ;twice.
Both indicator lamps in the button light up.
XTo switch off cooling: press button;
repeatedly until the indicator lamps go out.
The cooling output of the coolbox depends on
the ambient temperature and the selected
cooling level.
The coolbox reduces its cooling output or
switches off, if:
Rmany electrical consumers are turned on
Rthe starter battery is not sufficiently
charged
308Features
Stowage and features