2016 MERCEDES-BENZ S-COUPE turn signal
[x] Cancel search: turn signalPage 229 of 410
there is sufficient distance on the side for
other traffic or obstacles.
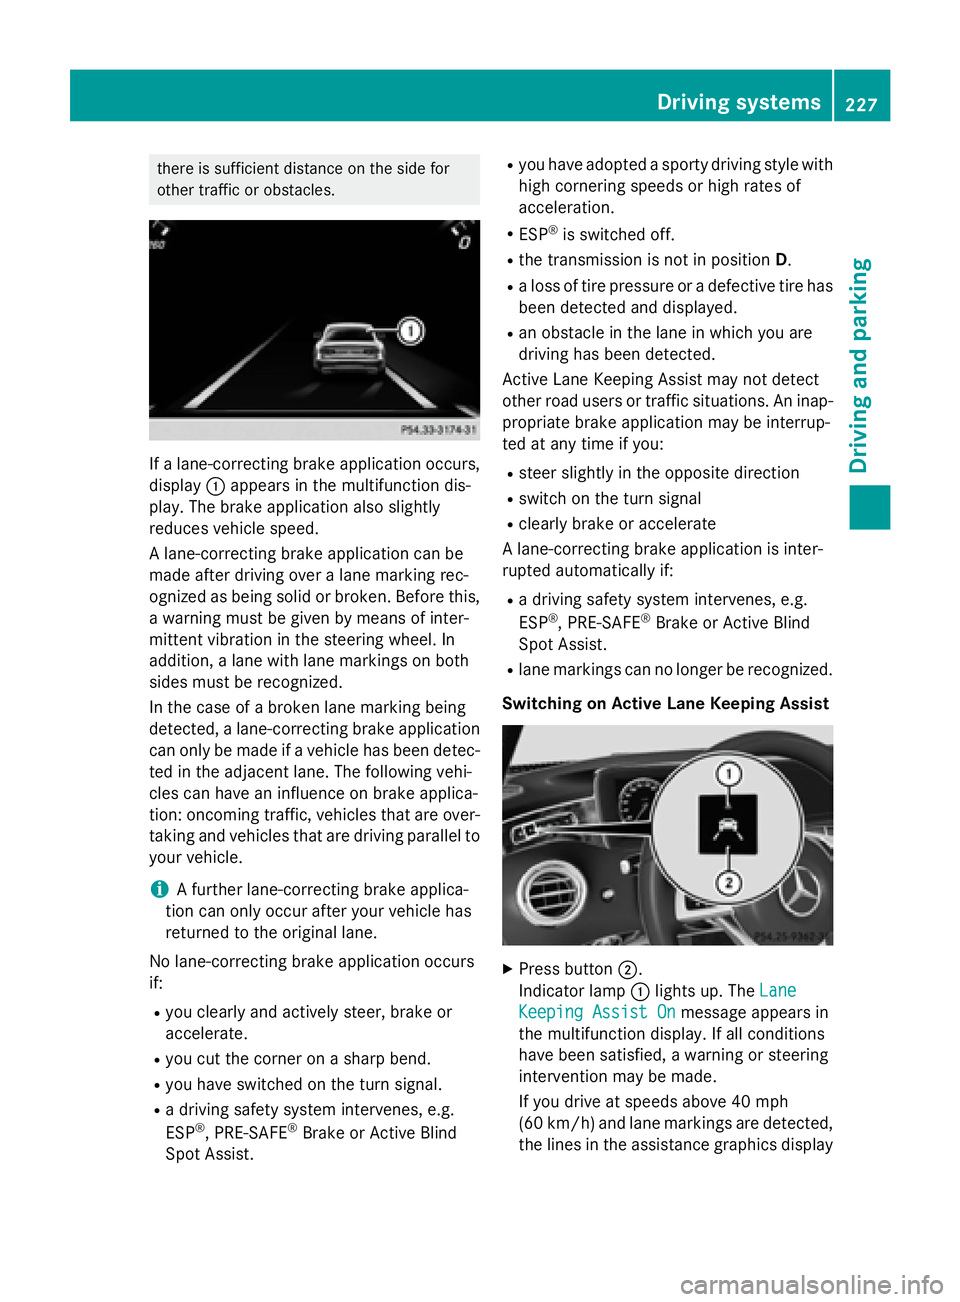
If a lane-correcting brake application occurs,
display:appears in the multifunction dis-
play. The brake application also slightly
reduces vehicle speed.
A lane-correcting brake application can be
made after driving over a lane marking rec-
ognized as being solid or broken. Before this,
a warning must be given by means of inter-
mittent vibration in the steering wheel. In
addition, a lane with lane markings on both
sides must be recognized.
In the case of a broken lane marking being
detected, a lane-correcting brake application
can only be made if a vehicle has been detec-
ted in the adjacent lane. The following vehi-
cles can have an influence on brake applica-
tion: oncoming traffic, vehicles that are over-
taking and vehicles that are driving parallel to
your vehicle.
iA further lane-correcting brake applica-
tion can only occur after your vehicle has
returned to the original lane.
No lane-correcting brake application occurs
if:
Ryou clearly and actively steer, brake or
accelerate.
Ryou cut the corner on a sharp bend.
Ryou have switched on the turn signal.
Ra driving safety system intervenes, e.g.
ESP®, PRE-SAFE®Brake or Active Blind
Spot Assist.
Ryou have adopted a sporty driving style with
high cornering speeds or high rates of
acceleration.
RESP®is switched off.
Rthe transmission is not in position D.
Ra loss of tire pressure or a defective tire has
been detected and displayed.
Ran obstacle in the lane in which you are
driving has been detected.
Active Lane Keeping Assist may not detect
other road users or traffic situations. An inap-
propriate brake application may be interrup-
ted at any time if you:
Rsteer slightly in the opposite direction
Rswitch on the turn signal
Rclearly brake or accelerate
A lane-correcting brake application is inter-
rupted automatically if:
Ra driving safety system intervenes, e.g.
ESP®, PRE-SAFE®Brake or Active Blind
Spot Assist.
Rlane markings can no longer be recognized.
Switching on Active Lane Keeping Assist
XPress button ;.
Indicator lamp :lights up. The Lane
Keeping Assist Onmessage appears in
the multifunction display. If all conditions
have been satisfied, a warning or steering
intervention may be made.
If you drive at speeds above 40 mph
(60 km/h) and lane markings are detected, the lines in the assistance graphics display
Driving system s227
Driving an d parking
Z
Page 230 of 410
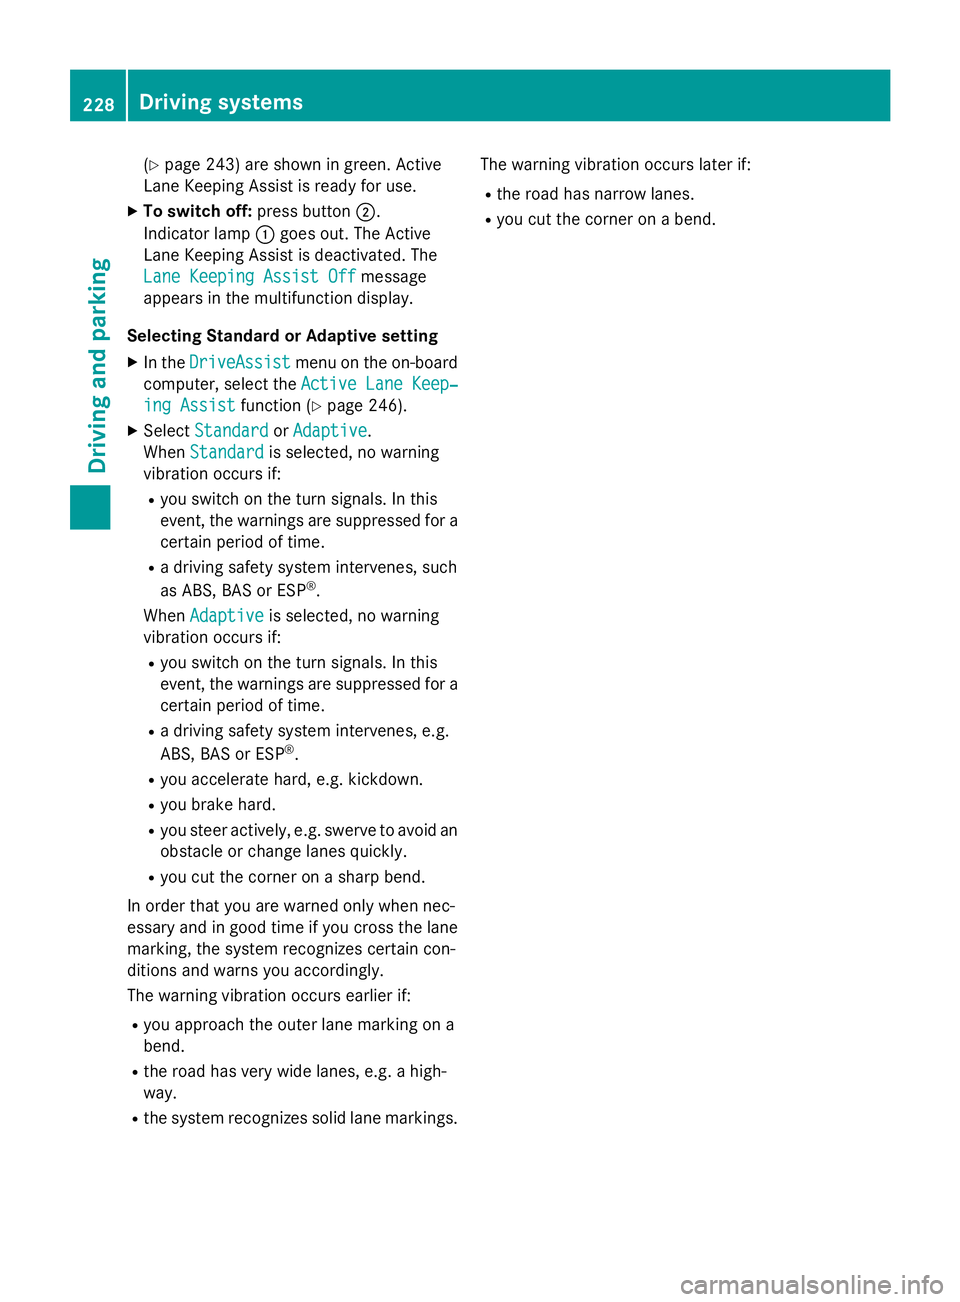
(Ypage 243) are shown in green. Active
Lane Keeping Assist is ready for use.
XTo switch off: press button;.
Indicator lamp :goes out. The Active
Lane Keeping Assist is deactivated. The
Lane Keeping Assist Off
message
appears in the multifunction display.
Selecting Standard or Adaptive setting
XIn the DriveAssistmenu on the on-board
computer, select the Active Lane Keep‐
ing Assistfunction (Ypage 246).
XSelectStandardorAdaptive.
When Standard
is selected, no warning
vibration occurs if:
Ryou switch on the turn signals. In this
event, the warnings are suppressed for a
certain period of time.
Ra driving safety system intervenes, such
as ABS, BAS or ESP®.
When Adaptive
is selected, no warning
vibration occurs if:
Ryou switch on the turn signals. In this
event, the warnings are suppressed for a
certain period of time.
Ra driving safety system intervenes, e.g.
ABS, BAS or ESP®.
Ryou accelerate hard, e.g. kickdown.
Ryou brake hard.
Ryou steer actively, e.g. swerve to avoid an
obstacle or change lanes quickly.
Ryou cut the corner on a sharp bend.
In order that you are warned only when nec-
essary and in good time if you cross the lane
marking, the system recognizes certain con-
ditions and warns you accordingly.
The warning vibration occurs earlier if:
Ryou approach the outer lane marking on a
bend.
Rthe road has very wide lanes, e.g. a high-
way.
Rthe system recognizes solid lane markings. The warning vibration occurs later if:
Rthe road has narrow lanes.
Ryou cut the corner on a bend.
228Driving systems
Driving and parking
Page 234 of 410
9
:Press and hold:
RScrolls rapidly through all lists
RIn theRadioorMediamenu:
selects a station, audio track or
video scene using rapid scrolling
RIn the Telephonemenu: starts
rapid scrolling if the phone book is open
aRIn all menus: confirms the selec-ted entry in the list
RIn the RadioorMediamenu:
opens the list of available radio
sources or media
RIn the Telephonemenu:
switches to the phone book and
starts dialing the selected num-
ber
ñRSwitches off the Voice Control
System (see the separate oper-
ating instructions)
%Press briefly:
RBack
RIn the RadioorMediamenu:
deselects the track or station list
or list of available radio sources
or media
RHides display messages
RExits the telephone book/redial
memory
%Press and hold:
RCalls up the standard display in
the Trip
menu
Right control panel
~RRejects or ends a call
RExits the telephone book/redial
memory
6RMakes or accepts a call
RSwitches to the redial memory
W
XRAdjusts the volume
8RMute
óRSwitches on the Voice Control
System (see the separate oper-
ating instructions)
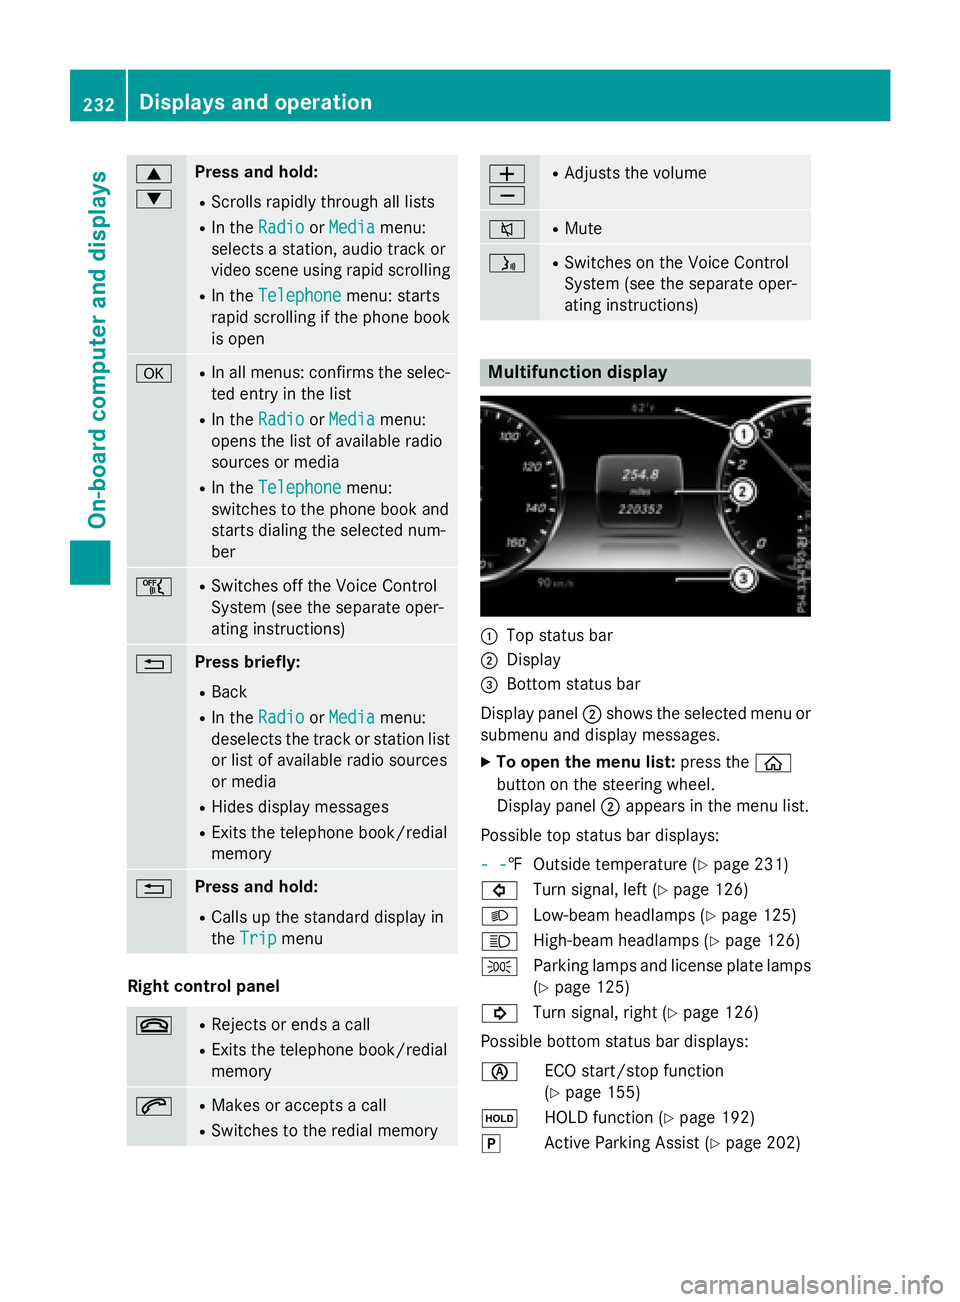
Multifunction display
:Top status bar
;Display
=Bottom status bar
Display panel ;shows the selected menu or
submenu and display messages.
XTo open the menu list: press theò
button on the steering wheel.
Display panel ;appears in the menu list.
Possible top status bar displays:
- -
‡ Outside temperature (Ypage 231)
# Turn signal, left (
Ypage 126)
L Low-beam headlamps (
Ypage 125)
K High-beam headlamps (
Ypage 126)
T Parking lamps and license plate lamps
(
Ypage 125)
! Turn signal, right (
Ypage 126)
Possible bottom status bar displays:
è ECO start/stop function
(
Ypage 155)
ë HOLD function (
Ypage 192)
j Active Parking Assist (
Ypage 202)
232Displays and operation
On-board computer and displays
Page 267 of 410
Display messagesPossible causes/consequences andMSolutions
DisabledSeeOperator'sManualmustno tappea rin th e
multifunction display.
XWait fo r aperiod of at leas t60 seconds until th enecessar ysys-
te m checks hav ebeen completed.
XMak esur ethat th edisplay message sdo no tappea rin th emul-
tifunction display.
If these condition sare fulfilled ,th efront-passenger seat can be
occupied again .Whether th ePASSENGER AI RBA GOF For ON
indicato rlamp remain slit or goe sout depend son how OCS clas-
sifies th eoccupant .
If th econdition sare no tfulfilled ,th esystem is no toperating cor-
rectly.
XVisit aqualified specialist workshop immediately.
Fo rfurther information about th eOccupant Classification System,
see (
Ypage 54).
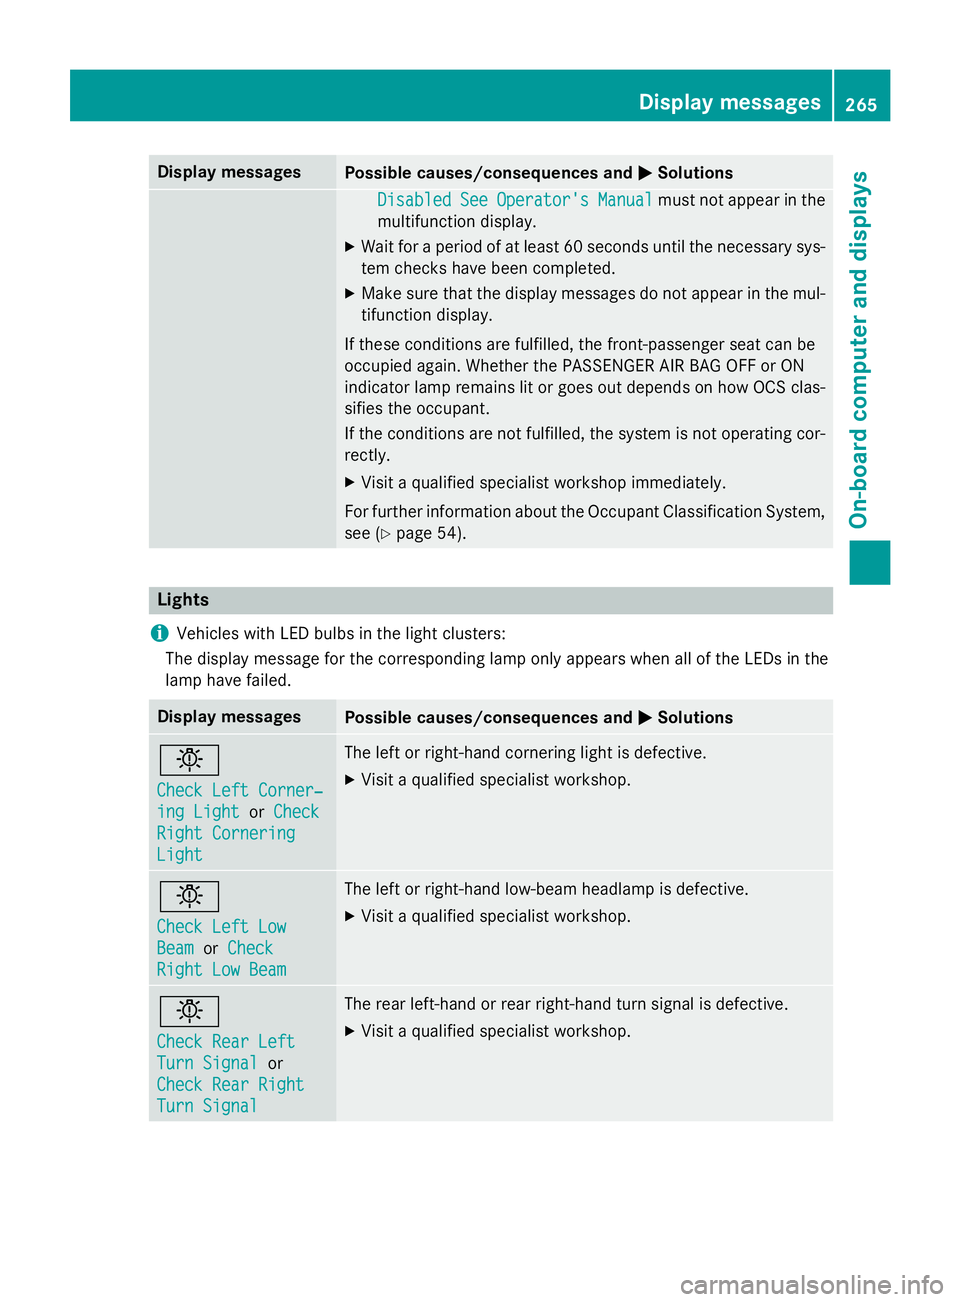
Lights
i
Vehicles wit hLE Dbulbs in th eligh tclusters :
The display message fo rth ecorrespondin glamp only appears when all of th eLEDs in th e
lamp hav efailed.
Display messagesPossible causes/consequences and MSolutions
b
Check LeftCorner ‐
ing LightorCheck
Right Cornering
Light
The lef tor right-hand cornering ligh tis defective.
XVisit aqualified specialist workshop .
b
Check LeftLow
Bea morCheck
Right Low Bea m
The leftor right-hand low-beam headlamp is defective.
XVisit aqualified specialist workshop .
b
Check RearLef t
TurnSignalor
Check Rea rRight
Tur nSignal
The rear left-han dor rear right-hand tur nsignal is defective.
XVisit aqualified specialist workshop .
Display messages265
On-board computer and displays
Z
Page 268 of 410
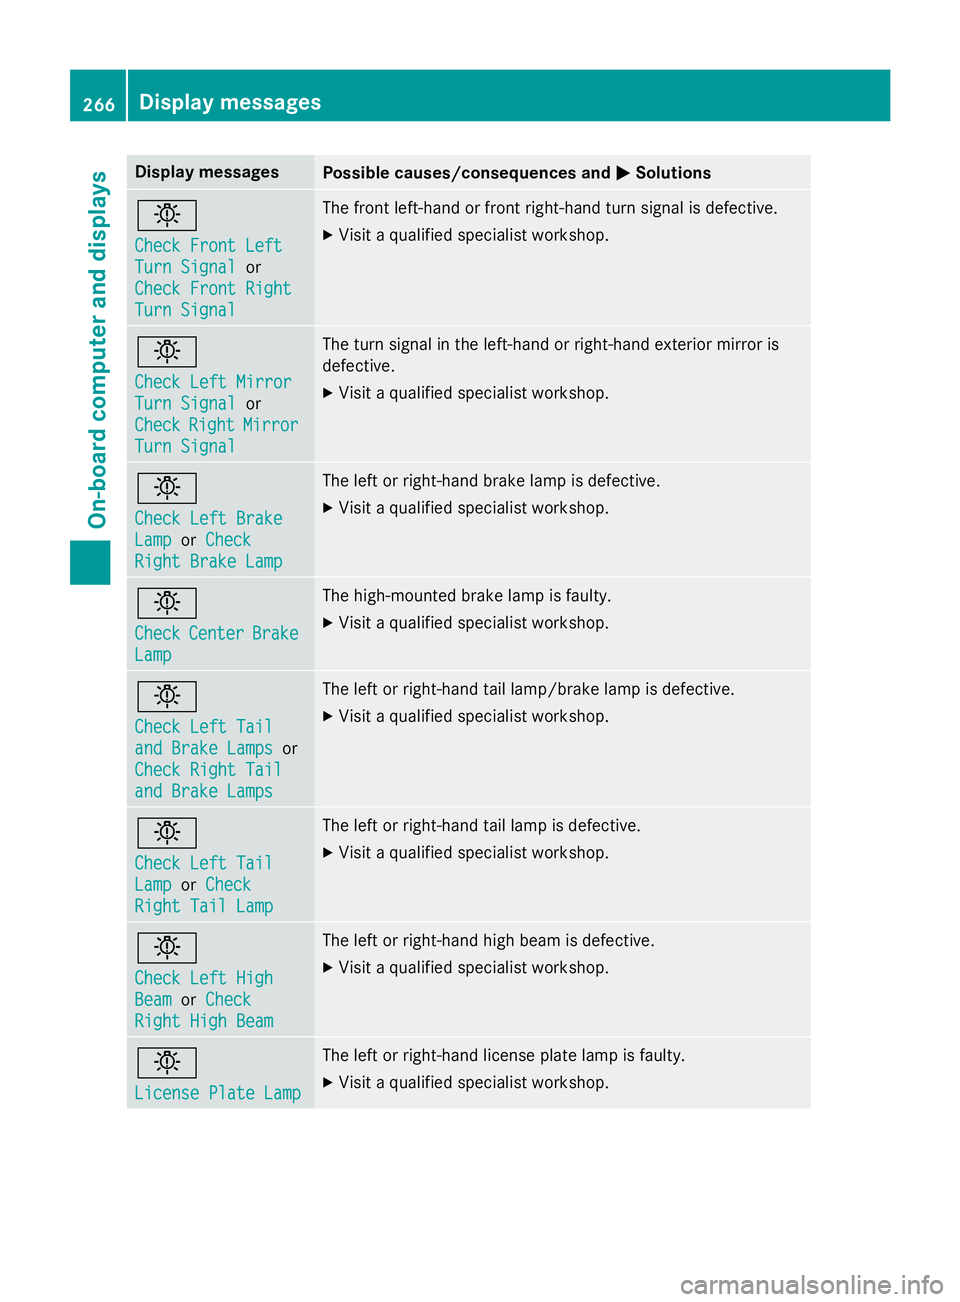
Display messagesPossible causes/consequences andMSolutions
b
Check Front Left
TurnSignalor
Check Front Right
Tur nSignal
The fron tleft-han dor fron tright-hand tur nsignal is defective.
XVisit aqualified specialist workshop .
b
Check LeftMirror
Tur nSignalor
Check
RightMirror
Tur nSignal
The tur nsignal in th eleft-han dor right-hand exterio rmirror is
defective.
XVisit aqualified specialist workshop .
b
Check LeftBrake
Lam porCheck
Right Brake Lam p
The leftor right-hand brak elamp is defective.
XVisit aqualified specialist workshop .
b
CheckCenterBrake
Lamp
The high-mounte dbrak elamp is faulty.
XVisit aqualified specialist workshop .
b
Check LeftTai l
and Brake Lampsor
Check Right Tai l
and Brake Lamps
The leftor right-hand tai llamp/brak elamp is defective.
XVisit aqualified specialist workshop .
b
Check LeftTai l
LamporCheck
Right Tai lLam p
The lef tor right-hand tai llamp is defective.
XVisit aqualified specialist workshop .
b
Check LeftHig h
BeamorCheck
Right Hig hBea m
The lef tor right-hand high beam is defective.
XVisit aqualified specialist workshop .
b
LicensePlate Lam p
The leftor right-hand license plat elamp is faulty.
XVisit aqualified specialist workshop .
266Display messages
On-board computer and displays
Page 321 of 410
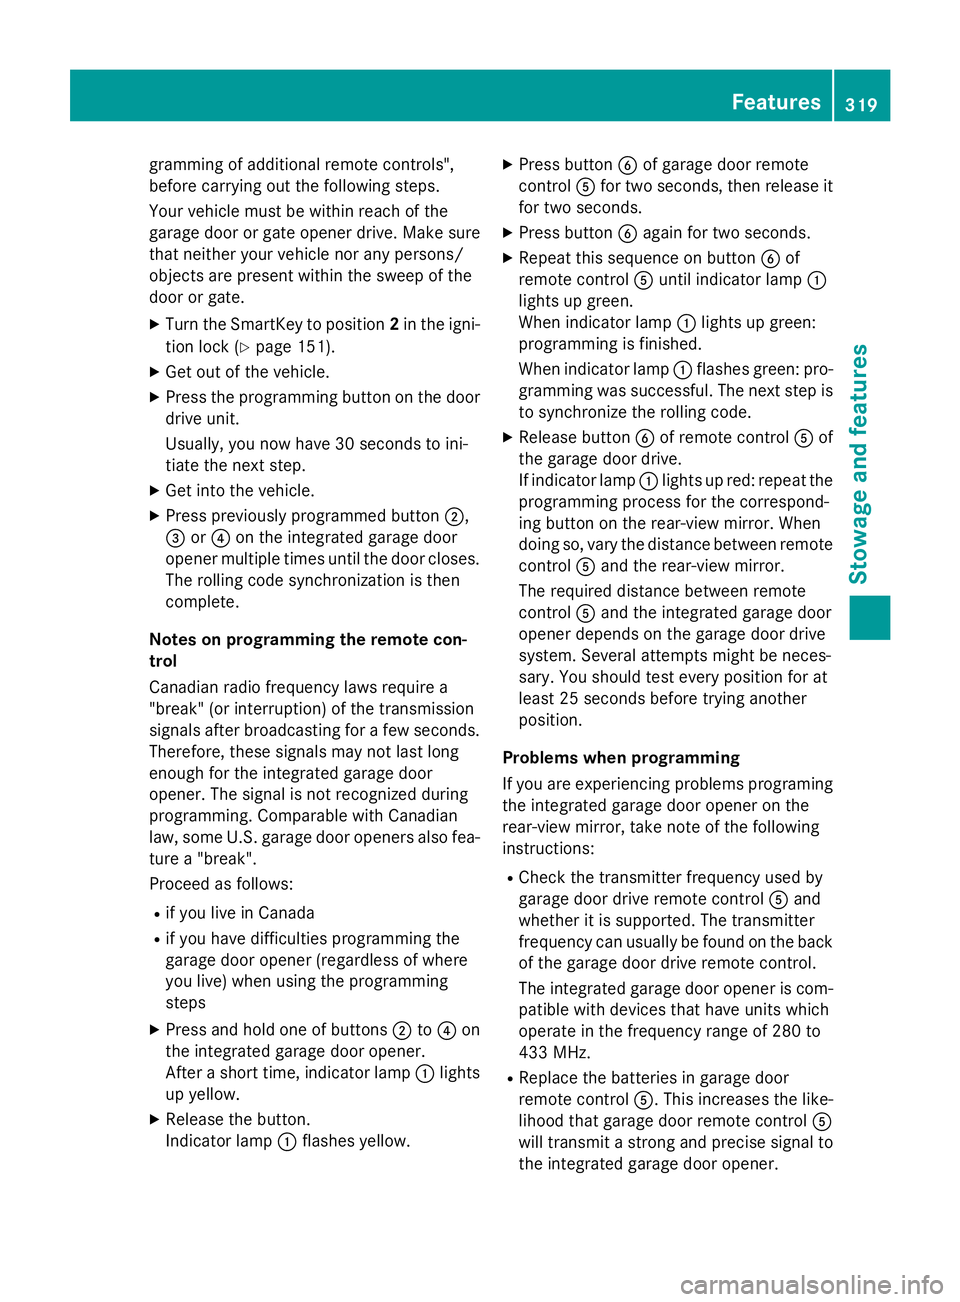
gramming of additional remote controls",
before carrying out the following steps.
Your vehicle must be within reach of the
garage door or gate opener drive. Make sure
that neither your vehicle nor any persons/
objects are present within the sweep of the
door or gate.
XTurn the SmartKey to position2in the igni-
tion lock (
Ypage 151).
XGet out of the vehicle.
XPress the programming button on the door drive unit.
Usually, you now have 30 seconds to ini-
tiate the next step.
XGet into the vehicle.
XPress previously programmed button ;,
= or? on the integrated garage door
opener multiple times until the door closes.
The rolling code synchronization is then
complete.
Notes on programming the remote con-
trol
Canadian radio frequency laws require a
"break" (or interruption) of the transmission
signals after broadcasting for a few seconds. Therefore, these signals may not last long
enough for the integrated garage door
opener. The signal is not recognized during
programming. Comparable with Canadian
law, some U.S. garage door openers also fea-
ture a "break".
Proceed as follows:
Rif you live in Canada
Rif you have difficulties programming the
garage door opener (regardless of where
you live) when using the programming
steps
XPress and hold one of buttons ;to? on
the integrated garage door opener.
After a short time, indicator lamp :lights
up yellow.
XRelease the button.
Indicator lamp :flashes yellow.
XPress button Bof garage door remote
control Afor two seconds, then release it
for two seconds.
XPress button Bagain for two seconds.
XRepeat this sequence on button Bof
remote control Auntil indicator lamp :
lights up green.
When indicator lamp :lights up green:
programming is finished.
When indicator lamp :flashes green: pro-
gramming was successful. The next step is
to synchronize the rolling code.
XRelease button Bof remote control Aof
the garage door drive.
If indicator lamp :lights up red: repeat the
programming process for the correspond-
ing button on the rear-view mirror. When
doing so, vary the distance between remote
control Aand the rear-view mirror.
The required distance bet
ween remote
control Aand the integrated garage door
opener depends on the garage door drive
system. Several attempts might be neces-
sary. You should test every position for at
least 25 seconds before trying another
position.
Problems when programming
If you are experiencing problems programing
the integrated garage door opener on the
rear-view mirror, take note of the following
instructions:
RCheck the transmitter frequency used by
garage door drive remote control Aand
whether it is supported. The transmitter
frequency can usually be found on the back
of the garage door drive remote control.
The integrated garage door opener is com-
patible with devices that have units which
operate in the frequency range of 280 to
433 MHz.
RReplace the batteries in garage door
remote control A. This increases the like-
lihood that garage door remote control A
will transmit a strong and precise signal to
the integrated garage door opener.
Features319
Stowage and features
Z
Page 322 of 410
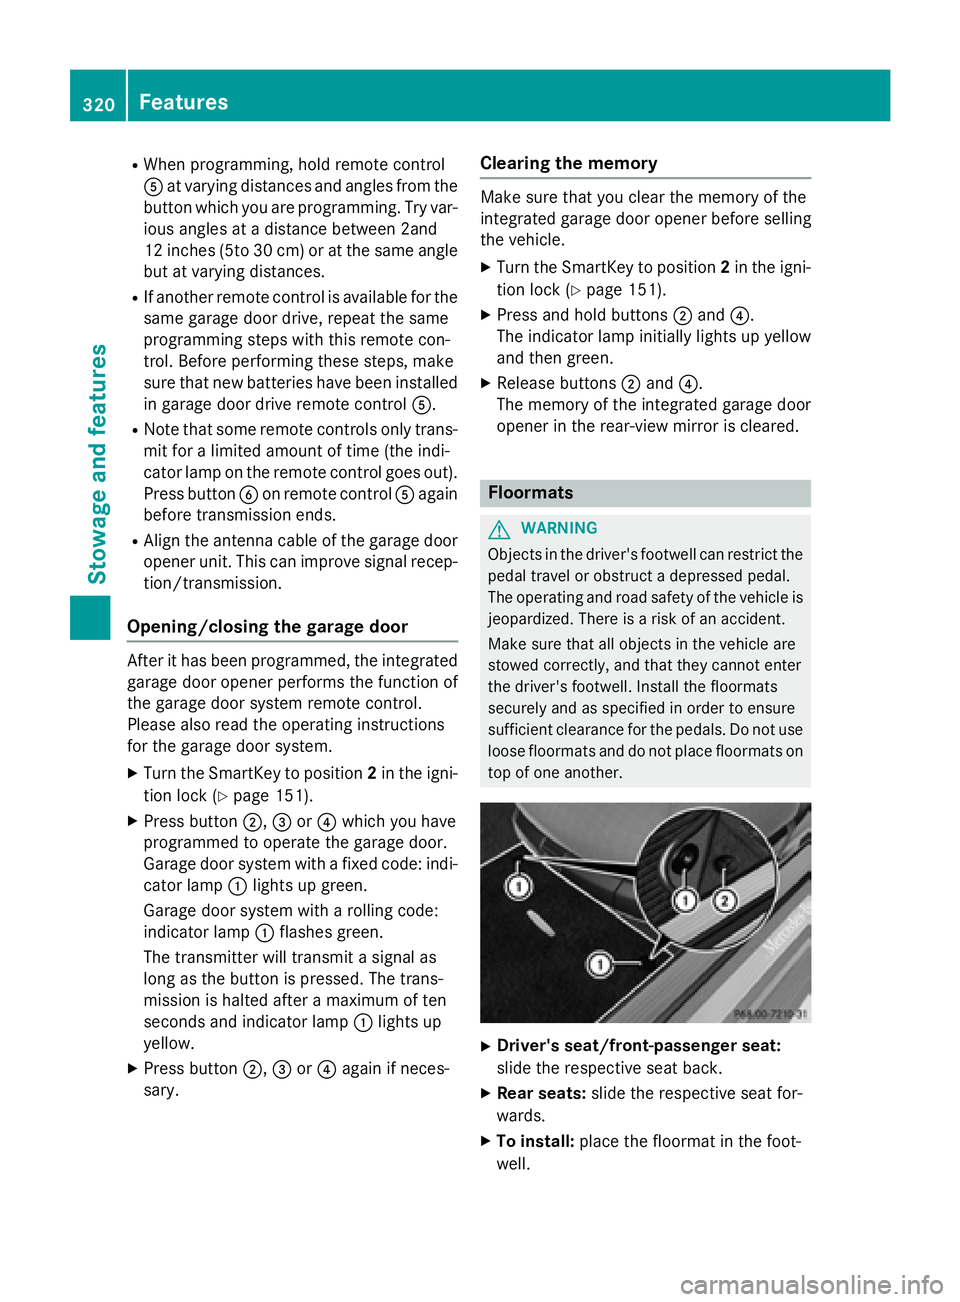
RWhen programming, hold remote control
Aat varying distances and angles from the
button which you are programming. Try var-
ious angles at a distance between 2and
12 inches (5to 30 cm) or at the same angle
but at varying distances.
RIf another remote control is available for the
same garage door drive, repeat the same
programming steps with this remote con-
trol. Before performing these steps, make
sure that new batteries have been installed
in garage door drive remote control A.
RNote that some remote controls only trans-
mit for a limited amount of time (the indi-
cator lamp on the remote control goes out). Press button Bon remote control Aagain
before transmission ends.
RAlign the antenna cable of the garage door
opener unit. This can improve signal recep-
tion/transmission.
Opening/closing the garage door
After it has been programmed, the integrated
garage door opener performs the function of
the garage door system remote control.
Please also read the operating instructions
for the garage door system.
XTurn the SmartKey to position 2in the igni-
tion lock (
Ypage 151).
XPress button ;,=or? which you have
programmed to operate the garage door.
Garage door system with a fixed code: indi-
cator lamp :lights up green.
Garage door system with a rolling code:
indicator lamp :flashes green.
The transmitter will transmit a signal as
long as the button is pressed. The trans-
mission is halted after a maximum of ten
seconds and indicator lamp :lights up
yellow.
XPress button ;,=or? again if neces-
sary.
Clearing the memory
Make sure that you clear the memory of the
integrated garage door opener before selling
the vehicle.
XTurn the SmartKey to position 2in the igni-
tion lock (
Ypage 151).
XPress and hold buttons ;and ?.
The indicator lamp initially lights up yellow
and then green.
XRelease buttons ;and ?.
The memory of the integrated garage door
opener in the rear-view mirror is cleared.
Floormats
GWARNING
Objects in the driver's footwell can restrict the pedal travel or obstruct a depressed pedal.
The operating and road safety of the vehicle is
jeopardized. There is a risk of an accident.
Make sure that all objects in the vehicle are
stowed correctly, and that they cannot enter
the driver's footwell. Install the floormats
securely and as specified in order to ensure
sufficient clearance for the pedals. Do not use
loose floormats and do not place floormats on
top of one another.
XDriver's seat/front-passenger seat:
slide the respective seat back.
XRear seats: slide the respective seat for-
wards.
XTo install: place the floormat in the foot-
well.
320Features
Stowage and features
Page 337 of 410
Cleaning the windows
GWARNING
You could become trapped by the windshield wipers if they start moving while cleaning the
windshield or wiper blades. There is a risk of
injury.
Always switch off the windshield wipers and
the ignition before cleaning the windshield or
wiper blades.
!Do not use dry cloths, abrasive products,
solvents or cleaning agents containing sol-
vents to clean the inside of the windows. Do
not touch the insides of the windows with
hard objects, e.g. an ice scraper or ring.
There is otherwise a risk of damaging the
windows.
!Clean the water drainage channels of the
windshield and the rear window at regular
intervals. Deposits such as leaves, petals
and pollen may under certain circumstan-
ces prevent water from draining away. This
can lead to corrosion damage and damage
to electronic components.
XClean the inside and outside of the win-
dows with a damp cloth and a cleaning
product that is recommended and
approved by Mercedes-Benz.
Cleaning wiper blades
GWARNING
You could become trapped by the windshield wipers if they start moving while cleaning the
windshield or wiper blades. There is a risk of
injury.
Always switch off the windshield wipers and
the ignition before cleaning the windshield or
wiper blades.
!Do not pull the wiper blade. Otherwise,
the wiper blade could be damaged.
!Do not clean wiper blades too often and
do not rub them too hard. Otherwise, the graphite coating could be damaged. This
could cause wiper noise.
!Hold the wiper arm securely when folding
back. The windshield could be damaged if
the wiper arm smacks against it suddenly.
XFold the windshield wiper arms away from
the windshield (
Ypage 131).
XCarefully clean the wiper blades with a
damp cloth.
XFold the windshield wiper arms back again before switching on the ignition.
Cleaning the exterior lighting
!Only use cleaning agents or cleaning
cloths which are suitable for plastic light
lenses. Unsuitable cleaning agents or
cleaning cloths could scratch or damage
the plastic light lenses.
XClean the plastic lenses of the exterior
lights with a wet sponge and a mild cleaning
agent, e.g. Mercedes-Benz car shampoo or cleaning cloths.
Mirror turn signals
!Only use cleaning agents or cleaning
cloths that are suitable for plastic lenses.
Unsuitable cleaning agents or cleaning
cloths could scratch or damage the plastic lenses of the mirror turn signals.
XClean the plastic lenses of the mirror turn
signals in the exterior mirror housing usinga wet sponge and mild cleaning agent, e.g.
Mercedes-Benz car shampoo or cleaning
cloths.
Cleaning the sensors
!If you clean the sensors with a power
washer, make sure that you keep a dis-
tance of at least 11.8 in (30 cm)betwee n
th evehicl e and the power washer nozzle.
Information about the correct distance is
available from the equipment manufac-
turer.
Care335
Maintenance and care
Z