2016 MERCEDES-BENZ S-Class SEDAN keyless
[x] Cancel search: keylessPage 89 of 438
Automa tic locking featu re
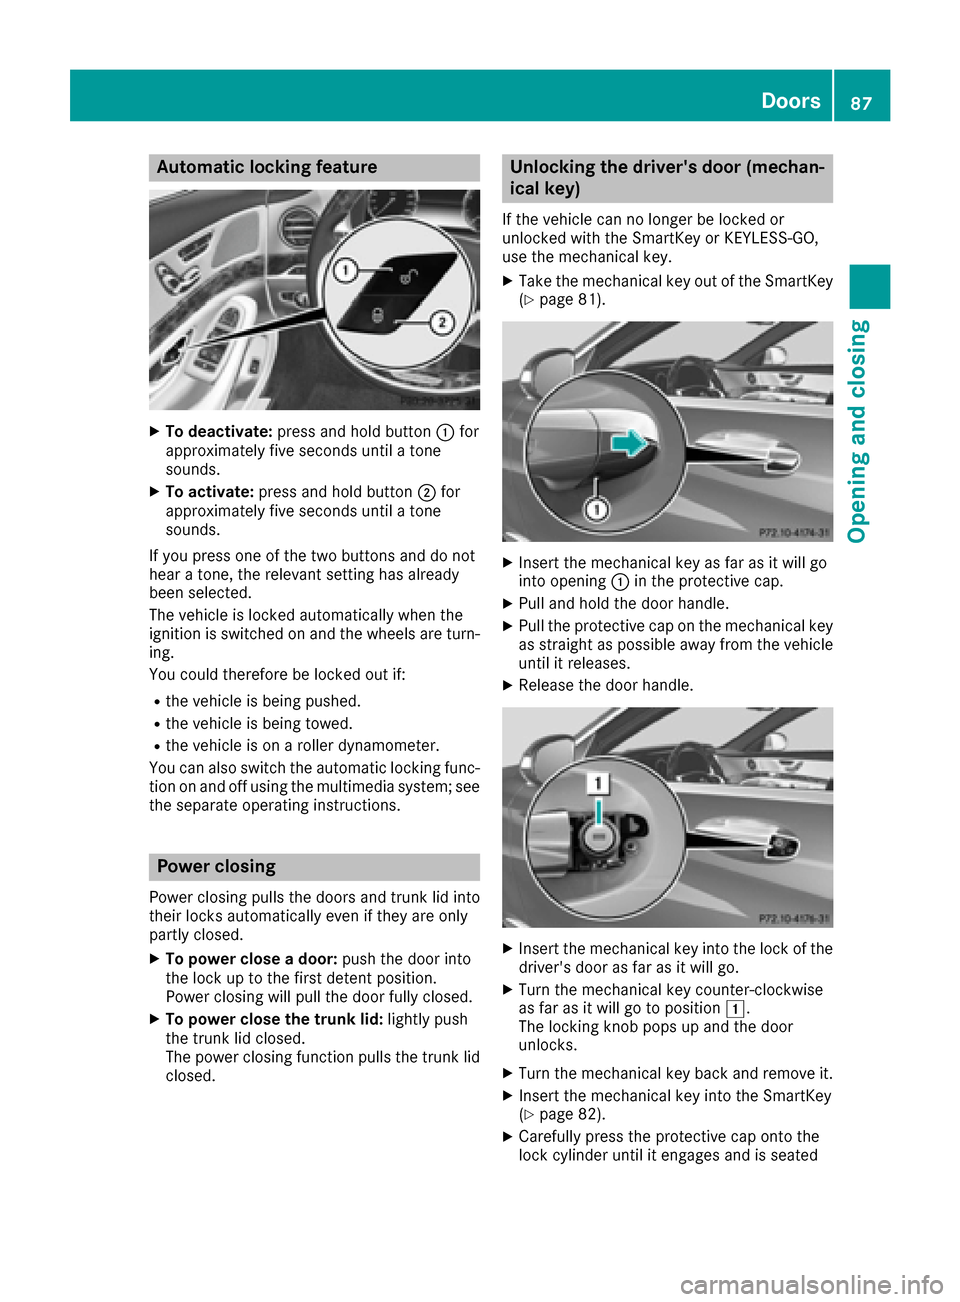
XTo deactivate:press and hold butto n: for
approximately fiv eseconds until atone
sounds.
XTo activate: press and hold butto n; for
approximately fiv eseconds until atone
sounds.
If you press on eof th etwo buttons and do no t
hear atone ,th erelevan tsetting has already
been selected.
The vehicl eis locke dautomatically when th e
ignition is switched on and th ewheels are turn-
ing .
You could therefor ebe locke dout if:
Rth evehicl eis bein gpushed.
Rth evehicl eis bein gtowed.
Rth evehicl eis on aroller dynamometer.
You can also switch th eautomatic locking func-
tion on and off usin gth emultimedia system; see
th eseparat eoperating instructions.
Power closing
Powe rclosin gpulls th edoor sand trunk lid int o
their locks automatically eve nif they are only
partly closed.
XTo power close adoor :push th edoor int o
th eloc kup to th efirst deten tposition .
Powe rclosin gwill pull th edoor fully closed.
XTo power close th etrunk lid :lightl ypush
th etrunk lid closed.
The powe rclosin gfunction pulls th etrunk lid
closed.
Unlocking the driver's door(mechan-
ical key)
If th evehicl ecan no longer be locke dor
unlocke dwit hth eSmartKey or KEYLESS-GO ,
use th emechanical key.
XTak eth emechanical ke yout of th eSmartKey
(Ypage 81).
XInser tth emechanical ke yas far as it will go
int oopening :in th eprotective cap .
XPull and hold th edoor handle.
XPull th eprotective cap on th emechanical ke y
as straight as possibl eaway from th evehicl e
until it releases.
XReleas eth edoor handle.
XInser tth emechanical ke yint oth eloc kof th e
driver's door as far as it will go.
XTurn th emechanical ke ycounter-clockwise
as far as it will go to position 1.
The locking knob pops up and th edoor
unlocks .
XTurn themechanical ke ybac kand remove it .
XInsertth emechanical ke yint oth eSmartKey
(Ypage 82) .
XCarefully press th eprotective cap onto th e
loc kcylinder until it engage sand is seated
Doors87
Opening and closing
Z
Page 90 of 438
firmly. Do not pull the door handle when doing
so.
If you use the mechanical key to unlock and
open the driver's door, the anti-theft alarm sys-
tem will be triggered. Switch off the alarm
(
Ypage 78).
Locking the vehicle (mechanical key)
If the vehicle can no longer be locked with the
SmartKey or KEYLESS-GO, use the mechanical
key.
XOpen the driver's door.
XClose the front-passenger door, the rear
doors and the trunk lid.
XPress the locking button (Ypage 86).
XCheck whether the locking knobs on the
front-passenger door and the rear doors are
still visible. Press down the locking knobs by
hand, if necessary.
XClose the driver's door.
XTake the mechanical key out of the SmartKey
(Ypage 81).
XInsert the mechanical key as far as it will go
into opening :in the protective cap.
XPull and hold the door handle.
XPull the protective cap on the mechanical key
as straight as possible away from the vehicle
until it releases.
XRelease the door handle.
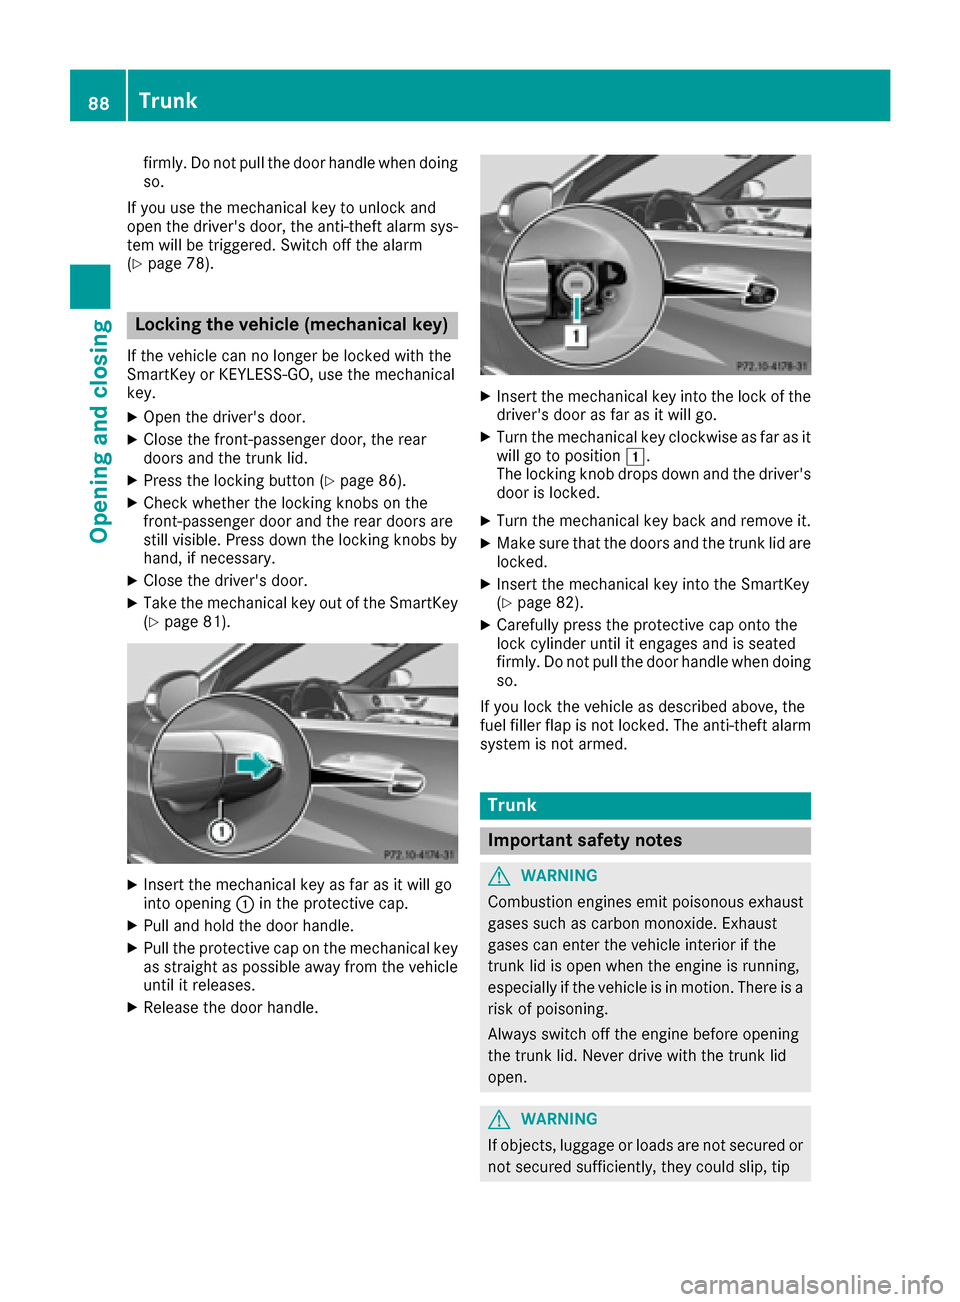
XInsert the mechanical key into the lock of the
driver's door as far as it will go.
XTurn the mechanical key clockwise as far as it
will go to position 1.
The locking knob drops down and the driver's
door is locked.
XTurn the mechanical key back and remove it.
XMake sure that the doors and the trunk lid are locked.
XInsert the mechanical key into the SmartKey
(Ypage 82).
XCarefully press the protective cap onto the
lock cylinder until it engages and is seated
firmly. Do not pull the door handle when doing
so.
If you lock the vehicle as described above, the
fuel filler flap is not locked. The anti-theft alarm system is not armed.
Trunk
Important safety notes
GWARNING
Combustion engines emit poisonous exhaust
gases such as carbon monoxide. Exhaust
gases can enter the vehicle interior if the
trunk lid is open when the engine is running,
especially if the vehicle is in motion. There is a
risk of poisoning.
Always switch off the engine before opening
the trunk lid. Never drive with the trunk lid
open.
GWARNING
If objects, luggage or loads are not secured or
not secured sufficiently, they could slip, tip
88Trunk
Opening and closing
Page 92 of 438

Vehicles with trunk lid remote closing fea-
ture or power closing:
XLightly push the trunk lid closed.
The power closing function pulls the trunk lid
closed.
XLock the vehicle if necessary with the&
button on the SmartKey or with KEYLESS-GO
(
Ypage 80).
iIf KEYLESS-GO detects a SmartKey in the
trunk, the trunk lid cannot be locked. It then
opens again.
Opening/closing automatically from
outside
Important safety notes
GWARNING
Parts of the body could become trapped dur-
ing automatic closing of the trunk lid. More-
over, people, e.g. children, may be standing in the closing area or may enter the closing area
during the closing process. There is a risk of
injury.
Make sure that nobody is in the vicinity of the
closing area during the closing process.
Use one of the following options to stop the
closing process:
Rpress the Fbutton on the SmartKey.
Rpull or press the remote operating switch
on the driver's door.
Rpress the closing or locking button on the
trunk lid.
Rpull the trunk lid handle
Vehicles with HANDS-FREE ACCESS: it is also
possible to stop the closing process by perform-
ing a kicking movement under the rear bumper.
GWARNING
Combustion engines emit poisonous exhaust
gases such as carbon monoxide. Exhaust
gases can enter the vehicle interior if the
trunk lid is open when the engine is running,
especially if the vehicle is in motion. There is a
risk of poisoning.
Always switch off the engine before opening
the trunk lid. Never drive with the trunk lid
open.
!The trunk lid swings upwards when opened.
Therefore, make sure that there is sufficient
clearance above the trunk lid.
The opening dimensions of the trunk lid can be
found in the "Vehicle data" section
(
Ypage 433).
Opening
You can open the trunk lid automatically using
the SmartKey or the handle in the trunk lid.
XPress and hold the Fbutton on the Smart-
Key until the trunk lid opens.
or
XIf the trunk lid is unlocked, pull the trunk lid
handle and let it go again immediately.
Closing
You can close the trunk lid automatically using
the SmartKey or the closing button in the trunk
lid.
XPress closing button :on the trunk lid.
or
XIf the SmartKey is located in the immediate
vicinity of the vehicle: press the Fbutton
on the SmartKey.
You can release the button as soon as the
trunk lid starts to close.
XTo stop the closing process:
RPress the Fbutton on the SmartKey or
RPull the trunk lid handle, or
RPress closing button :or locking but-
ton ;on the trunk lid, or
90Trunk
Opening and closing
Page 93 of 438

RPress the remote operating switch on the
driver's door, or
RIn vehicles with HANDS-FREE ACCESS:
kick into the sensor detection range under
the bumper with your foot.
iIf theF button on the SmartKey is
pressed or HANDS-FREE ACCESS is initiated
after the closing process is stopped, the trunk
lid opens.
Vehicles with trunk lid remote closing fea-
ture and KEYLESS-GO: when all the doors are
closed, you can simultaneously close the trunk
lid and lock the vehicle. The SmartKey must be
located to the rear of the vehicle.
XPress and release locking button ;on the
trunk lid.
If a KEYLESS-GO key is detected outside the
vehicle, the trunk lid closes and the vehicle
locks.
If KEYLESS-GO detects a second SmartKey out- side the vehicle, the trunk lid remains closed.
If KEYLESS-GO detects a SmartKey in the trunk,
the trunk lid opens again after it is closed.
HANDS-FREE ACCESS
Important safety notes
GWARNING
The vehicle's exhaust system may be very hot. You could burn yourself by touching the
exhaust system if you use HANDS-FREE
ACCESS. There is a risk of injury. Always
ensure that you only make the kicking move-
ment within the detection range of sensors.
!If the SmartKey is within the rear detection
range of KEYLESS-GO, the following situa-
tions, for example, could lead to the uninten-
tional opening of the trunk:
Rusing a car wash
Rusing a power washer
Make sure that the SmartKey is at least 10 ft
(3 m) away from the vehicle.
General notes
With KEYLESS-GO and HANDS-FREE ACCESS,
you can open or close the trunk lid or stop the
procedure without using your hands. This is use- ful if you have your hands full. To do this, make
a kicking movement under the bumper with your
foot.
Observe the following points:
RCarry your KEYLESS-GO key about your per-
son. The KEYLESS-GO key must be in the rear
detection range of the vehicle.
RWhen making the kicking movement, make
sure that you are standing firmly on the
ground and that there is sufficient clearance
to the rear of the vehicle. You could otherwise
lose your balance e.g. on ice.
RAlways ensure that you only make the kicking
movement within the detection range of sen-
sors
:.
RStand at least 12 in (30 cm) away from the
rear area while doing so.
RDo not come into contact with the bumper
while making the kicking movement. Other-
wise, the sensors may not function correctly.
RHANDS-FREE ACCESS does not function
when the engine is started.
RDirt caused by road salt around sensors :
may restrict functionality.
RUsing the HANDS-FREE ACCESS with a pros-
thetic leg may restrict functionality.
RIf a KEYLESS-GO key is within the rear detec-
tion range of KEYLESS-GO, HAND-FREE
ACCESS could be triggered. The trunk lid
could thus be opened or closed unintention-
ally, for example, if you:
-sit on the edge of the trunk.
-set something down or lift something up
behind the vehicle.
-move the charging cable through the detec-
tion range of the sensors.
-polish the rear of the vehicle.
Do not carry the KEYLESS-GO key about your
person in these situations or in situations sim-
Trunk91
Opening and closing
Z
Page 98 of 438

Convenience closing feature
Important safety notes
GWARNING
When the convenience closing feature is oper- ating, parts of the body could become trapped
in the closing area of the side window and the
sliding sunroof. There is a risk of injury.
Observe the complete closing procedure
when the convenience closing feature is oper-
ating. Make sure that no body parts are in
close proximity during the closing procedure.
When you lock the vehicle, you can simultane-
ously:
Rclose the side windows
Rclose the panorama roof with power tilt/slid-
ing panel
On vehicles with a panorama roof with power
tilt/sliding panel, you can then close the roller
sunblinds.
iNotes on the automatic reversing feature
for:
Rthe side window (Ypage 94)
Rthe panorama roof with power tilt/sliding
panel (Ypage 98)
Rthe roller sunblinds (Ypage 99)
Using the SmartKey
XPress and hold the &button until the side
windows and the panorama roof with power
tilt/sliding panel are fully closed.
XMake sure that all the side windows and the
panorama roof with power tilt/sliding panel
are closed.
XOn vehicles with a panorama roof with
power tilt/sliding panel: press and hold the
& button again until the roller sunblinds of
the panorama roof with power tilt/sliding
panel close.
XTo interrupt convenience closing: release
the & button.
Using KEYLESS-GO
The SmartKey must be outside the vehicle. All
the doors must be closed.
XTouch recessed sensor surface :on the
door handle until the side windows and the
panorama roof with power tilt/sliding panel
are fully closed.
iMake sure you only touch recessed sensor
surface :.
XMake sure that all the side windows and the
panorama roof with power tilt/sliding panel
are closed.
XVehicles with a panorama roof with
power tilt/sliding panel: touch recessed
sensor surface :on the door handle again
until the roller sunblinds of the panorama roof
with power tilt/sliding panel close.
XTo interrupt convenience closing: release
recessed sensor surface :on the door han-
dle.
Resetting the side windows
If a side window can no longer be closed fully,
you must reset it.
XClose all the doors.
XTurn the SmartKey to position 1or 2in the
ignition lock.
XPull the corresponding switch on the door
control panel until the side window is com-
pletely closed (
Ypage 95).
XHold the switch for an additional second.
If the side window opens again slightly:
XImmediately pull the corresponding switch on
the door control panel until the side window is
completely closed (
Ypage 95).
XHold the switch for an additional second.
XIf the respective side window remains closed
after the button is released, then it has been
set correctly. If this is not the case, repeat the
steps above.
96Side windows
Opening and closing
Page 124 of 438

Problems with the steering wheel heating
ProblemPossible causes/consequences andMSolutions
The steering wheel heat-
ing has switched off pre-
maturely or cannot be
switched on.The on-board voltage is too low because too many electrical consum-
ers are switched on.
XSwitch off electrical consumers that you do not need, such as the
rear window defroster or interior lighting.
EASY-ENTRY/EXIT feature
Important safety notes
GWARNING
When the EASY-ENTRY/EXIT feature adjusts
the steering wheel and the driver's seat, you
and other vehicle occupants – particularly
children – could become trapped. There is a
risk of injury.
While the EASY-ENTRY/EXIT feature is mak-
ing adjustments, make sure that no one has
any body parts in the sweep of the seat and
the steering wheel.
If there is a risk of becoming trapped by
Rthe steering wheel: move the steering
wheel adjustment lever.
Rthe seat: press the switch for seat adjust-
ment.
The adjustment process is stopped.
Press one of the memory function position
switches. The adjustment process is stopped.
This function is only available on vehicles with
memory function.
GWARNING
If children activate the EASY-ENTRY/EXIT fea-
ture, they can become trapped, particularly
when unattended. There is a risk of injury.
When leaving the vehicle, always take the
SmartKey with you and lock the vehicle. Never
leave children unsupervised in the vehicle.
GWARNING
If you drive off while the EASY-ENTRY/EXIT
feature is making adjustments, you could lose
control of the vehicle. There is a risk of an
accident.
Always wait until the adjustment process is
complete before driving off.
The EASY-ENTRY/EXIT feature makes getting in
and out of your vehicle easier.
You can activate and deactivate the EASY-
ENTRY/EXIT feature using the multimedia sys-
tem (see the separate operating instructions).
Position of the steering wheel and the
driver's seat when the EASY-ENTRY/
EXIT feature is active
The steering wheel tilts upwards and the driver's
seat moves backwards if you:
Rremove the SmartKey from the ignition lock
Rwith KEYLESS-GO: open the driver's door;
KEYLESS-GO must be in position 1
Rwith the SmartKey:open the driver's door;
the SmartKey must be in position 0or 1in the
ignition lock (
Ypage 162)
Ropen the driver's door when the ignition is
switched off
iThe steering wheel only tilts upwards and
the driver's seat only moves backwards if the
driving position is stored after seat or steering wheel adjustment.
The last position of the steering wheel or seat is
stored if:
Rthe ignition is switched off
Rthe setting is stored with the memory function
(Ypage 126).
iThe steering wheel only moves upwards if it
has not already reached the upper stop. The
driver's seat only moves backwards if it is not
already in the rearmost position.
122Steering wheel
Seats, steering wheel and mirrors
Page 125 of 438

Position of the steering wheel and the
driver's seat for driving
The steering wheel and the driver's seat are
moved to the previously set position if:
Rthe driver's door is closed and you insert the
SmartKey into the ignition lock
Ryou close the driver's door when the ignition
is switched on
Ryou press the Start/Stop button once on vehi-
cles with KEYLESS-GO
iThe steering wheel and the driver's seat only
return to the last set position when the driving
position is stored after seat or steering wheel
adjustment.
The last position of the steering wheel or seat is
stored if:
Rthe ignition is switched off
Rthe setting is stored with the memory function
(Ypage 126).
Crash-responsive EASY-EXIT feature
If the crash-responsive EASY-EXIT feature is trig-
gered in an accident, the steering column will
move upwards when the driver's door is opened
or the SmartKey is removed from the ignition
lock. This makes it easier to exit the vehicle and
rescue the occupants.
The crash-responsive EASY-EXIT feature is only
operational if the EASY-EXIT/ENTRY feature is
activated in the multimedia system (see the sep-
arate operating instructions).
Mirrors
Rear-view mirror
XAnti-glare mode: flick anti-glare lever :for-
wards or back.
Exterior mirrors
Important safety notes
GWARNING
You could lose control of your vehicle if you do the following while driving:
Radjust the driver's seat, head restraint,
steering wheel or mirrors
Rfasten the seat belt
There is a risk of an accident.
Adjust the driver's seat, head restraint, steer-
ing wheel and mirror and fasten your seat belt before starting the engine.
GWARNING
The exterior mirror on the front-passenger
side reduces the size of the image. Visible
objects are actually closer than they appear.
This means that you could misjudge the dis-
tance from road users traveling behind, e.g.
when changing lane. There is a risk of an acci-
dent.
For this reason, always make sure of the
actual distance from the road users traveling
behind by glancing over your shoulder.
Adjusting the exterior mirrors
Mirrors123
Seats, steering wheel and mirrors
Z
Page 138 of 438

For this reason, you should always switch off
the windshield wipers in dry weather.
1$Windshield wiper off
2ÄIntermittent wipe, low (rain sensor set
to low sensitivity)
3Å Intermittent wipe, high (rain sensor
set to high sensitivity)
4° Continuous wipe, slow
5¯Continuous wipe, fast
BíSingle wipe/î to wipe the wind-
shield using washer fluid
XSwitch on the power supply with the Start/
Stop button or the SmartKey (Ypage 162).
XTurn the combination switch to the corre-
sponding position.
In the ÄorÅ position, the appropriate
wiping frequency is set automatically according
to the intensity of the rain. In the Åposition,
the rain sensor is more sensitive than in
the Ä position, causing the windshield wip-
ers to wipe more frequently.
Vehicles with MAGIC VISION CONTROL: the
washer fluid is fed through the wiper blades and
when wiping with washer fluid îthe washer
fluid is emitted directly from the blades.
Vehicles with MAGIC VISION CONTROL: if you
push and hold the combination switch beyond
the point of resistance in the direction of arrow
B, the manual wash program is activated. If you briefly push and hold the combination switch
beyond the point of resistance in the direction of
arrow B, the automatic wash program is acti-
vated.
If the wiper blades are worn, the windshield will
no longer be wiped properly. This could prevent
you from observing the traffic conditions.
Replacing the wiper blades
Important safety notes
GWARNING
If the windshield wipers begin to move while
you are changing the wiper blades, you could be trapped by the wiper arm. There is a risk of
injury.
Always switch off the windshield wipers and
ignition before changing the wiper blades.
!To avoid damaging the wiper blades, make
sure that you touch only the wiper arm of the
wiper.
!Never open the hood if a windshield wiper
arm has been folded away from the wind-
shield.
Hold the windshield wiper arm firmly when
you change the wiper blade. If you release the
windshield wiper arm without a wiper blade
and it falls onto the windshield, the windshield
may be damaged by the force of the impact.
Mercedes-Benz recommends that you have
the wiper blades changed at a qualified spe-
cialist workshop.
!Always position the windshield wiper arms
vertically before folding them away from the
windshield. By doing so, you will avoid dam-
age to the hood.
Replacing the wiper blades (standard
windshield wipers)
Moving the wiper arms to a vertical posi-
tion
On vehicles without KEYLESS-GO:
XTurn the SmartKey to position 0in the ignition
lock (Ypage 162).
XSet the windshield wiper to the °position.
XTurn the SmartKey to position 1in the ignition
lock (Ypage 162).
XAs soon as the wiper arms are vertical to the
hood, turn the SmartKey to position 0in the
ignition lock (
Ypage 162).
XRemove the SmartKey.
XFold the wiper arms away from the windshield
until you feel them snap into place.
136Windshield wipers
Lights and windshield wipers