2016 MERCEDES-BENZ GLC COUPE airbag off
[x] Cancel search: airbag offPage 64 of 389
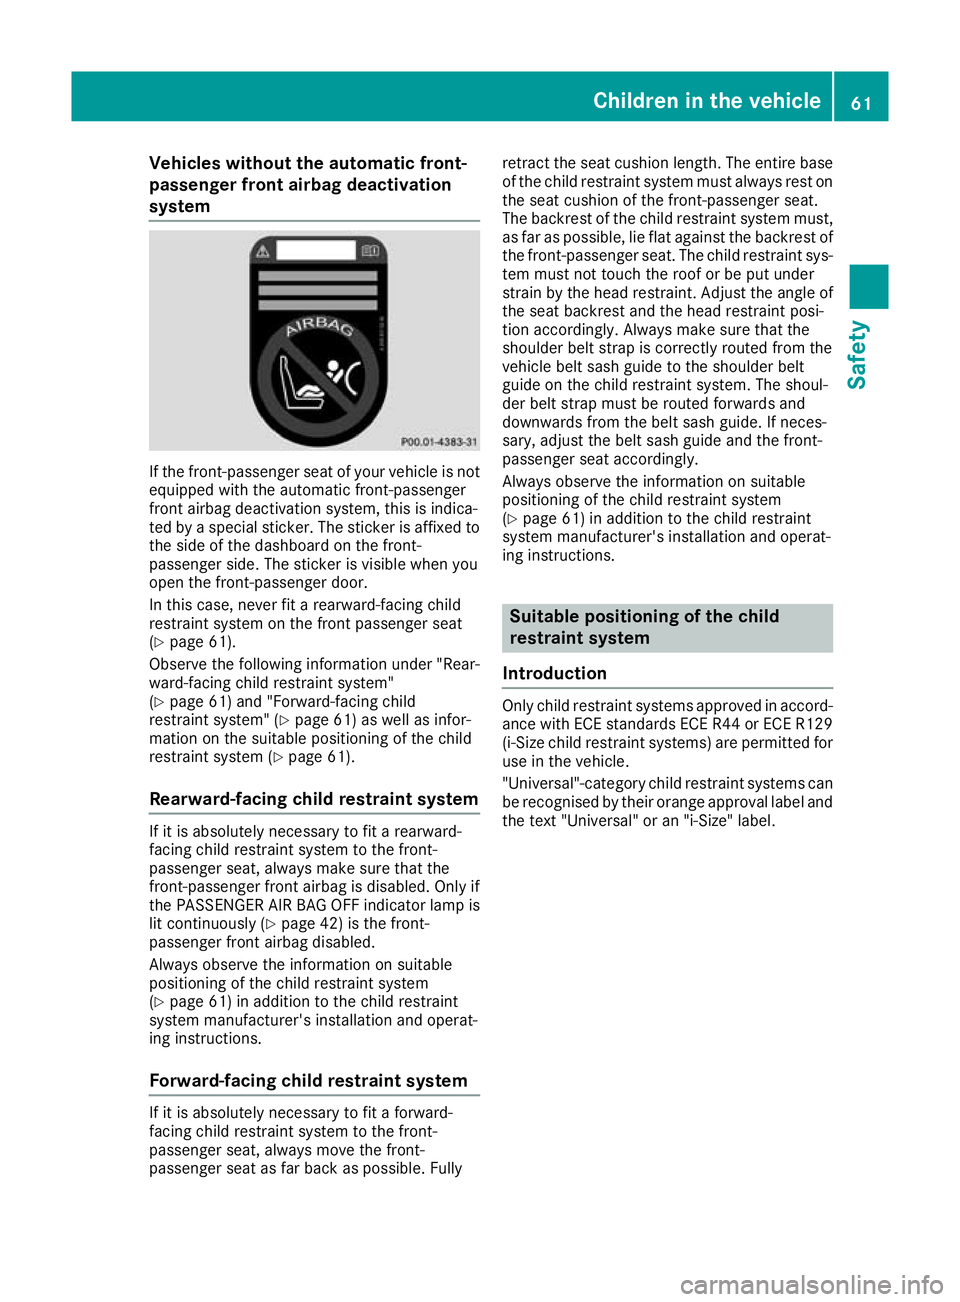
Vehicles without the automatic front-
passenger front airbag deactivation
system If the front-passenger seat of your vehicle is not
equipped with the automatic front-passenger
front airbag deactivation system, this is indica-
ted by a special sticker. The sticker is affixed to
the side of the dashboard on the front-
passenger side. The sticker is visible when you
open the front-passenger door.
In this case, never fit a rearward-facing child
restraint system on the front passenger seat
(Y page 61).
Observe the following information under "Rear-
ward-facing child restraint system"
(Y page 61) and "Forward-facing child
restraint system" (Y page 61) as well as infor-
mation on the suitable positioning of the child
restraint system (Y page 61).
Rearward-facing child restraint system If it is absolutely necessary to fit a rearward-
facing child restraint system to the front-
passenger seat, always make sure that the
front-passenger front airbag is disabled. Only if
the PASSENGER AIR BAG OFF indicator lamp is lit continuously (Y page 42) is the front-
passenger front airbag disabled.
Always observe the information on suitable
positioning of the child restraint system
(Y page 61) in addition to the child restraint
system manufacturer's installation and operat-
ing instructions.
Forward-facing child restraint system If it is absolutely necessary to fit a forward-
facing child restraint system to the front-
passenger seat, always move the front-
passenger seat as far back as possible. Fully retract the seat cushion length. The entire base
of the child restraint system must always rest on the seat cushion of the front-passenger seat.
The backrest of the child restraint system must,
as far as possible, lie flat against the backrest of the front-passenger seat. The child restraint sys-tem must not touch the roof or be put under
strain by the head restraint. Adjust the angle of
the seat backrest and the head restraint posi-
tion accordingly. Always make sure that the
shoulder belt strap is correctly routed from the
vehicle belt sash guide to the shoulder belt
guide on the child restraint system. The shoul-
der belt strap must be routed forwards and
downwards from the belt sash guide. If neces-
sary, adjust the belt sash guide and the front-
passenger seat accordingly.
Always observe the information on suitable
positioning of the child restraint system
(Y page 61) in addition to the child restraint
system manufacturer's installation and operat-
ing instructions. Suitable positioning of the child
restraint system
Introduction Only child restraint systems approved in accord-
ance with ECE standards ECE R44 or ECE R129 (i-Size child restraint systems) are permitted foruse in the vehicle.
"Universal"-category child restraint systems can
be recognised by their orange approval label and the text "Universal" or an "i-Size" label. Children in the vehicle
61Safety Z
Page 66 of 389
When you remove the child restraint system, you must replace the head restraints again immedi-
ately (Y page 105). All vehicle occupants must adjust their head restraints correctly before begin-
ning the journey.
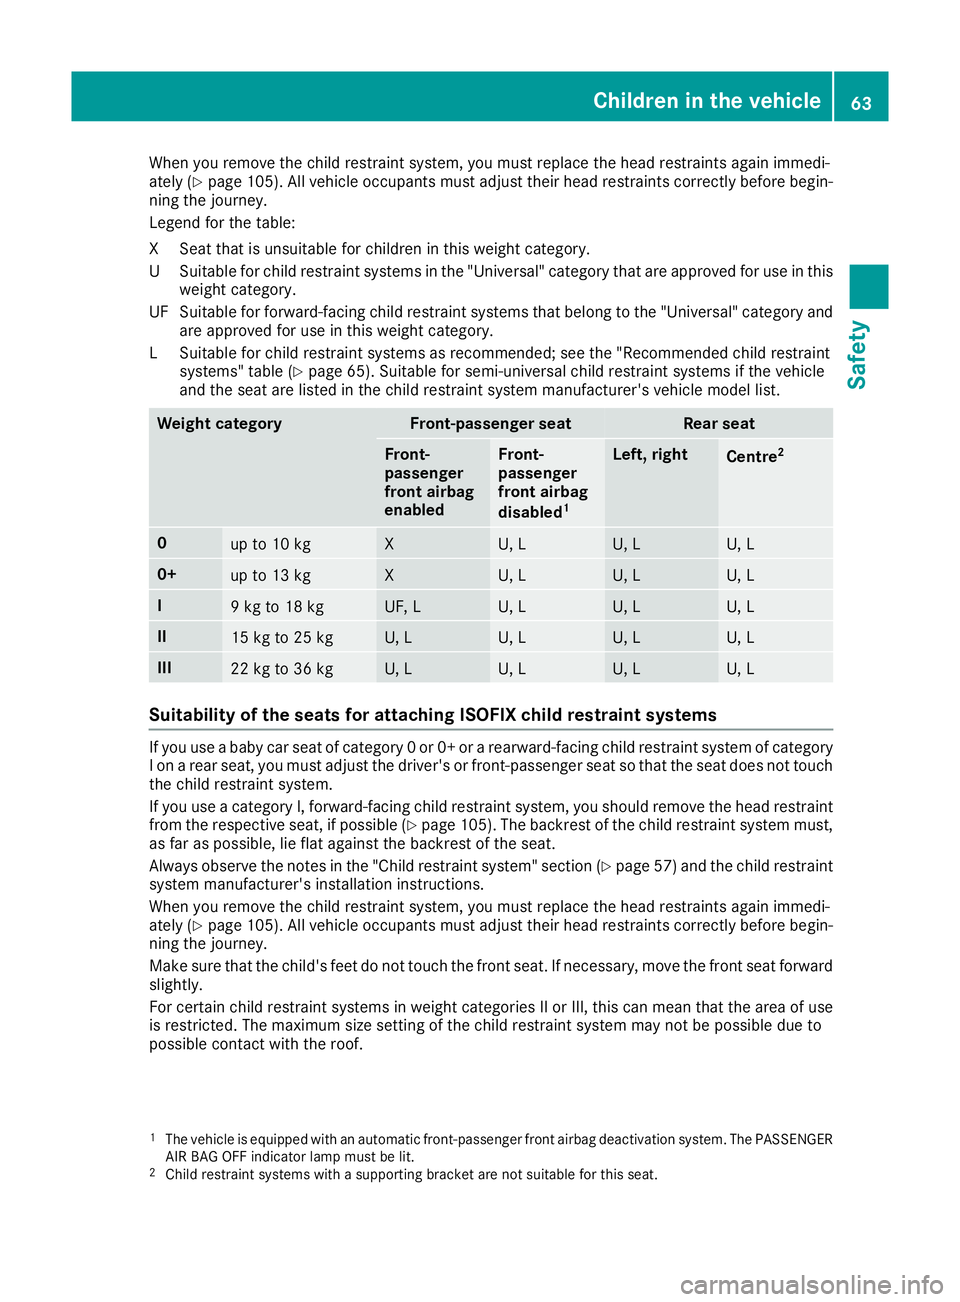
Legend for the table:
XS eat that is unsuitable for children in this weight category.
US uitable for child restraint systems in the "Universal" category that are approved for use in this
weight category.
UF Suitable for forward-facing child restraint systems that belong to the "Universal" category and are approved for use in this weight category.
LS uitable for child restraint systems as recommended; see the "Recommended child restraint
systems" table (Y page 65). Suitable for semi-universal child restraint systems if the vehicle
and the seat are listed in the child restraint system manufacturer's vehicle model list. Weight category Front-passenger seat Rear seat
Front-
passenger
front airbag
enabled Front-
passenger
front airbag
disabled
1 Left, right
Centre
2 0
up to 10 kg X U, L U, L U, L
0+
up to 13 kg X U, L U, L U, L
I
9 kg to 18 kg UF, L U, L U, L U, L
II
15 kg to 25 kg U, L U, L U, L U, L
III
22 kg to 36 kg U, L U, L U, L U, L
Suitability of the seats for attaching ISOFIX child restraint systems
If you use a baby car seat of category 0 or 0+ or a rearward-facing child restraint system of category
I on a rear seat, you must adjust the driver's or front-passenger seat so that the seat does not touch the child restraint system.
If you use a category I, forward-facing child restraint system, you should remove the head restraintfrom the respective seat, if possible (Y page 105). The backrest of the child restraint system must,
as far as possible, lie flat against the backrest of the seat.
Always observe the notes in the "Child restraint system" section (Y page 57)and the child restraint
system manufacturer's installation instructions.
When you remove the child restraint system, you must replace the head restraints again immedi-
ately (Y page 105). All vehicle occupants must adjust their head restraints correctly before begin-
ning the journey.
Make sure that the child's feet do not touch the front seat. If necessary, move the front seat forward slightly.
For certain child restraint systems in weight categories II or III, this can mean that the area of use
is restricted. The maximum size setting of the child restraint system may not be possible due to
possible contact with the roof.
1 The vehicle is equipped with an automatic front-passenger front airbag deactivation system. The PASSENGER
AIR BAG OFF indicator lamp must be lit.
2 Child restraint systems with a supporting bracket are not suitable for this seat. Children in the vehicle
63Safety Z
Page 121 of 389
X
To switch the hazard warning lamps on or
off: press the :button.
All the indicator lamps will flash when the
hazard warning lamps are switched on. If you
now switch on an indicator lamp using the
combination switch, only the indicator lamp
on the corresponding side of the vehicle will
flash.
The hazard warning lamps switch on automati-
cally if:
R an airbag has been triggered or
R the vehicle decelerates rapidly from a speed
of above 70 km/h and comes to a standstill
The hazard warning lamps switch off automati-
cally if the vehicle reaches a speed of above
10 km/h again after a full brake application.
The hazard warning lamps continue to operate
even if the ignition is switched off. Intelligent Light System
General notes The Intelligent Light System is a system that
adjusts the headlamps to suit the prevailing
driving and weather conditions. It offers
advanced functions for improved illumination of the road surface, e.g. depending on the vehicle
speed or weather conditions. The system
includes the active light function, cornering light
function, motorway mode and extended-range
fog lamps. The system is active only when it is
dark.
You can activate/deactivate the Intelligent
Intelligent
Light System Light System function using the on-board
computer (Y page 243).
Active light function The active light function is a system that moves
the headlamps according to the steering move-
ments of the front wheels. In this way, relevant
areas remain illuminated while you are driving.
This allows you to recognise pedestrians,
cyclists and animals sooner.
Active: when the lights are switched on.
Vehicles with Lane Keeping Assist: the active
light function evaluates the course of the lane in which you are driving and adjusts the light in
advance. Cornering light function The cornering light function improves the illu-
mination of the road over a wide angle in the
direction you are turning, enabling better visi-
bility in tight bends, for example. It can be acti-
vated only when the dipped-beam headlamps
are switched on.
Active:
R if you are driving at speeds below 40 km/h
and switch on the turn signal or turn the steer-
ing wheel
R if you are driving at speeds between 40 km/h
and 70 km/h and turn the steering wheel
The cornering light function may remain lit for a short time, but is automatically switched off
after no more than three minutes.
Cornering light function with roundabout
function:
The cornering light function is activated on both
sides before entering a roundabout through an
evaluation of the current GPS position of the
vehicle. It remains active until after the vehicle
has left the roundabout. In this way, pedestrians crossing the road, for example, are illuminated
by your vehicle in good time.
Only vehicles with the COMAND multimedia sys-
tem have this function.
Motorway mode Motorway mode increases the range of the
beam.
Active:if you are driving at a speed above
110 km/h and do not make any large steering
movements for at least 1000 m or if you are
driving at a speed above 130 km/h.
Not active: if you are driving at speeds below
80 km/h following activation.
Extended range fog lamps The extended-range fog lamps reduce the glare
experienced by the driver and improve the illu-
mination of the edge of the carriageway.
Active: if you are driving at speeds below
70 km/h and you switch on the rear fog lamp.
Not active: if, following activation, you are driv-
ing at speeds above 100 km/h or if you switch
off the rear fog lamp. 118
Exterior lightingLights and
windscreen wipers
Page 260 of 389
Display messages
Possible causes/consequences and
M
MSolutions Radar
Radar
sensors
sensors dirty
dirty
See Owner's Manual
See Owner's Manual The radar sensor system is malfunctioning.
Possible causes:
R Dirt on sensors
R Heavy rain or snow
R Driving on inter-urban roads without traffic or infrastructure, e.g. in
desert-like areas
At least one driving system or driving safety system is malfunctioning
or is temporarily unavailable:
R PRE-SAFE ®
PLUS
R COLLISION PREVENTION ASSIST PLUS
R Active Lane Keeping Assist
R Active Blind Spot Assist
R DISTRONIC PLUS with Steering Assist and Stop&Go Pilot
If the front radar system sensor is dirty, Active Blind Spot Assist will
not perform a course-correcting brake application.
Once the cause of the problem is no longer present, the driving sys-
tems and driving safety systems will be available again. The display
message disappears.
If the display message does not disappear:
X Stop the vehicle, paying attention to road and traffic conditions.
X Secure the vehicle against rolling away (Y page 167).
X Switch off the engine.
X Clean all sensors (Y page 335).
X Restart the engine.
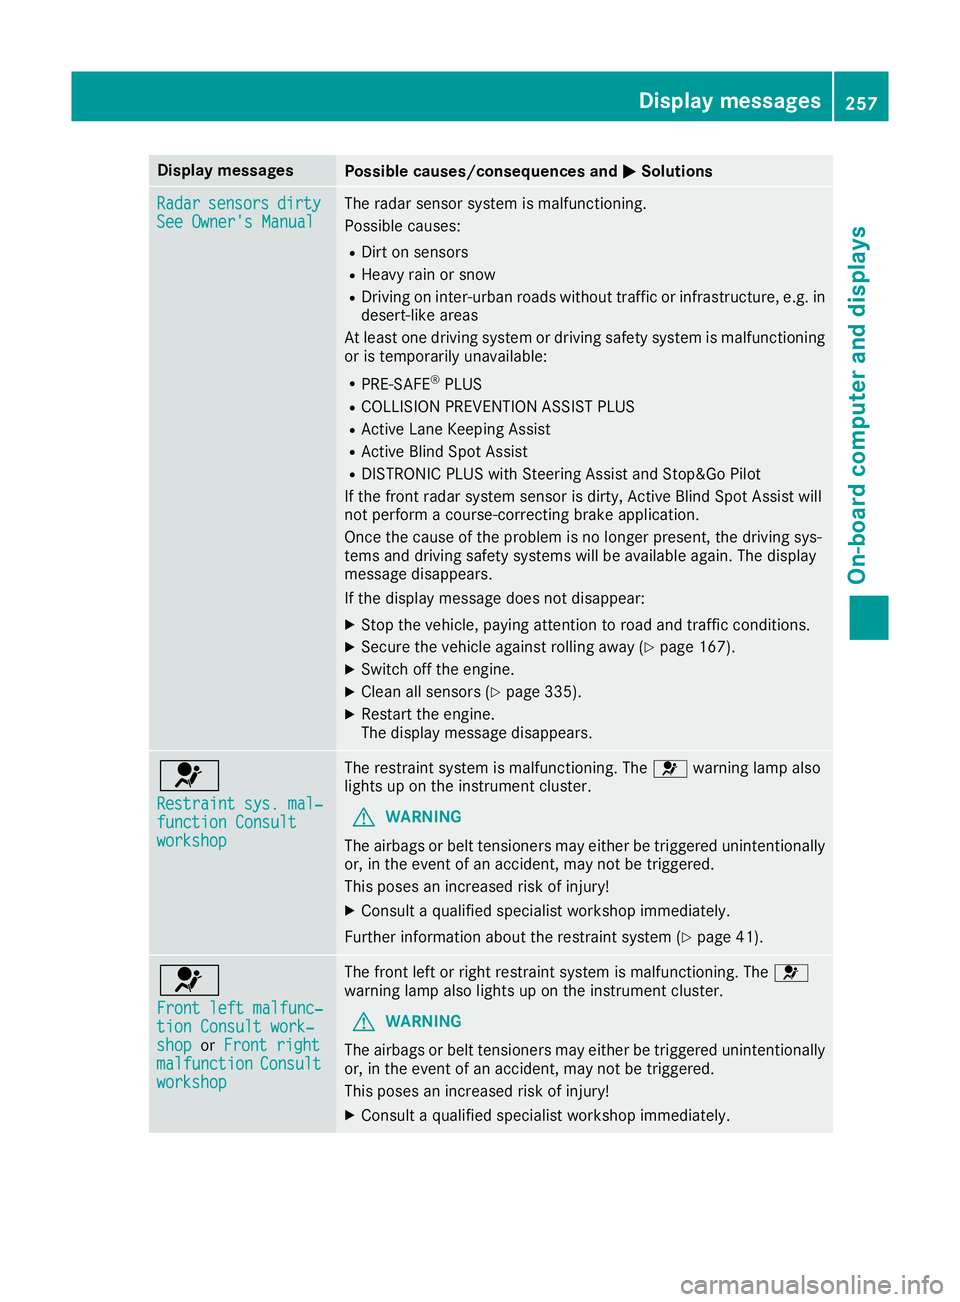
The display message disappears. 6
Restraint sys. mal‐ Restraint sys. mal‐
function Consult function Consult
workshop workshop The restraint system is malfunctioning. The
6warning lamp also
lights up on the instrument cluster.
G WARNING
The airbags or belt tensioners may either be triggered unintentionally or, in the event of an accident, may not be triggered.
This poses an increased risk of injury!
X Consult a qualified specialist workshop immediately.
Further information about the restraint system (Y page 41).6
Front left malfunc‐ Front left malfunc‐
tion Consult work‐ tion Consult work‐
shop shop
orFront right
Front right
malfunction
malfunction Consult
Consult
workshop
workshop The front left or right restraint system is malfunctioning. The
6
warning lamp also lights up on the instrument cluster.
G WARNING
The airbags or belt tensioners may either be triggered unintentionally or, in the event of an accident, may not be triggered.
This poses an increased risk of injury!
X Consult a qualified specialist workshop immediately. Display
messages
257On-board computer and displays Z
Page 262 of 389
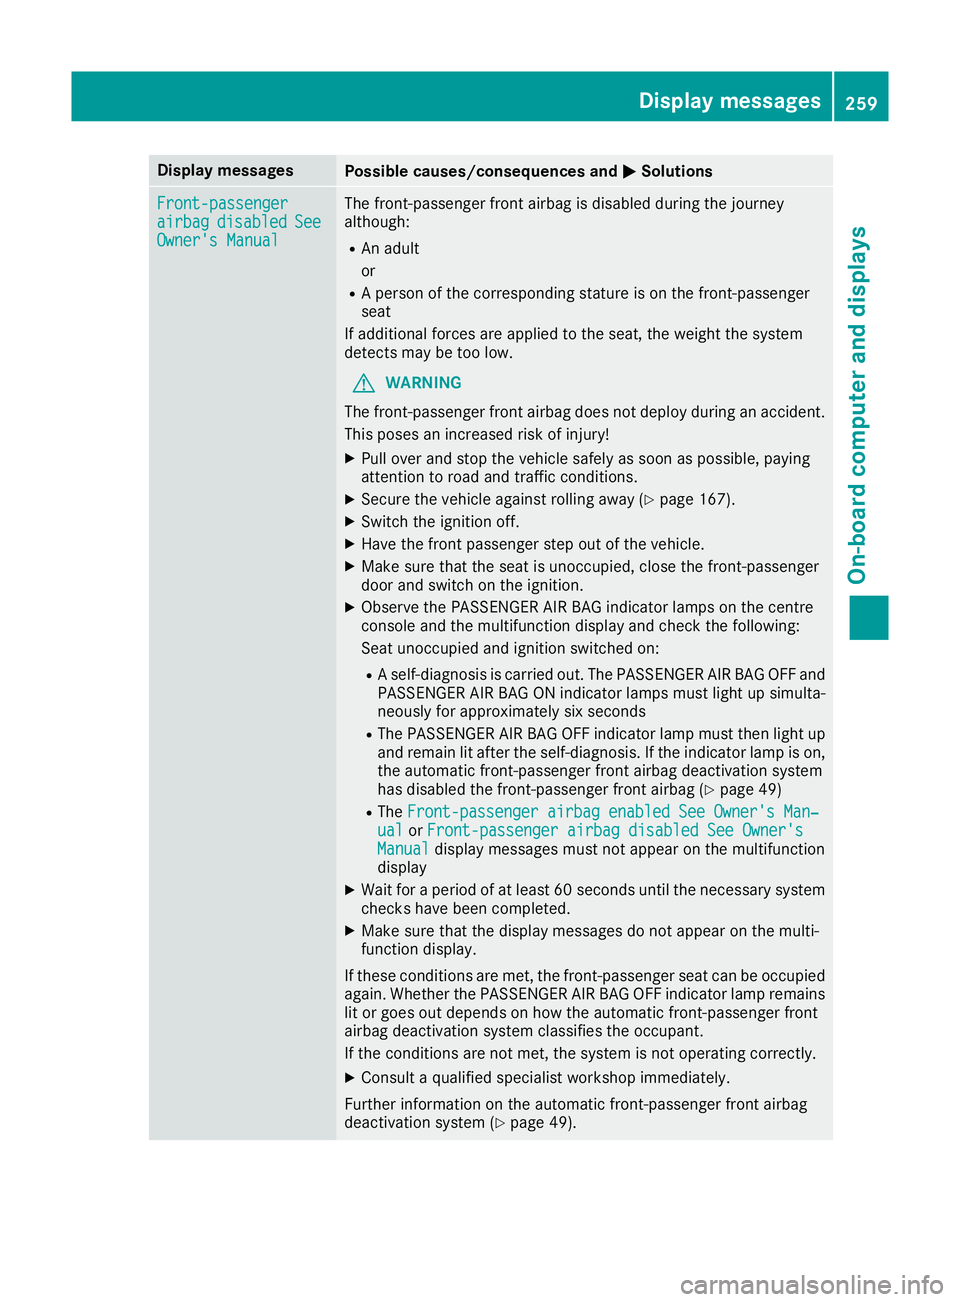
Display messages
Possible causes/consequences and
M
MSolutions Front-passenger
Front-passenger
airbag airbag
disabled
disabled See
See
Owner's Manual
Owner's Manual The front-passenger front airbag is disabled during the journey
although:
R An adult
or
R A person of the corresponding stature is on the front-passenger
seat
If additional forces are applied to the seat, the weight the system
detects may be too low.
G WARNING
The front-passenger front airbag does not deploy during an accident.
This poses an increased risk of injury!
X Pull over and stop the vehicle safely as soon as possible, paying
attention to road and traffic conditions.
X Secure the vehicle against rolling away (Y page 167).
X Switch the ignition off.
X Have the front passenger step out of the vehicle.
X Make sure that the seat is unoccupied, close the front-passenger
door and switch on the ignition.
X Observe the PASSENGER AIR BAG indicator lamps on the centre
console and the multifunction display and check the following:
Seat unoccupied and ignition switched on:
R A self-diagnosis is carried out. The PASSENGER AIR BAG OFF and
PASSENGER AIR BAG ON indicator lamps must light up simulta-
neously for approximately six seconds
R The PASSENGER AIR BAG OFF indicator lamp must then light up
and remain lit after the self-diagnosis. If the indicator lamp is on,
the automatic front-passenger front airbag deactivation system
has disabled the front-passenger front airbag (Y page 49)
R The Front-passenger airbag enabled See Owner's Man‐
Front-passenger airbag enabled See Owner's Man‐
ual ual orFront-passenger airbag disabled See Owner's
Front-passenger airbag disabled See Owner's
Manual
Manual display messages must not appear on the multifunction
display
X Wait for a period of at least 60 seconds until the necessary system
checks have been completed.
X Make sure that the display messages do not appear on the multi-
function display.
If these conditions are met, the front-passenger seat can be occupied again. Whether the PASSENGER AIR BAG OFF indicator lamp remains lit or goes out depends on how the automatic front-passenger front
airbag deactivation system classifies the occupant.
If the conditions are not met, the system is not operating correctly.
X Consult a qualified specialist workshop immediately.
Further information on the automatic front-passenger front airbag
deactivation system (Y page 49). Display
messages
259On-board computer and displays Z
Page 263 of 389
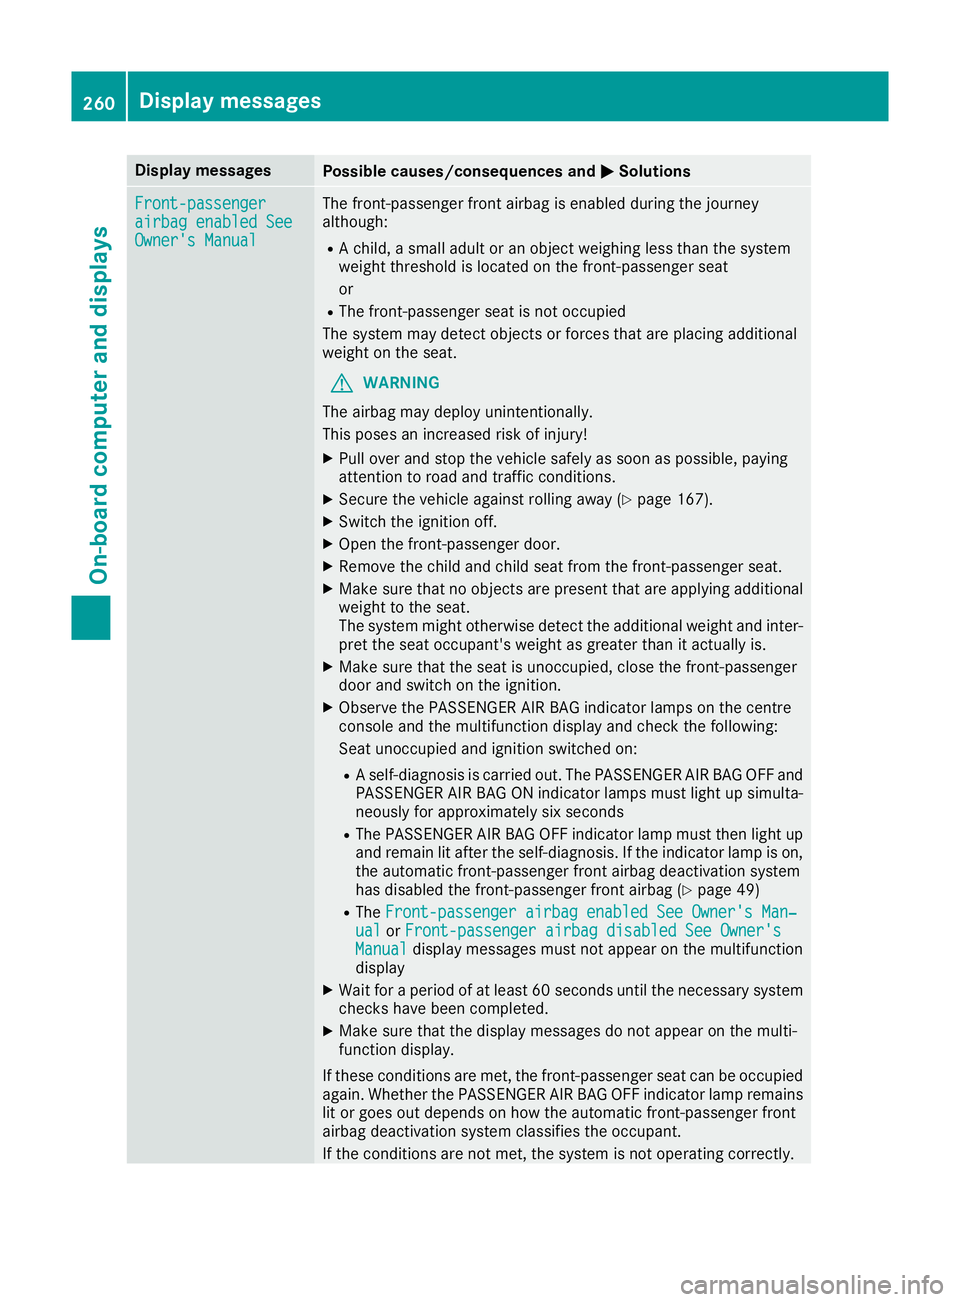
Display messages
Possible causes/consequences and
M
MSolutions Front-passenger
Front-passenger
airbag enabled See airbag enabled See
Owner's Manual Owner's Manual The front-passenger front airbag is enabled during the journey
although:
R A child, a small adult or an object weighing less than the system
weight threshold is located on the front-passenger seat
or
R The front-passenger seat is not occupied
The system may detect objects or forces that are placing additional
weight on the seat.
G WARNING
The airbag may deploy unintentionally.
This poses an increased risk of injury!
X Pull over and stop the vehicle safely as soon as possible, paying
attention to road and traffic conditions.
X Secure the vehicle against rolling away (Y page 167).
X Switch the ignition off.
X Open the front-passenger door.
X Remove the child and child seat from the front-passenger seat.
X Make sure that no objects are present that are applying additional
weight to the seat.
The system might otherwise detect the additional weight and inter- pret the seat occupant's weight as greater than it actually is.
X Make sure that the seat is unoccupied, close the front-passenger
door and switch on the ignition.
X Observe the PASSENGER AIR BAG indicator lamps on the centre
console and the multifunction display and check the following:
Seat unoccupied and ignition switched on:
R A self-diagnosis is carried out. The PASSENGER AIR BAG OFF and
PASSENGER AIR BAG ON indicator lamps must light up simulta-
neously for approximately six seconds
R The PASSENGER AIR BAG OFF indicator lamp must then light up
and remain lit after the self-diagnosis. If the indicator lamp is on,
the automatic front-passenger front airbag deactivation system
has disabled the front-passenger front airbag (Y page 49)
R The Front-passenger airbag enabled See Owner's Man‐
Front-passenger airbag enabled See Owner's Man‐
ual ual orFront-passenger airbag disabled See Owner's
Front-passenger airbag disabled See Owner's
Manual
Manual display messages must not appear on the multifunction
display
X Wait for a period of at least 60 seconds until the necessary system
checks have been completed.
X Make sure that the display messages do not appear on the multi-
function display.
If these conditions are met, the front-passenger seat can be occupied again. Whether the PASSENGER AIR BAG OFF indicator lamp remains lit or goes out depends on how the automatic front-passenger front
airbag deactivation system classifies the occupant.
If the conditions are not met, the system is not operating correctly. 260
Display
messagesOn-board computer and displays
Page 264 of 389
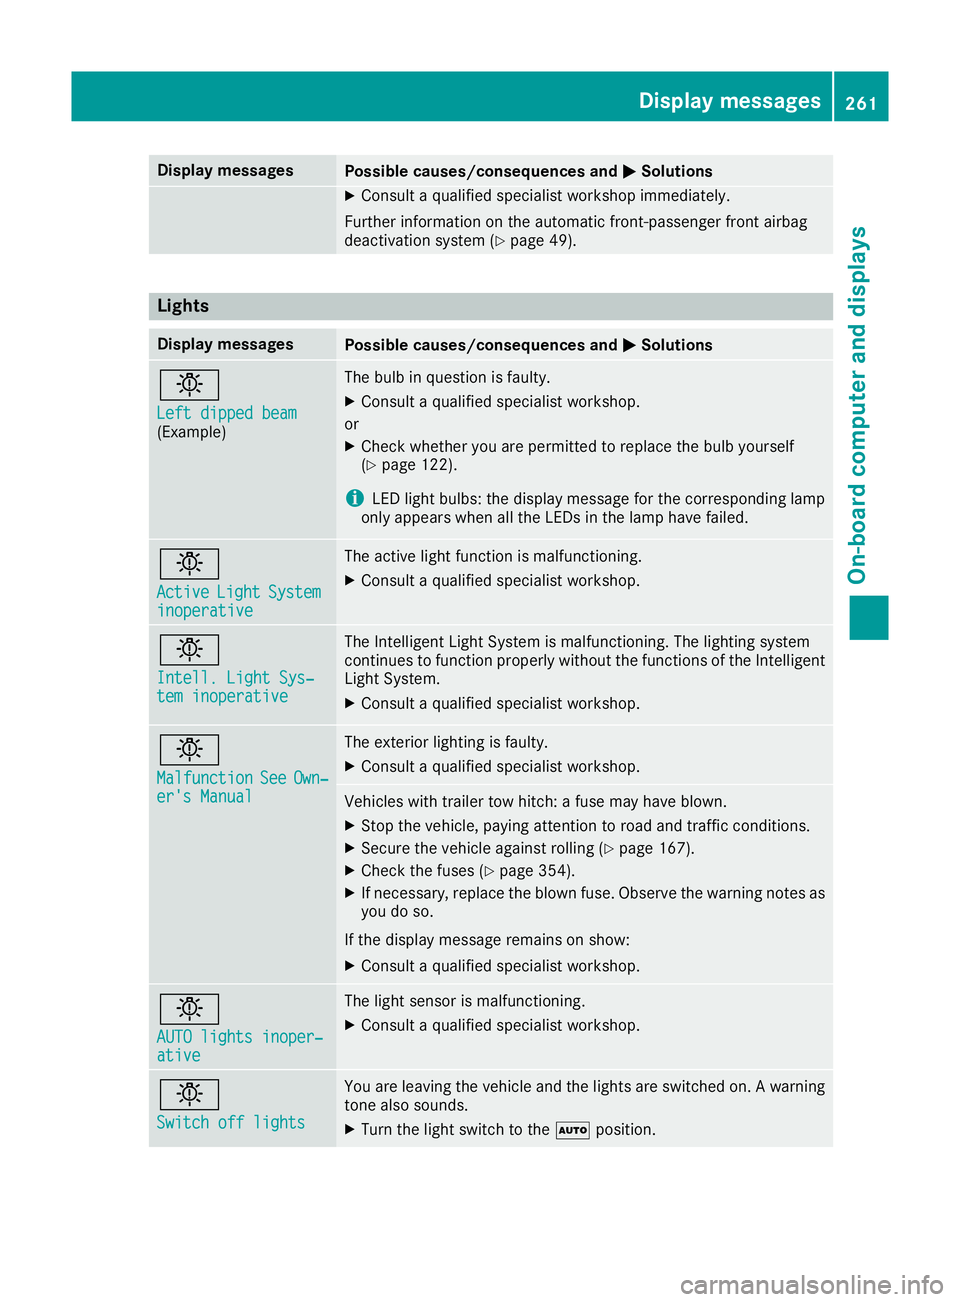
Display messages
Possible causes/consequences and
M
MSolutions X
Consult a qualified specialist workshop immediately.
Further information on the automatic front-passenger front airbag
deactivation system (Y page 49).Lights
Display messages
Possible causes/consequences and
M
MSolutions b
Left dipped beam Left dipped beam
(Example) The bulb in question is faulty.
X Consult a qualified specialist workshop.
or X Check whether you are permitted to replace the bulb yourself
(Y page 122).
i LED light bulbs: the display message for the corresponding lamp
only appears when all the LEDs in the lamp have failed. b
Active Active
Light
LightSystem
System
inoperative
inoperative The active light function is malfunctioning.
X Consult a qualified specialist workshop. b
Intell. Light Sys‐ Intell. Light Sys‐
tem inoperative tem inoperative The Intelligent Light System is malfunctioning. The lighting system
continues to function properly without the functions of the Intelligent
Light System.
X Consult a qualified specialist workshop. b
Malfunction Malfunction
See
SeeOwn‐
Own‐
er's Manual
er's Manual The exterior lighting is faulty.
X Consult a qualified specialist workshop. Vehicles with trailer tow hitch: a fuse may have blown.
X Stop the vehicle, paying attention to road and traffic conditions.
X Secure the vehicle against rolling (Y page 167).
X Check the fuses (Y page 354).
X If necessary, replace the blown fuse. Observe the warning notes as
you do so.
If the display message remains on show:
X Consult a qualified specialist workshop. b
AUTO lights inoper‐ AUTO lights inoper‐
ative ative The light sensor is malfunctioning.
X Consult a qualified specialist workshop. b
Switch off lights Switch off lights You are leaving the vehicle and the lights are switched on. A warning
tone also sounds.
X Turn the light switch to the Ãposition. Display
messages
261On-board computer and displays Z
Page 339 of 389
flash rust to form on the surface. You can
restore the original shine of the exhaust pipe by cleaning it regularly, especially in winter and
after washing the vehicle.
X Clean the exhaust pipe with a care product
tested and approved by Mercedes-Benz.
Cleaning the trailer tow hitch H
Environmental note
Dispose of oily and greasy cloths in an envi-
ronmentally-responsible manner.
! Do not clean the ball coupling with a high-
pressure cleaner. Do not use solvents.
The ball coupling must be cleaned if it becomes
dirty or corroded.
X Remove rust on the ball, e.g. with a wire
brush.
X Remove dirt with a clean, lint-free cloth or a
brush.
X After cleaning, lightly oil or grease the ball
coupling.
X Check that the vehicle's trailer tow hitch is
working properly.
You can also have the maintenance work on the
ball coupling and the trailer tow hitch carried out
by a qualified specialist workshop. Interior care
Cleaning the display !
For cleaning, do not use any of the following:
R alcohol-based thinner or petrol
R abrasive cleaning agents
R commercially-available household cleaning
agents
These may damage the display surface. Do
not put pressure on the display surface when cleaning. This could lead to irreparable dam-
age to the display.
X Before cleaning the display, make sure that it
is switched off and has cooled down.
X Clean the display surface using a commer-
cially available microfibre cloth and TFT/LCD
display cleaner.
X Dry the display surface using a dry microfibre
cloth. Cleaning the plastic trim G
WARNING
Care products and cleaning agents containing solvents can cause surfaces in the cockpit to
become porous. This could result in plastic
parts breaking away when the airbags are
deployed. There is a danger of injury.
Do not use care products and cleaning agents containing solvents to clean the cockpit.
! Never attach the following to plastic surfa-
ces:
R stickers
R films
R perfume oil container or similar
You could otherwise damage the plastic.
! Do not allow cosmetics, insect repellent or
sunscreen to come in contact with the plastic trim. This maintains the high-quality look of
the surfaces.
X Wipe the plastic trim with a damp, lint-free
cloth, e.g. a microfibre cloth.
X Heavy soiling: use care and cleaning prod-
ucts recommended and approved by
Mercedes-Benz.
The surface may change colour temporarily.
Wait until the surface is dry again.
Cleaning the steering wheel and selec-
tor lever X
Thoroughly wipe with a damp cloth or use
leather care agents that have been recom-
mended and approved by Mercedes-Benz.
Cleaning wood trim and trim elements !
Do not use solvent-based cleaning agents
such as tar remover, wheel cleaners, polishes
or waxes. There is otherwise a risk of damag- ing the surface. 336
CareMaintenance and care