2016 MERCEDES-BENZ GLC COUPE snow chains
[x] Cancel search: snow chainsPage 191 of 389
Vehicle level
Setting the raised vehicle level
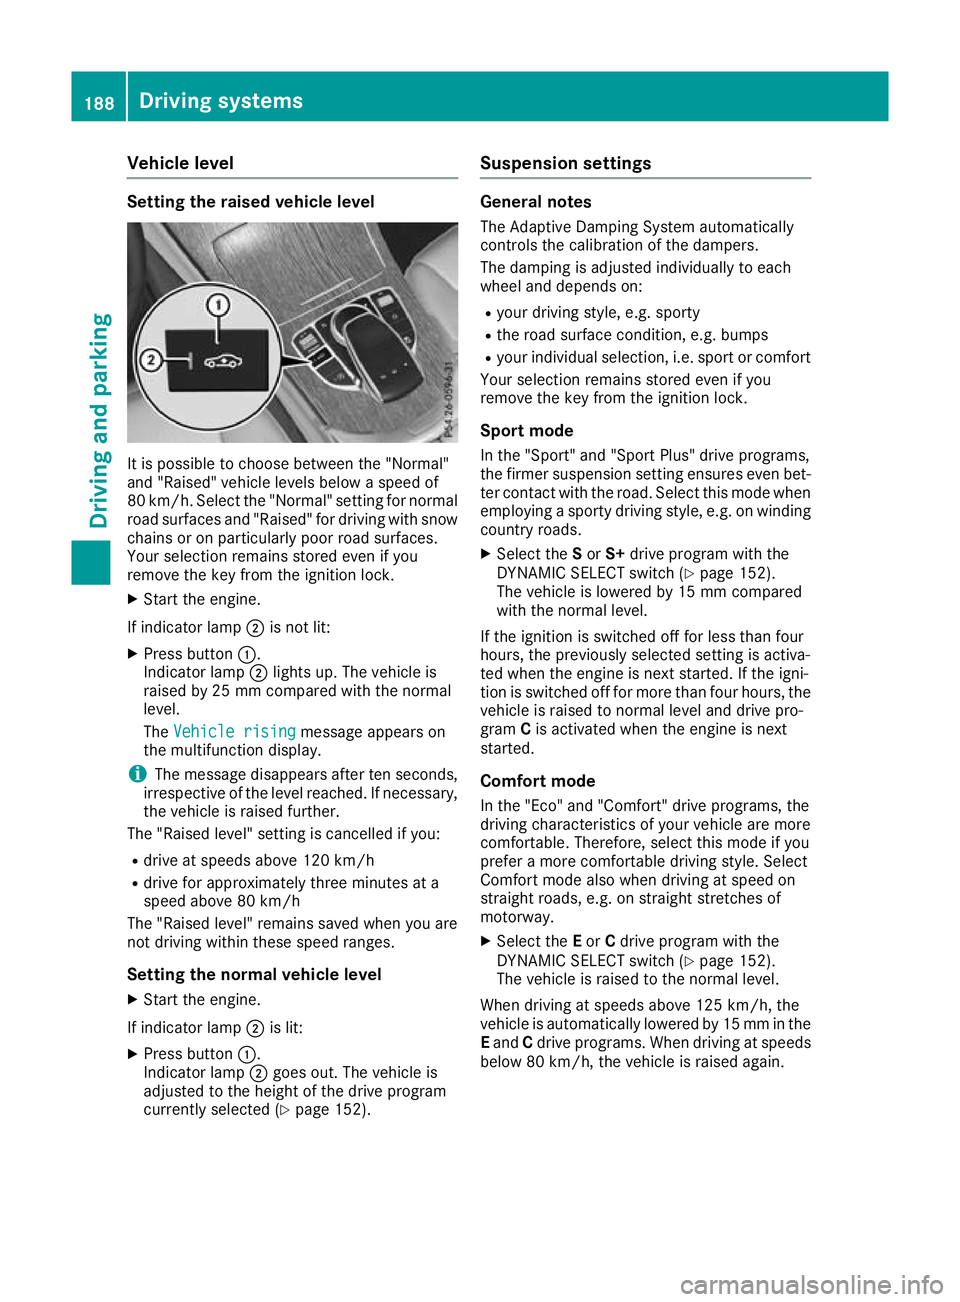
It is possible to choose between the "Normal"
and "Raised" vehicle levels below a speed of
80 km/h. Select the "Normal" setting for normal
road surfaces and "Raised" for driving with snow chains or on particularly poor road surfaces.
Your selection remains stored even if you
remove the key from the ignition lock.
X Start the engine.
If indicator lamp ;is not lit:
X Press button :.
Indicator lamp ;lights up. The vehicle is
raised by 25 mm compared with the normal
level.
The Vehicle rising
Vehicle rising message appears on
the multifunction display.
i The message disappears after ten seconds,
irrespective of the level reached. If necessary,
the vehicle is raised further.
The "Raised level" setting is cancelled if you:
R drive at speeds above 120 km/h
R drive for approximately three minutes at a
speed above 80 km/h
The "Raised level" remains saved when you are
not driving within these speed ranges.
Setting the normal vehicle levelX Start the engine.
If indicator lamp ;is lit:
X Press button :.
Indicator lamp ;goes out. The vehicle is
adjusted to the height of the drive program
currently selected (Y page 152). Suspension settings General notes
The Adaptive Damping System automatically
controls the calibration of the dampers.
The damping is adjusted individually to each
wheel and depends on:
R your driving style, e.g. sporty
R the road surface condition, e.g. bumps
R your individual selection, i.e. sport or comfort
Your selection remains stored even if you
remove the key from the ignition lock.
Sport mode In the "Sport" and "Sport Plus" drive programs,
the firmer suspension setting ensures even bet- ter contact with the road. Select this mode when
employing a sporty driving style, e.g. on winding
country roads.
X Select the Sor S+ drive program with the
DYNAMIC SELECT switch (Y page 152).
The vehicle is lowered by 15 mm compared
with the normal level.
If the ignition is switched off for less than four
hours, the previously selected setting is activa-
ted when the engine is next started. If the igni-
tion is switched off for more than four hours, the vehicle is raised to normal level and drive pro-
gram Cis activated when the engine is next
started.
Comfort mode
In the "Eco" and "Comfort" drive programs, the
driving characteristics of your vehicle are more
comfortable. Therefore, select this mode if you
prefer a more comfortable driving style. Select
Comfort mode also when driving at speed on
straight roads, e.g. on straight stretches of
motorway. X Select the Eor Cdrive program with the
DYNAMIC SELECT switch (Y page 152).
The vehicle is raised to the normal level.
When driving at speeds above 125 km/h, the
vehicle is automatically lowered by 15 mm in the
E and Cdrive programs. When driving at speeds
below 80 km/h, the vehicle is raised again. 188
Driving systemsDriving an
d parking
Page 194 of 389
4MATIC is only an aid. You are responsible for
the distance to the vehicle in front, for vehicle
speed, for braking in good time and for staying in
lane.
If a drive wheel spins due to insufficient grip:
R When pulling away, only depress the acceler-
ator pedal as far as is necessary.
R accelerate less when driving.
! Never tow the vehicle with one axle raised.
This may damage the transfer case. Damage
of this sort is not covered by the Mercedes-
Benz implied warranty. All wheels must
remain either on the ground or be fully raised.
Observe the instructions for towing the vehi-
cle with all wheels in full contact with the
ground.
i In wintry driving conditions, the maximum
effect of 4MATIC can only be achieved if you
use winter tyres (M+S tyres), with snow
chains if necessary. PARKTRONIC
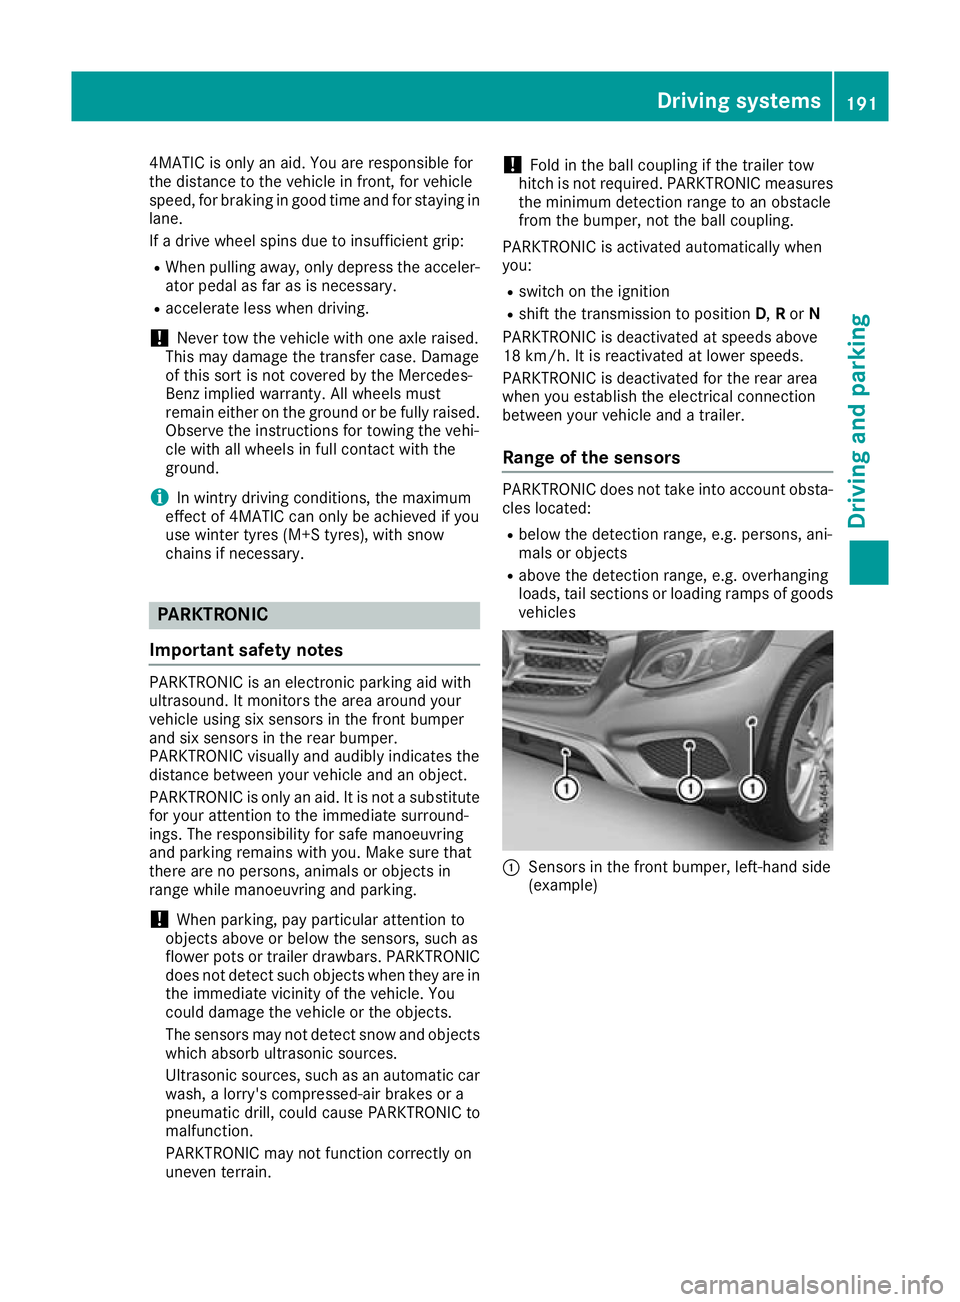
Important safety notes PARKTRONIC is an electronic parking aid with
ultrasound. It monitors the area around your
vehicle using six sensors in the front bumper
and six sensors in the rear bumper.
PARKTRONIC visually and audibly indicates the
distance between your vehicle and an object.
PARKTRONIC is only an aid. It is not a substitute for your attention to the immediate surround-
ings. The responsibility for safe manoeuvring
and parking remains with you. Make sure that
there are no persons, animals or objects in
range while manoeuvring and parking.
! When parking, pay particular attention to
objects above or below the sensors, such as
flower pots or trailer drawbars. PARKTRONIC does not detect such objects when they are in
the immediate vicinity of the vehicle. You
could damage the vehicle or the objects.
The sensors may not detect snow and objects which absorb ultrasonic sources.
Ultrasonic sources, such as an automatic car
wash, a lorry's compressed-air brakes or a
pneumatic drill, could cause PARKTRONIC to
malfunction.
PARKTRONIC may not function correctly on
uneven terrain. !
Fold in the ball coupling if the trailer tow
hitch is not required. PARKTRONIC measures the minimum detection range to an obstacle
from the bumper, not the ball coupling.
PARKTRONIC is activated automatically when
you: R switch on the ignition
R shift the transmission to position D,Ror N
PARKTRONIC is deactivated at speeds above
18 km/h. It is reactivated at lower speeds.
PARKTRONIC is deactivated for the rear area
when you establish the electrical connection
between your vehicle and a trailer.
Range of the sensors PARKTRONIC does not take into account obsta-
cles located:
R below the detection range, e.g. persons, ani-
mals or objects
R above the detection range, e.g. overhanging
loads, tail sections or loading ramps of goods
vehicles :
Sensors in the front bumper, left-hand side
(example) Driving systems
191Driving and parking Z
Page 197 of 389
Active Parking Assist
General notes Active Parking Assist is an electronic parking aid
with ultrasound. It measures the road on both
sides of the vehicle. A parking symbol indicates a suitable parking space. Active steering inter-
vention and brake application can assist you
during parking and when exiting a parking
space. You may also use PARKTRONIC
(Y page 191).
Important safety notes Active Parking Assist is only an aid. It is not a
substitute for your attention to the immediate
surroundings. The responsibility for safe
manoeuvring and parking remains with you.
Make sure that no persons, animals or objects
are in the manoeuvring range.
When PARKTRONIC is deactivated, Active Park-
ing Assist is also unavailable.
For vehicles with the trailer tow hitch folded out,
the minimum length for parking spaces is
slightly longer.
If you have attached a trailer to your vehicle, you
should not use Active Parking Assist. Once the
electrical connection is established between
your vehicle and the trailer, Active Parking
Assist is no longer available. PARKTRONIC is
deactivated for the rear area. G
WARNING
While parking or pulling out of a parking
space, the vehicle swings out and can drive
onto areas of the oncoming lane. This could
cause you to collide with other road users.
There is a risk of an accident.
Pay attention to other road users. Stop the
vehicle if necessary or cancel the Active Park- ing Assist parking procedure.
! If unavoidable, you should drive over obsta-
cles such as kerbs slowly and not at a sharp
angle. Otherwise, you may damage the
wheels or tyres. Active Parking Assist may also display spaces
not suitable for parking, e.g.:
R In a zone where parking or stopping is pro-
hibited
R In front of driveways or entrances and exits
R On unsuitable surfaces
Parking tips:
R On narrow roads, drive as closely as possible
past the parking space
R Parking spaces that are littered or overgrown
might be identified or measured incorrectly
R Parking spaces that are partially occupied by
trailer drawbars might not be identified as
such or be measured incorrectly
R Snowfall or heavy rain may lead to a parking
space being measured inaccurately
R Pay attention to the PARKTRONIC
(Y page 192) warning messages during the
parking procedure
R You can intervene in the steering procedure
to correct it at any time. Active Parking Assist is then deactivated
R When transporting a load that protrudes from
your vehicle, you should not use Active Park-
ing Assist
R Never use Active Parking Assist when snow
chains are fitted
R Always pay attention to the specified tyre
pressure for your vehicle. This has a direct
influence on the parking characteristics of the vehicle
Use Active Parking Assist for parking spaces
that are:
R parallel or at right angles to the direction of
travel
R on straight roads, not bends
R on the same level as the road, e.g. not on the
pavement
Detecting parking spaces Objects located above the height range of Active
Parking Assist will not be detected when the
parking space is measured. These are not taken into account when the parking procedure is cal-culated, e.g. overhanging loads, tail sections or
loading ramps of goods vehicles. 194
Driving systemsDriving and pa
rking
Page 243 of 389
X
Confirm by pressing aon the steering
wheel.
The assistance graphic shows you the status
of and/or information from the following driv-
ing systems or driving safety systems:
R DISTRONIC PLUS distance display
(Y page 178)
R Traffic Sign Assist (Y page 208)
R Distance warning function and autono-
mous braking system of COLLISION PRE-
VENTION ASSIST PLUS (Y page 70)
R PRE-SAFE ®
Brake (Y page 77)
R Blind Spot Assist (Y page 210) or Active
Blind Spot Assist (Y page 213)
R ATTENTION ASSIST (Y page 207)
R Lane Keeping Assist (Y page 211) or Active
Lane Keeping Assist (Y page 216)
X Press :to display the ATTENTION ASSIST
assessment. Service menu
Introduction Depending on the equipment fitted in the vehi-
cle, you have the following options in the Ser‐
Ser‐
vice
vice menu:
R Calling up display messages in the message
memory (Y page 249)
R Restarting the tyre pressure loss warning sys-
tem (Y page 361) or checking the tyre pres-
sure electronically (Y page 362)
R Calling up the service due date
(Y page 330)
R Displaying the AdBlue ®
level and range
(Y page 240)
Displaying the AdBlue ®
level and range X
Press òon the steering wheel to open the
menu list.
X Press :or9 on the steering wheel to
select the Service
Service menu.
X Confirm by pressing aon the steering
wheel.
X Press :or9 to select the AdBlue AdBlue
submenu.
X Press ato confirm your selection.
The range and AdBlue ®
level appear in a bar
display in the multifunction display. Observe the information and notes on "Refuel-
ling" (Y
page 164). Settings menu
Introduction Depending on the equipment fitted in the vehi-
cle, you have the following options in the
Set‐ Set‐
tings
tings menu:
R Changing assistance settings (Y page 240)
R Changing Head-up Display settings
(Y page 242)
R Changing the light settings (Y page 243)
R Changing the instrument cluster settings
(Y page 244)
R Changing the vehicle settings (Y page 244)
R Restoring the factory settings (Y page 245)
Assistance submenu Activating/deactivating ESP
®
Observe the "Important safety notes" section in the description of ESP ®
(Y page 73). G
WARNING
If you deactivate ESP ®
, ESP ®
no longer sta-
bilises the vehicle. There is an increased risk
of skidding and an accident.
Only deactivate ESP ®
in the situations descri-
bed in the following.
It may be best to deactivate ESP ®
in the follow-
ing situations:
R when snow chains are used
R in deep snow
R on sand or gravel
Activate/deactivate ESP ®
in Mercedes-AMG
vehicles (Y page 75).
Further information about ESP ®
(Y page 73).
X Start the engine.
X Press òon the steering wheel to open the
menu list.
X Press :or9 on the steering wheel to
select the Settings
Settings menu.
X Confirm by pressing aon the steering
wheel. 240
Menus and submenusOn-board computer and displays
Page 287 of 389
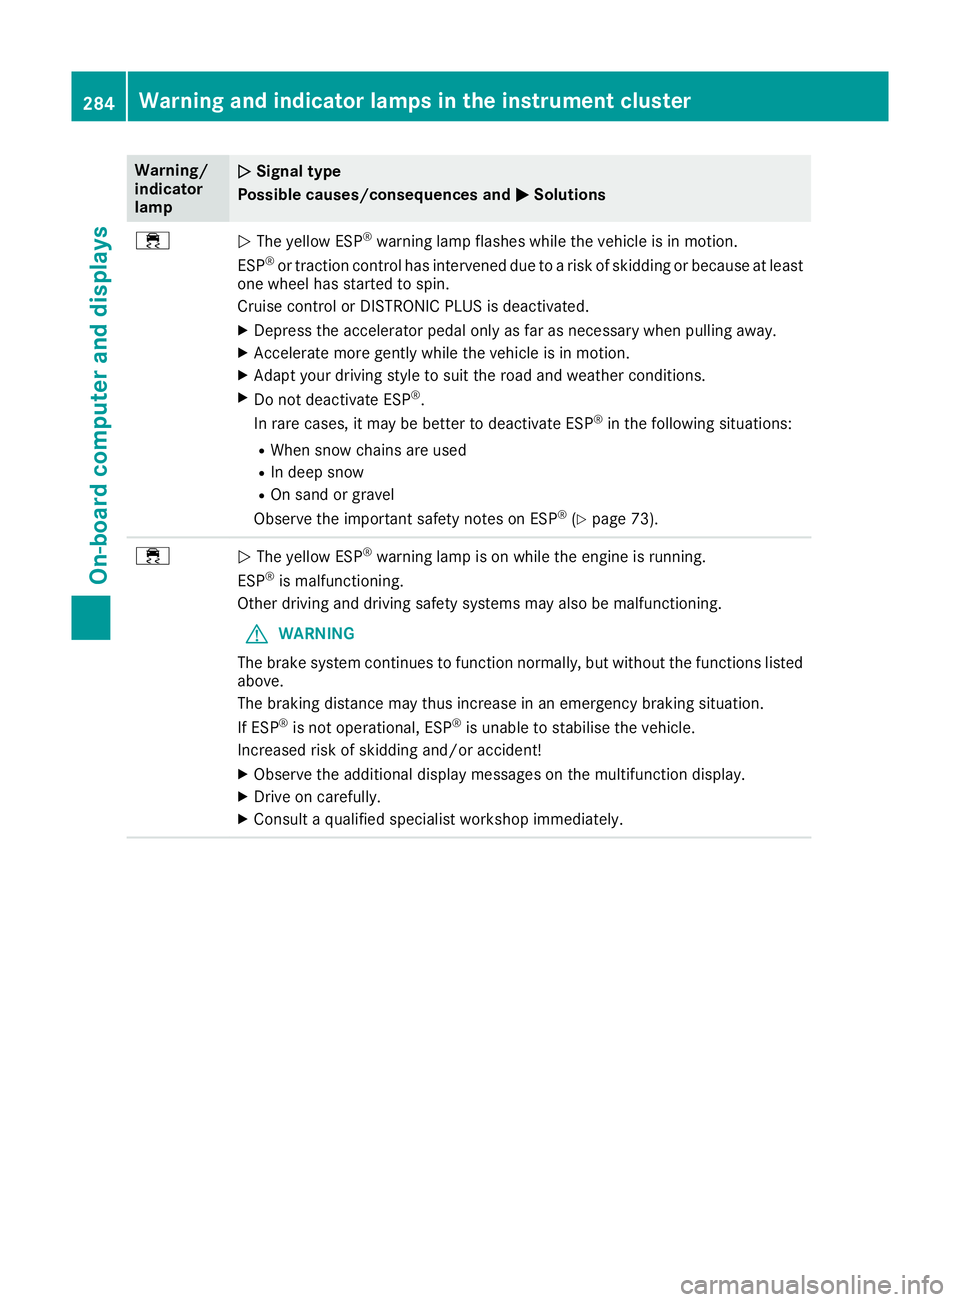
Warning/
indicator
lamp
N N
Signal type
Possible causes/consequences and M
M Solutions ÷
N
The yellow ESP ®
warning lamp flashes while the vehicle is in motion.
ESP ®
or traction control has intervened due to a risk of skidding or because at least
one wheel has started to spin.
Cruise control or DISTRONIC PLUS is deactivated.
X Depress the accelerator pedal only as far as necessary when pulling away.
X Accelerate more gently while the vehicle is in motion.
X Adapt your driving style to suit the road and weather conditions.
X Do not deactivate ESP ®
.
In rare cases, it may be better to deactivate ESP ®
in the following situations:
R When snow chains are used
R In deep snow
R On sand or gravel
Observe the important safety notes on ESP ®
(Y page 73). ÷
N
The yellow ESP ®
warning lamp is on while the engine is running.
ESP ®
is malfunctioning.
Other driving and driving safety systems may also be malfunctioning.
G WARNING
The brake system continues to function normally, but without the functions listed above.
The braking distance may thus increase in an emergency braking situation.
If ESP ®
is not operational, ESP ®
is unable to stabilise the vehicle.
Increased risk of skidding and/or accident!
X Observe the additional display messages on the multifunction display.
X Drive on carefully.
X Consult a qualified specialist workshop immediately. 284
Warning and indicator lamps in the instrument clusterOn-board computer and displays
Page 288 of 389
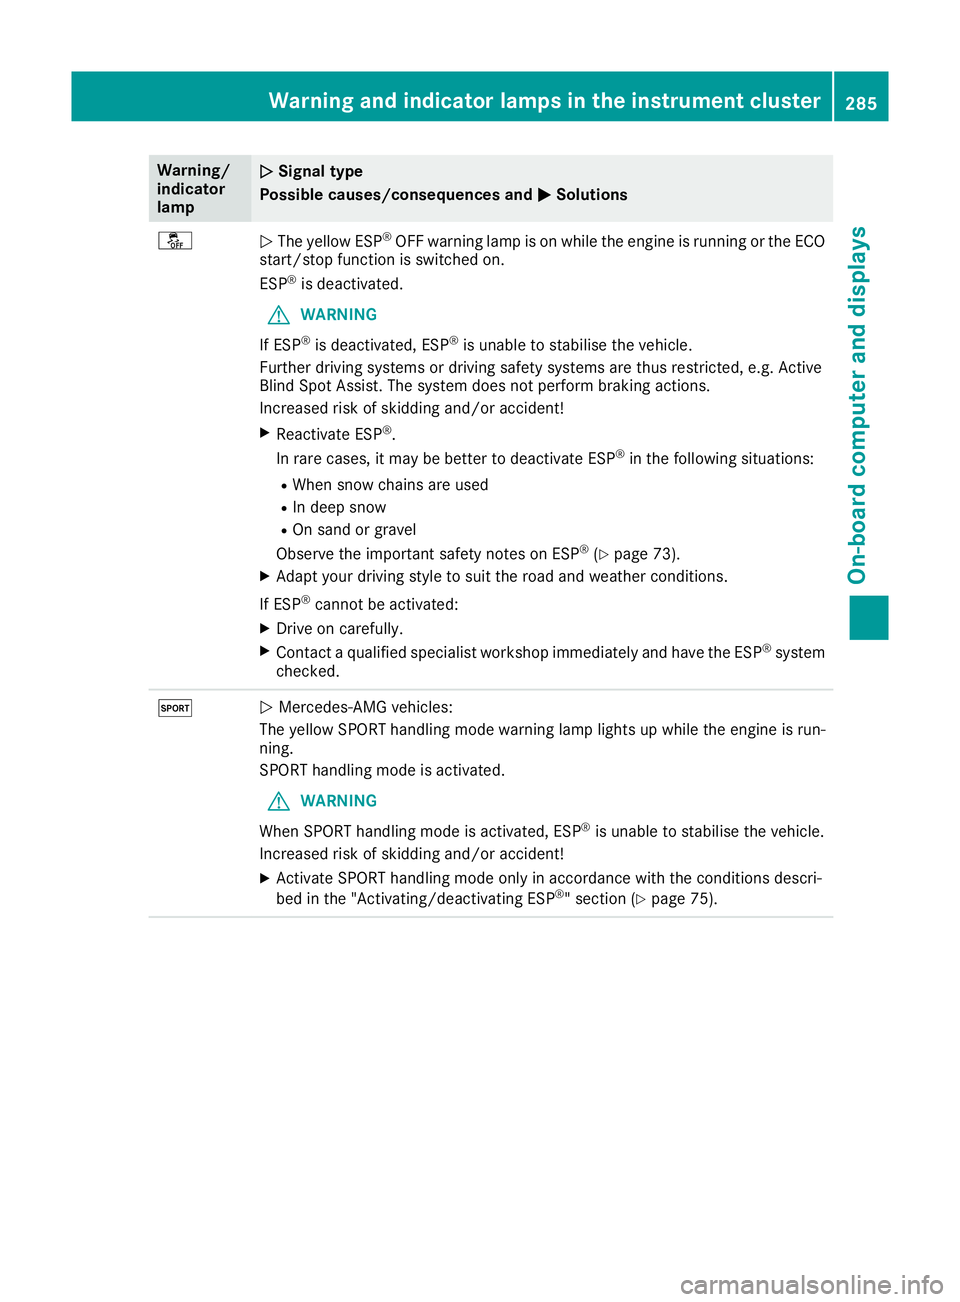
Warning/
indicator
lamp
N N
Signal type
Possible causes/consequences and M
MSolutions å
N
The yellow ESP ®
OFF warning lamp is on while the engine is running or the ECO
start/stop function is switched on.
ESP ®
is deactivated.
G WARNING
If ESP ®
is deactivated, ESP ®
is unable to stabilise the vehicle.
Further driving systems or driving safety systems are thus restricted, e.g. Active
Blind Spot Assist. The system does not perform braking actions.
Increased risk of skidding and/or accident!
X Reactivate ESP ®
.
In rare cases, it may be better to deactivate ESP ®
in the following situations:
R When snow chains are used
R In deep snow
R On sand or gravel
Observe the important safety notes on ESP ®
(Y page 73).
X Adapt your driving style to suit the road and weather conditions.
If ESP ®
cannot be activated:
X Drive on carefully.
X Contact a qualified specialist workshop immediately and have the ESP ®
system
checked. M
N
Mercedes-AMG vehicles:
The yellow SPORT handling mode warning lamp lights up while the engine is run-
ning.
SPORT handling mode is activated.
G WARNING
When SPORT handling mode is activated, ESP ®
is unable to stabilise the vehicle.
Increased risk of skidding and/or accident!
X Activate SPORT handling mode only in accordance with the conditions descri-
bed in the "Activating/deactivating ESP ®
" section (Y page 75). Warning and indicator lamps in the instrument cluster
285On-board computer and displays Z
Page 362 of 389
Snow chains
G
WARNING
If you have fitted snow chains to the front
wheels, they may scrape against the vehicle
body or chassis components. This could
cause damage to the vehicle or the tyres.
There is a risk of an accident.
To avoid hazardous situations:
R never fit snow chains on the front wheels
R fit snow chains to the rear wheels in pairs.
For safety reasons, Mercedes-Benz recom-
mends that you use only snow chains that have been approved for Mercedes-Benz or that are of
an equivalent standard of quality. For more
information, please contact a qualified special-
ist workshop.
If you wish to fit snow chains, please bear the
following points in mind:
R snow chains cannot be fitted to all wheel/tyre
combinations, observe the notes on the per-
missible wheel/tyre combinations
(Y page 368).
R use snow chains only if the road surface is
completely snow-covered, remove the snow
chains as soon as possible when you come to
a road that is not snow-covered
R local regulations may restrict the use of snow
chains, observe the appropriate regulations ifyou wish to fit snow chains
R do not exceed the maximum permissible
speed of 50 km/h
R on vehicles with AIR BODY CONTROL, you
must drive only at a raised vehicle level if
snow chains have been fitted (Y page 187)
R when snow chains are fitted, never use Active
Parking Assist (Y page 194)
You may wish to deactivate ESP ®
when pulling
away with snow chains fitted:
R all vehicles (except Mercedes ‑AMG vehicles)
(Y page 74)
R Mercedes-AMG vehicles (Y page 75)
This allows the wheels to spin in a controlled
manner, achieving increased propulsive force
(cut).
Information on driving with an emergency spare wheel (Y page 369). Tyre pressure
Tyre pressure specifications
G
WARNING
Underinflated or overinflated tyres pose the
following risks:
R the tyres may burst, especially as the load
and vehicle speed increase.
R the tyres may wear excessively and/or
unevenly, which may greatly impair tyre
traction.
R the driving characteristics, as well as steer-
ing and braking, may be greatly impaired.
There is a risk of an accident.
Observe the recommended tyre pressure and check the tyre pressure of all the tyres includ-
ing the spare wheel:
R at least every two weeks
R when the load changes
R before embarking on a longer journey
R for changed operating conditions, e.g. off-
road driving
If necessary, correct the tyre pressure. G
WARNING
If you fit unsuitable accessories onto tyre
valves, the tyre valves may be overloaded and malfunction, which can cause tyre pressure
loss. Due to their design, retrofitted tyre pres-
sure monitors keep the tyre valve open. This
can also result in tyre pressure loss. There is a risk of accident.
Only screw standard valve caps or valve caps
specifically provided by Mercedes-Benz for
your vehicle onto the tyre valve. G
WARNING
If the tyre pressure drops repeatedly, the
wheel, valve or tyre may be damaged. Tyre
pressure that is too low may result in a tyre
blow-out. There is a risk of accident. R Check the tyre for foreign objects.
R Check whether the wheel is losing air or the
valve is leaking. Tyre pressure
359Wheels and tyres
Z
Page 364 of 389
Important safety notes
The tyre pressure warning system does not warn
you of an incorrectly set tyre pressure. Observe
the notes on the recommended tyre pressure
(Y page 359).
The tyre pressure loss warning system does not
replace the need to regularly check the tyre
pressure. An even loss of pressure on several
tyres at the same time cannot be detected by
the tyre pressure loss warning system.
The tyre pressure loss warning system is not
able to warn you of a sudden loss of air, e.g. if the
tyre is penetrated by a foreign object. In the
event of a sudden loss of air, bring the vehicle to
a halt by braking carefully. Avoid abrupt steering manoeuvres.
The function of the tyre pressure loss warning
system is limited or delayed if:
R snow chains are fitted on your vehicle
R road conditions are wintry
R you are driving on a loose surface (e.g. sand or
gravel)
R you adopt a very sporty driving style (corner-
ing at high speeds or driving with high rates of
acceleration)
R you are towing a very heavy or large trailer
R you are driving with a heavy load (in the vehi-
cle or on the roof)
Restarting the tyre pressure loss warn-
ing system Restart the tyre pressure loss warning system if
you have:
R changed the tyre pressure
R changed the wheels or tyres
R fitted new wheels or tyres
X Before restarting, make sure that the tyre
pressures are set properly on all four tyres for
the respective operating conditions. The rec-
ommended tyre pressures can be found in the
tyre pressure table on the fuel filler flap.
The tyre pressure loss warning system can
only give reliable warnings if you have set the correct tyre pressure. If an incorrect tyre
pressure is set, this incorrect value will be
monitored.
X Observe the notes in the section on tyre pres-
sure (Y page 359). X
Make sure that the key is in position 2in the
ignition lock (Y page 144).
X Press òon the steering wheel to call up
the menu list.
X Press 9or: on the steering wheel to
select the Service
Service menu.
X Confirm by pressing aon the steering
wheel.
X Select Tyre pressure Tyre pressure with9 or:.
X Press ato confirm.
The Run
Run Flat
Flat Indicator
Indicator active
activeRestart
Restart
with OK
with OK message is shown in the multifunc-
tion display.
If you wish to confirm the restart: X Press the abutton.
The Tyre pressure now OK?
Tyre pressure now OK? message is
shown in the multifunction display.
X Select Yes
Yes with 9 or:.
X Press ato confirm.
The Run Flat Indicator restarted
Run Flat Indicator restarted mes-
sage is shown in the multifunction display.
After a teach-in period, the tyre pressure loss
warning system will monitor the set tyre pres- sures of all four tyres.
If you wish to cancel the restart:
X Press the %button.
or
X If the Tyre pressure now OK? Tyre pressure now OK? message
appears, select Cancel
Cancelwith9 or:.
X Press ato confirm.
The tyre pressure values stored at the last
restart will continue to be monitored. Tyre pressure monitor
General notes If a tyre pressure monitor system is fitted, the
vehicle's wheels have sensors fitted that moni-
tor the tyre pressures in all four tyres. The tyre
pressure monitor warns you if the pressure
drops in one or more of the tyres. The tyre pres- sure monitor functions only if the corresponding
sensors are fitted to all wheels.
Information on tyre pressures is shown on the
multifunction display. After a few minutes of
driving, the current tyre pressure of each tyre is
shown in the Service Servicemenu of the multifunction
display; see illustration (example). Tyre pressure
361Wheels and tyres Z