Page 250 of 418

No route could be calculated to the selec-
ted destination.
RO
You have reached the destination or an
intermediate destination.
Radio menu
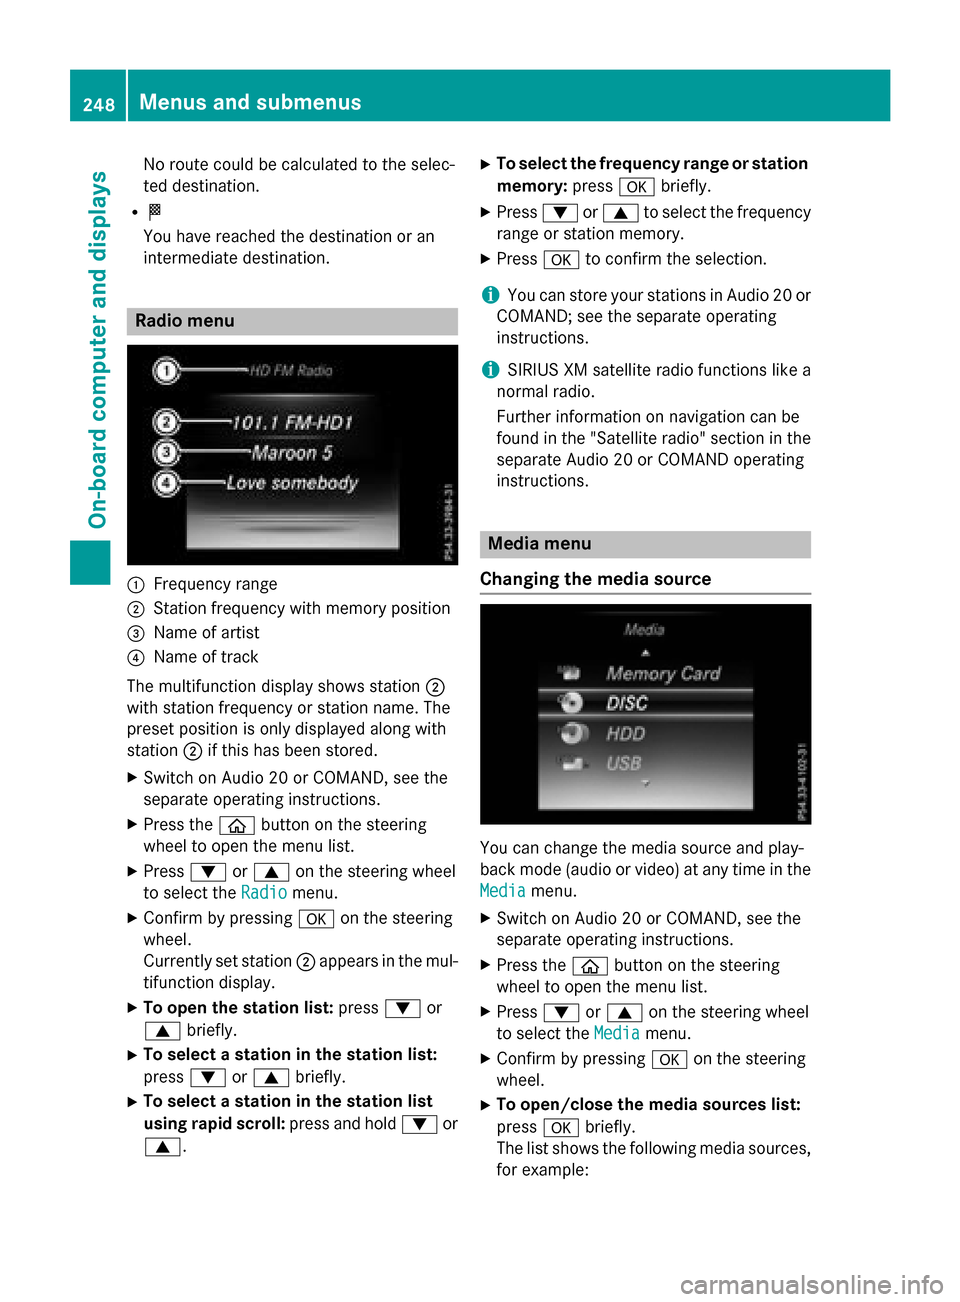
:Frequency range
;Station frequency with memory position
=Name of artist
?Name of track
The multifunction display shows station ;
with station frequency or station name. The
preset position is only displayed along with
station ;if this has been stored.
XSwitch on Audio 20 or COMAND, see the
separate operating instructions.
XPress the òbutton on the steering
wheel to open the menu list.
XPress :or9 on the steering wheel
to select the Radio
menu.
XConfirm by pressing aon the steering
wheel.
Currently set station ;appears in the mul-
tifunction display.
XTo open the station list: press:or
9 briefly.
XTo select a station in the station list:
press :or9 briefly.
XTo select a station in the station list
using rapid scroll: press and hold:or
9.
XTo select the frequency range or station memory: pressabriefly.
XPress :or9 to select the frequency
range or station memory.
XPress ato confirm the selection.
iYou can store your stations in Audio 20 or
COMAND; see the separate operating
instructions.
iSIRIUS XM satellite radio functions like a
normal radio.
Further information on navigation can be
found in the "Satellite radio" section in the
separate Audio 20 or COMAND operating
instructions.
Media menu
Changing the media source
You can change the media source and play-
back mode (audio or video) at any time in the
Media
menu.
XSwitch on Audio 20 or COMAND, see the
separate operating instructions.
XPress the òbutton on the steering
wheel to open the menu list.
XPress :or9 on the steering wheel
to select the Media
menu.
XConfirm by pressing aon the steering
wheel.
XTo open/close the media sources list:
press abriefly.
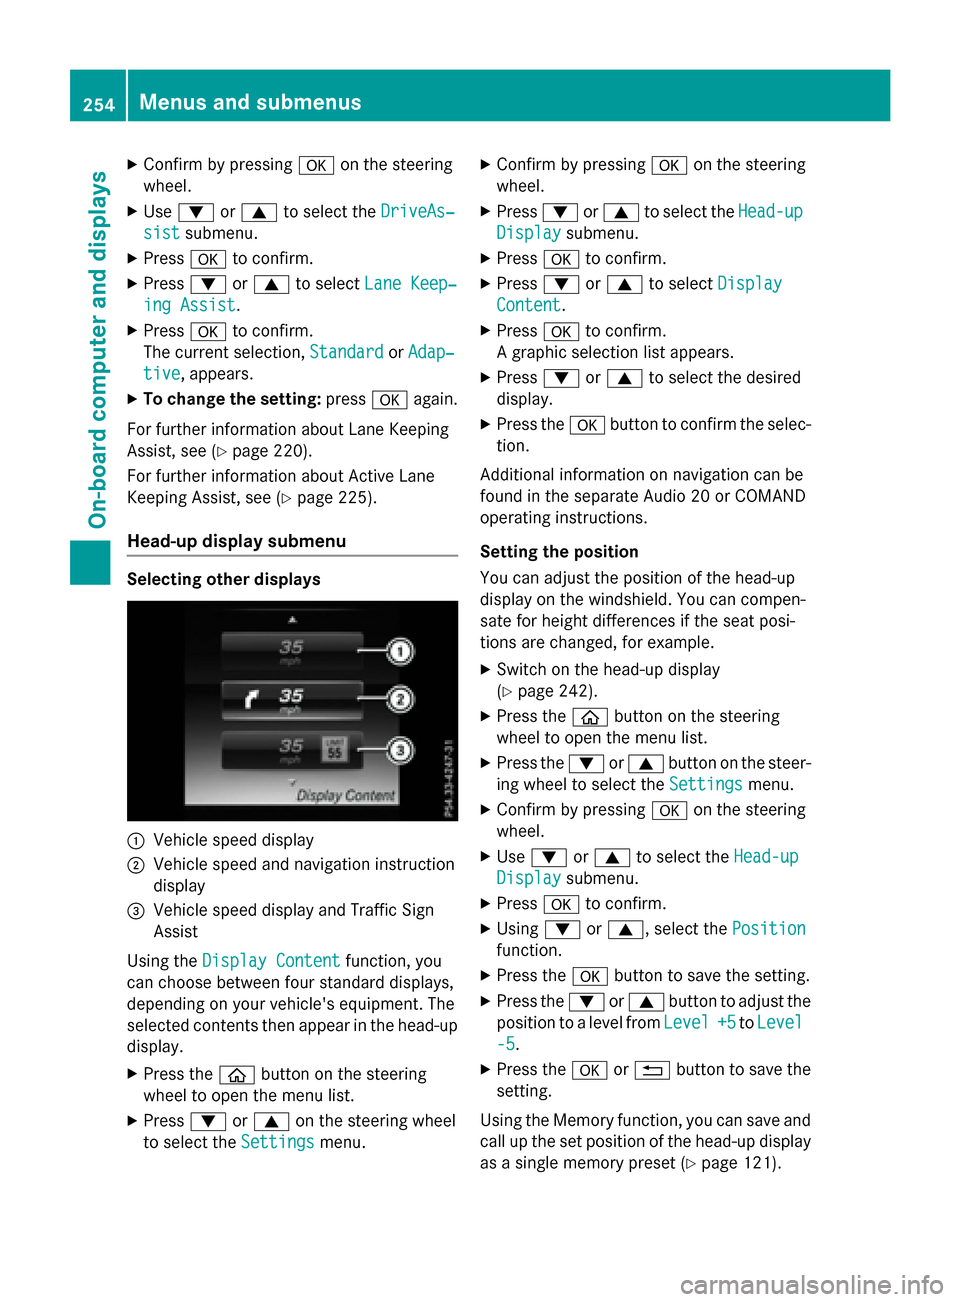
The list shows the following media sources,
for example:
248Menus and submenus
On-board computer and displays
Page 256 of 418

XConfirmbypressing aon the steering
wheel.
XUse : or9 to select the DriveAs‐
sistsubmenu.
XPressato confirm.
XPress :or9 to select Lane Keep‐
ing Assist.
XPressato confirm.
The current selection, Standard
orAdap‐
tive, appears.
XTo change the setting: pressaagain.
For further information about Lane Keeping
Assist, see (
Ypage 220).
For further information about Active Lane
Keepin g Assist, see (
Ypage 225).
Head-up display submenu
Selecting other displays
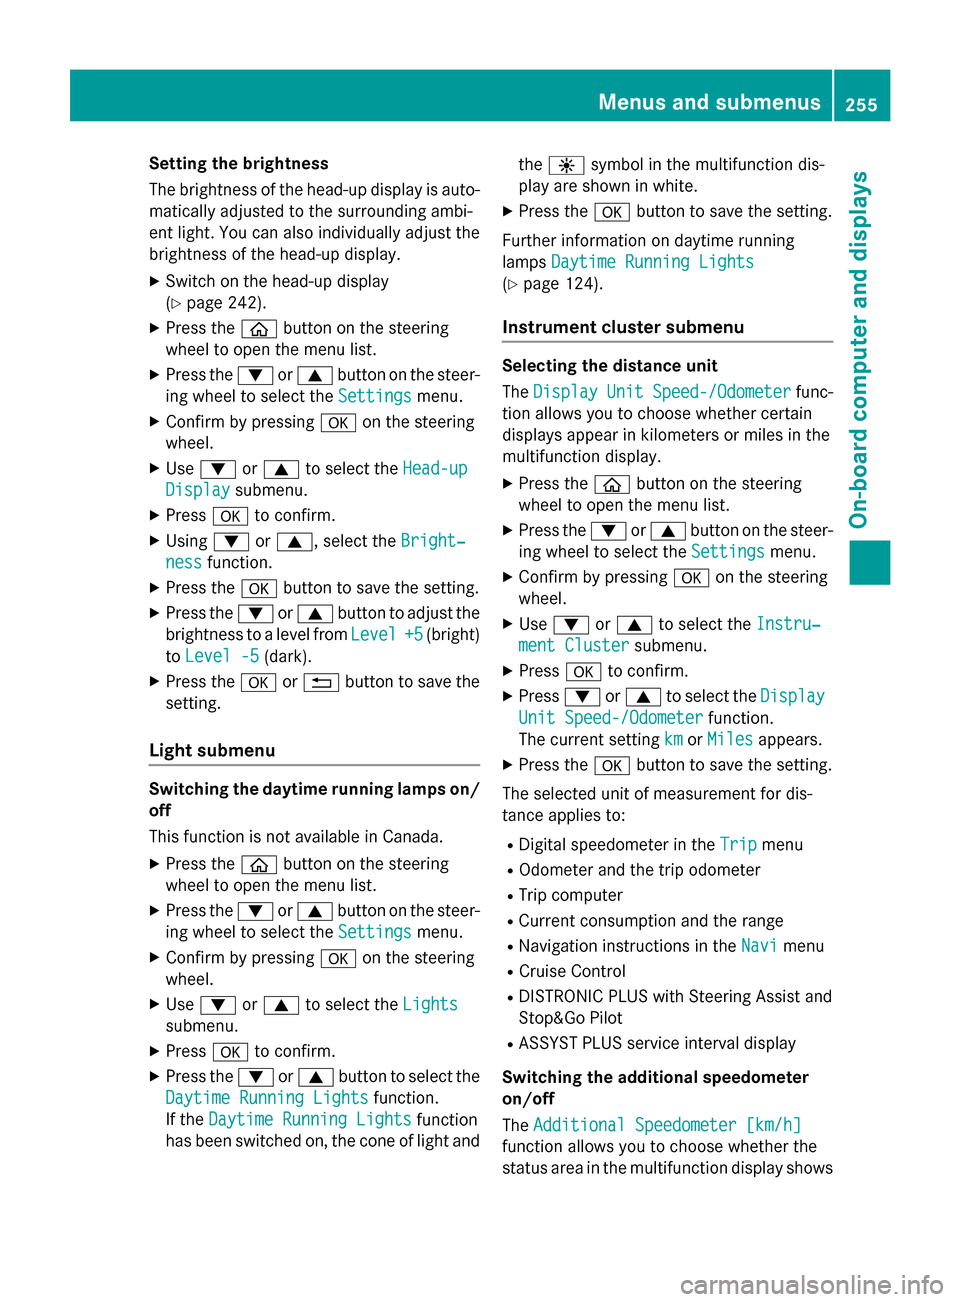
:Vehicle speed display
;Vehiclespeed and navigation instruction
disp lay
=Vehicle speed display and Traffic Sign
Assist
Using the Display Content
function, you
can choose between four standard displays,
depe nding on your vehicle's equipment. The
selected contents then appear inthe head-up
disp lay.
XPress the òbutton on the steering
wheel to open the menu list.
XPress :or9 on the steering wheel
to select the Settings
menu.
XConfirmbypressing aon the steering
wheel.
XPress :or9 to select the Head-up
Displaysubmenu.
XPressato confirm.
XPress :or9 to select Display
Content.
XPressato confirm.
A graphic selection listappears.
XPress :or9 to select the desired
display.
XPress the abutton to confirm the selec-
tion.
Ad ditional information on navigation can be
found inthe separate Aud io20 or COMAND
operating instructions.
Setting the positi on
You can adjust the position of the head-up
display on the windshield. You can compen-
sate for height differences ifthe seat posi-
tions are changed, for example.
XSwit ch on the head-up display
(
Ypage 242).
XPress the òbutton on the steering
wheel to open the menu list.
XPress the :or9 button on the steer-
ing wheel to select the Settings
menu.
XConfirmbypressing aon the steering
wheel.
XUse : or9 to select the Head-up
Displaysubmenu.
XPressato confirm.
XUsing :or9, select the Position
function.
XPress theabutton to save the setting.
XPress the :or9 button to adjust the
position to a level from Level
+5toLevel
-5.
XPress the aor% button to save the
setting.
Using the Memory function, you can save and
call up the set position of the head-up display
as a single memory preset (
Ypage 121).
254Menus and submenus
On-board computer and displays
Page 257 of 418

Setting the brightness
The brightness of the head-up display is auto-
matically adjusted to the surrounding ambi-
ent light. You can also individually adjust the
brightness of the head-up display.
XSwitch on the head-up display
(
Ypage 242).
XPress theòbutton on the steering
wheel to open the menu list.
XPress the :or9 button on the steer-
ing wheel to select the Settings
menu.
XConfirm by pressingaon the steering
wheel.
XUse : or9 to select the Head-up
Displaysubmenu.
XPressato confirm.
XUsing :or9, select the Bright‐
nessfunction.
XPress theabutton to save the setting.
XPress the :or9 button to adjust the
brightness to a level from Level
+5(bright)
to Level -5
(dark).
XPress the aor% button to save the
setting.
Light submenu
Switching the daytime running lamps on/
off
This function is not available in Canada.
XPress the òbutton on the steering
wheel to open the menu list.
XPress the :or9 button on the steer-
ing wheel to select the Settings
menu.
XConfirm by pressingaon the steering
wheel.
XUse : or9 to select the Lights
submenu.
XPressato confirm.
XPress the :or9 button to select the
Daytime Running Lights
function.
If the Daytime Running Lights
function
has been switched on, the cone of light and the
W symbol in the multifunction dis-
play are shown in white.
XPress the abutton to save the setting.
Further information on daytime running
lamps Daytime Running Lights
(Ypage 124).
Instrument cluster submenu
Selecting the distance unit
TheDisplay
UnitSpeed-/Odometerfunc-
tion allows you to choose whether certain
displays appear in kilometers or miles in the
multifunction display.
XPress the òbutton on the steering
wheel to open the menu list.
XPress the :or9 button on the steer-
ing wheel to select the Settings
menu.
XConfirm by pressingaon the steering
wheel.
XUse : or9 to select the Instru‐
ment Clustersubmenu.
XPressato confirm.
XPress :or9 to select the Display
Unit Speed-/Odometerfunction.
The current setting km
orMilesappears.
XPress the abutton to save the setting.
The selected unit of measurement for dis-
tance applies to:
RDigital speedometer in the Tripmenu
ROdometer and the trip odometer
RTrip computer
RCurrent consumption and the range
RNavigation instructions in the Navimenu
RCruise Control
RDISTRONIC PLUS with Steering Assist and
Stop&Go Pilot
RASSYST PLUS service interval display
Switching the additional speedometer
on/off
The Additional Speedometer [km/h]
function allows you to choose whether the
status area in the multifunction display shows
Menus and submenus255
On-board computer and displays
Z