2016 MERCEDES-BENZ GLC-Class radio
[x] Cancel search: radioPage 66 of 222
XSlide5the controller.
Full screen symbol :appears.
XPress the controller.
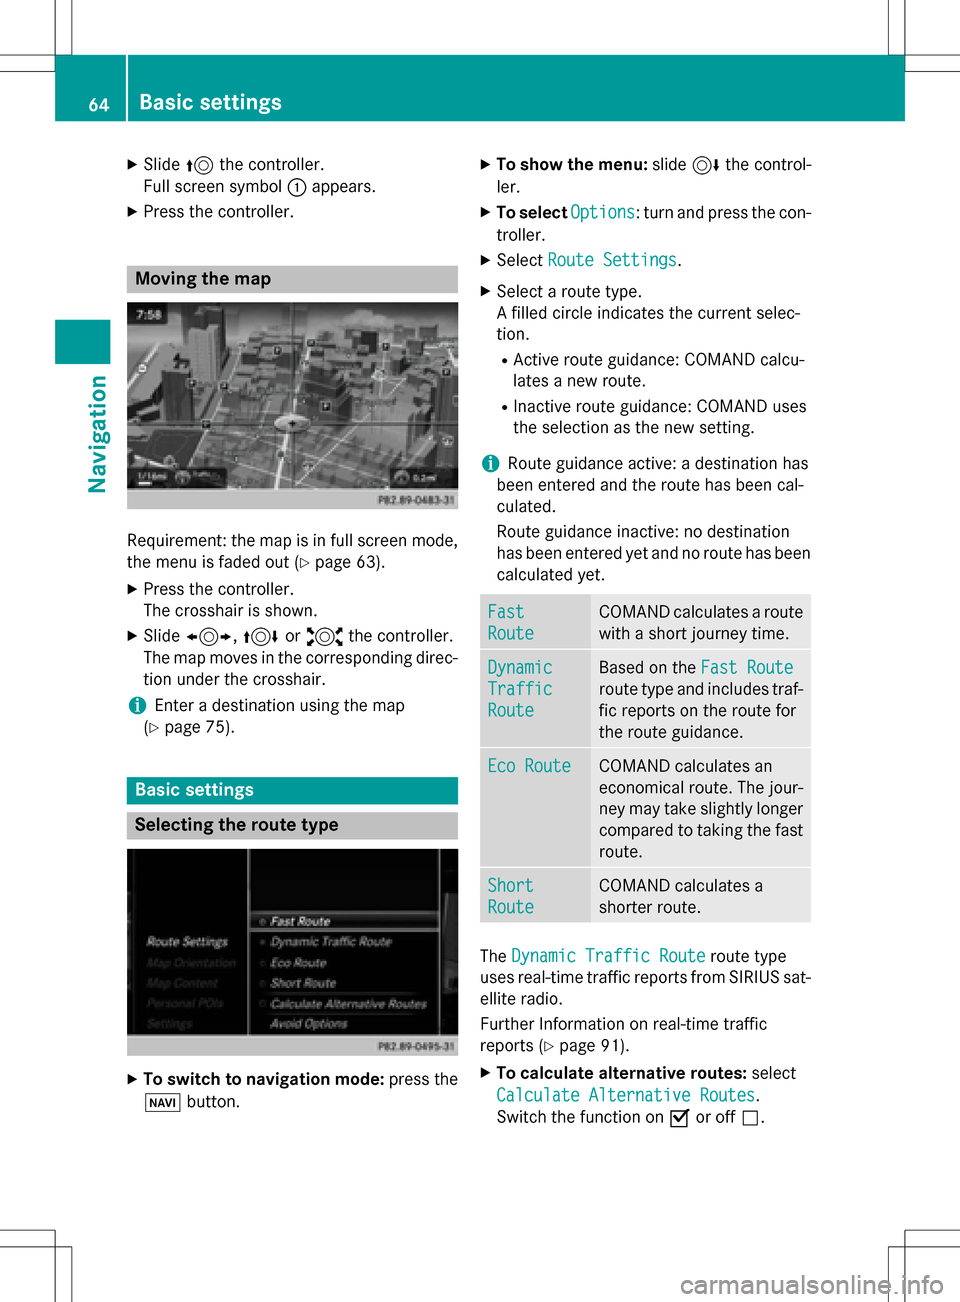
Moving the map
Requirement: the map is in full screen mode,
the menu is faded out (
Ypage 63).
XPress the controller.
The crosshair is shown.
XSlide 1, 4or2 the controller.
The map moves in the corresponding direc- tion under the crosshair.
iEnter a destination using the map
(
Ypage 75).
Basic settings
Selecting the route type
XTo switch to navigation mode: press the
Ø button.
XTo show the menu: slide6the control-
ler.
XTo select Options: turn and press the con-
troller.
XSelect Route Settings.
XSelect a route type.
A filled circle indicates the current selec-
tion.
RActive route guidance: COMAND calcu-
lates a new route.
RInactive route guidance: COMAND uses
the selection as the new setting.
iRoute guidance active: a destination has
been entered and the route has been cal-
culated.
Route guidance inactive: no destination
has been entered yet and no route has been calculated yet.
Fast
Route
COMAND calculates a route
with a short journey time.
Dynamic
Traffic
Route
Based on the Fast Route
route type and includes traf-
fic reports on the route for
the route guidance.
Eco RouteCOMAND calculates an
economical route. The jour-
ney may take slightly longer
compared to taking the fast
route.
Short
Route
COMAND calculates a
shorter route.
TheDynamic Traffic Routeroute type
uses real-time traffic reports from SIRIUS sat-
ellite radio.
Further Information on real-time traffic
reports (
Ypage 91).
XTo calculate alternative routes: select
Calculate Alternative Routes
.
Switch the function on Oor off ª.
64Basic settings
Navigation
Page 93 of 222
In the display, you will then see theRoadNot
Mappedmessage, an arrow and the distance
to the destination. The direction arrow shows
the compass heading to the destination.
As soon as the system can assign the vehicle
position to the map again, route guidance
continues in the usual way.
Real-time traffic reports
Prerequisites
This function is currently not available for
Canada.
In order to receive real-time traffic reports via
satellite radio, you need to subscribe to SIR-
IUS XM Satellite Radio Traffic Message Ser-
vice.
Further information on satellite radio
(
Ypage 170).
COMAND can receive traffic reports via sat-
ellite radio and take account of these for
route guidance in the navigation system.
Received traffic reports are displayed on the
map either as text or as symbols.
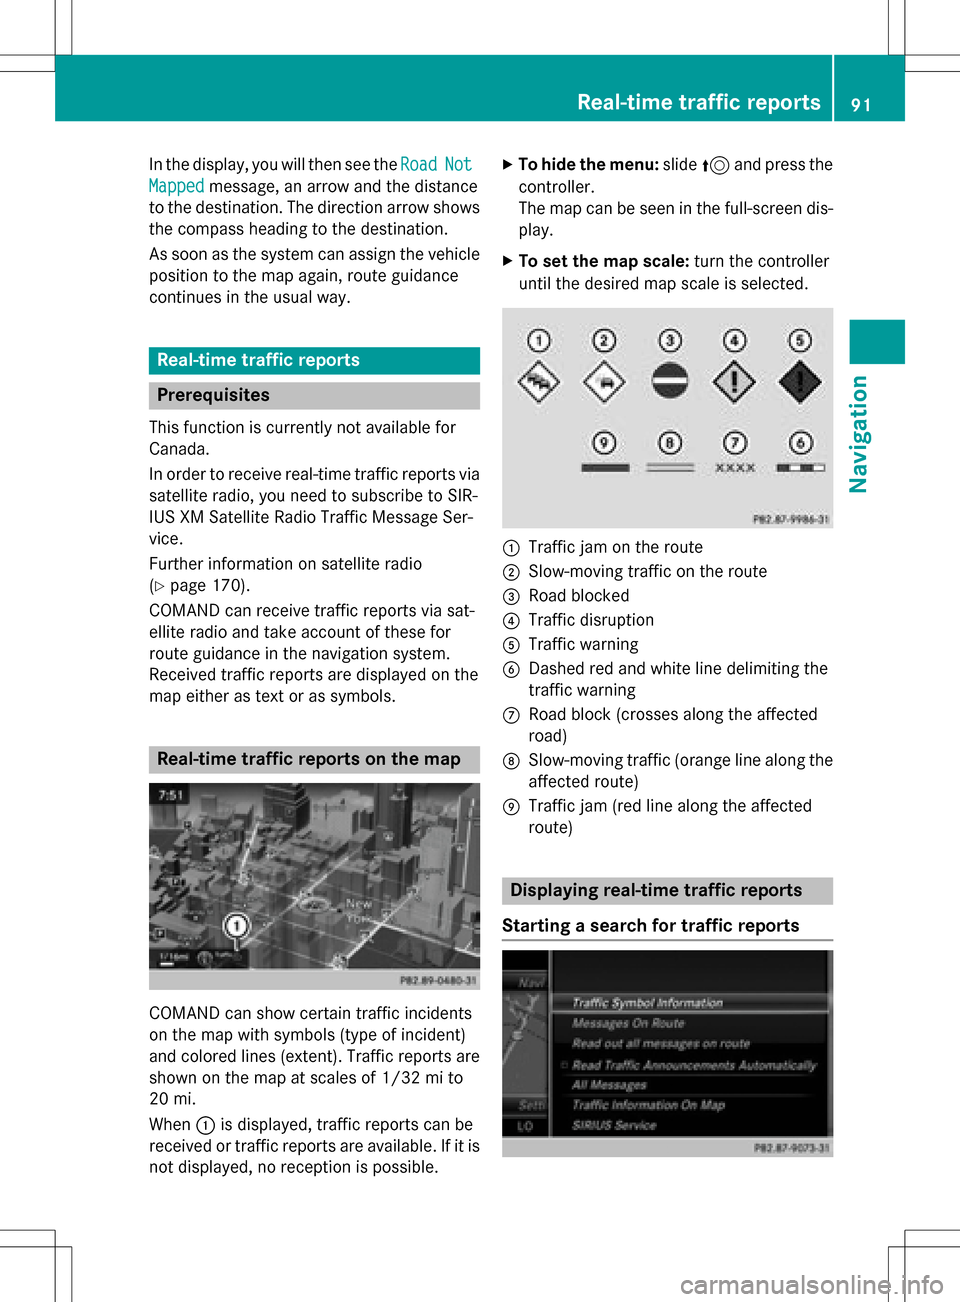
Real-time traffic reports on the map
COMAND can show certain traffic incidents
on the map with symbols (type of incident)
and colored lines (extent). Traffic reports are
shown on the map at scales of 1/32 mi to
20 mi.
When :is displayed, traffic reports can be
received or traffic reports are available. If it is not displayed, no reception is possible.
XTo hide the menu: slide5and press the
controller.
The map can be seen in the full-screen dis-
play.
XTo set the map scale: turn the controller
until the desired map scale is selected.
:Traffic jam on the route
;Slow-moving traffic on the route
=Road blocked
?Traffic disruption
ATraffic warning
BDashed red and white line delimiting the
traffic warning
CRoad block (crosses along the affected
road)
DSlow-moving traffic (orange line along the
affected route)
ETraffic jam (red line along the affected
route)
Displaying real-time traffic reports
Starting a search for traffic reports
Real-time traffic reports91
Navigation
Z
Page 104 of 222
XSelectDelete All.
A prompt appears asking whether you wish
to delete all areas.
XSelect YesorNo.
After selecting Yes
, all areas are deleted.
SIRIUS XM service
Displaying SIRIUS XM service informa-
tion
You can display the SIRIUS XM service infor-
mation.
XTo switch to navigation mode: press the
Ø button.
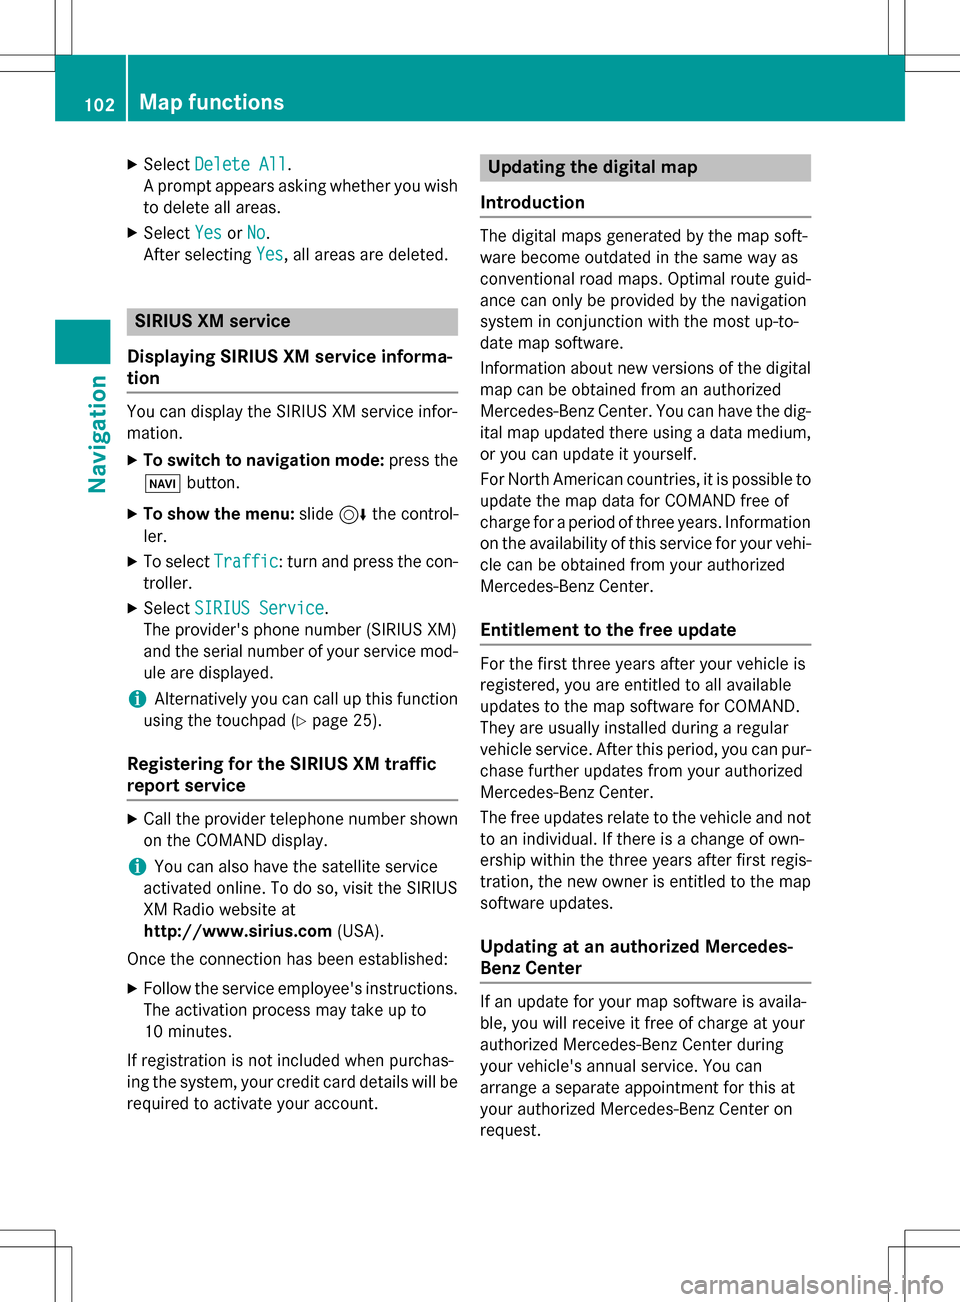
XTo show the menu: slide6the control-
ler.
XTo select Traffic: turn and press the con-
troller.
XSelect SIRIUS Service.
The provider's phone number (SIRIUS XM)
and the serial number of your service mod-
ule are displayed.
iAlternatively you can call up this function
using the touchpad (
Ypage 25).
Registering for the SIRIUS XM traffic
report service
XCall the provider telephone number shown
on the COMAND display.
iYou can also have the satellite service
activated online. To do so, visit the SIRIUS
XM Radio website at
http://www.sirius.com (USA).
Once the connection has been established:
XFollow the service employee's instructions.
The activation process may take up to
10 minutes.
If registration is not included when purchas-
ing the system, your credit card details will be
required to activate your account.
Updating the digital map
Introduction
The digital maps generated by the map soft-
ware become outdated in the same way as
conventional road maps. Optimal route guid-
ance can only be provided by the navigation
system in conjunction with the most up-to-
date map software.
Information about new versions of the digital
map can be obtained from an authorized
Mercedes-Benz Center. You can have the dig-
ital map updated there using a data medium,
or you can update it yourself.
For North American countries, it is possible to
update the map data for COMAND free of
charge for a period of three years. Information
on the availability of this service for your vehi-
cle can be obtained from your authorized
Mercedes-Benz Center.
Entitlement to the free update
For the first three years after your vehicle is
registered, you are entitled to all available
updates to the map software for COMAND.
They are usually installed during a regular
vehicle service. After this period, you can pur-
chase further updates from your authorized
Mercedes-Benz Center.
The free updates relate to the vehicle and not
to an individual. If there is a change of own-
ership within the three years after first regis-
tration, the new owner is entitled to the map
software updates.
Updating at an authorized Mercedes-
Benz Center
If an update for your map software is availa-
ble, you will receive it free of charge at your
authorized Mercedes-Benz Center during
your vehicle's annual service. You can
arrange a separate appointment for this at
your authorized Mercedes-Benz Center on
request.
102Map functions
Navigation
Page 167 of 222

Your COMAND equipment................166
Switchin gon th eradi o.................... .166
Overview ............................................ 166
Setting th ewaveband ...................... .167
Station .............................................. .167
Taggin gmusic track s...................... .170
Displaying th eartist an dtrack ........ 170
Calling up sound settings ................170
Displaying information .....................170
Satellit eradi o.................................... 170
165
Radio
Page 168 of 222
Your COMANDequipment
i
These operatin ginstruction sdescribe all
th estandar dan doptional equipmen tof
your COMAN Dsystem, as available at th e
time of going to print .Country-specifi cdif -
ference sare possible. Bear in min dthat
your vehicle may no tfeature all function s
described here. Thi salso applies to safety-
relevant systems an dfunctions.
iRead th einformation on qualified special-
ist workshop sin th evehicle Operator's
Manual.
Switchin gon th eradi o
XPress th e$ button.
The radio display appears .You will hear th e
last station playe don th elast waveban d
selected.
Switching HD Radi oon/of f
XIn radio mode: slid e6 thecontroller .
XSelectOption s.
XBy selecting Oorª in fron tof HDRadi o,
you determin ewhether HD radio is
switched on or off.
If HD radio is switched off, th esyste mdoe s
no tswitch to digita lradio an dit is no tpossible
to selec tan ysub-channels.
iHD Radio ™andth eHD ,HD Radio ,an d
“Arc ”logos are proprietary trademark sof
iBiquit yDigital Corp.
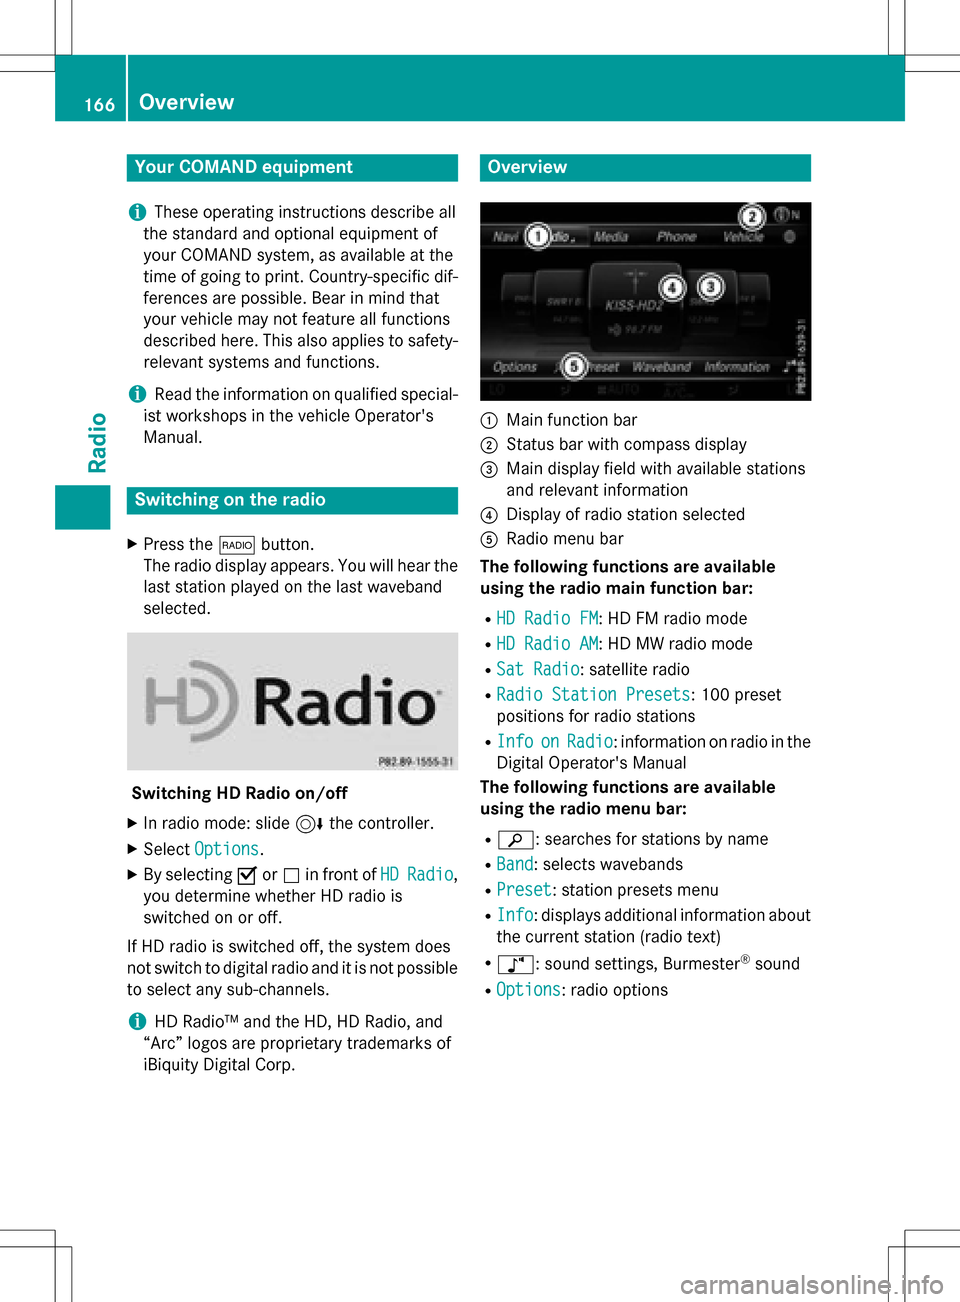
Overview
:Main function bar
;Status bar wit hcompass display
=Main display field wit havailable station s
an drelevant information
?Display of radio station selecte d
ARadio menubar
Th efollowin gfunctions ar eavailable
using th eradi omain function bar:
RHD Radi oFM:HD FM radio mode
RHD Radi oAM:HD MW radio mode
RSa tRadi o:satellite radio
RRadi oStatio nPreset s:10 0preset
position sfo rradio station s
RInfoonRadio:information on radio in th e
Digital Operator's Manual
Th efollowin gfunctions ar eavailable
using th eradi omenu bar:
Rè: searches fo rstation sby name
RBan d:selects wavebands
RPreset: station preset smen u
RInfo:displays additional information about
th ecurren tstation (radio text )
Rà:soundsettings, Burmeste r®sound
ROption s:radio option s
166Overview
Radio
Page 169 of 222
Setting the waveband
Button activation
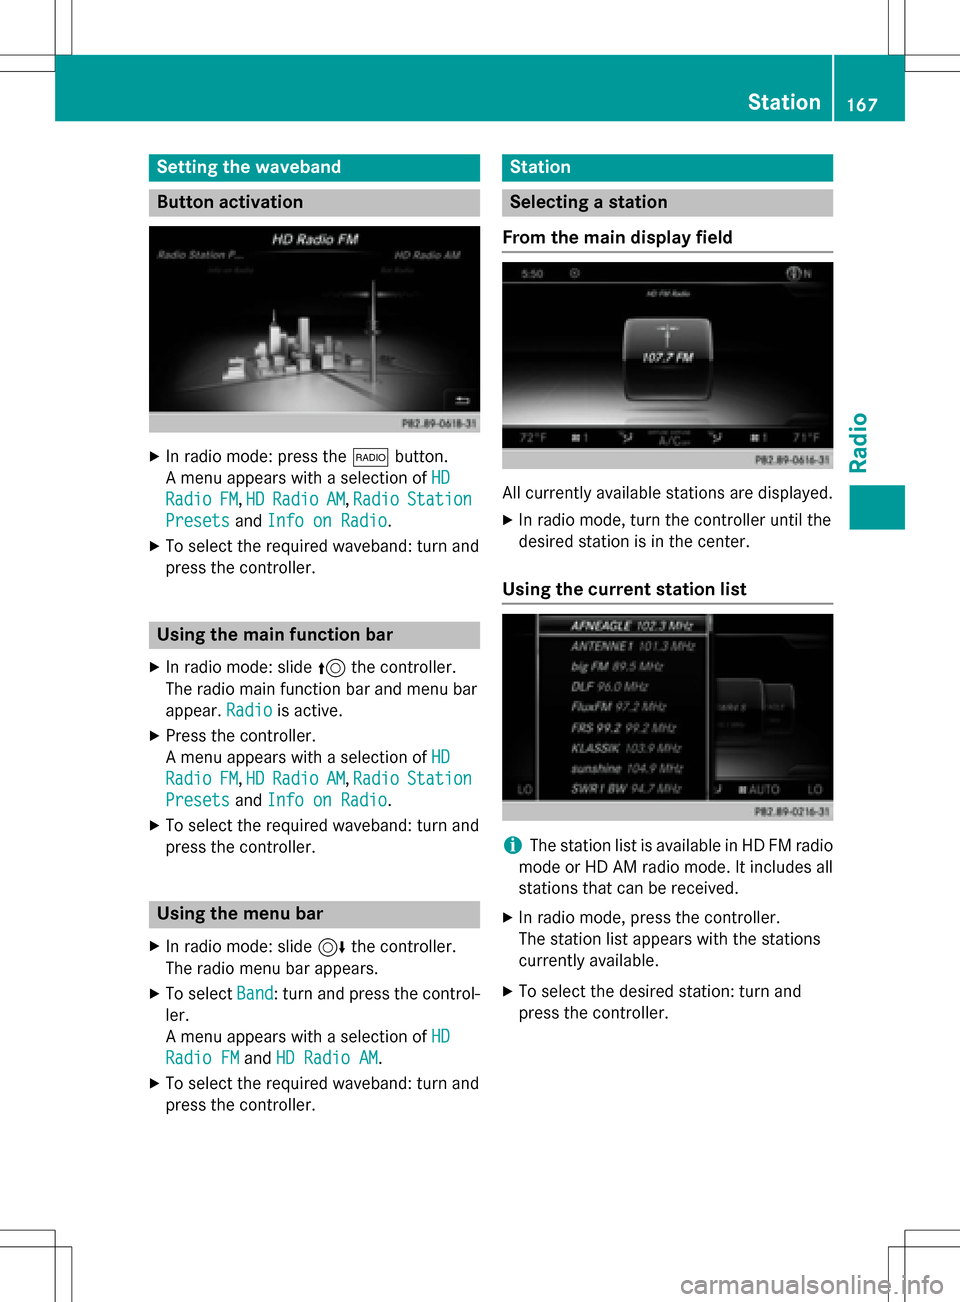
XIn radio mode: press the$button.
A menu appears with a selection of HD
RadioFM,HDRadioAM,RadioStation
Presetsand Info on Radio.
XTo select the required waveband: turn and
press the controller.
Using the main function bar
XIn radio mode: slide 5the controller.
The radio main function bar and menu bar
appear. Radio
is active.
XPress the controller.
A menu appears with a selection of HD
RadioFM,HDRadioAM, RadioStation
Presetsand Info on Radio.
XTo select the required waveband: turn and
press the controller.
Using the menu bar
XIn radio mode: slide 6the controller.
The radio menu bar appears.
XTo select Band: turn and press the control-
ler.
A menu appears with a selection of HD
Radio FMandHD Radio AM.
XTo select the required waveband: turn and
press the controller.
Station
Selecting a station
From the main display field
All currently available stations are displayed.
XIn radio mode, turn the controller until the
desired station is in the center.
Using the current station list
iThe station list is available in HD FM radio
mode or HD AM radio mode. It includes all
stations that can be received.
XIn radio mode, press the controller.
The station list appears with the stations
currently available.
XTo select the desired station: turn and
press the controller.
Station167
Radio
Page 170 of 222
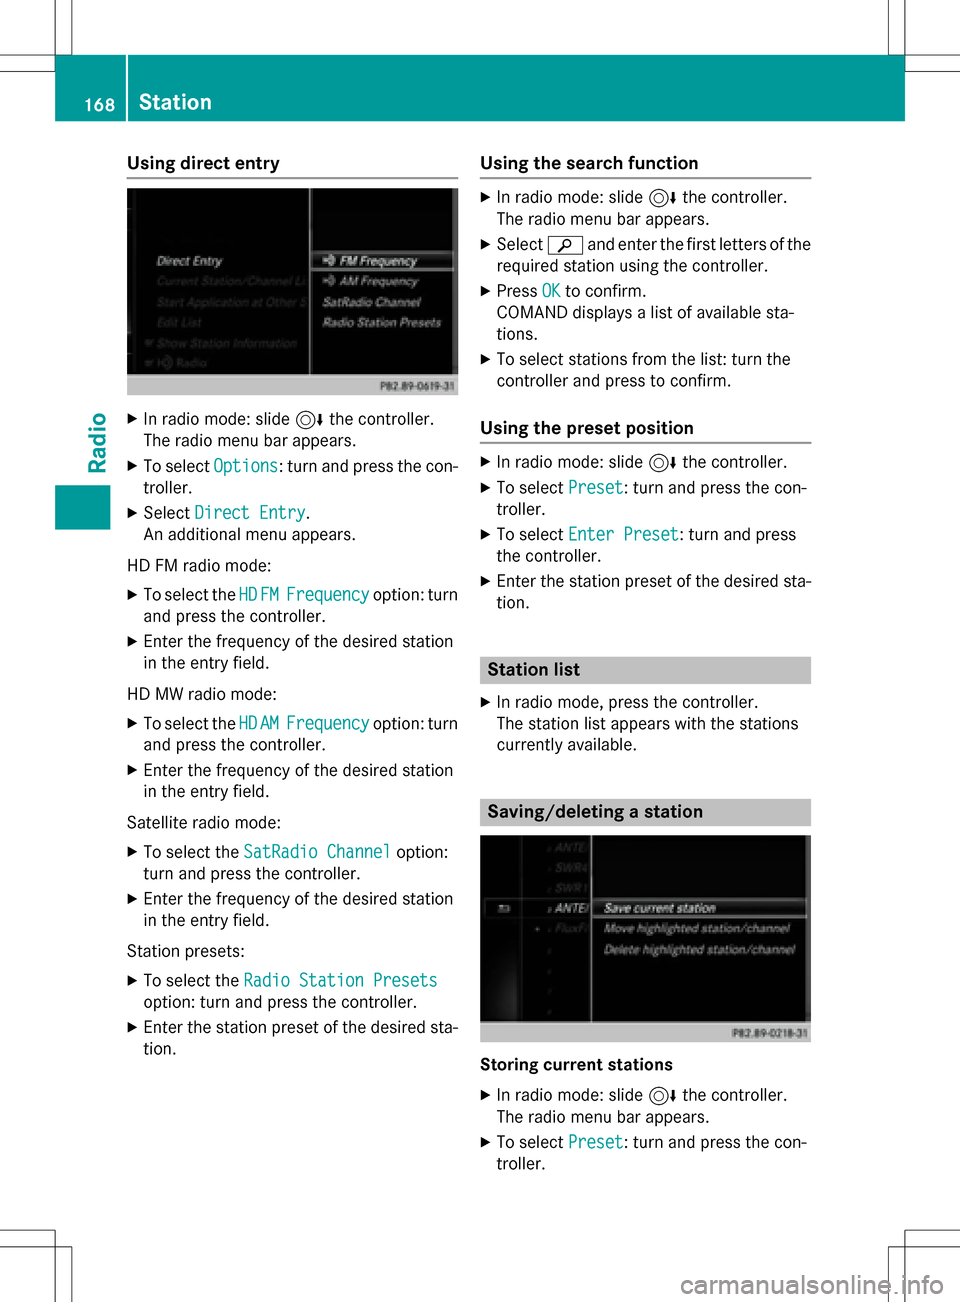
Using direct entry
XIn radio mode: slide6the controller.
The radio menu bar appears.
XTo select Options: turn and press the con-
troller.
XSelect Direct Entry.
An additional menu appears.
HD FM radio mode:
XTo select the HDFMFrequencyoption: turn
and press the controller.
XEnter the frequency of the desired station
in the entry field.
HD MW radio mode:
XTo select the HDAMFrequencyoption: turn
and press the controller.
XEnter the frequency of the desired station
in the entry field.
Satellite radio mode:
XTo select the SatRadio Channeloption:
turn and press the controller.
XEnter the frequency of the desired station
in the entry field.
Station presets:
XTo select the Radio Station Presets
option: turn and press the controller.
XEnter the station preset of the desired sta-
tion.
Using the search function
XIn radio mode: slide 6the controller.
The radio menu bar appears.
XSelect èand enter the first letters of the
required station using the controller.
XPress OKto confirm.
COMAND displays a list of available sta-
tions.
XTo select stations from the list: turn the
controller and press to confirm.
Using the preset position
XIn radio mode: slide 6the controller.
XTo select Preset: turn and press the con-
troller.
XTo select Enter Preset: turn and press
the controller.
XEnter the station preset of the desired sta-
tion.
Station list
XIn radio mode, press the controller.
The station list appears with the stations
currently available.
Saving/deleting a station
Storing current stations
XIn radio mode: slide 6the controller.
The radio menu bar appears.
XTo select Preset: turn and press the con-
troller.
168Station
Radio
Page 171 of 222
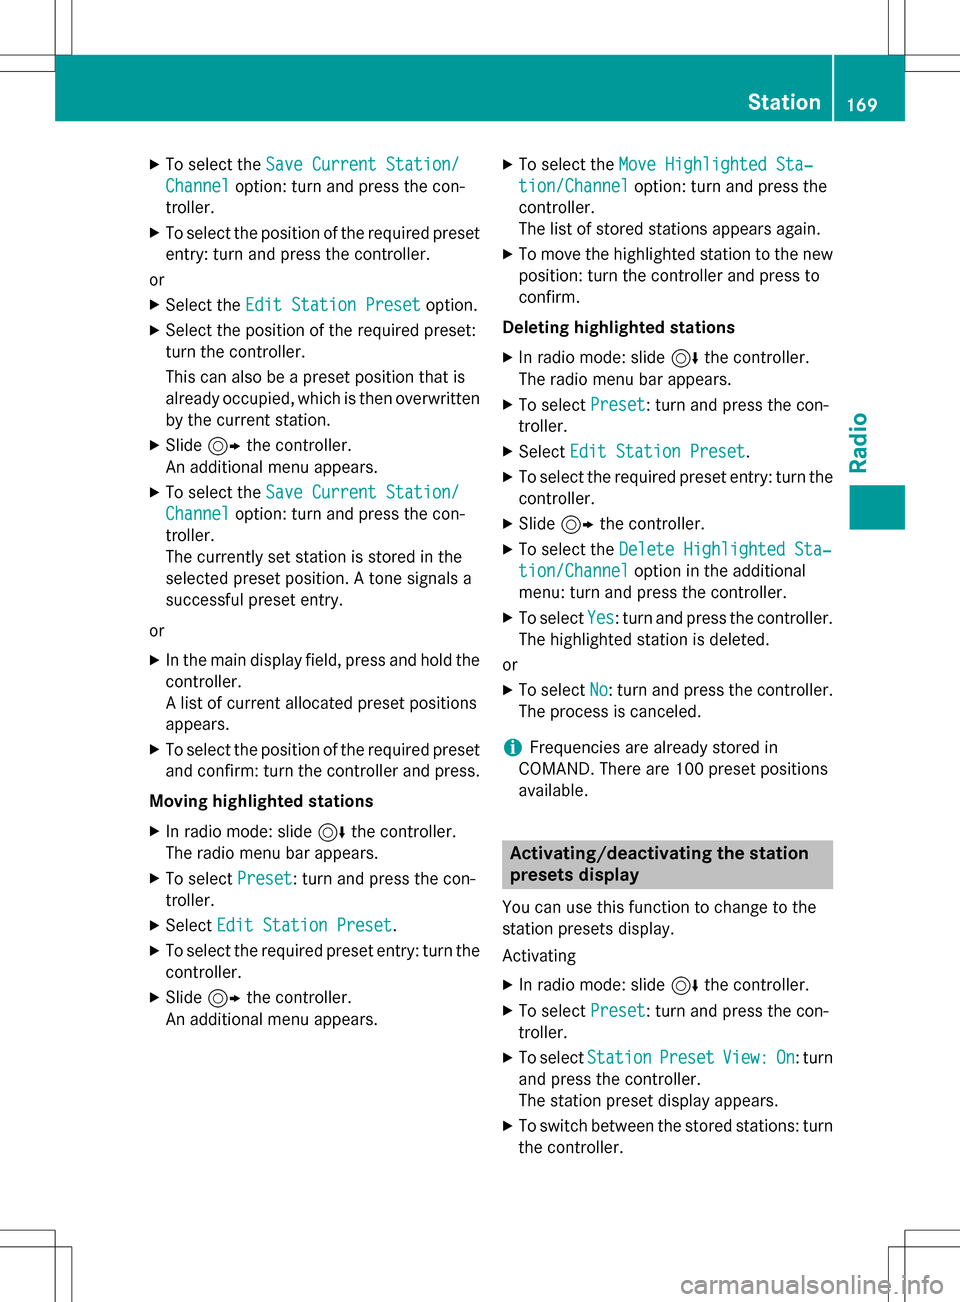
XTo select theSave Current Station/
Channeloption: turn and press the con-
troller.
XTo select the position of the required preset
entry: turn and press the controller.
or
XSelect the Edit Station Presetoption.
XSelect the position of the required preset:
turn the controller.
This can also be a preset position that is
already occupied, which is then overwritten
by the current station.
XSlide9the controller.
An additional menu appears.
XTo select the Save Current Station/
Channeloption: turn and press the con-
troller.
The currently set station is stored in the
selected preset position. A tone signals a
successful preset entry.
or
XIn the main display field, press and hold the
controller.
A list of current allocated preset positions
appears.
XTo select the position of the required preset
and confirm: turn the controller and press.
Moving highlighted stations
XIn radio mode: slide 6the controller.
The radio menu bar appears.
XTo select Preset: turn and press the con-
troller.
XSelect Edit Station Preset.
XTo select the required preset entry: turn the
controller.
XSlide9the controller.
An additional menu appears.
XTo select the Move Highlighted Sta‐
tion/Channeloption: turn and press the
controller.
The list of stored stations appears again.
XTo move the highlighted station to the new position: turn the controller and press to
confirm.
Deleting highlighted stations
XIn radio mode: slide 6the controller.
The radio menu bar appears.
XTo select Preset: turn and press the con-
troller.
XSelect Edit Station Preset.
XTo select the required preset entry: turn the
controller.
XSlide9the controller.
XTo select the Delete Highlighted Sta‐
tion/Channeloption in the additional
menu: turn and press the controller.
XTo select Yes: turn and press the controller.
The highlighted station is deleted.
or
XTo select No: turn and press the controller.
The process is canceled.
iFrequencies are already stored in
COMAND. There are 100 preset positions
available.
Activating/deactivating the station
presets display
You can use this function to change to the
station presets display.
Activating
XIn radio mode: slide 6the controller.
XTo select Preset: turn and press the con-
troller.
XTo select StationPresetView:On: turn
and press the controller.
The station preset display appears.
XTo switch between the stored stations: turn
the controller.
Station169
Radio