2016 MERCEDES-BENZ GLC-Class ESP
[x] Cancel search: ESPPage 140 of 222
mail settings, manual downloading is not
possible.
Updating from the e-mail server by the
mobile phone
XSelect From the E-Mail Server.
The e-mails in the mobile phone are upda-
ted.
This function is not supported by all mobile
phones.
Reading messages
In the message menu
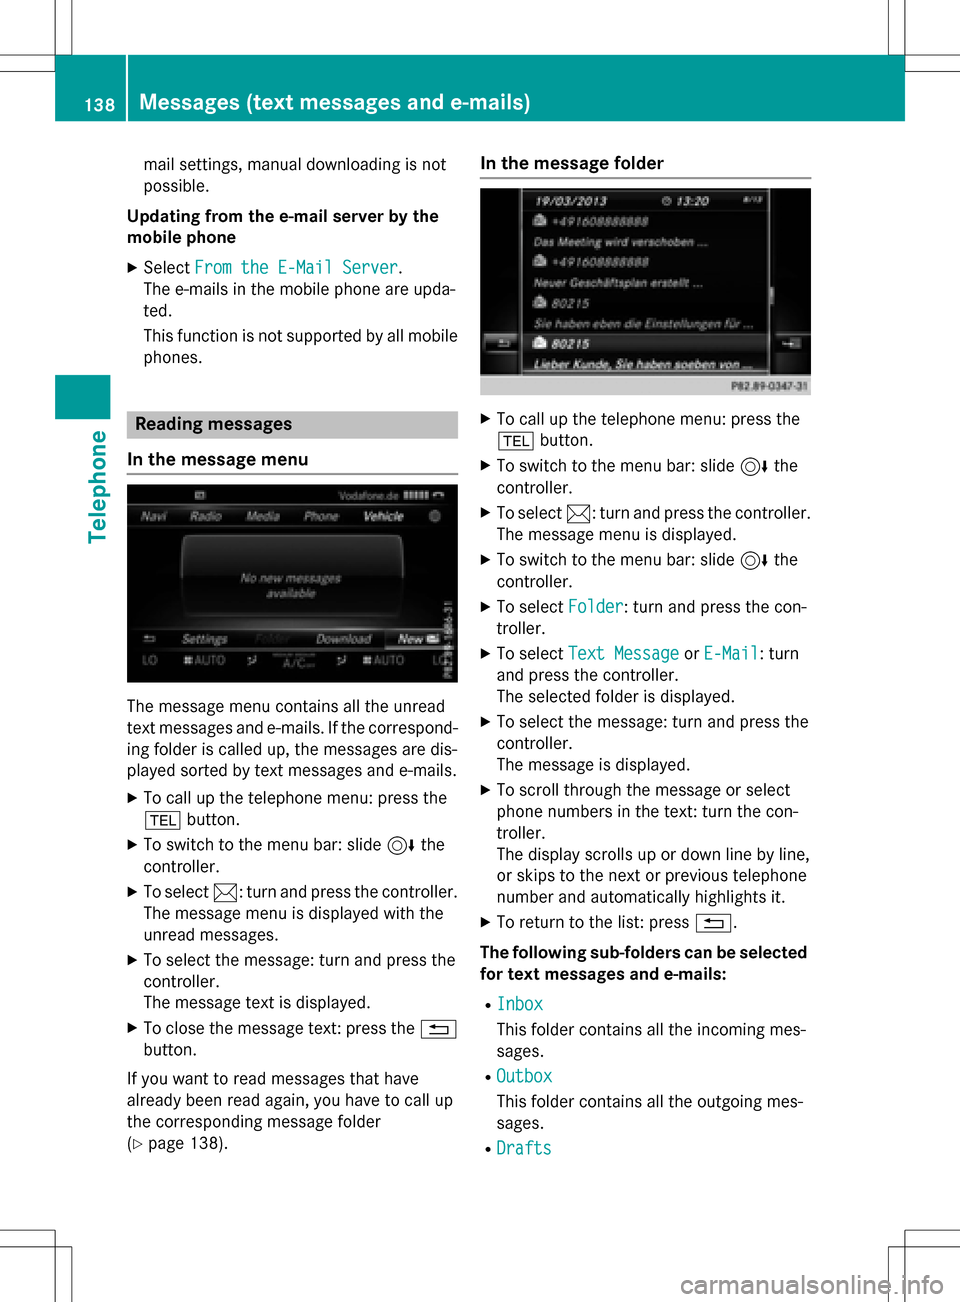
The message menu contains all the unread
text messages and e-mails. If the correspond- ing folder is called up, the messages are dis-
played sorted by text messages and e-mails.
XTo call up the telephone menu: press the
% button.
XTo switch to the menu bar: slide 6the
controller.
XTo select 1: turn and press the controller.
The message menu is displayed with the
unread messages.
XTo select the message: turn and press the
controller.
The message text is displayed.
XTo close the message text: press the %
button.
If you want to read messages that have
already been read again, you have to call up
the corresponding message folder
(
Ypage 138).
In the message folder
XTo call up the telephone menu: press the
% button.
XTo switch to the menu bar: slide 6the
controller.
XTo select 1: turn and press the controller.
The message menu is displayed.
XTo switch to the menu bar: slide 6the
controller.
XTo select Folder: turn and press the con-
troller.
XTo select Text MessageorE-Mail: turn
and press the controller.
The selected folder is displayed.
XTo select the message: turn and press the
controller.
The message is displayed.
XTo scroll through the message or select
phone numbers in the text: turn the con-
troller.
The display scrolls up or down line by line,
or skips to the next or previous telephone
number and automatically highlights it.
XTo return to the list: press %.
The following sub-folders can be selected
for text messages and e-mails:
RInbox
This folder contains all the incoming mes-
sages.
ROutbox
This folder contains all the outgoing mes-
sages.
RDrafts
138Messages (text messages and e-mails)
Telephone
Page 150 of 222
Rare connected with COMAND
Rfulfill the conditions for the Internet func-
tions
Rhave not yet been set up for the Internet
function
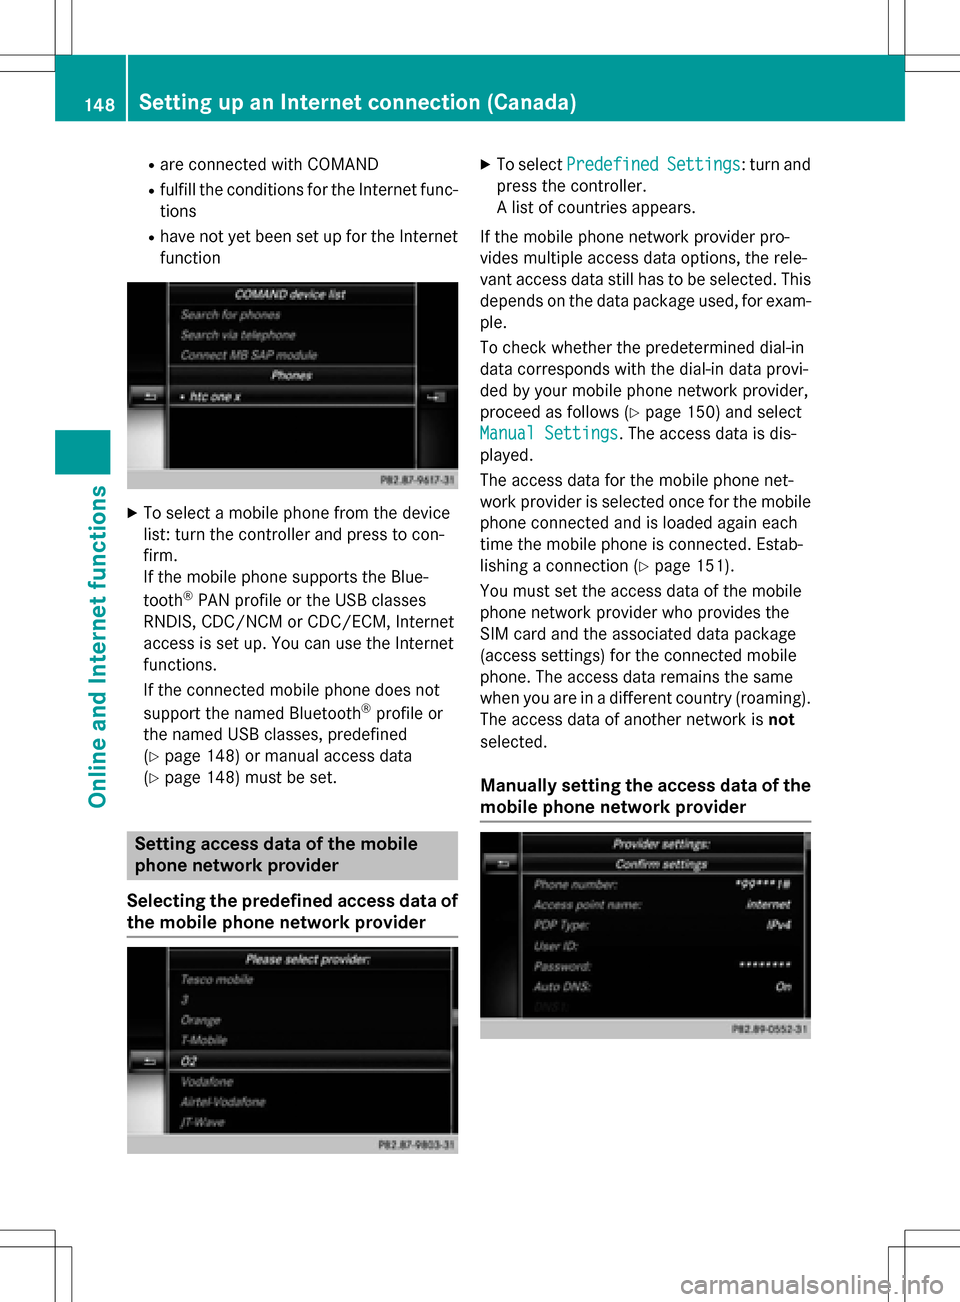
XTo select a mobile phone from the device
list: turn the controller and press to con-
firm.
If the mobile phone supports the Blue-
tooth
®PAN profile or the USB classes
RNDIS, CDC/NCM or CDC/ECM, Internet
access is set up. You can use the Internet
functions.
If the connected mobile phone does not
support the named Bluetooth
®profile or
the named USB classes, predefined
(
Ypage 148) or manual access data
(
Ypage 148) must be set.
Setting access data of the mobile
phone network provider
Selecting the predefined access data of
the mobile phone network provider
XTo select PredefinedSettings: turn and
press the controller.
A list of countries appears.
If the mobile phone network provider pro-
vides multiple access data options, the rele-
vant access data still has to be selected. This
depends on the data package used, for exam-
ple.
To check whether the predetermined dial-in
data corresponds with the dial-in data provi-
ded by your mobile phone network provider,
proceed as follows (
Ypage 150) and select
Manual Settings
. The access data is dis-
played.
The access data for the mobile phone net-
work provider is selected once for the mobile phone connected and is loaded again each
time the mobile phone is connected. Estab-
lishing a connection (
Ypage 151).
You must set the access data of the mobile
phone network provider who provides the
SIM card and the associated data package
(access settings) for the connected mobile
phone. The access data remains the same
when you are in a different country (roaming).
The access data of another network is not
selected.
Manually setting the access data of the
mobile phone network provider
148Setting up an Internet connection (Canada)
Online and Internet functions
Page 155 of 222
The following options are available for
Local Search:
RAt the current location
Searches for destinations near the current
vehicle position
RIntheVicinityoftheDestination
You can search for destinations in the vicin-
ity of the destination if route guidance is
active.
RAt another location
Searches for destinations near the location
iYou can also select a destination from the
general search history.
XTo select the required option: turn and
press the controller.
XTo select Enter search term: turn and
press the controller.
The input menu for the search term is dis-
played.
XEnter characters using the controller.
XTo complete the entry and start the search,
select a: turn and press the controller.
The search results are displayed.
iGoogle™ determines how the search
results are sorted; this is not necessarily
based on the shortest distance.
Further information on how to make use of a
search result (
Ypage 153).
Using search results
XTo select a search result: turn and press the
controller.
A menu appears.
Displaying details
XSelect Details.
The address of the selected entry is dis-
played. Using a search result as a destination
XSelect
Set as Destination.
The navigation is called up. You can use the
search result as the destination for route
calculation.
iAt the same time the search result is
stored in the "Last destinations" memory.
You can take the destination from this
memory and save it permanently in the
contacts.
Calling up a destination
XSelect Call.
The telephone menu is called up and a call
is activated.
iIf there is no phone number available, the
menu item cannot be selected.
Calling up Google Street View™
XSelect Google Street View.
Google Street View™ is called up.
iIf no Google Street View™ information is
available, a corresponding message
appears.
Calling up Panoramio by Google™
XSelect Panoramio by Google.
Panoramio by Google™ is called up. You
see pictures of places worth seeing in the
vicinity of the search result.
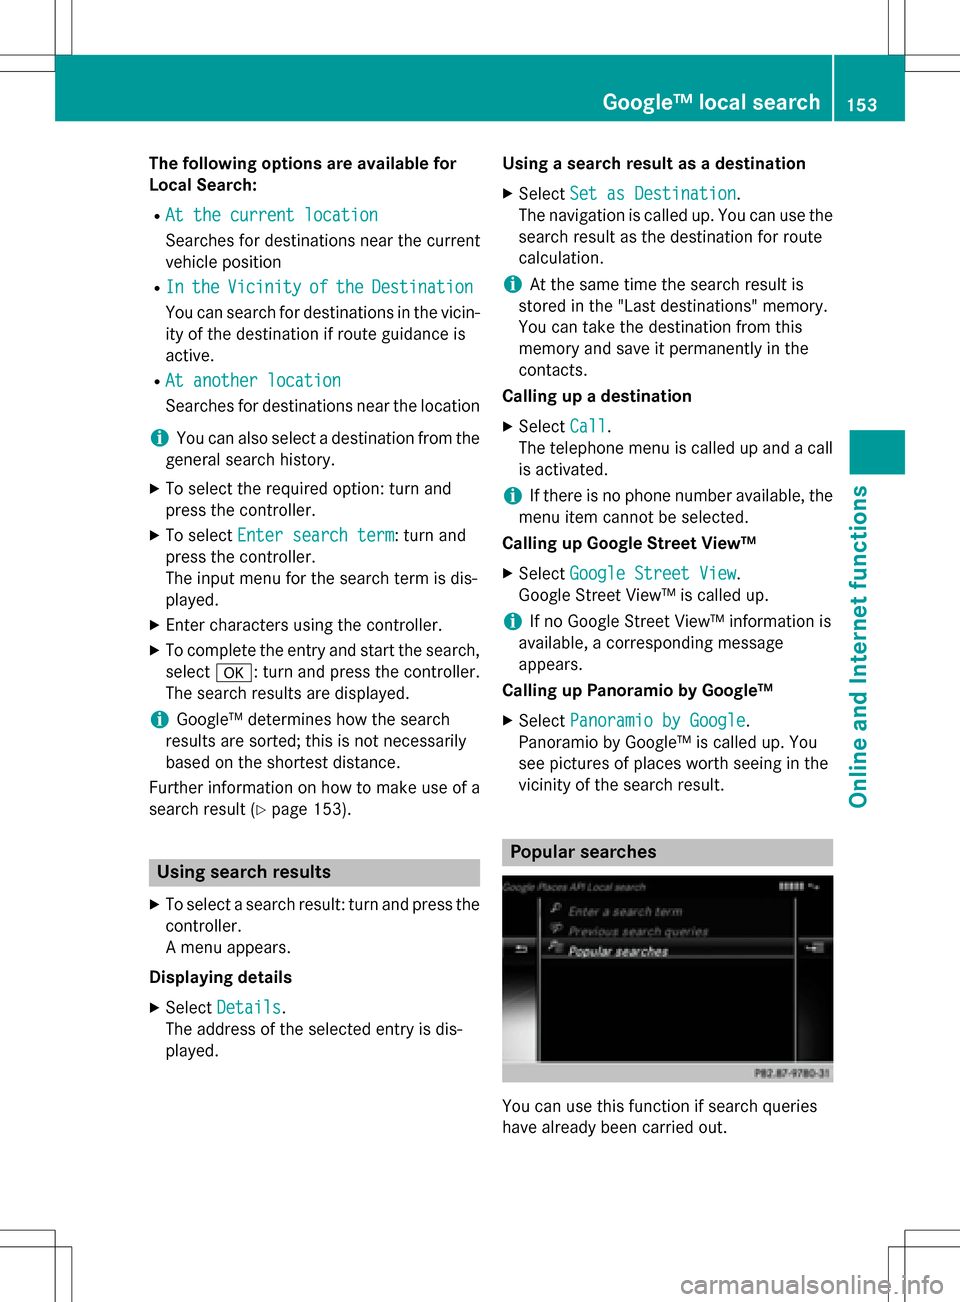
Popular searches
You can use this function if search queries
have already been carried out.
Google™ local search153
Online and Internet functions
Z
Page 157 of 222
Destination/routedownloa d
Prerequisites
To download navigation location syou need a
Google™ accoun tand your vehicle identifica-
tion number .Further information about th e
vehicle identification number (VIN)
(
Ypage 157).
To downloa dnavigation locations, th e
mbrace syste mmust be:
Ractivated
Roperational
Ractivated fo rth eservices of th esystem and
fo rInternet access
Fo rinformation on th embrace system, see
th eseparat evehicle Operator's Manual.
Procedur ean dgeneral information
Sign into your Google™ accoun ton th eInter-
net. Use th eGoogle Maps ™websit eto sen d
th edestination to aserver (
Ypage 155).
Using th eDownload
POIApp, th edestination
is displayed in th evehicle (
Ypage 155).
The destination can be:
Rimporte d (Ypage 156)
Rused forrout eguidanc e (Ypage 156)
Rcalled up (Ypage 156)
Rdeletedfrom th eserver (Ypage 156)
Sending destinations to th eserver
XSign into your Google™ account.
XCall up th eGoogle Maps ™website.
XEnte r adestination .
XClick"More" at th edestination .
XClick"Send".
XEnte rth ecorrespondin ginformation in th e
boxes shown .
XSelect"Send to car".
XSelec tMercedes-Ben zas th evehicle
brand .
XEnterth embrace e-mail address or th e
vehicle identification number .
Further information about th evehicle iden -
tification number (
Ypage 157).
XClick"Send".
The destination is sen tto th eserver .
The availabilit yof th edestination/rout e
download function is country-dependent.
Displaying destinations in th evehicle
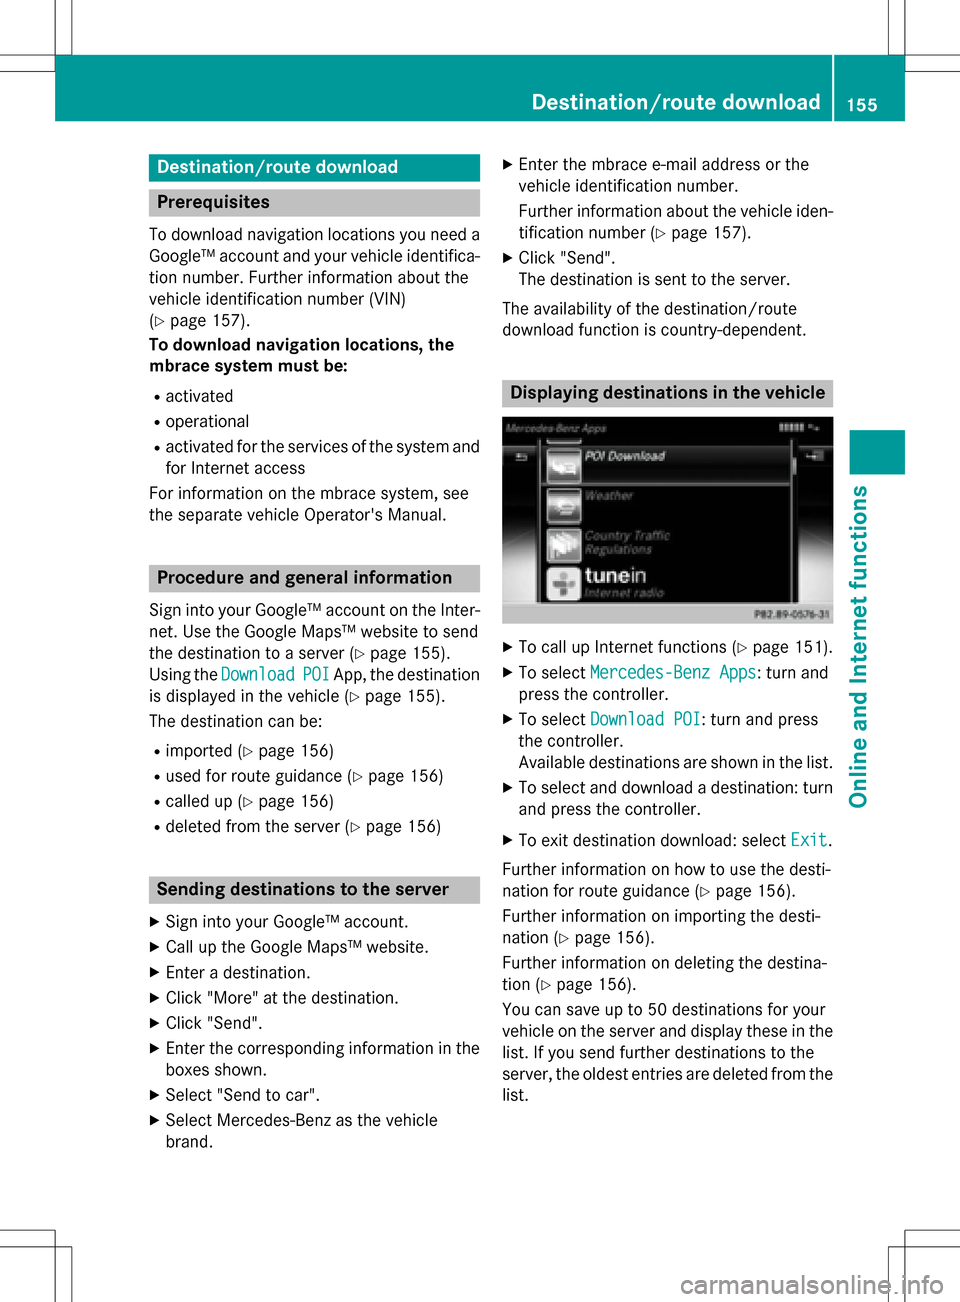
XTo cal lup Internet function s (Ypage 151).
XTo selectMercedes-Ben zApp s:turn and
press th econtroller .
XTo selectDownload POI:turn and press
th econtroller .
Availabl edestination sare shown in th elist .
XTo selec tand download adestination :turn
and press th econtroller .
XTo exit destination download :selec tExi t.
Further information on how to use th edesti -
nation fo rrout eguidanc e (
Ypage 156).
Further information on importing th edesti -
nation (
Ypage 156).
Further information on deleting th edestina-
tion (
Ypage 156).
You can sav eup to 50 destination sfo ryour
vehicle on th eserver and display these in th e
list .If you sen dfurther destination sto th e
server ,th eoldest entries are delete dfrom th e
list .
Destination/route download155
Online and Internet functions
Z
Page 161 of 222
Navigating the website
StepResult
XTurn the control-
ler.Navigates from one
selectable item (e.g.
link, text field or
menu) to the next
and highlights the
respective element
on the website.
Sliding the control-
ler:
XLeft or right
1
XUp or down4
XDiagonally2
Moves the pointer
on the page.
XPress the control-
ler.Opens the selected
item.
XPress%.Calls up the menu.
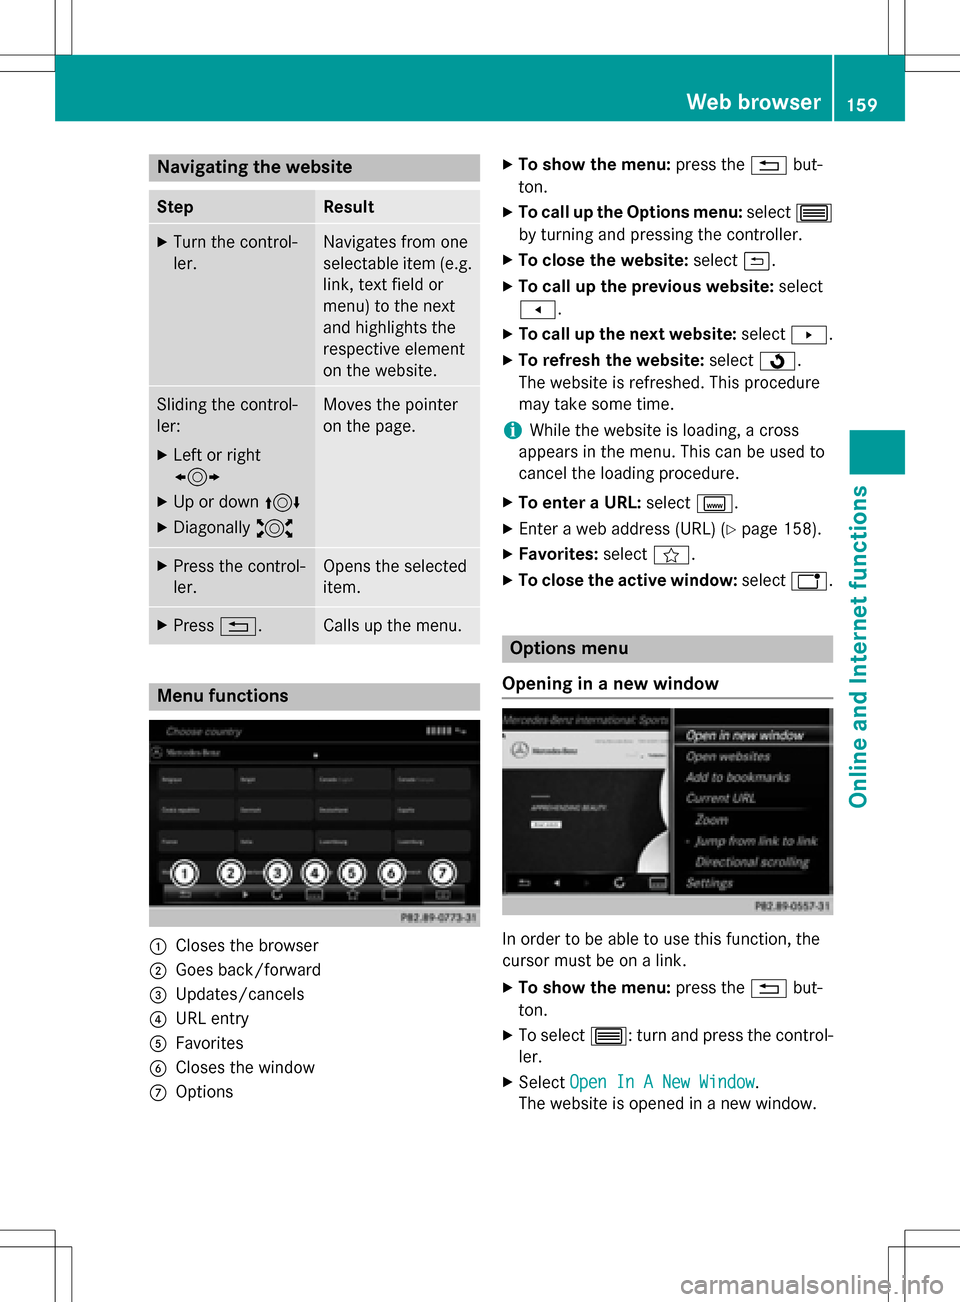
Menu functions
:Closes the browser
;Goes back/forward
=Updates/cancels
?URL entry
AFavorites
BCloses the window
COptions
XTo show the menu: press the%but-
ton.
XTo call up the Options menu: select3
by turning and pressing the controller.
XTo close the website: select&.
XTo call up the previous website: select
t.
XTo call up the next website: selectu.
XTo refresh the website: selectÎ.
The website is refreshed. This procedure
may take some time.
iWhile the website is loading, a cross
appears in the menu. This can be used to
cancel the loading procedure.
XTo enter a URL: selectg.
XEnter a web address (URL) (Ypage 158).
XFavorites: selectf.
XTo close the active window: selecth.
Options menu
Opening in a new window
In order to be able to use this function, the
cursor must be on a link.
XTo show the menu: press the%but-
ton.
XTo select 3: turn and press the control-
ler.
XSelect Open In A New Window.
The website is opened in a new window.
Web browser159
Online an d Internet functions
Z
Page 175 of 222
Selecting a channel via the satellite
radio station list
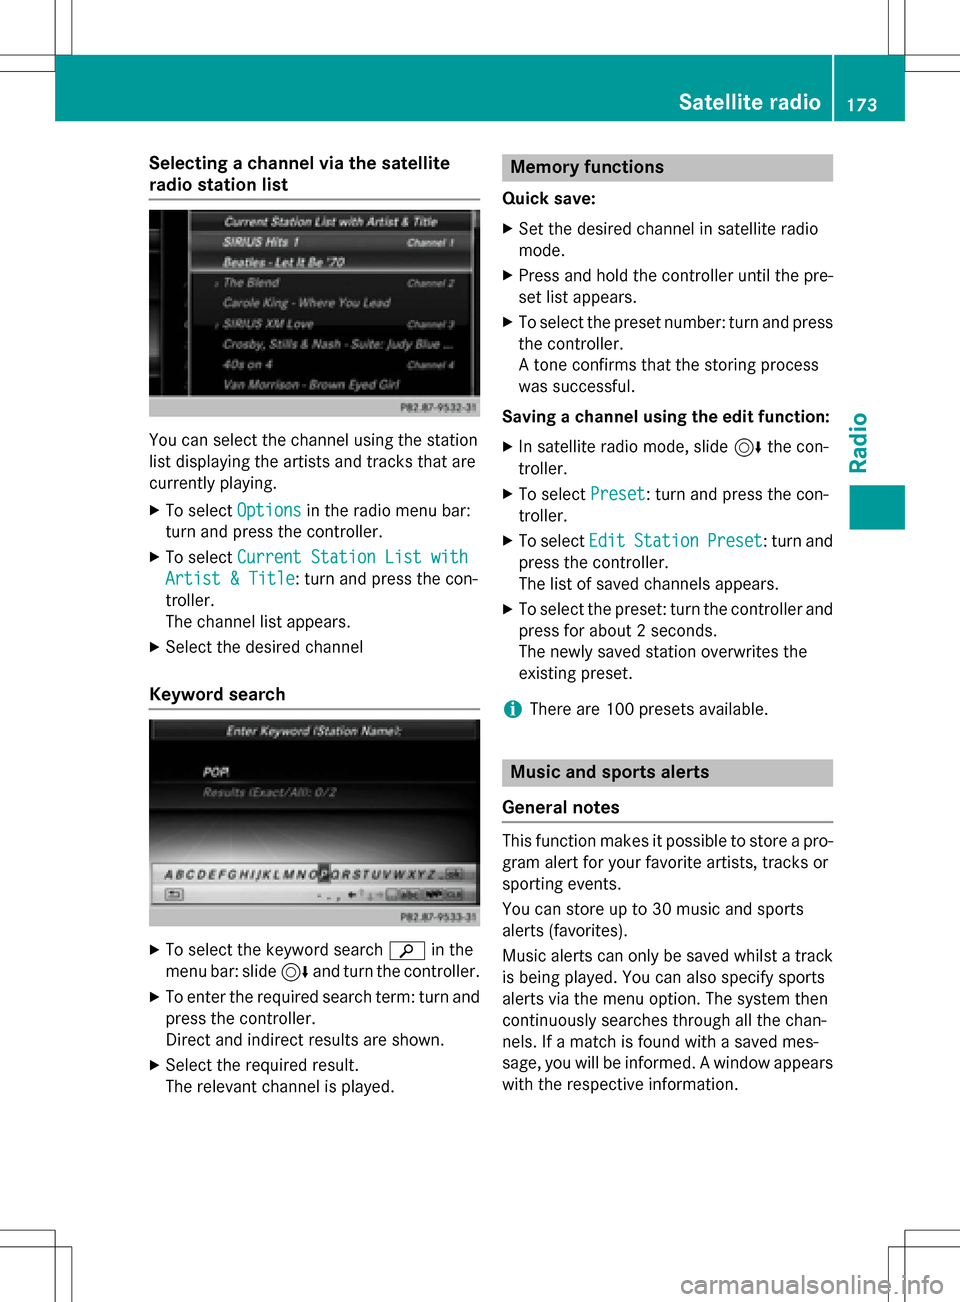
You can select the channel using the station
list displaying the artists and tracks that are
currently playing.
XTo selectOptionsin the radio menu bar:
turn and press the controller.
XTo select Current Station List with
Artist & Title: turn and press the con-
troller.
The channel list appears.
XSelect the desired channel
Keyword search
XTo select the keyword search èin the
menu bar: slide 6and turn the controller.
XTo enter the required search term: turn and
press the controller.
Direct and indirect results are shown.
XSelect the required result.
The relevant channel is played.
Memory functions
Quick save:
XSet the desired channel in satellite radio
mode.
XPress and hold the controller until the pre-
set list appears.
XTo select the preset number: turn and press
the controller.
A tone confirms that the storing process
was successful.
Saving a channel using the edit function:
XIn satellite radio mode, slide 6the con-
troller.
XTo select Preset: turn and press the con-
troller.
XTo select EditStationPreset: turn and
press the controller.
The list of saved channels appears.
XTo select the preset: turn the controller and
press for about 2 seconds.
The newly saved station overwrites the
existing preset.
iThere are 100 presets available.
Music and sports alerts
General notes
This function makes it possible to store a pro-
gram alert for your favorite artists, tracks or
sporting events.
You can store up to 30 music and sports
alerts (favorites).
Music alerts can only be saved whilst a track
is being played. You can also specify sports
alerts via the menu option. The system then
continuously searches through all the chan-
nels. If a match is found with a saved mes-
sage, you will be informed. A window appears
with the respective information.
Satellite radio173
Radio
Page 181 of 222
XTo selectMediain media mode: slide 5
and press the controller.
The menu appears with the available media
sources.
XTo select the media source: turn the con-
troller and press to confirm.
If the media source contains music or video
files, these will be played. The correspond-
ing basic menu will be shown.
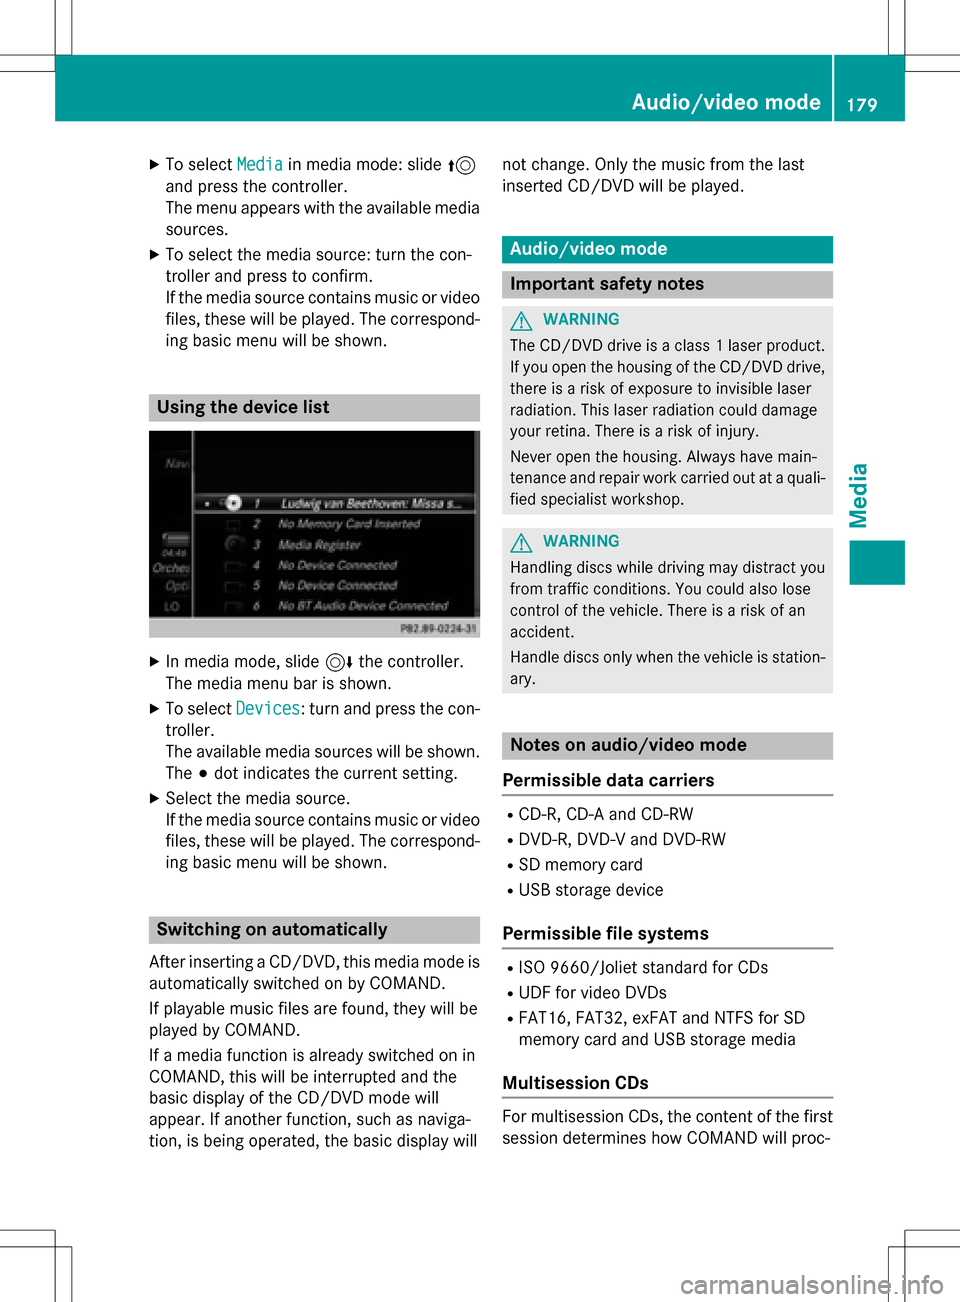
Using the device list
XIn media mode, slide 6the controller.
The media menu bar is shown.
XTo select Devices: turn and press the con-
troller.
The available media sources will be shown.
The #dot indicates the current setting.
XSelect the media source.
If the media source contains music or video
files, these will be played. The correspond-
ing basic menu will be shown.
Switching on automatically
After inserting a CD/DVD, this media mode is
automatically switched on by COMAND.
If playable music files are found, they will be
played by COMAND.
If a media function is already switched on in
COMAND, this will be interrupted and the
basic display of the CD/DVD mode will
appear. If another function, such as naviga-
tion, is being operated, the basic display will not change. Only the music from the last
inserted CD/DVD will be played.
Audio/video mode
Important safety notes
GWARNING
The CD/DVD drive is a class 1 laser product.
If you open the housing of the CD/DVD drive,
there is a risk of exposure to invisible laser
radiation. This laser radiation could damage
your retina. There is a risk of injury.
Never open the housing. Always have main-
tenance and repair work carried out at a quali- fied specialist workshop.
GWARNING
Handling discs while driving may distract you from traffic conditions. You could also lose
control of the vehicle. There is a risk of an
accident.
Handle discs only when the vehicle is station-
ary.
Notes on audio/video mode
Permissible data carriers
RCD-R, CD-A and CD-RW
RDVD-R, DVD-V and DVD-RW
RSD memory card
RUSB storage device
Permissible file systems
RISO 9660/Joliet standard for CDs
RUDF for video DVDs
RFAT16, FAT32, exFAT and NTFS for SD
memory card and USB storage media
Multisession CDs
For multisession CDs, the content of the first
session determines how COMAND will proc-
Audio/video mode179
Media
Z
Page 182 of 222
ess the CD. COMAND plays only one sessionand gives priority to the audio CD session.
File structure of a data carrier
When you create a disc with compressed
music files, the tracks can be organized in
folders. A folder may also contain subfolders.
The disc may contain no more than eight
directory levels. Files beyond the eighth level
will not be recognized by the system.
iCOMAND supports up to 50,000 files
from one data medium. For data media with more than 64 GB, only files in the following
folders are supported: Music, Pictures,
Video.
Track and file names
When you create a disc with compressed
music files, you can assign names to the
tracks and folders.
If MP3 or WMA files are stored in the root
directory itself, the root directory will also be
treated as a folder.
You should observe the following when
assigning track names:
Rtrack names must have at least one char-
acter.
Rtrack names must have an extension of a
supported audio/video format, e.g. mp3,
aac or m4v.
Rthere must be a dot between the track
name and the extension.
Example of a correct track name:
"Track1.mp3".
Permissible formats
COMAND supports the following audio for-
mats:
RMP3
RWMA
RCD-A
RAAC formats: .aac, .mp4, .m4a and .m4b Copy-protected iTunes
®music files with
the .m4p file extension are not supported.
COMAND supports the following video for-
mats:
RDVD-V
RMPEG
RWMV
RM4V
RAVI up to 720p.
Permissible bit and sampling rates
COMAND supports MP3 files of the following
types:
Rfixed and variable bit rates from 32 kbit/s
to 320 kbit/s
Rsampling rates of 8 kHz to 48 kHz
COMAND supports WMA files of the following
types:
Rfixed bit rates from 5 kbit/s to 384 kbit/s
Rsampling rates of 8 kHz to 48 kHz
COMAND does not support WMA files of the
following types:
RDRM (Digital Rights Management) encryp-
ted files
Rvariable bit rate
RWMA Pro
R5.1 surround sound
iOnly use tracks with a bit rate of at least
128 kbit/s and a sampling rate of at least
44.1 kHz. Lower rates can cause a notice-
able deterioration in quality. This is espe-
cially the case if you have activated a sur-
round sound function.
Selecting an active partition (USB mass
storage devices only)
You can select this function for USB storage
devices when the storage device is parti-
tioned. Up to 9 partitions (primary or logical,
FAT, FAT32 and NTFS) are supported.
180Audio/video mode
Media