2016 MERCEDES-BENZ GL-Class change time
[x] Cancel search: change timePage 126 of 246

You can now search for a contact
(
Ypage 124).
Further information on the symbols shown
(
Ypage 124).
iYou can also call up the phone book with
the multifunction steering wheel; see the
separate operating instructions.
Symbol overview
Sym-
bolExplanation
ÆContact that has been entered, edi-
ted or saved on COMAND.
\Contact with voice tag
These contacts have also been
assigned a voice tag. Voice tags are
available in vehicles with the Voice
Control System (see the separate
operating instructions).
ÃContact that was called up from a
mobile phone
¯Contact imported from the SD
memory card or USB device.
®Contact imported via the Blue-
tooth®interface.
Search for contact
Using the character bar
You determine the first letter of the contact
you are looking for with the first character you
enter.
XTo select characters: turn the controller
and press to confirm.
The first contact with the selected first
character is highlighted in the phone book.
If there are similar contacts, the next dif-
ferent character is shown. For example,
with contacts such as Jana
andJohn, the
beginnings of the names are identical. The
next different character A
andOare offered
for selection.
XSelect the characters of the contact you are
searching for one by one, pressing and con- firming with the controller each time.
XTo end the search: select ¬.
The contacts in the phone book are dis-
played.
XTo highlight a contact: turn the controller.
XTo call the contact: press the controller.
The Gsymbol indicates that a contact con-
tains more than one phone number.
XTo select a contact with the Gsymbol:
turn the controller and press to confirm.
The phone numbers are displayed. The G
symbol changes to I.
XTo call a telephone number: turn and press
the controller.
Back to the character bar
XPress the %button repeatedly until the
character bar is displayed.
Further information about character entry
(
Ypage 33).
124Phone book
Telephone
Page 180 of 246
Your COMANDequipment
i
These operatin ginstruction sdescribe all
th estandar dan doptional equipmen tof
your COMAN Dsystem, as available at th e
time of going to print .Country-specifi cdif -
ference sare possible. Bear in min dthat
your vehicle may no tfeature all function s
described here. Thi salso applies to safety-
relevant systems an dfunctions.
iRead th einformation on qualified special-
ist workshop sin th evehicle Operator's
Manual.
Activating medi amode
General notes
There are severa lways to activat emedia
source susin gCOMAND.
The relevant section sof th eOperator's Man -
ual describe th esimples tway to activat e a
media source .
Thi ssection describes all option sfo ractivat -
in g media sources.
Button activation
XTo cal lup th emedia menu: press th eÕ
button.
The last media source you hav eset is dis -
played.
XPress th eÕ buttonagain .
The men uappears wit hth eavailable media
sources.
XTo selec tmedia sources: turn th econtroller
until th edesire dmedia source is in th ecen-
ter. Press th econtroller .
Dependin gon th evehicle equipment, th e
followin gmedia source swill be available :
RDisc
RMemory Car d
RMedia Interface 1
RMediaInterfac e 2
RBluetoothAudi o
If playable music files are found ,they will be
playe dby COMAND.
Switching on automatically
Whe nan external media source is connected,
CD an dSD memor ycar dfunction sare auto-
matically switched on by COMAND. Whe n
usin gUS Bdevices, switch to th eappropriat e
Media Interface 1or Media Interface 2basi c
display.
External media sources:
RApple®devices (e.g. iPhon e®)
RUSBdevices (e.g. US Bstick, MP3 player)
RCD
RDV D
RSD cards
Rvia devices connecte dby Bluetoot h®
If playable music files are found ,they will be
playe dby COMAND.
iIfamedia function is already switched on
in COMAND, this will be interrupted an dth e
basi cdisplay of th enewly connecte d
devic ewill appear (except when usin gwit h
USB/iPo d
®).
If another function ,suc has navigation ,is
operating, th ebasi cdisplay will no tchange.
Only th emusic from th enewly connecte d
media source will play (except when usin g
wit hUSB/iPo d
®).
178Activating media mode
Media
Page 184 of 246
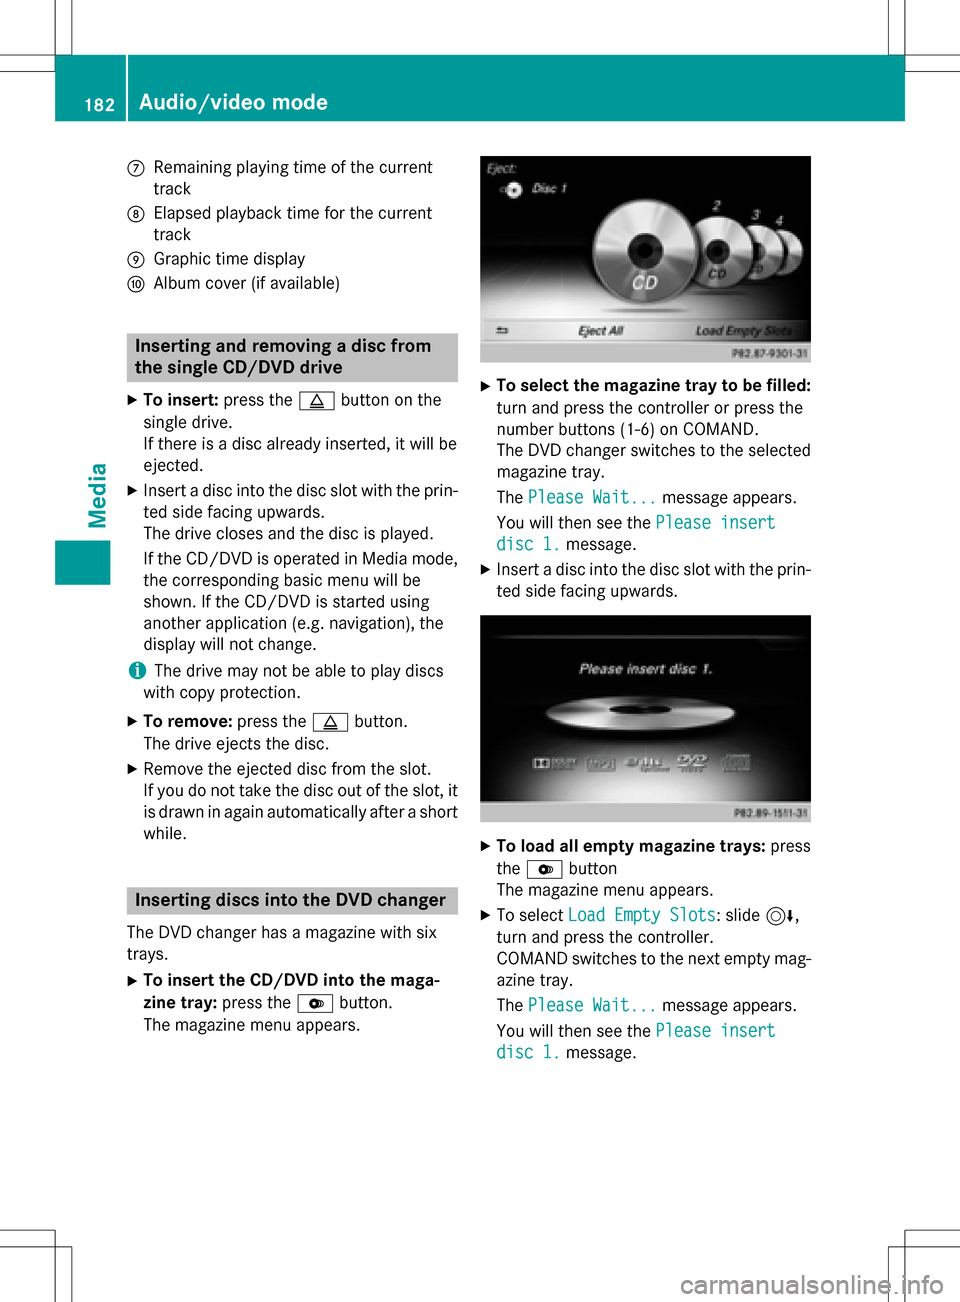
CRemaining playingtime of th ecurren t
track
DElapse dplaybac ktime for th ecurren t
track
EGraphic time display
FAlbum cover (if available)
Inserting and removing adis c fr om
th esingle CD/DVD dr ive
XTo insert:press theþ buttonon th e
single drive.
If there is adisc already inserted, it will be
ejected.
XInser t adisc into th edisc slot wit hth eprin-
te dside facin gupwards.
The drive closes and th edisc is played .
If th eCD/DV Dis operate din Medi amode,
th ecorrespondin gbasic men uwill be
shown. If th eCD/DV Dis started usin g
another application (e.g. navigation), th e
display will no tchange.
iThe drive may no tbe able to play disc s
wit hcopy protection .
XTo remove:press theþ button.
The drive ejects th edisc .
XRemove th eejecte ddisc from th eslot .
If you do no ttak eth edisc out of th eslot ,it
is draw nin again automatically after ashort
while .
Inserting discs int oth eDVD changer
The DV Dchanger has amagazine wit hsix
trays.
XTo inser tth eCD/DVD int oth emaga-
zin etray :press th eV button.
The magazine men uappears.
XTo select th emagazine tray to be filled:
tur nand press th econtroller or press th e
number buttons (1-6) on COMAND .
The DV Dchanger switches to th eselected
magazine tray.
The Please Wait.. .
message appears.
You will then see th ePlease insert
dis c1.message .
XInsert adisc into th edisc slot wit hth eprin-
te dside facin gupwards.
XTo load all empt ymagazine trays: press
th eV button
The magazine men uappears.
XTo select LoadEmpty Slots:slid e6,
tur nand press th econtroller .
COMAND switches to th enext empty mag -
azine tray.
The Please Wait.. .
message appears.
You will then see th ePlease insert
dis c1.message .
182Audio/video mode
Media
Page 192 of 246
iIf available, the album list and covers are
shown.
iThere is a database for iPod®and for each
of the other media sources (CD, USB, SD
card). During the search the relevant data-
base is accessed depending on the active
media source.
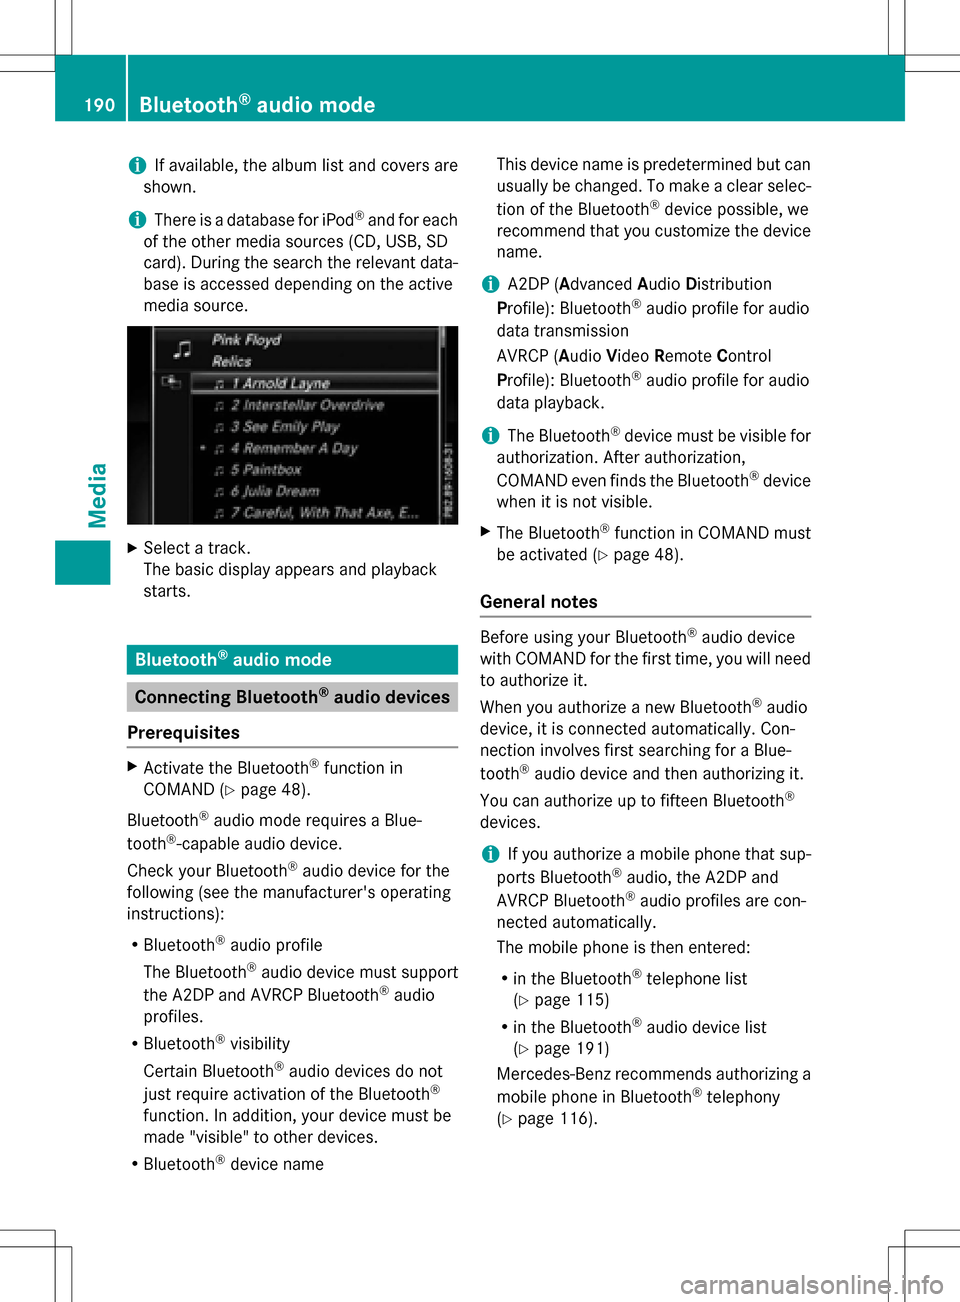
XSelect a track.
The basic display appears and playback
starts.
Bluetooth®audio mode
Connecting Bluetooth®audio devices
Prerequisites
XActivate the Bluetooth®function in
COMAND (
Ypage 48).
Bluetooth
®audio mode requires a Blue-
tooth®-capable audio device.
Check your Bluetooth
®audio device for the
following (see the manufacturer's operating
instructions):
RBluetooth®audio profile
The Bluetooth
®audio device must support
the A2DP and AVRCP Bluetooth®audio
profiles.
RBluetooth®visibility
Certain Bluetooth
®audio devices do not
just require activation of the Bluetooth®
function. In addition, your device must be
made "visible" to other devices.
RBluetooth®device name This device name is predetermined but can
usually be changed. To make a clear selec-
tion of the Bluetooth
®device possible, we
recommend that you customize the device
name.
iA2DP (A dvanced Audio Distribution
Profile): Bluetooth®audio profile for audio
data transmission
AVRCP (A udioVideo Remote Control
Profile): Bluetooth
®audio profile for audio
data playback.
iThe Bluetooth®device must be visible for
authorization. After authorization,
COMAND even finds the Bluetooth
®device
when it is not visible.
XThe Bluetooth®function in COMAND must
be activated (
Ypage 48).
General notes
Before using your Bluetooth®audio device
with COMAND for the first time, you will need
to authorize it.
When you authorize a new Bluetooth
®audio
device, it is connected automatically. Con-
nection involves first searching for a Blue-
tooth
®audio device and then authorizing it.
You can authorize up to fifteen Bluetooth
®
devices.
iIf you authorize a mobile phone that sup-
ports Bluetooth®audio, the A2DP and
AVRCP Bluetooth®audio profiles are con-
nected automatically.
The mobile phone is then entered:
Rin the Bluetooth®telephone list
(
Ypage 115)
Rin the Bluetooth®audio device list
(
Ypage 191)
Mercedes-Benz recommends authorizing a
mobile phone in Bluetooth
®telephony
(
Ypage 116).
190Bluetooth®audio mode
Media
Page 201 of 246
COMANDiscapable of playing back video
DVDs produced according to the fol lowing
standards:
RRegion co de1 or region code 0 (no region
code)
RPAL or NTSC standard
You willgenerally find the relevant details
either on the DVD itself or on the DVD case.
iIf you insert a video DVD with a different
region code, a message to this effect
appears.
iCOMAND isset to region co de1 at the
factory. This setting can be changed at an
authorized Mercedes-Benz Center. It isalso
possible to play video DVDs with a different
region code, provided that they are pro-
duced inaccordance with the PAL or NTSC
TV standard. The region code can be
changed a maximum of four times.
Control options
There are various control menus availab lein
DVD video mode.
Most DVDs have their own control menu.
The DVD's control menu isoperated directly
using the controller or DVD functions.
Control menu and
functionOperation
RDVD's control
menu
Se lection of title,
scene, language,
subtit les ...Operation with the
controller
RMenuOptions
Se lection of
brig htness, con-
trast, color, for-
mat
Operation using the
menu bar options,
video settings
Control menu and
functionOperation
RVideo menu
Se lection of
scene, fast
forward or rewindIn full-screen mode,
slide 6the con-
troller
RDVD functions
Se lection of title,
scene, language,
subtit les ...Infull-screen mode,
press the controller
Function restrictions
Depending on the DVD, certain functions or
actions may not function at all. The symbol K
appears inthe display.
Switching on video DVD mode
RInsert and eject a discfrom the single drive
(
Ypage 182)
RIn sert a disc into the DVD changer
(
Ypage 182)
Further options for switching on:
RUsing the number keypad (Ypage 179)
RUsing the main function bar (Ypage 179)
RUsing the device list (Ypage 179)
RUsing the Õbutton (Ypage 178)
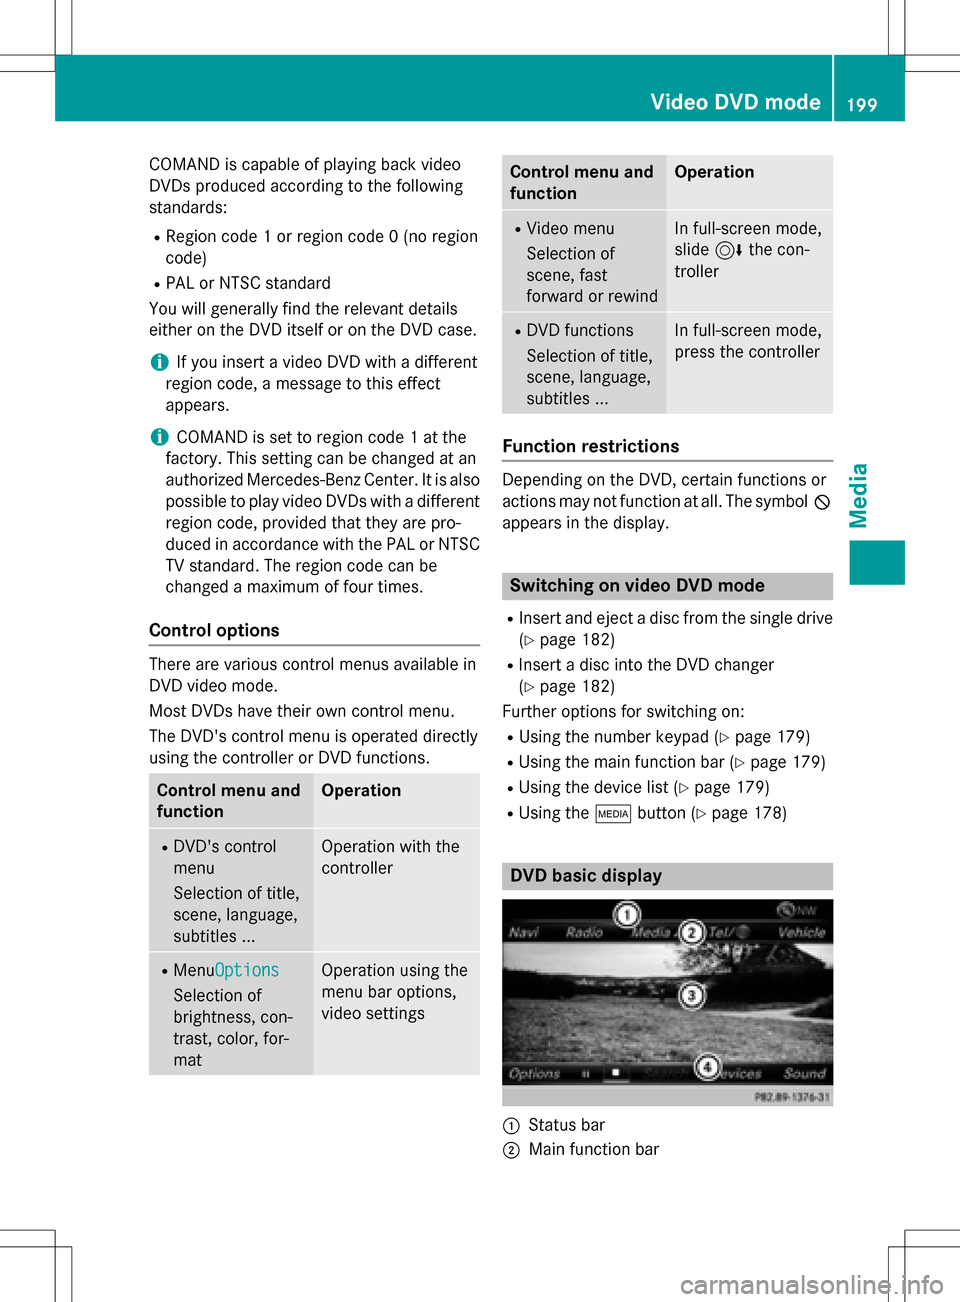
DVD basic display
:Status bar
;Main function bar
Video DVD mode199
Media
Z
Page 221 of 246
map scales 50 mi (50 km), 200 mi (200 km)
and 500 mi (500 km).
RMenu itemAtmospheric Pressure
Shows the position of high and low-pres-
sure areas (H, L), weather fronts and iso-
bars It is shown in map scales 200 mi
(200 km) and 500 mi (500 km).
RMenu itemTropical Storm Tracking
Shows the direction and propagation speed
(track) of a tropical storm in all map scales
with information on times and strength.
RMenu item Winds
Shows the wind direction and wind speed in
map scale of 5 mi (5 km).
Sample displays of weather data in the
map
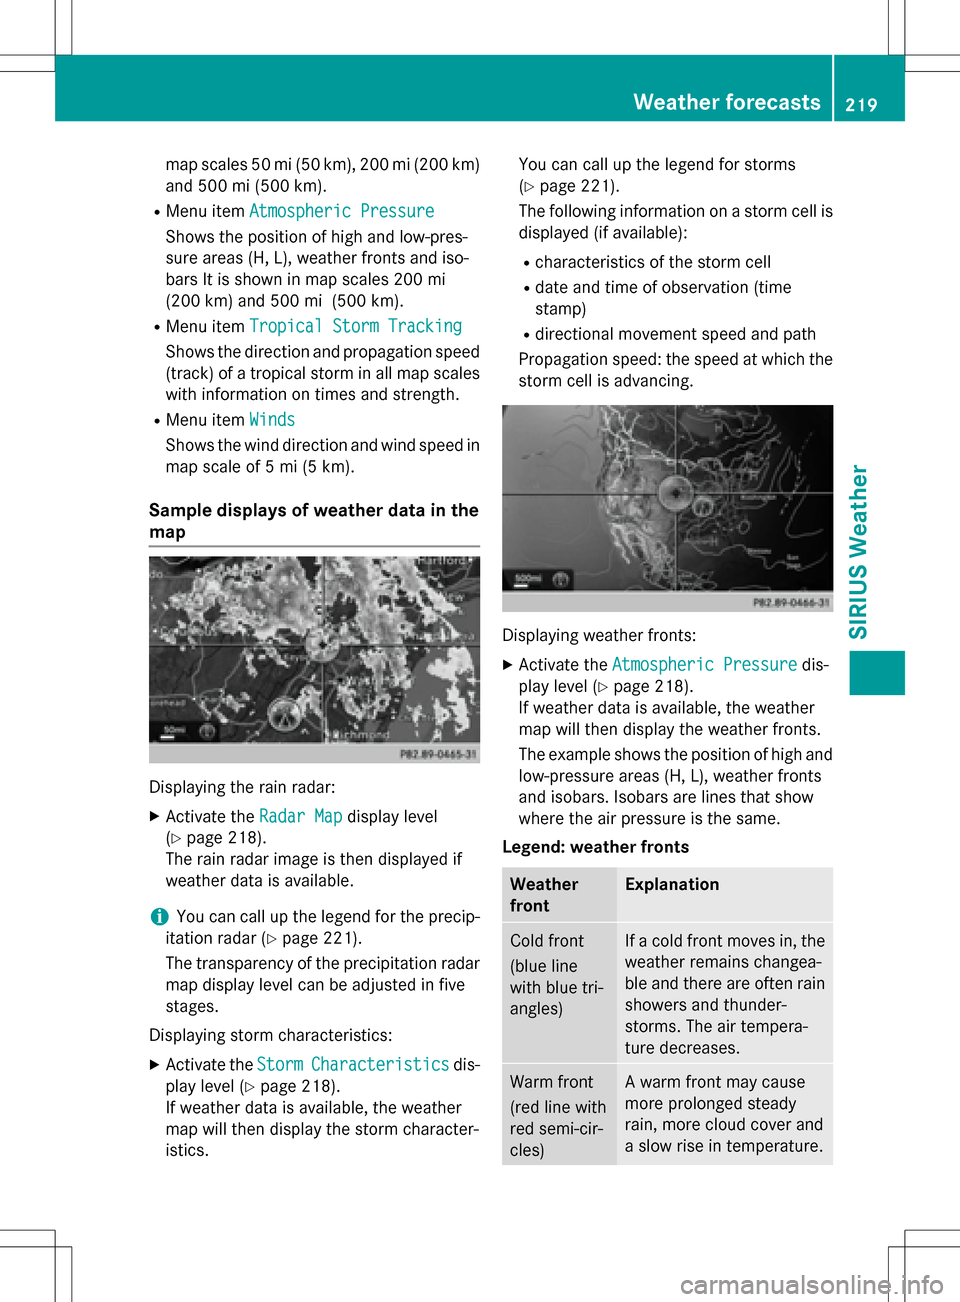
Displaying the rain radar:
XActivate the Radar Mapdisplay level
(
Ypage 218).
The rain radar image is then displayed if
weather data is available.
iYou can call up the legend for the precip-
itation radar (
Ypage 221).
The transparency of the precipitation radar
map display level can be adjusted in five
stages.
Displaying storm characteristics:
XActivate the StormCharacteristicsdis-
play level (
Ypage 218).
If weather data is available, the weather
map will then display the storm character-
istics. You can call up the legend for storms
(
Ypage 221).
The following information on a storm cell is
displayed (if available):
Rcharacteristics of the storm cell
Rdate and time of observation (time
stamp)
Rdirectional movement speed and path
Propagation speed: the speed at which the
storm cell is advancing.
Displaying weather fronts:
XActivate the Atmospheric Pressuredis-
play level (
Ypage 218).
If weather data is available, the weather
map will then display the weather fronts.
The example shows the position of high and
low-pressure areas (H, L), weather fronts
and isobars. Isobars are lines that show
where the air pressure is the same.
Legend: weather fronts
Weather
frontExplanation
Cold front
(blue line
with blue tri-
angles)If a cold front moves in, the
weather remains changea-
ble and there are often rain
showers and thunder-
storms. The air tempera-
ture decreases.
Warm front
(red line with
red semi-cir-
cles)A warm front may cause
more prolonged steady
rain, more cloud cover and
a slow rise in temperature.
Weather forecasts219
SIRIUS Weather
Page 222 of 246
Weather
frontExplanation
Stationary
front
(red and blue
line with red
semi-circles
and blue tri-
angles)The weather front moves
minimally. The weather
remains changeable in this
area.
Occlusion
(purple line
with purple
semi-circles
and trian-
gles)When the faster cold front
catches up and joins the
warm front ahead of it, an
occluded front is formed.
The weather remains
changeable and rainy
within an occlusion.
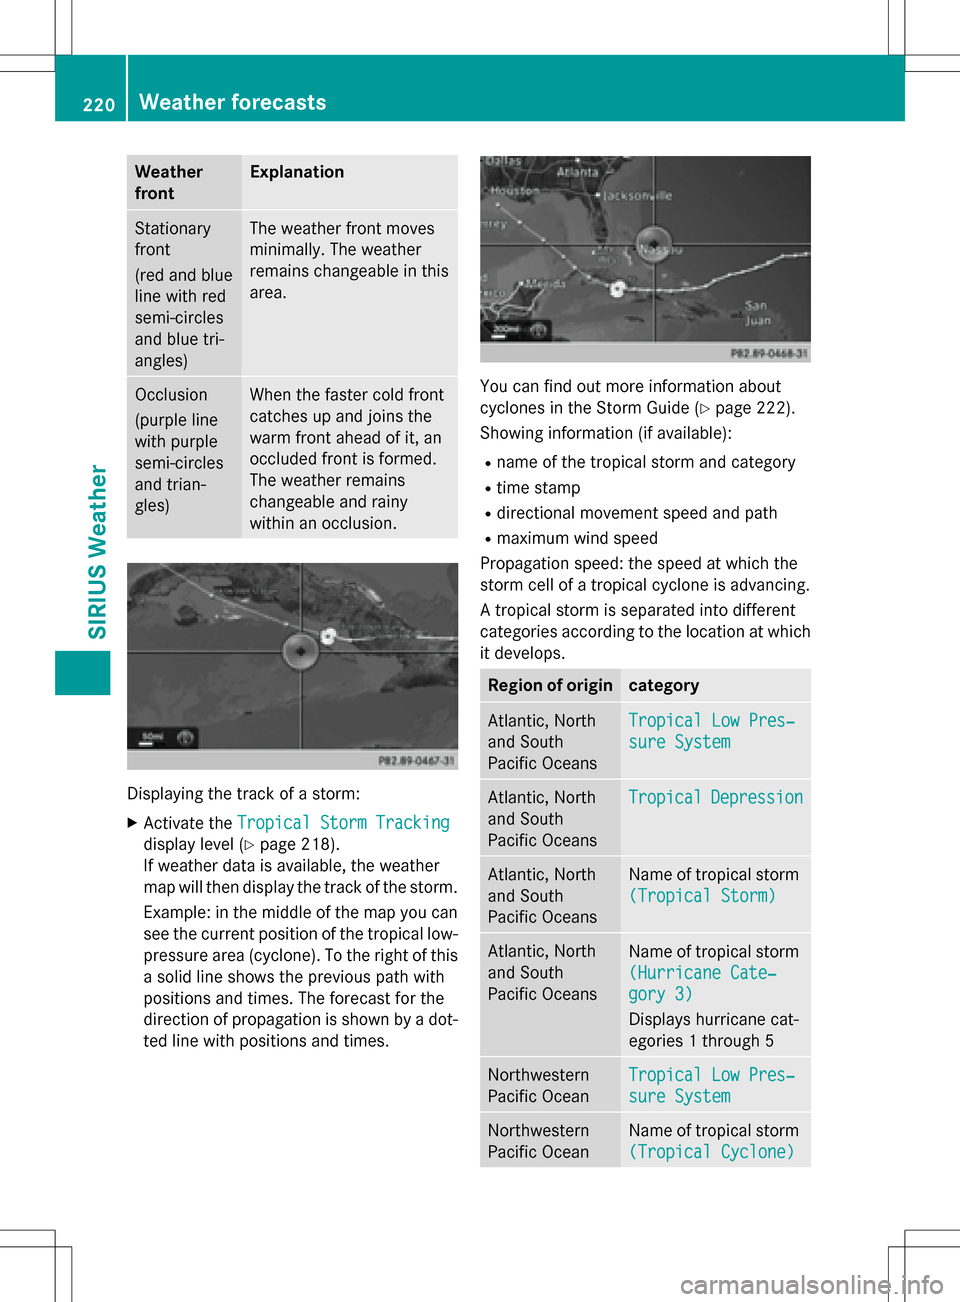
Displaying the track of a storm:
XActivate theTropical Storm Tracking
display level (Ypage 218).
If weather data is available, the weather
map will then display the track of the storm.
Example: in the middle of the map you can
see the current position of the tropical low-
pressure area (cyclone). To the right of this
a solid line shows the previous path with
positions and times. The forecast for the
direction of propagation is shown by a dot-
ted line with positions and times.
You can find out more information about
cyclones in the Storm Guide (
Ypage 222).
Showing information (if available):
Rname of the tropical storm and category
Rtime stamp
Rdirectional movement speed and path
Rmaximum wind speed
Propagation speed: the speed at which the
storm cell of a tropical cyclone is advancing.
A tropical storm is separated into different
categories according to the location at which
it develops.
Region of origincategory
Atlantic, North
and South
Pacific OceansTropical Low Pres‐
sure System
Atlantic, North
and South
Pacific OceansTropicalDepression
Atlantic, North
and South
Pacific OceansName of tropical storm
(Tropical Storm)
Atlantic, North
and South
Pacific OceansName of tropical storm
(Hurricane Cate‐
gory 3)
Displays hurricane cat-
egories 1 through 5
Northwestern
Pacific OceanTropical Low Pres‐
sure System
Northwestern
Pacific OceanName of tropical storm
(Tropical Cyclone)
220Weather forecasts
SIRIUS Weather
Page 223 of 246
Region of origincategory
Northwestern
Pacific OceanName of tropical storm
(Typhoon)
Northwestern
Pacific OceanName of tropical storm
(Super-Typhoon)
You can also see the time stamp for the
weather data on map scales of 50 miles and
smaller.
The weather map shows wind directions and
wind speeds.
Legend (precipitation radar and storms)
XDisplay the menu on the weather map
(
Ypage 218).
XTo selectView: turn and press the control-
ler.
XSelect Legend.
iThe symbol for a tornadic storm is also
valid for a cyclone (mesocyclone).
Precipita-
tion typeColor scale
RainEleven shades from light (light
green) to heavy (red)
MixedLight (light violet) to heavy
(violet)
SnowLight (light turquoise) to
heavy (turquoise)
Time stamp
The time stamp shows when the weather data
was created by the weather station.
A time stamp corresponds to the time at the
vehicle's current position. The changeover
from summer time to standard time is per-
formed automatically.
XDisplay the menu on the weather map
(
Ypage 218).
XTo select View: turn and press the control-
ler.
XSelect Time Stamp.
Changing to the information chart
XDisplay the menu on the weather map
(
Ypage 218).
XTo select Weather Table: turn and press
the controller.
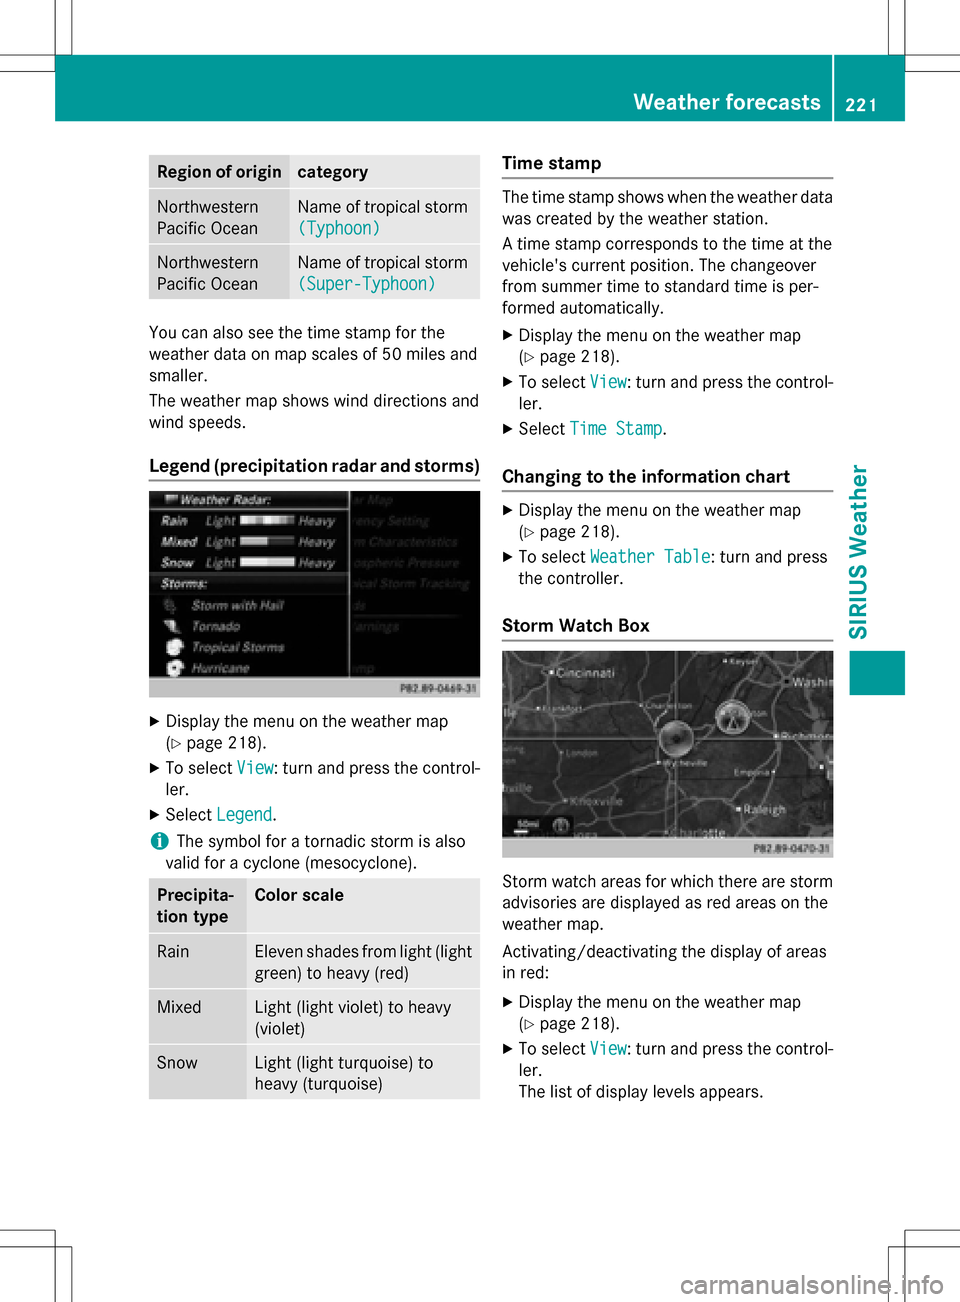
Storm Watch Box
Storm watch areas for which there are storm
advisories are displayed as red areas on the
weather map.
Activating/deactivating the display of areas
in red:
XDisplay the menu on the weather map
(
Ypage 218).
XTo select View: turn and press the control-
ler.
The list of display levels appears.
Weather forecasts221
SIRIUS Weather