2016 MERCEDES-BENZ GL-Class SD Card
[x] Cancel search: SD CardPage 34 of 246
or
XSelect+: while route guidance is active,
show the menu and press the controller
(
Ypage 90).
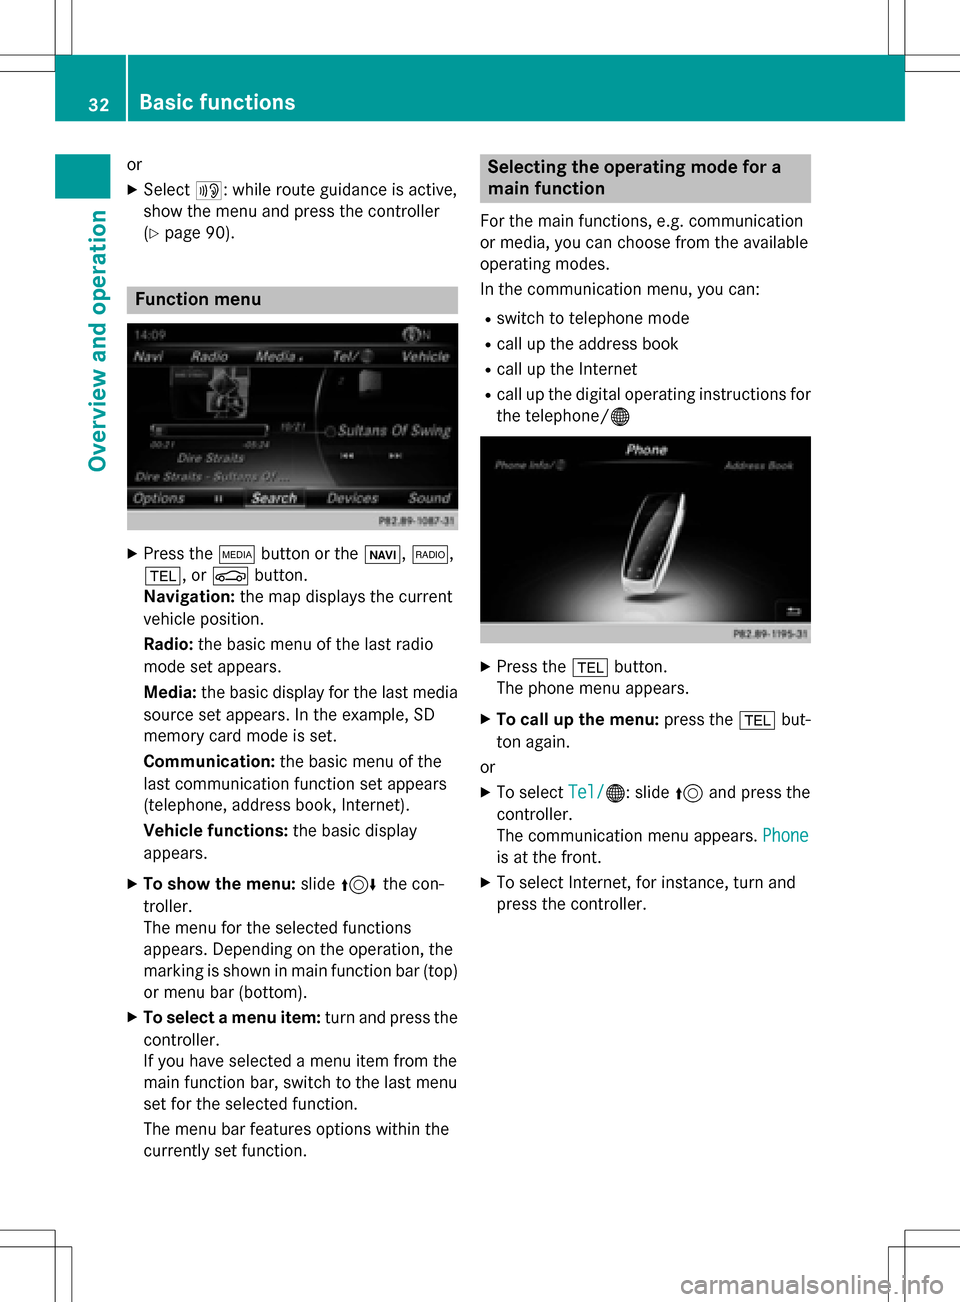
Function menu
XPress the Õbutton or the ß,$,
%, or Øbutton.
Navigation: the map displays the current
vehicle position.
Radio: the basic menu of the last radio
mode set appears.
Media: the basic display for the last media
source set appears. In the example, SD
memory card mode is set.
Communication: the basic menu of the
last communication function set appears
(telephone, address book, Internet).
Vehicle functions: the basic display
appears.
XTo show the menu: slide4 the con-
troller.
The menu for the selected functions
appears. Depending on the operation, the
marking is shown in main function bar (top) or menu bar (bottom).
XTo select a menu item: turn and press the
controller.
If you have selected a menu item from the
main function bar, switch to the last menu
set for the selected function.
The menu bar features options within the
currently set function.
Selecting the operating mode for a
main function
For the main functions, e.g. communication
or media, you can choose from the available
operating modes.
In the communication menu, you can:
Rswitch to telephone mode
Rcall up the address book
Rcall up the Internet
Rcall up the digital operating instructions for
the telephone/®
XPress the %button.
The phone menu appears.
XTo call up the menu: press the%but-
ton again.
or
XTo select Tel/®: slide5and press the
controller.
The communication menu appears. Phone
is at the front.
XTo select Internet, for instance, turn and
press the controller.
32Basic functions
Overview and operation
Page 42 of 246

Your COMANDequipment
i
These operatin ginstruction sdescribe all
th estandar dan doptional equipmen tof
your COMAN Dsystem, as available at th e
time of going to print .Country-specifi cdif -
ference sare possible. Bear in min dthat
your vehicle may no tfeature all function s
described here. Thi salso applies to safety-
relevant systems an dfunctions.
iRead th einformation on qualified special-
ist workshop sin th evehicle Operator's
Manual.
Important safet ynotes
GWARNING
If you operat emobile communication equip-
men twhil edriving, you will be distracted from
traffic conditions. You could also los econtro l
of th evehicle. There is aris kof an accident.
Only operat ethis equipment when th evehicle
is stationary.
GWARNING
SD memor ycards are small parts .The ycan be
swallowe dan dcause asphyxiation .Thi s
poses an increase dris kof injury or eve nfatal
injury.
Kee pSD memor ycards out of th ereach of
children .If an SD memor ycar dis swallowed,
see kimmediate medical attention .
You mustobserv eth elega lrequirements fo r
th ecountry in whic hyou are currentl ydrivin g
when operatin gmobile communication s
equipmen tin th evehicle.
Display settings
Setting th ebrightness
The brightness detecte dby th edisplay ligh t
sensor affects th esetting option sfo rthis
function .
XPress theØ buttonon th eCOMAN D
contro lpanel.
or
XPress Vehicl ein themain function bar .
The vehicle men uis displayed.
XTo selec tSystem Settings:slid e6,
turn an dpress th econtroller .
A men uappears .
XTo selec tDispla y:turn an dpress th econ-
troller.
A men uappears .
XSelectBrightness.
A contro lappears .
XTo selec tth edesired brightness: turn
an dpress th econtroller .
Display design
The display feature soptimize ddesign sfo r
daytime an dnight-time operation .You can
set th edesign by manually selecting day or
night design or opt fo ran automatic setting .
XPress theØ buttonon th eCOMAN D
contro lpanel.
or
XPress Vehicl ein themain function bar .
The vehicle men uis displayed.
40Display settings
System settings
Page 50 of 246
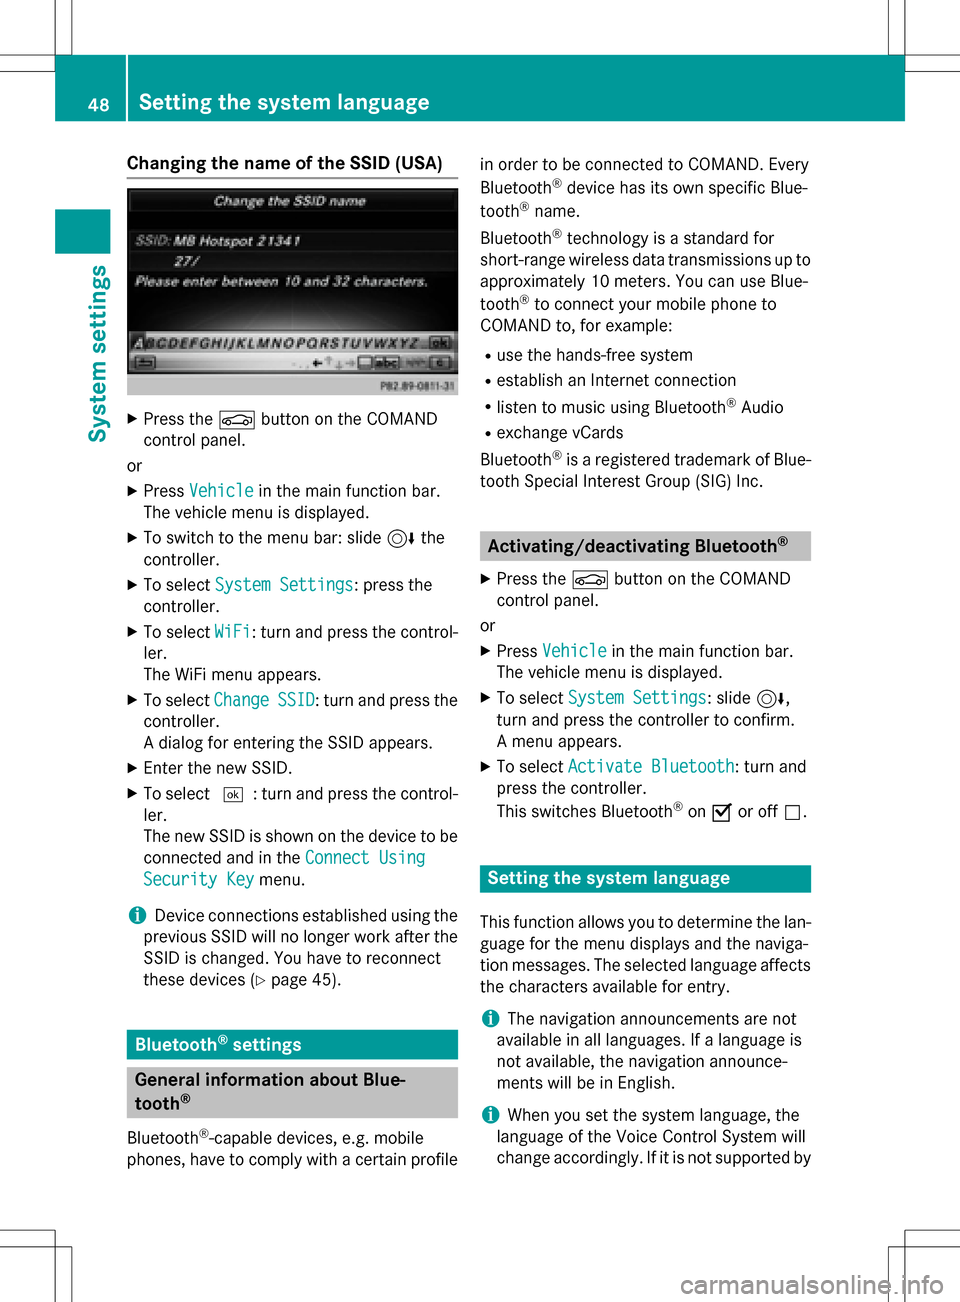
Changing the name of the SSID (USA)
XPress theØbutton on the COMAND
control panel.
or
XPress Vehiclein the main function bar.
The vehicle menu is displayed.
XTo switch to the menu bar: slide 6the
controller.
XTo select System Settings: press the
controller.
XTo select WiFi: turn and press the control-
ler.
The WiFi menu appears.
XTo select ChangeSSID: turn and press the
controller.
A dialog for entering the SSID appears.
XEnter the new SSID.
XTo select ¬: turn and press the control-
ler.
The new SSID is shown on the device to be
connected and in the Connect Using
Security Keymenu.
iDevice connections established using the
previous SSID will no longer work after the
SSID is changed. You have to reconnect
these devices (
Ypage 45).
Bluetooth®settings
General information about Blue-
tooth®
Bluetooth®-capable devices, e.g. mobile
phones, have to comply with a certain profile in order to be connected to COMAND. Every
Bluetooth
®device has its own specific Blue-
tooth®name.
Bluetooth
®technology is a standard for
short-range wireless data transmissions up to
approximately 10 meters. You can use Blue-
tooth
®to connect your mobile phone to
COMAND to, for example:
Ruse the hands-free system
Restablish an Internet connection
Rlisten to music using Bluetooth®Audio
Rexchange vCards
Bluetooth
®is a registered trademark of Blue-
tooth Special Interest Group (SIG) Inc.
Activating/deactivating Bluetooth®
X
Press the Øbutton on the COMAND
control panel.
or
XPress Vehiclein the main function bar.
The vehicle menu is displayed.
XTo select System Settings: slide6,
turn and press the controller to confirm.
A menu appears.
XTo select Activate Bluetooth: turn and
press the controller.
This switches Bluetooth
®on O or off ª.
Setting the system language
This function allows you to determine the lan-
guage for the menu displays and the naviga-
tion messages. The selected language affects
the characters available for entry.
iThe navigation announcements are not
available in all languages. If a language is
not available, the navigation announce-
ments will be in English.
iWhen you set the system language, the
language of the Voice Control System will
change accordingly. If it is not supported by
48Setting the system language
System settings
Page 51 of 246
the Voice Control System, English will be
selected.
XPress theØbutton on the COMAND
control panel.
or
XPress Vehiclein the main function bar.
The vehicle menu is displayed.
XTo select System Settings: slide6,
turn and press the controller.
A menu appears.
XTo select Language: turn and press the
controller.
The list of languages appears. The #dot
indicates the current setting.
XSelect the desired language.
COMAND loads the selected language and
sets it.
Calling up the favorite functions
The favorites function can be called up as fol-
lows:
Rvia the System Settingsmenu
Rvia the Favorites button on the controller
(
Ypage 24)
Rvia the Favorites button on the touchpad
(
Ypage 25)
Calling up the Favorites function via the
system menu:
XPress the Øbutton on the COMAND
control panel.
or
XPress Vehiclein the main function bar.
The vehicle menu is displayed.
XTo select SystemSettings: slide6and
press the controller.
A menu appears.
XTo select Favorite Functions: press the
controller.
The favorites are displayed.
XTo select the desired function, e.g. Phone‐
book: turn and press the controller.
A menu appears. Calling up the Favorites function using
the controller:
XPress the favorites button on the controller.
The favorites are displayed.
XTo select the desired function, e.g. Phone‐
book: turn and press the controller.
Calling up the Favorites function via the
touchpad:
XPress the favorites button on the touchpad.
The favorites are displayed.
XTo select the desired function, e.g. Phone‐
book: turn and press the controller.
The Favorites function can be exited at any
time. To exit the Favorites function:
XPress the Favorites button again
or
XPress %on the controller.
or
XPress the %button on the touchpad.
or
XTo select %in the display: turn and
press the controller.
Further information on the Favorites function
(
Ypage 35).
Importing/exporting data
General notes
!
Never remove the stick or card when writ-
ing data to the USB stick or the memory
card. You may otherwise lose data.
Using this function you can:
Rtransfer your personal COMAND data from
one system/vehicle to another.
Rmake a backup copy of your personal data
(export data) and load it again (import
data).
Rprotect your data from unwanted export by
activating a PIN prompt (presetting: deac-
tivated ª).
Importing/exporting data49
System settings
Z
Page 52 of 246
You can either use an SD memory card or a
USB storage device (e.g. a USB stick) as tem-
porary storage.
Please remember that the NFTS file system is
not supported. The FAT32 file system is rec-
ommended.
Activating/deactivating PIN protec-
tion
XPress theØbutton on the COMAND
control panel.
or
XPress Vehiclein the main function bar.
The vehicle menu is displayed.
XTo select System Settings: slide6,
turn and press the controller.
A menu appears.
XTo select Data Import/Export: turn and
press the controller.
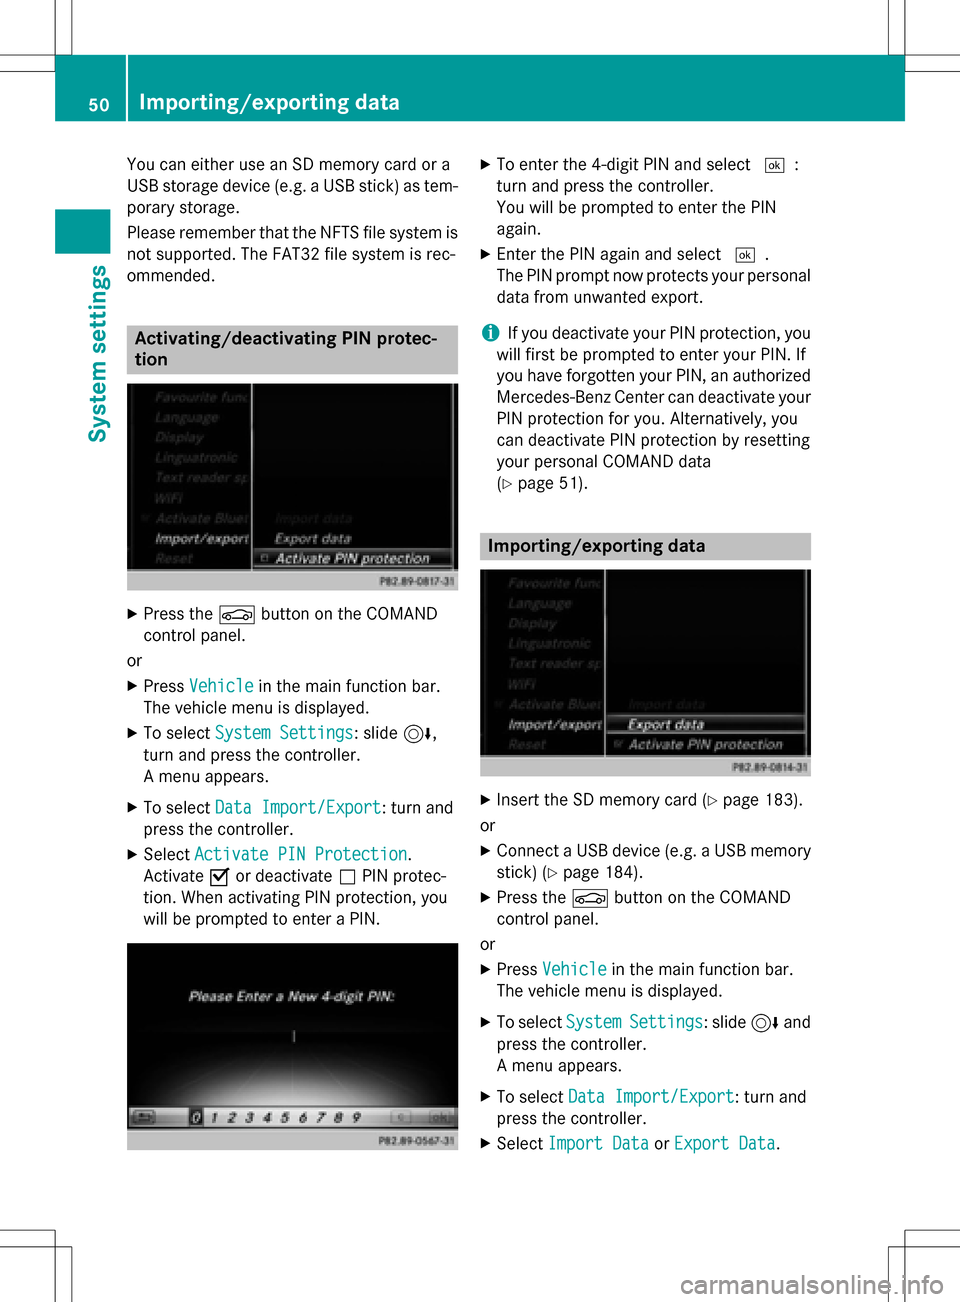
XSelect Activate PIN Protection.
Activate Oor deactivate ªPIN protec-
tion. When activating PIN protection, you
will be prompted to enter a PIN.
XTo enter the 4-digit PIN and select ¬:
turn and press the controller.
You will be prompted to enter the PIN
again.
XEnter the PIN again and select ¬.
The PIN prompt now protects your personal
data from unwanted export.
iIf you deactivate your PIN protection, you
will first be prompted to enter your PIN. If
you have forgotten your PIN, an authorized
Mercedes-Benz Center can deactivate your
PIN protection for you. Alternatively, you
can deactivate PIN protection by resetting
your personal COMAND data
(
Ypage 51).
Importing/exporting data
XInsert the SD memory card (Ypage 183).
or
XConnect a USB device (e.g. a USB memory
stick) (
Ypage 184).
XPress the Øbutton on the COMAND
control panel.
or
XPress Vehiclein the main function bar.
The vehicle menu is displayed.
XTo select SystemSettings: slide6and
press the controller.
A menu appears.
XTo select Data Import/Export: turn and
press the controller.
XSelect Import DataorExport Data.
50Importing/exporting data
System settings
Page 53 of 246
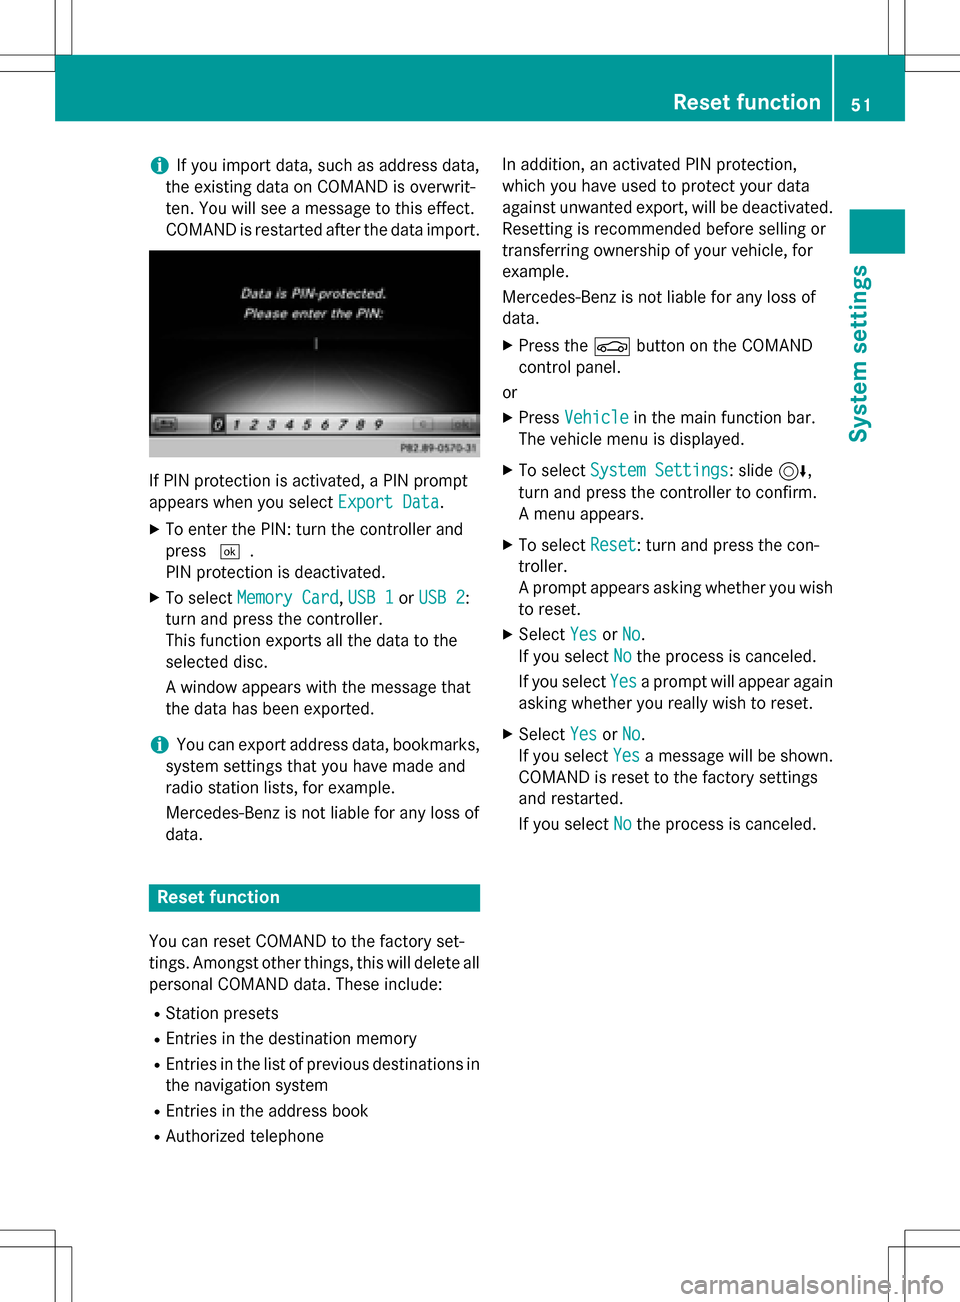
iIf you import data, such as address data,
the existing data on COMAND is overwrit-
ten. You will see a message to this effect.
COMAND is restarted after the data import.
If PIN protection is activated, a PIN prompt
appears when you select Export Data
.
XTo enter the PIN: turn the controller and
press¬.
PIN protection is deactivated.
XTo select Memory Card,USB 1or USB 2:
turn and press the controller.
This function exports all the data to the
selected disc.
A window appears with the message that
the data has been exported.
iYou can export address data, bookmarks,
system settings that you have made and
radio station lists, for example.
Mercedes-Benz is not liable for any loss of
data.
Reset function
You can reset COMAND to the factory set-
tings. Amongst other things, this will delete all
personal COMAND data. These include:
RStation presets
REntries in the destination memory
REntries in the list of previous destinations in
the navigation system
REntries in the address book
RAuthorized telephone In addition, an activated PIN protection,
which you have used to protect your data
against unwanted export, will be deactivated.
Resetting is recommended before selling or
transferring ownership of your vehicle, for
example.
Mercedes-Benz is not liable for any loss of
data.
XPress the
Øbutton on the COMAND
control panel.
or
XPress Vehiclein the main function bar.
The vehicle menu is displayed.
XTo select System Settings: slide6,
turn and press the controller to confirm.
A menu appears.
XTo select Reset: turn and press the con-
troller.
A prompt appears asking whether you wish
to reset.
XSelect YesorNo.
If you select No
the process is canceled.
If you select Yes
a prompt will appear again
asking whether you really wish to reset.
XSelect YesorNo.
If you select Yes
a message will be shown.
COMAND is reset to the factory settings
and restarted.
If you select No
the process is canceled.
Reset function51
System settings
Z
Page 73 of 246

RCenter
Entering a center will delete a previously
entered street.
RIntersection
Entering an intersection will delete a previ-
ously entered house number.
XSe lect the address entry menu (Ypage 69).
XTo select State/Province,ZIP Code,
Ctr.
or Intersection: turn, slide 6and
press the controller.
XSe lect an entry (Ypage 70).
Saving an address
You can store the addressed entered as:
Rhome address in the address book
Ra nav igable address book contact
For further information on the address
book, see (
Ypage 128)
Ra personal destination on the SDmemory
card (
Ypage 99)
XCall up the address entry menu
(
Ypage 69).
XTo select Save: slide6, turn and press
the controller.
XAs the home address: selectAs "My
Address".
COMAND stores your home address under
My Address
in the list of contacts.
XAs a contact: selectAs New Address
Book Entry.
XSelect Not Classified,Homeor Work.
XEnter a surname and first name
(
Ypage 34).
XTo select OK: turn and press the controller.
The destination address issaved inthe
address book as a nav igablecontact.
Starting route calculation
The entered destination appears inthe
address entry menu.
XTo confirm StartorContinue: press the
controller.
If you select Start
: the route iscalculated
wit h the current route settings (
Ypage 66).
While route calculation is inprogress, an
arrow willindicate the direction to your
destination. Once the route has been cal-
culated, route guidance begins. Ifthe veh i-
cle istraveling on a non-digitized road, the
system displays the linear distance to the
destination, the direction to the destination
and the Road Not Mapped
message.
Destination entry71
Navigation
Z
Page 82 of 246

SelectionStep
Address
Entry
XEnter a destination by
address (
Ypage 70).
Keyword
Search
XSelect a destination by
means of a keyword
search (
Ypage 72).
From Last
Destinations
XSelect a destination
from the list of last des-
tinations (
Ypage 74).
From Con‐
tacts
XSelect a contact from
the address book as
the destination
(
Ypage 74).
From POIsXSelect a point of inter-
est (
Ypage 75).
Using MapXEnter a destination
using the map
(
Ypage 78).
From Memory
Card
XSelect a personal POI
(
Ypage 85).
From
Mercedes-
Benz Apps
XEnter a destination
from Mercedes-Benz
Apps (
Ypage 82).
Using Geo-
Coordinates
XEnter a destination
using the geo-coordi-
nates (
Ypage 82).
XTo select a POI: turn the controller and
press to confirm.
After selecting a POI or entering a destina-
tion, the address of the intermediate des-
tination is displayed.
After entering a destination using the map,
the address entry menu is displayed.Start
is highlighted.
XTo call up a map:selectMapby turning and
pressing the controller.
You can move the map and select the des-
tination.
XTo make a call: selectCall.
If the intermediate destination has a tele-
phone number and a mobile phone is con-
nected to COMAND (
Ypage 114), the call
is connected.
XTo load data from the Internet: select
www
.
If an Internet address is available, data is
loaded from the Internet.
XTo store an intermediate destination in
the destination memory: selectSave
(Ypage 98).
XTo accept an intermediate destination:
selectOK
by pressing the controller.
The destination is entered in the intermedi-
ate destinations menu.
80Destination entry
Navigation