2016 MERCEDES-BENZ G-CLASS SUV fuel
[x] Cancel search: fuelPage 198 of 261
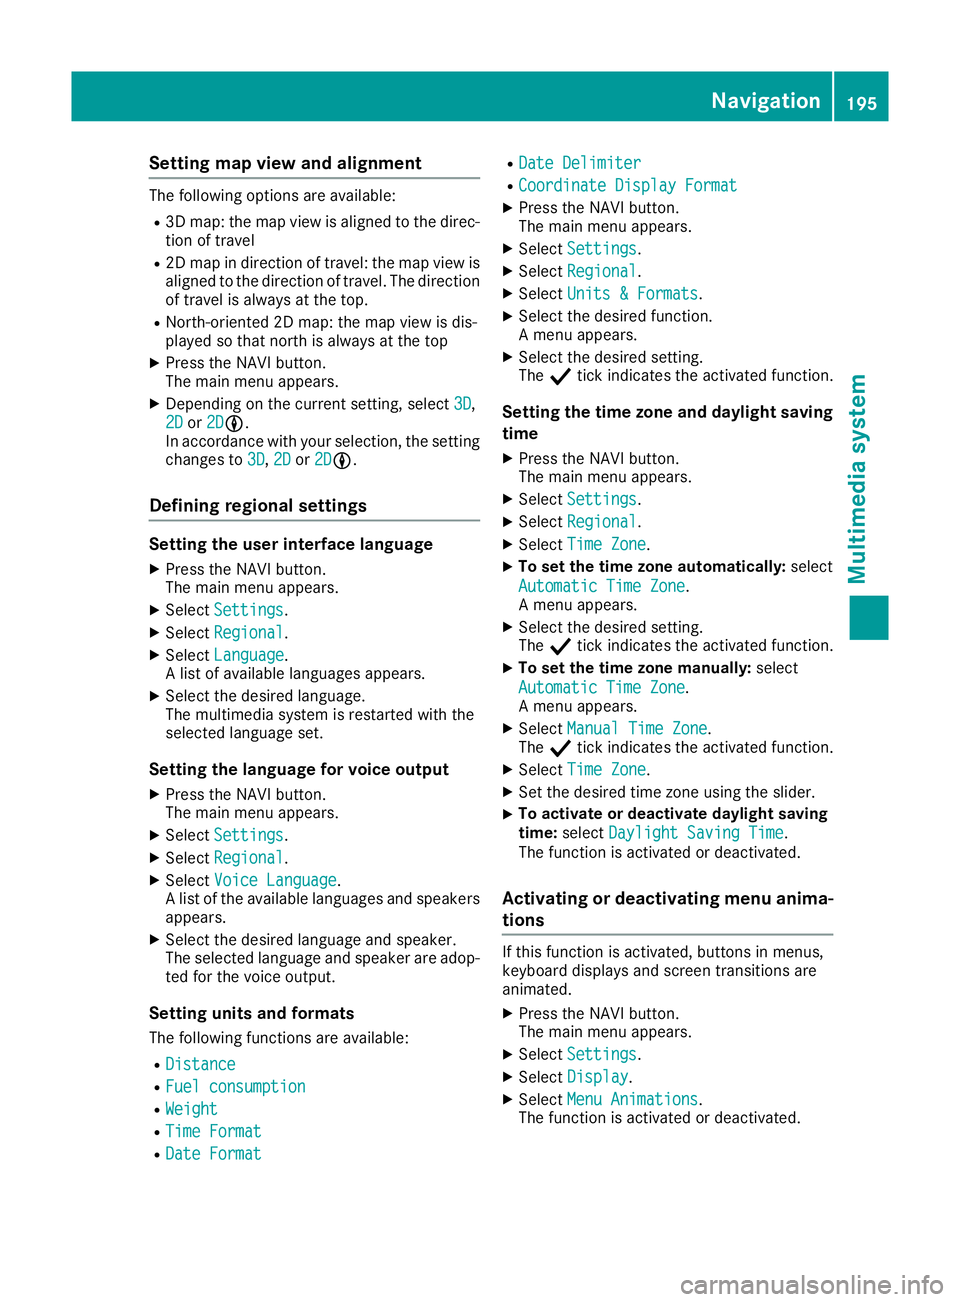
Setting map view and alignment
The following options are available:
R 3D map: the map view is aligned to the direc-
tion of travel
R 2D map in direction of travel: the map view is
aligned to the direction of travel. The direction
of travel is alwaysatt he top.
R North-oriented 2D map: the map view is dis-
played so that northisa lwaysatthe top
X Press the NAVI button.
The main menu appears.
X Dependin gonthe current setting, select 3D 3D,
2D
2D or2D
2DLL.
In accordance with your selection, the setting
changes to 3D
3D, 2D
2Dor2D
2DLL.
Defining regional settings Setting the user interface language
X Press the NAVI button.
The main menu appears.
X Select Settings Settings.
X Select Regional
Regional.
X Select Language
Language.
Al ist of available languages appears.
X Select the desired language.
The multimedia system is restarted with the
selected language set.
Setting the language for voice output
X Press the NAVI button.
The main menu appears.
X Select Settings Settings.
X Select Regional
Regional.
X Select Voice Language
Voice Language.
Al ist of the available languages and speakers
appears.
X Select the desired language and speaker.
The selected language and speaker are adop-
ted for the voice output.
Setting units and formats The following functions are available:
R Distance
Distance
R Fuel consumption Fuel consumption
R Weight
Weight
R Time Format
Time Format
R Date Format
Date Format R
Date Delimiter
Date Delimiter
R Coordinate Display Format
Coordinate Display Format
X Press the NAVI button.
The main menu appears.
X Select Settings
Settings.
X Select Regional Regional.
X Select Units &Formats
Units &Formats.
X Select the desired function.
Am enu appears.
X Select the desired setting.
The Ytick indicates the activated function.
Setting the time zone and daylight saving
time
X Press the NAVI button.
The main menu appears.
X Select Settings
Settings.
X Select Regional Regional.
X Select Time Zone
Time Zone.
X To set the time zone automatically: select
Automatic Time Zone
Automatic Time Zone.
Am enu appears.
X Select the desired setting.
The Ytick indicates the activated function.
X To set the time zone manually: select
Automatic Time Zone Automatic Time Zone.
Am enu appears.
X Select Manual Time Zone Manual Time Zone.
The Ytick indicates the activated function.
X Select Time Zone
Time Zone.
X Set the desired time zone using the slider.
X To activate or deactivate daylight saving
time:
select Daylight Saving Time Daylight Saving Time.
The function is activated or deactivated.
Activating or deactivating menu anima-
tions If this function is activated, buttons in menus,
keyboard displays and screen transitions are
animated.
X Press the NAVI button.
The main menu appears.
X Select Settings Settings.
X Select Display
Display.
X Select Menu Animations
Menu Animations.
The function is activated or deactivated. Navigation
195Multimedia system Z
Page 214 of 261
Engine compartment
Bonnet
Importan tsafety notes G
WARNING
An unlocked bonne tmay open up when the
vehicl eisinm otion and block yourv iew.There
is ar isk of an accident.
Never unlock the bonnet when driving. Before
every trip, ensure that the bonnet is locked. G
WARNING
When being opened and closed ,the bonnet
may suddenly fall into the closed position.
There is arisk of injury to persons in the range
of movement of the bonnet.
Open and close the bonnet only when nobody
is in the range of movement. G
WARNING
If you open the bonnet while the engine is
overheating or while there is afire in the
engine compartment, you coul dcome into
contact with hot gase sorother leaking ser-
vice products. There is adange rofinjury.
Allow an overheating engine to cool down
before opening the bonnet. If there is afire in
the engine compartment, leave the bonnet
closed and notify the fire brigade. G
WARNING
The ignitio nsystem and the fuel injection sys-
tem operate with ahigh voltage. If you touch
the live components, you coul dreceive an
electric shock. There is adange rofinjury.
Never touch components of the ignitio nsys-
tem or the fuel injection system when the
ignitio nisswitched on. G
WARNING
There are moving components in the engine
compartment. Certain components may con-
tinue to move or suddenly move again even
after the ignitio nhas been switched off, e.g.
the radiator fan. There is arisk of injury. If you have to carry out work in the engine
compartment:
R switch off the ignition
R never touch the dangerou sarea ssurround-
ing moving components, e.g. the rotation
area of the fan
R remove jewellery and watches
R keep items of clothing and hair, for exam-
ple, awayf rom moving parts.
Do not touch the diagnostics socket when the
ignition is switched on.
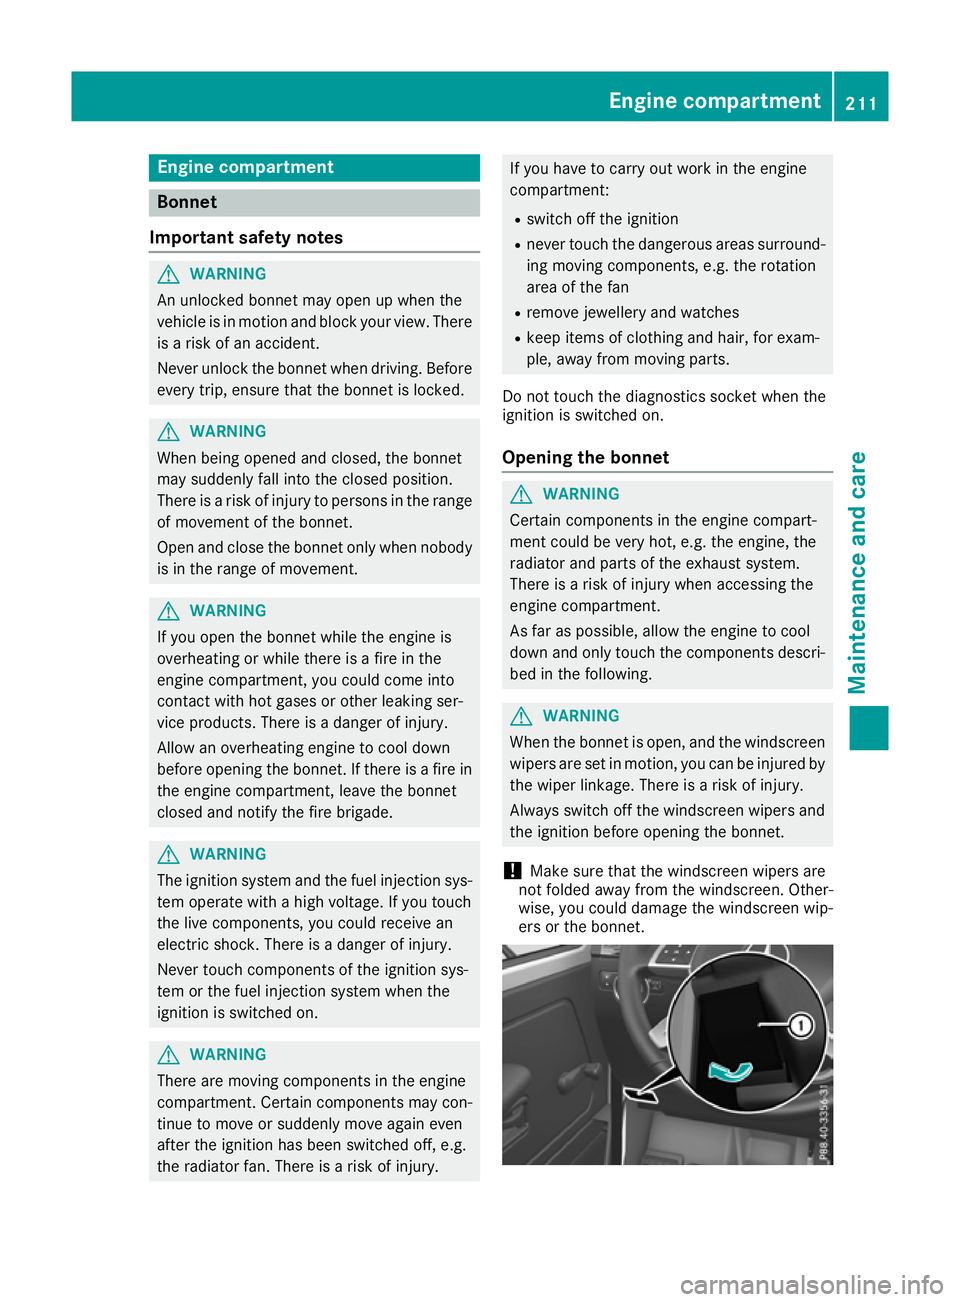
Openin gthe bonnet G
WARNING
Certain components in the engine compart-
ment could be very hot, e.g. the engine, the
radiator and parts of the exhaust system.
There is arisk of injury when accessing the
engine compartment.
As far as possible,a llow the engine to cool
downa nd only touch the components descri-
bed in the following. G
WARNING
When the bonnet is open, and the windscreen wipers are set in motion, you can be injured by
the wiper linkage. There is arisk of injury.
Always switch off the windscreen wipers and
the ignitio nbefore opening the bonnet.
! Make sure that the windscreen wipers are
not folde dawayfrom the windscreen. Other-
wise, you coul ddamage the windscreen wip-
ers or the bonnet. Engine compartment
211Maintenanceand care Z
Page 216 of 261
Note
sono illevel Depending on your drivin
gstyle ,the vehicle
consumes up to 0.8 litres of oi lper 1,000 km.
The oi lconsumption ma ybehighe rtha nt his
when the vehicl eisnew or if yo ufrequentl ydrive
at high engine speeds.
To check the oi llev el:
R park the vehicl eonalevel surface
R the engine shoul dbeswitched off for approx-
imatel yfivem inute sifthe engine is at normal
operating temperature
R if the engine is not at normal operating tem-
perature, e.g .ifthe engine wa sonlys tarted
briefly, wait approximately 30 minute sbefore
carrying out the measurement
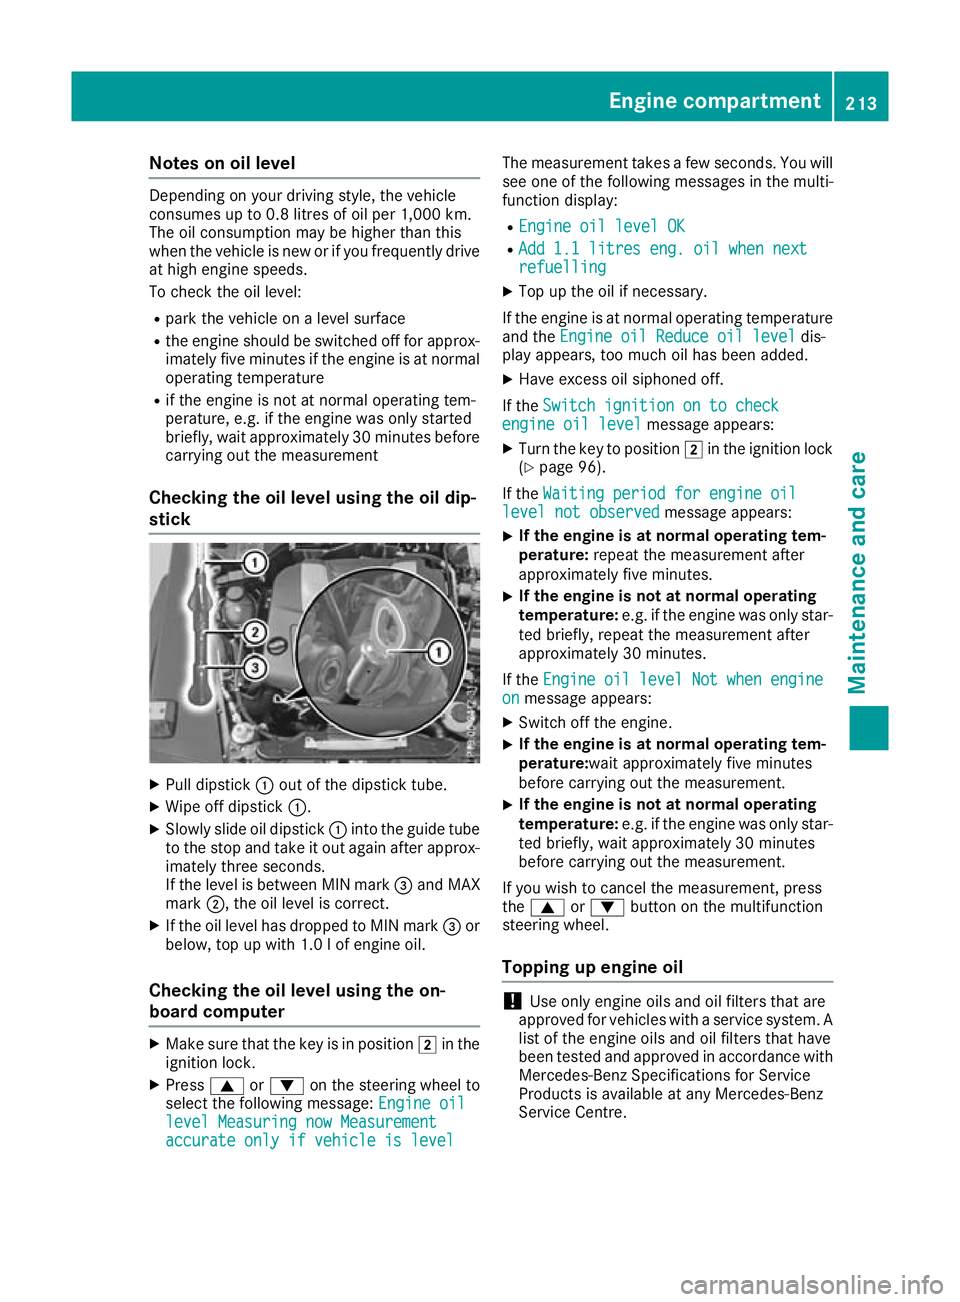
Checking the oil level using the oil dip-
stick X
Pull dipstick :out of the dipstick tube.
X Wipe off dipstick :.
X Slowly slide oil dipstick :into the guide tube
to the stop and take it out again after approx- imately three seconds.
If the level is between MIN mark =and MAX
mark ;,the oil level is correct.
X If the oil level has dropped to MIN mark =or
below, top up with 1.0 lofe ngine oil.
Checking the oil level using the on-
board computer X
Make sure that the key is in position 2in the
ignition lock.
X Press 9or: on the steering wheel to
select the following message: Engine oil Engine oil
level Measuring now Measurement level Measuring now Measurement
accurate only if vehicle is level accurate only if vehicle is level The measurement takes
afew seconds. You will
see one of the following messages in the multi-
function display:
R Engine oil level OK Engine oil level OK
R Add 1.1 litres eng. oil when next
Add 1.1 litres eng. oil when next
refuelling refuelling
X Top up the oil if necessary.
If the engine is at normal operating temperature and the Engine oil Reduce oil level
Engine oil Reduce oil level dis-
play appears, too much oil has been added.
X Have excess oil siphoned off.
If the Switch ignition on to check
Switch ignition on to check
engine oil level
engine oil level message appears:
X Turn the key to position 2in the ignition lock
(Y page 96).
If the Waiting period for engine oil
Waiting period for engine oil
level not observed
level not observed message appears:
X If the engine is at normal operating tem-
perature:
repeat the measurement after
approximately five minutes.
X If the engine is not at normal operating
temperature:
e.g. if the engine was only star-
ted briefly, repeat the measurement after
approximately 30 minutes.
If the Engine oil level Not when engine Engine oil level Not when engine
on
on message appears:
X Switch off the engine.
X If the engine is at normal operating tem-
perature:wait approximately five minutes
before carrying out the measurement.
X If the engine is not at normal operating
temperature:
e.g. if the engine was only star-
ted briefly, wait approximately 30 minutes
before carrying out the measurement.
If you wish to cancel the measurement ,press
the 9 or: button on the multifunction
steering wheel.
Topping up engineo il !
Use only engine oils and oil filters that are
approved for vehicles with aservice system. A
list of the engine oils and oil filters that have
been tested and approved in accordance with
Mercedes-Benz Specifications for Service
Products is available at any Mercedes-Benz
Service Centre. Engine compartment
213Maintenance and care Z
Page 219 of 261
The ASSYST service interval display inform
syou
of the next service due date.
If as ervice due date has been exceeded, you
also hear awarning tone.
The multifunction display shows aservice mes-
sage for afew seconds, e.g.:
Service Ain999,999 km
Service Ain999,999 km
Service Ain..d ays
Service Ain..d ays
Service Adue
Service Adue
Service Aoverdue by 999,999 km
Service Aoverdue by 999,999 km
Service Aoverdue by .. days
Service Aoverdue by .. days
Maintaining the time-dependent service sched-
ule:
X Call up and noted own the service due date
before disconnectin gthe battery.
or X After reconnecting the battery, subtract the
battery disconnection periods from the ser-
vice date shown on the display.
The symbol and the letter indicate which type of service is due:
¯ Minor service A
A
± Major service B B
The ASSYST service interval display does not
take into account any periods of time during
which the battery is connected.
Hiding service messages X
To hide the service message, press the %
back button on the multifunction steering
wheel (Y page 132).
Displaying service messages Use the buttons on the multifunction steering
wheel.
X Switch the ignition on.
X Press =or; to select the standard
display menu on the steering wheel
(Y page 133).
X Press 9or: to select the ASSYST ser-
vice interval display.
The ¯ or± service symbol and the ser-
vice due date are displayed. Special service requirements The prescribed service interval is based on nor-
mal operation of the vehicle. Servic ework will
need to be performed more often if the vehicle is operated under arduous conditions or increased
loads, for example:
R regular city driving with frequent intermediate
stops
R if the vehicle is primarily used to travel short
distances
R for frequent operation in mountainous terrain
or on poor road surfaces
R if the engine is often left idling for long periods
In these or similar operating conditions, have,
for example, the air filter, engine oil and oil filter changed more frequently. The tyres must be
checked more frequently if the vehicle is oper-
ated under increased loads. Further information can be obtained at aqualified specialist work-
shop, e.g. aMercedes-Benz Servic eCentre. Fuel/water separator
! If you continue driving without having the
fuel/wate rseparato rserviced, this could
caus edamag etotheengine. An yresulting
damag eisnotcovered by th ewarranty. H
Environmenta
lnote
Dispose of servic eproduct sinane nviron-
mentally-responsible manner.
If th efuel/water separator needs servicing:
R the ! Clean
Clean the thefuel
fuel filter
filter message
is shown in th emultifunction display
R aw arning tone sounds
X Consult aqualifie dspecialist workshop. Care
General notes
! For cleaning your vehicle, do not use any of
the following:
R dry ,rough or hard cloths
R abrasive cleaning agents
R solvents
R cleaning agents containing solvents
Do not scrub. 216
CareMaintenanc
eand care
Page 221 of 261
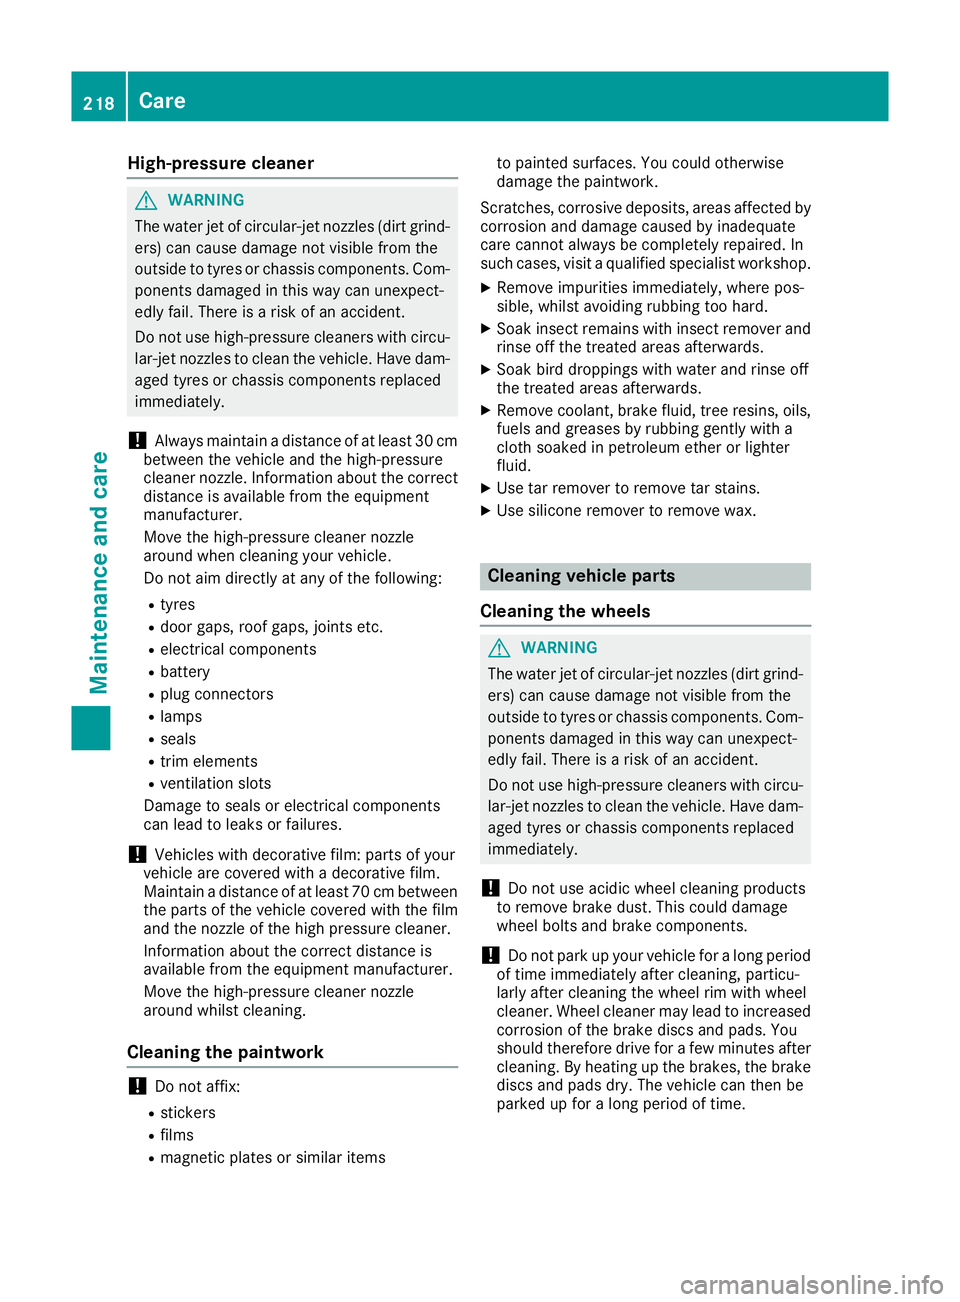
High-pressure cleaner
G
WARNING
The wate rjet of circular-jet nozzles (dirt grind-
ers) can caus edamage not visible from the
outside to tyres or chassi scomponents. Com-
ponents damaged in this way can unexpect-
edlyf ail.There is arisk of an accident.
Do not use high-pressure cleaners with circu-
lar-jet nozzles to clea nthe vehicle. Have dam-
agedt yres or chassi scomponents replaced
immediately.
! Always maintai
nadistance of at least 30 cm
between the vehicl eand the high-pressure
cleaner nozzle. Information about the correct
distance is available from the equipment
manufacturer.
Move the high-pressure cleaner nozzle
around when cleaning yourv ehicle.
Do not aim directly at any of the following:
R tyres
R door gaps, roof gaps, joints etc.
R electrica lcomponents
R battery
R plugc onnectors
R lamps
R seals
R trim elements
R ventilation slots
Damag etosealsore lectrica lcomponents
can leadtol eaks or failures.
! Vehicles with decorative film: parts of your
vehicl eare covered with adecorative film.
Maintain adistance of at least 70 cm between
the parts of the vehicl ecovered with the film
and the nozzle of the high pressure cleaner.
Information about the correct distance is
available from the equipment manufacturer.
Move the high-pressure cleaner nozzle
around whilst cleaning.
Cleaning the paintwork !
Do not affix:
R stickers
R films
R magneti cplates or similari tems to painted surfaces. You could oth
erwise
damage the paintwork.
Scratches, corrosive deposits, area saffecte dby
corrosion and damage cause dbyinadequate
car ecannot always be completel yrepaired .In
such cases ,visit aquali fied specialis tworkshop.
X Remov eimpuri ties immediately, where pos-
sible, whilst avoiding rubbing too hard.
X Soa kinsect remains with insect remove rand
rinse off the treated area safterwards.
X Soa kbirdd ropping swithw ater and rinse off
the treated area safterwards.
X Remov ecoolant, brake fluid ,tree resins ,oils,
fuel sand greases by rubbing gently with a
cloth soaked in petroleu mether or lighter
fluid.
X Use tar remove rtoremove tar stains.
X Use silicone remove rtoremove wax. Cleanin
gvehicle parts
Cleaning th ewheels G
WARNING
Th ew ater jet of circular-jet nozzles (dirt grind-
ers) can caus edamage not visible from the
outside to tyres or chassi scomponents. Com-
ponents damaged in this way can unexpect-
edlyf ail.There is arisk of an accident.
Do not use high-pressure cleaners with circu-
lar-jet nozzles to clea nthe vehicle. Have dam-
agedt yres or chassi scomponents replaced
immediately.
! Do not use acidic whee
lcleaning products
to remove brake dust. This coul ddamage
whee lbolts and brake components.
! Do not park up yourv
ehiclefor along period
of time immediatel yafter cleaning, particu-
larl yafter cleaning the whee lrim with wheel
cleaner. Whee lcleaner may leadtoi ncreased
corrosio nofthe brake discs and pads. You
should therefore drive for afew minutes after
cleaning. By heating up the brakes ,the brake
discs and padsd ry. The vehiclecan then be
parked up for along period of time. 218
CareMaintenanc
eand care
Page 238 of 261
Important safety notes
G
WARNING
If wheels an dtyres of the wrong size are used,
the whee lbrakes or suspension components
may be damaged. There is arisk of an acci-
dent.
Always replace wheels and tyres with those
that fulfi lthe specifications of the original
part.
When replacing wheels, make sure to fit the
correct:
R designation
R type
When replacing tyres, make sure to fit the
correct:
R designation
R manufacturer
R type G
Warning
Af lat tyre severely impairs the driving, steer-
ing and braking characteristics of the vehicle.
There is arisk of an accident.
Do not drive with aflat tyre. Immediately
replace the flat tyre with yours parew heel, or
consult aqualified specialist workshop.
Accessorie sthat are not approved for yourv ehi-
cle by Mercedes-Benz or are not being used cor- rectly can impair the operating safety.
Before purchasing and using non-approved
accessories, visit aqualified specialist work-
shop and enquire about:
R suitability
R lega lstipulations
R factory recommendations
Further information regarding wheels and tyres
can be found under "Wheel/tyre combinations"
(Y page2 46).
You can ask for information regarding permitted
wheel/tyre combinations at aMercedes-Benz
Service Centre. Information on tyre pressure can be found:
R on the tyre pressure table in the fuel fille rflap
(Y page 109)
R under "Tyre pressure" (Y page 238)
Modification work on the brake system and
wheelsisn ot permitted, nor is the use of spacer
plates or brake dust shields. This invalidates the general operating permit for the vehicle.
i Further information on wheelsa
nd tyres can
be obtained at any qualifieds pecialist work-
shop. Operation
Info
rmatio nondriving
When th evehicl eish eavily laden ,check thet yre
pressures and adjust them prio rtoatrip.
While driving ,pay attention to vibrations, noises
and unusual handlin gcharacteristics ,e.g.p ull-
ing to on eside .This may indicat ethatthe
wheels or tyres are damaged. If you suspec tthat
at yreisd efective, reduce your spee dimmedi-
ately. Stop th evehicl eass oonasp ossible to
chec kthe wheels and tyres for damage. Hidden
tyr ed amag ecould also be causing th eunusual
handlin gcharacteristics .Ifyou fin dnos ignsof
damage, hav ethe tyres and wheels checke data
qualified specialist workshop.
When parking your vehicle, mak esuren otto
squas hthe tyre. If you canno tavoi dd riving over
obstacles, e.g. kerbs ,dososlowly and at an
obtuse angle only. You could otherwise damage
th ew hee lrim sa nd tyres. Regular checking of wheels an
dtyres G
WARNING
Damaged tyres can caus etyre inflation pres-
sure loss. As aresult, you coul dlose control of
yourv ehicle. There is arisk of accident.
Check the tyres regularl yfor signs of damage
and replace any damaged tyres immediately.
Check wheels and tyres for damage at least
once amonth. Check wheels and tyres after
driving off-road or on roug hroads. Damaged
wheels can caus ealoss of tyre pressure. Operation
235Wheels and tyres Z
Page 242 of 261

R
Chec kthe tyrefor foreign objects.
R Chec kwhether th ewheel is losin gair or the
valv eisl eaking.
If you are unable to rectif ythe damage, con-
tac taq ualified specialist workshop. H
Environmenta
lnote
Chec kthe tyrep ressure regularly, at least
ever y14d ays.
The recommended tyr epressures for various
operatin gcondition scan be foun donthetyre
pressure table on th efuel filler flap
(Y page 109).
Operation with atrailer: thea pplicable value
for th erear axle is th emaximum value stated in
th et yrep ressure table.
The tyr epressure table may also state tyr epres-
sures for differen tload conditions. Thes eare
defined in th etable as differen tnumbers of pas-
sengers and amounts of luggage. The actual
number of seat smay differ fro mthis.
If tyr esizes are not specified ,the tyrep ressures
stated on th etyrep ressure informatio nlabel
apply for all tyres approved for this vehicle. If one or mor
etyre sizes precedes atyre pres-
sure, the following tyre pressure information is
valido nly for that tyre size.
Use asuitable pressure gauge to check the tyre
pressure. The outer appearance of atyre does
not give any reliable indicatio nofthe tyre pres-
sure.
You can also check the tyre pressure using the
on-board computer.
If possible, correct tyre pressures only when the
tyres are cold. The tyres are cold:
R if the vehicl ehas been parked with the tyres
out of direct sunlight for at least three hours
and
R if the vehicle has not been driven further than
1.6 km
Dependin gonthe outside temperature, the
vehicle speed and the load on the tyres, the tyre temperature and thus the tyre pressure changes by approximately 10 kPa (0.1 bar/1.5 psi )per
10 †. Take this into account when checking the
pressure of warm tyres. Correct the tyre pres-
sure only if it is too low for the current operating
condition.
Drivin gwithatyre pressure that is too high or
too low can:
R shorten the service life of the tyres
R cause increased tyre damage
R have anegative effect on handling character-
istics and thus driving safety (e.g. aquaplan-
ing)
The tyre pressure values given for low loads are minimum values that offer you good driving
comfor tcharacteristics.
However, you can also use the values given for
higher loads. These are permissible and will not
adversely affect the runnin gofthe vehicle. Tyre pressur
emonitor
General notes If
at yre pressure monitor is fitted, the vehicle's
wheelsh ave sensors fitted that monitor the tyre
pressures in all four tyres. The tyre pressure
monitor warns you if the pressure drops in one
or more of the tyres. The tyre pressure monitor
functions only if the corresponding sensors are
fitted to all wheels.
Information on tyre pressures is shown on the
multifunction display. After afew minutes of
driving, the current tyre pressure of each wheel
is shown in the Serv.
Serv. menu. Tyrep
ressure
239Wheels and tyres Z
Page 244 of 261
R
If the Rectify tyre pressure
Rectify tyre pressure message
appears in the multifunction display, the tyre
pressure in at least one tyre is too low. The
tyre pressure must be corrected when the
opportunity arises.
R If the Check Check tyre(s)
tyre(s) message appears in the
multifunction display, the tyre pressure in at
least one tyre has droppe dsignificantly. The
tyres must be checked.
R If the Warning tyre defect Warning tyre defect message
appears in the multifunction display, the tyre
pressure in at least one tyre has droppe dsud-
denly.T he tyres must be checked.
Observe the instructions and safety notes in the display messages in the "Tyres" section
(Y page 150).
If the positio nofthe wheelsont he vehicle is
changed, the tyre pressures may be displayedin the wrong positions for ashort time. After afew
minutes of driving, this is rectified and the tyre
pressures are displayedint he correct positions.
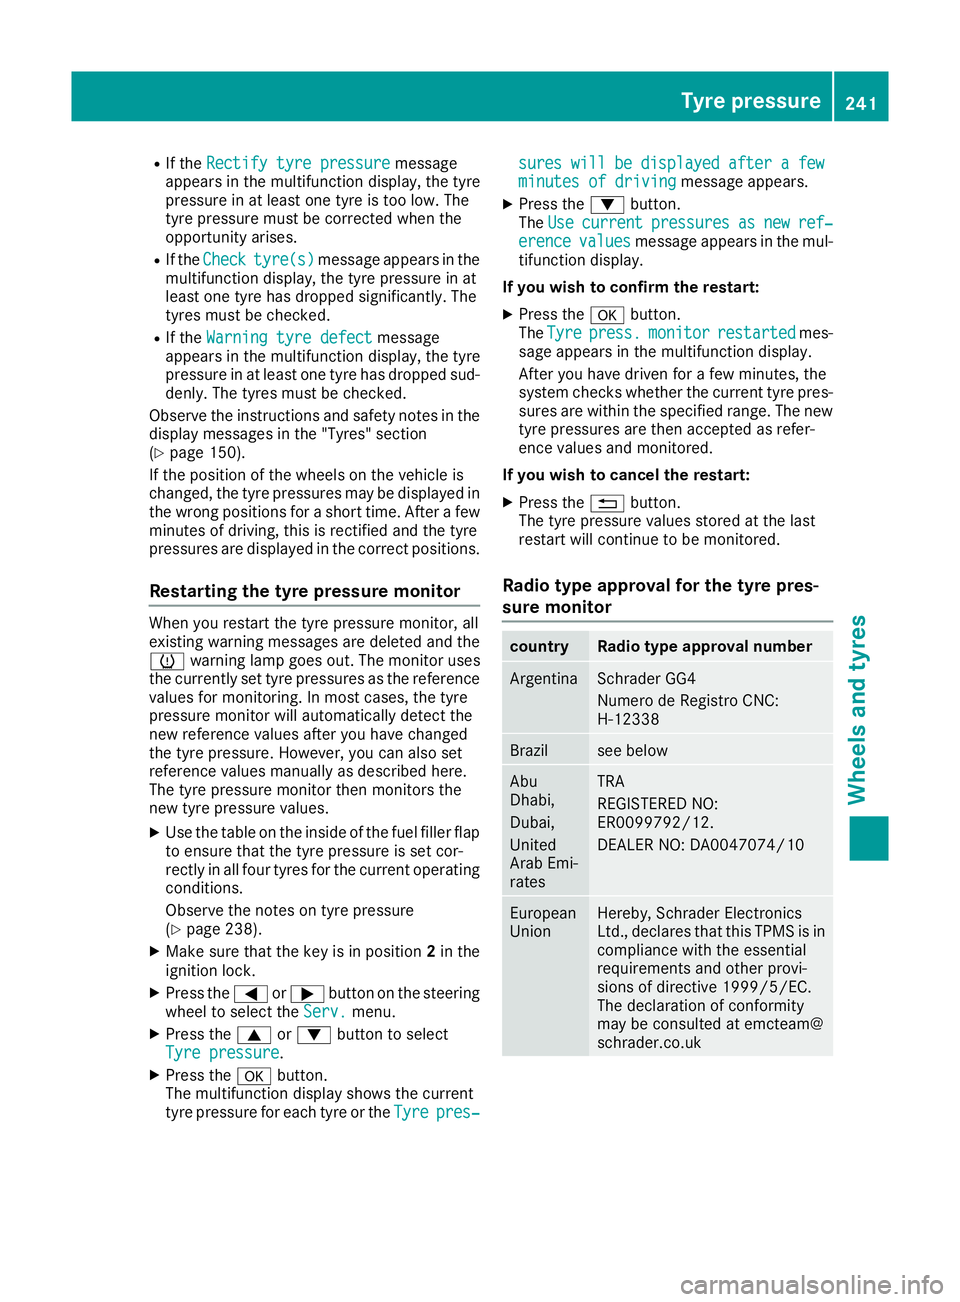
Restarting the tyre pressure monitor When you restart the tyre pressure monitor, all
existing warning messages are deleted and the
h
warning lamp goes out. The monitor uses
the currently set tyre pressures as the reference valuesf or monitoring. In most cases, the tyre
pressure monitor will automatically detect the
new reference values after you have changed
the tyre pressure. However, you can also set
reference values manually as described here.
The tyre pressure monitor then monitors the
new tyre pressure values.
X Use the table on the inside of the fuel filler flap
to ensure that the tyre pressure is set cor-
rectly in all four tyres for the curren toperating
conditions.
Observe the notes on tyre pressure
(Y page 238).
X Make sure that the key is in position 2in the
ignition lock.
X Press the =or; button on the steering
wheel to select the Serv.
Serv. menu.
X Press the 9or: button to select
Tyre pressure Tyre pressure .
X Press the abutton.
The multifunction display shows the current
tyre pressure for each tyre or the Tyre
Tyre pres‐
pres‐ sures
sures
will
willbe
bedisplayed
displayed after a
after afew
few
minutes of driving
minutes of driving message appears.
X Press the :button.
The Use
Use current
current pressures
pressures as
asnew
new ref‐
ref‐
erence
erence values
valuesmessage appears in the mul-
tifunction display.
If you wish to confirm the restart:
X Press the abutton.
The Tyre
Tyre press.
press. monitor
monitor restarted
restarted mes-
sage appears in the multifunction display.
After you have driven for afew minutes, the
system checks whether the current tyre pres-
sures are within the specified range. The new tyre pressures are then accepted as refer-
ence valuesa nd monitored.
If you wish to cancelt he restart:
X Press the %button.
The tyre pressure valuess tored at the last
restart will continue to be monitored.
Radio type approval for the tyre pres-
sure monitor country Radi
otype approva lnumber Argentina Schrader GG4
Numero de Registro CNC:
H-12338
Brazil see below
Abu
Dhabi,
Dubai,
United
Arab Emi-
rates TRA
REGISTERED NO:
ER0099792/12.
DEALER NO: DA0047074/10
European
Union Hereby, Schrader Electronics
Ltd., declare
sthat this TPM Sisin
compliance with the essential
requirements and other provi-
sions of directive 1999/5/EC.
The declaration of conformity
may be consulted at emcteam@
schrader.co.uk Tyre pressure
241Wheels and tyres Z