2016 MERCEDES-BENZ G-CLASS SUV tyre pressure
[x] Cancel search: tyre pressurePage 126 of 261

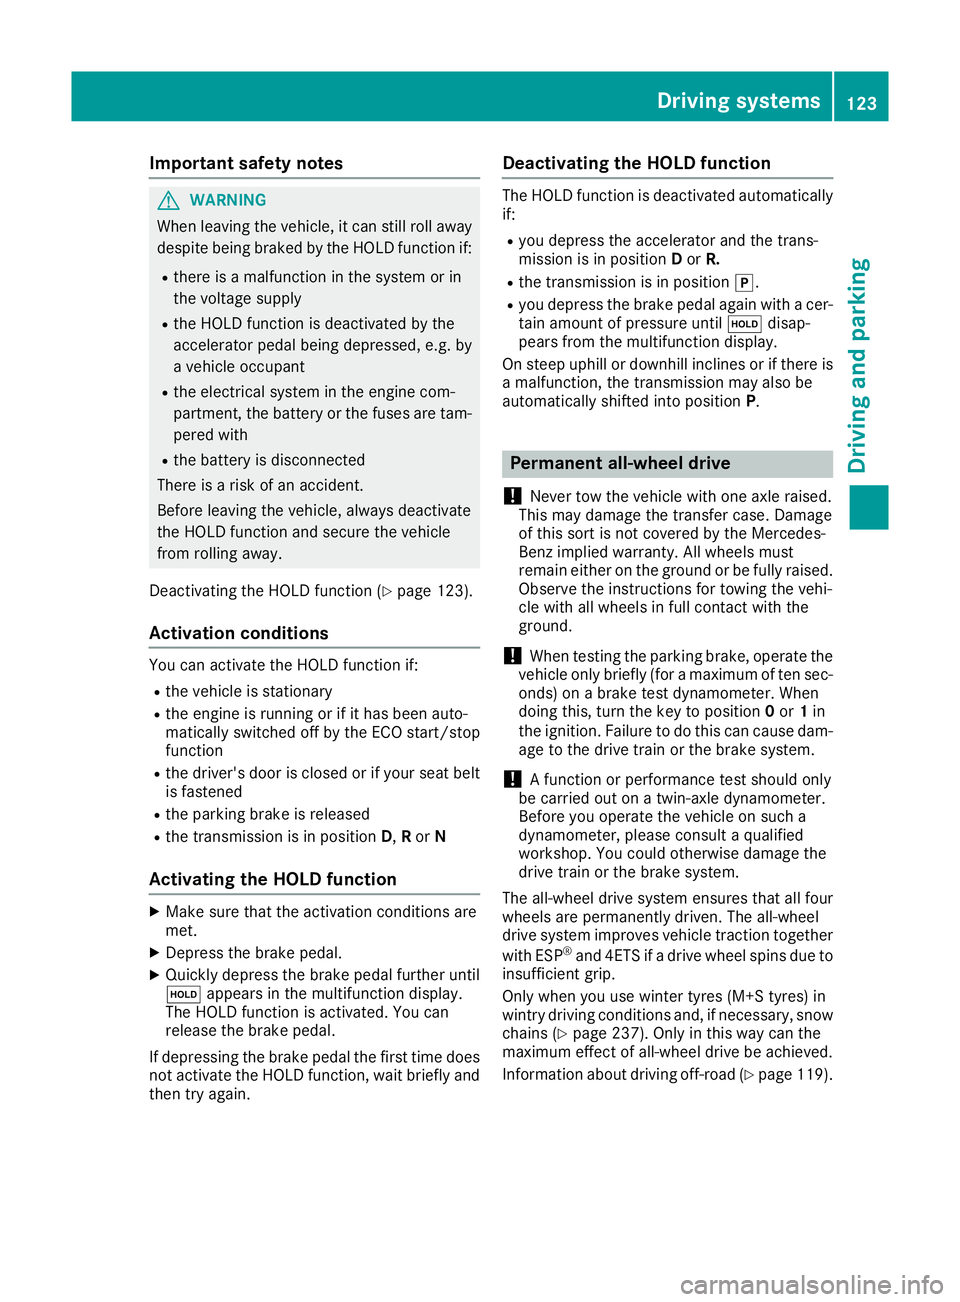
Important safety notes
G
WARNING
When leavin gthe vehicle, it can still roll away
despite being braked by the HOLD function if:
R there is amalfunction in the system or in
the voltag esupply
R the HOLD function is deactivated by the
accelerator peda lbeing depressed, e.g. by
av ehicl eoccupant
R the electrica lsystem in the engine com-
partment, the battery or the fuses are tam-
pered with
R the battery is disconnected
There is arisk of an accident.
Before leaving the vehicle, alwaysd eactivate
the HOLD function and secure the vehicle
from rolling away.
Deactivating the HOLD function (Y page123).
Activation conditions You can activate the HOLD fun
ction if:
R the vehicle is stationary
R the engin eisrunning or if it has been auto-
matically switched off by the ECO start/stop
function
R the driver's door is close dorifyour seat belt
is fastened
R the parking brak eisreleased
R the transmission is in position D,Ror N
Activating th eHOLD function X
Make sure that the activation condition sare
met.
X Depress the brake pedal.
X Quickly depress the brake pedal further until
ë appears in the multifunction display.
The HOLD function is activated. You can
release the brake pedal.
If depressing the brake pedal the first time does not activate the HOLD function, wait briefly and
then try again. Deactivating the HOLD function The HOLD function is deactivated automatically
if:
R you depress the accelerator and the trans-
mission is in position Dor R.
R the transmission is in position j.
R you depress the brake pedal again with acer-
tain amount of pressure until ëdisap-
pears from the multifunction display.
On steep uphill or downhill inclines or if there is
am alfunction, the transmission may also be
automatically shifted into position P. Permanent all-wheel drive
! Never tow the vehicle with one axle raised.
This may damage the transfer case. Damage
of this sort is not covered by the Mercedes-
Benz implied warranty. All wheels must
remain either on the ground or be fully raised.
Observe the instructions for towing the vehi-
cle with all wheels in full contact with the
ground.
! When testin
gthe parking brake, operate the
vehicle only briefly (for amaximum of ten sec-
onds) on abrake test dynamometer. When
doing this, turn the key to position 0or 1in
the ignition. Failure to do this can cause dam- age to the drive train or the brake system.
! Af
unction or performanc etest should only
be carried out on atwin-axle dynamometer.
Before you operate the vehicle on such a
dynamometer, please consult aqualified
workshop. You could otherwise damage the
drive train or the brake system.
The all-wheel drive system ensures that all four
wheels are permanently driven. The all-wheel
drive system improves vehicle traction together with ESP ®
and 4ETS if adrive wheel spins due to
insufficient grip.
Only when you use winter tyres (M+S tyres) in
wintry driving condition sand, if necessary, snow
chains (Y page 237). Only in this way can the
maximum effect of all-wheel drive be achieved.
Information about driving off-road (Y page 119). Driving systems
123Driving and parking Z
Page 131 of 261

To avoid hazardous situations:
R make sure to check the noseweight before
each journey
R the noseweight should be as close as possible
to the maximum noseweight
R do not exceed the maximum permissible
noseweight
R the noseweight must not be lower than the
minimum permissible noseweight
Make sure that the following values are not
exceeded:
R the permissible noseweight
R the permissible trailer load
R the permissible rear axle load of the towing
vehicle
R the maximum permissible gross vehicle
weight of both the towing vehicle and the
trailer
When reversin gthe towing vehicle, make sure
there is nobody between the trailer and the vehi- cle.
The applicable permissible values, which must
not be exceeded, can be found:
R in your vehicle documents
R on the type plates for the trailer
R on the vehicle identification plate
If the values differ, the lowest value applies.
You will find the values approved by the manu-
facturer on the identification plates and for the
towing vehicle under "Technical data"
(Y page 256).
When reversin gthe towing vehicle, make sure
there is nobody between the trailer and the vehi- cle.
Couple and uncouple the trailer carefully. If youdo not couple the trailer to the towing vehicle
correctly, the trailer could become detached.
When towing atrailer, your vehicle's handling
characteristics will be different from when driv-
ing without atrailer.
The vehicle/trailer combination:
R is heavier
R is restricted in its acceleration and gradient-
climbing capability
R has an increased braking distance
R is affected more by stron gcrosswinds
R demands more sensitiv esteering
R has alarger turnin gcircle This can impair the vehicle's handling charac-
teristics. Adapt your driving style accordingly.
Maintain asafe distance. Drive carefully.
When towing atrailer, alway sadjust your speed
to the current road and weather conditions. Do
not exceed the maximum permissible speed for
your vehicle/trailer combination. Notes on to
wingatrailer
General notes When towing
atrailer, set the tyre pressure on
the rear axle of the towing vehicle for amaxi-
mum load. Further information on the tyre pres-
sure table in the fuel filler flap (Y page 109).
The height of the ball coupling changes with the load of the vehicle. If necessary, use atrailer
with aheight-adjustable drawbar.
You will find permissible trailer loads under
"Technical data" (Y page 256).
Driving tips X
Observe the information on ESP ®
trailer sta-
bilisation (Y page 55).
X On long and steep downhill gradients, select
shift range 1,2or 3(Y page 105) in good time.
X If necessary, shift the transfer case to LOW
RANGE (Ypage 124).
This will use the braking effect of the engine, so less braking will be required to maintain
the vehicle speed. This relieves the load on
the brake system and prevents the brakes
from overheating and wearing too quickly. If
you need additional braking, depress the
brake pedal repeatedly rather than continu-
ously.
The maximum permissible speed for vehicle/
trailer combinations depends on the type of
trailer. Before beginnin gthe journey, check the
trailer's documents to see what the maximum
permitted speed is. Observe the maximum per-
missible speed in the relevant country.
For certain Mercedes-Benz vehicles, the maxi-
mum permissibler ear axle load is increased
when towing atrailer. See the "Technical data"
section to find out whether this applies to your
vehicle (Y page 256). In the event of increased
rear axle load, the car/trailer combination may
not exceed amaximum speed of 100 km/h for
reasons concerning the operating permit. This 128
Towing
atrailerDriving and parking
Page 140 of 261

X
Press the 6ora button to start dial-
ling.
or X To exit the redial memory: press the%
button. Assistance menu
Introduction In the
Assist.
Assist. menu, you have the following
options:
R Showin gthe assistance graphic
(Y page 137)
Showing the assistanc egraphic X
Press the =or; button on the steering
wheel to select the Assist.
Assist. menu.
X Press 9or: to select Assistance
Assistance
graphic
graphic.
X Press a.
The displa yisinoperative. Service menu
In the Serv.
Serv. menu, you have the following
options:
R Calling up display messages (Y page 141)
R Checking the tyre pressure electronically
(Y page 240)
R Calling up the service due date
(Y page 216)
R Checking the engine oil level (Y page 213)Settings menu
Introduction In the
Settings
Settings menu, you have the following
options:
R Changing the instrument cluster settings
(Y page 137)
R Changing the time/date settings
(Y page 138)
R Changing the light settings (Y page 138)
R Changing the vehicle settings (Y page 139)
R Changing the auxiliary heating settings
(Y page 139) R
Changing the convenience settings
(Y pag e140)
R Restorin gthe factory settings (Y page 141)
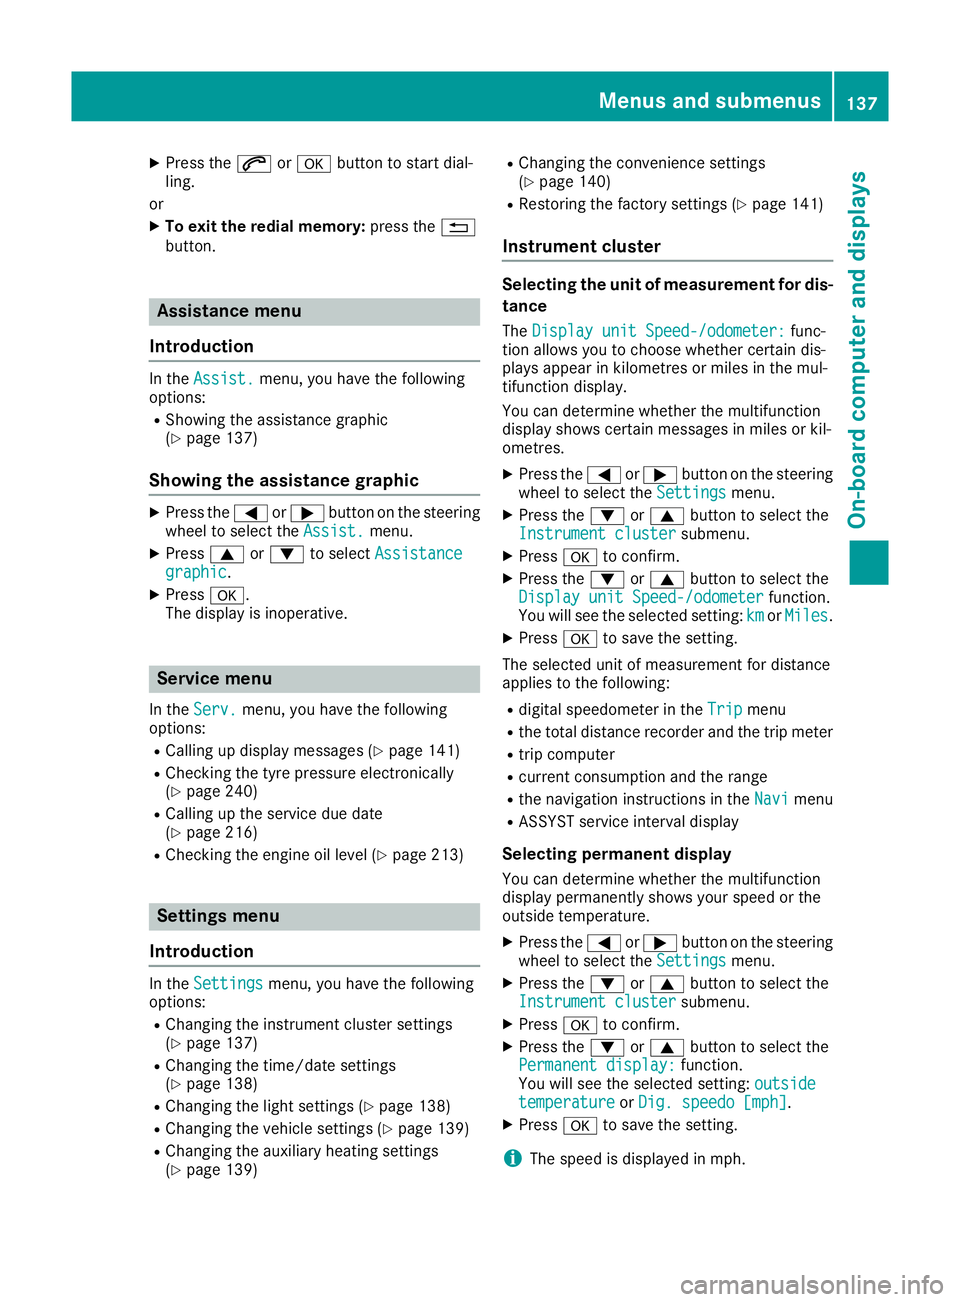
Instrumen tcluster Selecting the uni
tofmeasurement for dis-
tance
The Display unit Speed-/odometer: Display unit Speed-/odometer: func-
tion allowsy ou to choose whether certain dis-
playsa ppear in kilometres or miles in the mul-
tifunction display.
You can determine whether the multifunction
display shows certain messages in miles or kil-
ometres.
X Press the =or; button on the steering
wheel to select the Settings Settingsmenu.
X Press the :or9 button to select the
Instrument cluster
Instrument cluster submenu.
X Press ato confirm.
X Press the :or9 button to select the
Display unit Speed-/odometer
Display unit Speed-/odometer function.
You will see the selected setting: km
kmorMiles
Miles.
X Press ato save the setting.
The selected unit of measurement for distance
applies to the following:
R digital speedometer in the Trip Tripmenu
R the total distance recorder and the trip meter
R trip computer
R current consumption and the range
R the navigation instruction sintheNavi
Navi menu
R ASSYST service interval display
Selecting permanent display You can determine whether the multifunction
displayp ermanently shows your speed or the
outside temperature.
X Press the =or; button on the steering
wheel to select the Settings
Settingsmenu.
X Press the :or9 button to select the
Instrument cluster
Instrument cluster submenu.
X Press ato confirm.
X Press the :or9 button to select the
Permanent display:
Permanent display: function.
You will see the selected setting: outside
outside
temperature
temperature orDig. speedo [mph]
Dig. speedo [mph].
X Press ato save the setting.
i The speed is displayed in mph. Menus and submenus
137On-boardcomputer and displays Z
Page 153 of 261

Display messages
Possible causes/consequence
sand M
MSolutions TC NEUTRAL
TC NEUTRAL
On On The transfer case is in position
Neutral.
Aw arning tonea lso sounds when the driver's door is open and the
brake pedal is not depressed.
X Close the driver's door.
X Secure the vehicle against rolling away (Y page 113).
X Switch the transfer case depending on the driving situation
(Y page 124). Preselected differ‐
Preselected differ‐
ential lock ential lock
ESP unavailable ESP unavailable Ad
ifferential lock wa sengaged .The differential gea rsystem ha snot
ye tloc ked the respective differential .The activatio nindicator lamp
(yellow) (Y page 125) on the switch lights up.
ESP ®
is unavailable.
ABS is still available. Differential lock
Differential lock
active active
ABS ABS
and
andESP
ESPunavail‐
unavail‐
able
able Ad
ifferential lock wa sengaged and the differential gea rsystem has
not ye tloc ked the respective differential .The yellow activatio nindi-
cato rlam pand red functio nindicator lamp (Y page 125)onthe switch
lights up.
ABS and ESP ®
are unavailable. Tyres
Display messages
Possible causes/consequence
sand M MSolutions Tyre pressure dis‐
Tyre pressure dis‐
played after
afew
played after afew
minutes of driving minutes of driving The tyre pressure monitor is measuring the tyre pressure.
X Drive on.
The tyre pressures appear in the multifunction display after you
have been driving for afew minutes. Tyre Tyre
press.
press. monitor
monitor
inoperative
inoperative The tyre pressure monitor is faulty.
X Consult aqualified specialist workshop. Tyre
Tyre
press.
press. monitor
monitor
inoperative No
inoperative No
wheel sensors wheel sensors The wheels fitted do not have suitable tyre pressure sensors. The tyre
pressure monitor is deactivated.
X Fit wheels with suitable tyre pressure sensors.
The tyre pressure monitor is activated after driving for afew
minutes. 150
Display messagesOn-board computer and displays
Page 154 of 261

Display messages
Possible causes/consequence
sand M
MSolutions Check tyres
Check tyres The tyre pressure in one or more tyres has dropped significantly. The
wheel position is shown in the multifunction display.
Aw arning tonea lso sounds.
G WARNING
Underinflated tyres pose the following risks:
R the tyres may burst, especially as the load and vehicle speed
increase
R the tyres may wear excessively and/or unevenly, which may greatly
impair tyre traction
R the driving characteristics, as well as steerin gand braking, may be
greatly impaired
There is arisk of an accident.
X Stop the vehicle without making any sudden steerin gorbraking
manoeuvres. Pay attention to the traffic conditions as you do so.
X Secure the vehicle against rolling away (Y page 113).
X If there is aflat tyre, inspect the tyres (Y page 224).
X Check the tyre pressure (Y page 239).
X If necessary, correc tthe tyre pressure. Warning tyre defect Warning tyre defect The tyre pressure in one or more tyres has dropped suddenly. The
wheel position is shown in the multifunction display.
Aw
arning tonea lso sounds.
G WARNING
If you drive with aflat tyre, there is arisk of the following hazards:
R af lat tyre impairs the ability to steer or brake the vehicle
R you could lose control of the vehicle
R continued driving with aflat tyre will cause excessiv eheat build-up
and possibly afire
There is arisk of an accident.
X Stop the vehicle without making any sudden steerin gorbraking
manoeuvres. Pay attention to the traffic conditions as you do so.
X Secure the vehicle against rolling away (Y page 113).
X If there is aflat tyre, inspect the tyres (Y page 224).Rectify tyre pres‐ Rectify tyre pres‐
sure sure The tyre pressure is too low in at least one of the tyres, or the tyre
pressure differenc ebetween the wheels is too great.
X Check the tyre pressures at the next opportunit y(Ypage 239).
X If necessary, correc tthe tyre pressure.
X Restart the tyre pressure monitor (Y page 241).Wheel sensor(s)
Wheel sensor(s)
missing missing There is no signal from the tyre pressure sensor of one or several tyres.
The pressure of the affected tyre does not appear in the multifunction
display.
X Have the faulty tyre pressure sensor replaced at aqualified spe-
cialist workshop. Display me
ssages
151On-board compute rand displays Z
Page 155 of 261

Display messages
Possible causes/consequence
sand M
MSolutions Tyre
Tyre
press.
press. monitor
monitor
currently unavaila‐
currently unavaila‐
ble ble No signals can be received from the tyre pressure sensors due to
strong RF interference. The tyre pressure monitor is temporarily mal-
functioning.
X Drive on.
The tyre pressure monitor restarts automatically as soon as the
cause has been rectified. h
Tyre pressure Cau‐ Tyre pressure Cau‐
tion, tyre malfunc‐ tion, tyre malfunc‐
tion tion The tyre pressure in one or more tyres has dropped suddenly. The
wheel position is shown on the multifunction display.
Aw
arning tonea lso sounds.
G WARNING
If you drive with aflat tyre, there is arisk of the following hazards:
R af lat tyre impairs the ability to steer or brake the vehicle
R you could lose control of the vehicle
R continued driving with aflat tyre will cause excessiv eheat build-up
and possibly afire
There is arisk of an accident.
X Stop the vehicle without making any sudden steerin gorbraking
manoeuvres. Pay attention to the traffic conditions as you do so.
X Secure the vehicle against rolling away (Y page 113).
X If there is aflat tyre, inspect the tyres (Y page 224).h
Tyre Tyre
pressure
pressure Check
Check
tyre(s)
tyre(s) The tyre pressure in one or more tyres has dropped significantly. The
wheel position is shown on the multifunction display.
Aw arning tonea lso sounds.
G WARNING
Underinflated tyres pose the following risks:
R the tyres may burst, especially as the load and vehicle speed
increase
R the tyres may wear excessively and/or unevenly, which may greatly
impair tyre traction
R the driving characteristics, as well as steerin gand braking, may be
greatly impaired
There is arisk of an accident.
X Stop the vehicle without making any sudden steerin gorbraking
manoeuvres. Pay attention to the traffic conditions as you do so.
X Secure the vehicle against rolling away (Y page 113).
X If there is aflat tyre, inspect the tyres (Y page 224).
X Check the tyre pressure (Y page 239).
X If necessary, correc tthe tyre pressure. h
Rectify tyre pres‐ Rectify tyre pres‐
sure sure The tyre pressure is too low in at least one of the tyres, or the tyre
pressure differenc ebetween the wheels is too great.
X Check the tyre pressures at the next opportunit y(Ypage 239).
X If necessary, correc tthe tyre pressure. 152
Display messagesOn-board computer and displays
Page 167 of 261

Warning/
indicator
lamp
N N
Signa ltype
Possible causes/consequences and M
MSolutions X
Make sure that the air supply to the engine radiator is not blocked, e.g. by frozen
slush.
X If the coolant temperature is below 120 †, you can continue driving to the
nearest qualified specialist workshop.
X Avoid heavy loads on the engine as you do so, e.g. driving in mountainous terrain
and stop-start traffic. Tyres
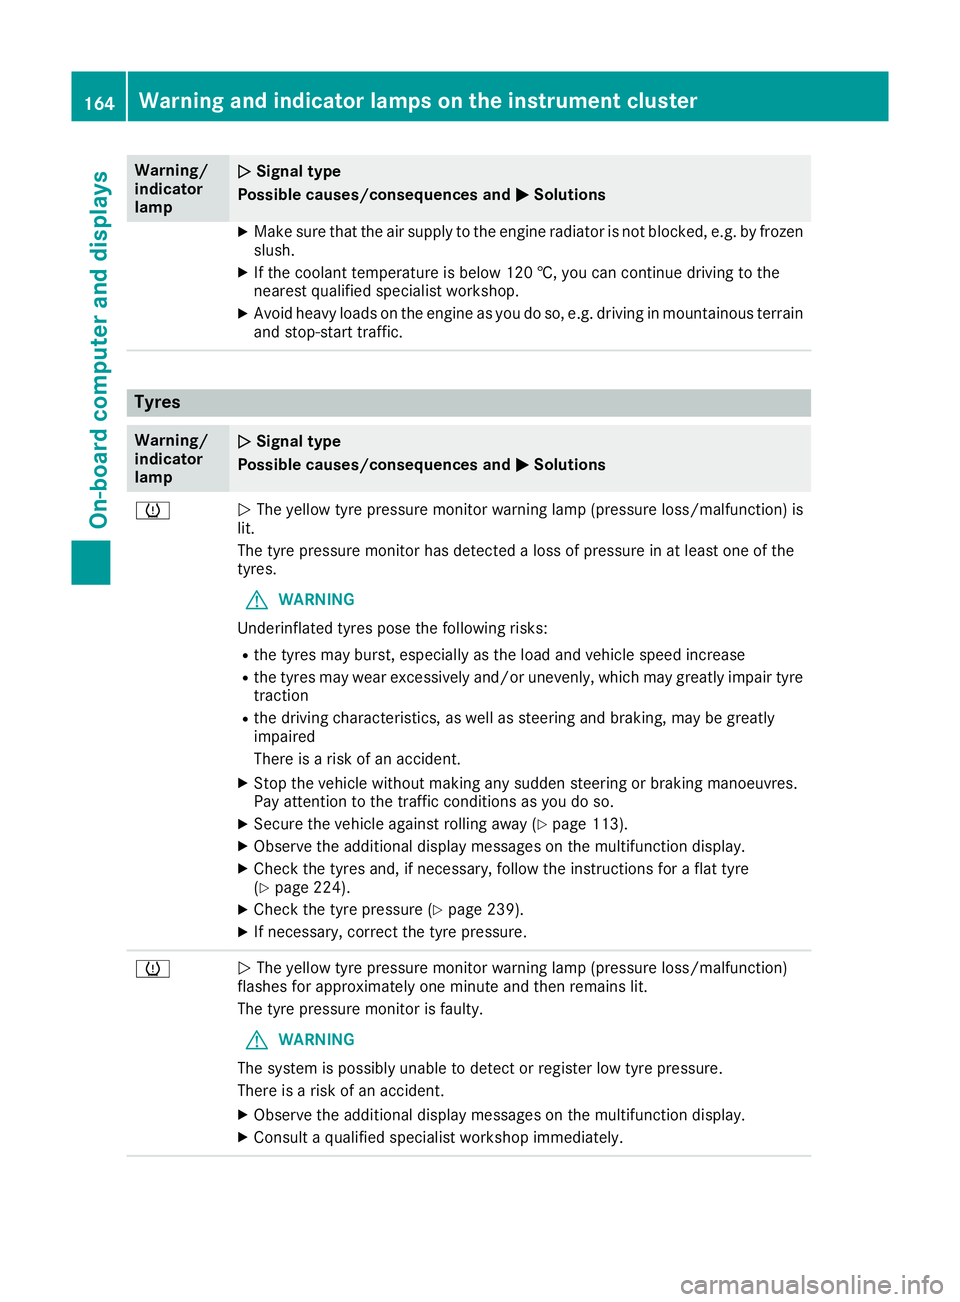
Warning/
indicator
lamp
N N
Signal type
Possible causes/consequences and M
MSolutions h
N
The yellow tyre pressure monitor warning lamp (pressure loss/malfunction) is
lit.
The tyre pressure monitor has detected aloss of pressure in at least one of the
tyres.
G WARNING
Underinflated tyres pose the following risks:
R the tyres may burst, especially as the load and vehicle speed increase
R the tyres may wear excessively and/or unevenly, which may greatly impair tyre
traction
R the driving characteristics, as well as steerin gand braking, may be greatly
impaired
There is arisk of an accident.
X Stop the vehicle without making any sudden steerin gorbraking manoeuvres.
Pay attention to the traffic conditions as you do so.
X Secure the vehicle against rolling away (Y page 113).
X Observe the additional display messages on the multifunction display.
X Check the tyres and, if necessary, follow the instructions for aflat tyre
(Y page 224).
X Check the tyre pressure (Y page 239).
X If necessary, correc tthe tyre pressure. h
N
The yellow tyre pressure monitor warning lamp (pressure loss/malfunction)
flashes for approximately one minute and then remains lit.
The tyre pressure monitor is faulty.
G WARNING
The system is possibly unable to detect or register low tyre pressure.
There is arisk of an accident.
X Observe the additional display messages on the multifunction display.
X Consult aqualified specialist workshop immediately. 164
Warning and indicator lamps on the instrument clusterOn-board computer and displays
Page 221 of 261

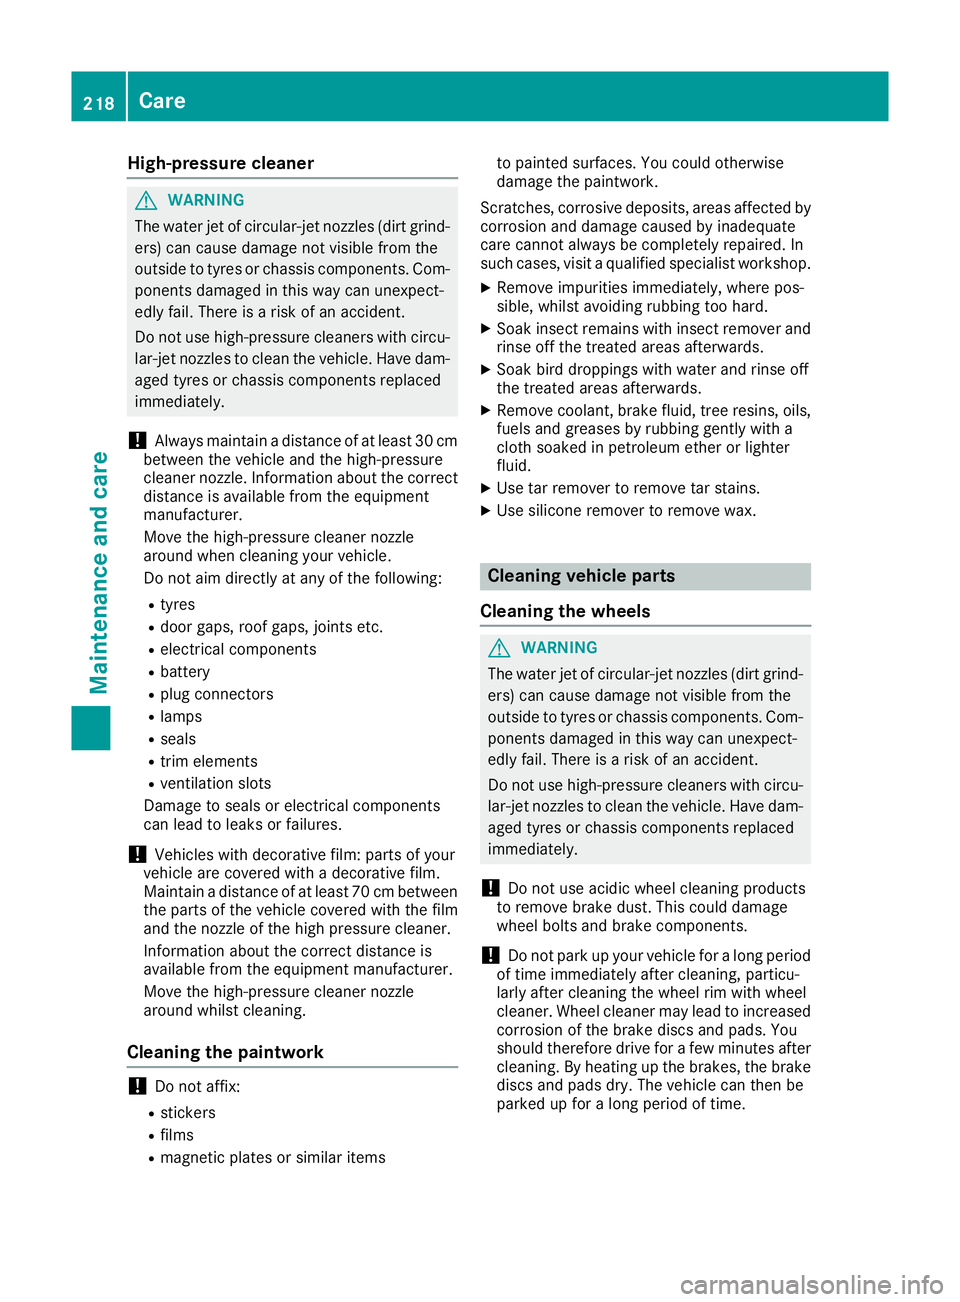
High-pressure cleaner
G
WARNING
The wate rjet of circular-jet nozzles (dirt grind-
ers) can caus edamage not visible from the
outside to tyres or chassi scomponents. Com-
ponents damaged in this way can unexpect-
edlyf ail.There is arisk of an accident.
Do not use high-pressure cleaners with circu-
lar-jet nozzles to clea nthe vehicle. Have dam-
agedt yres or chassi scomponents replaced
immediately.
! Always maintai
nadistance of at least 30 cm
between the vehicl eand the high-pressure
cleaner nozzle. Information about the correct
distance is available from the equipment
manufacturer.
Move the high-pressure cleaner nozzle
around when cleaning yourv ehicle.
Do not aim directly at any of the following:
R tyres
R door gaps, roof gaps, joints etc.
R electrica lcomponents
R battery
R plugc onnectors
R lamps
R seals
R trim elements
R ventilation slots
Damag etosealsore lectrica lcomponents
can leadtol eaks or failures.
! Vehicles with decorative film: parts of your
vehicl eare covered with adecorative film.
Maintain adistance of at least 70 cm between
the parts of the vehicl ecovered with the film
and the nozzle of the high pressure cleaner.
Information about the correct distance is
available from the equipment manufacturer.
Move the high-pressure cleaner nozzle
around whilst cleaning.
Cleaning the paintwork !
Do not affix:
R stickers
R films
R magneti cplates or similari tems to painted surfaces. You could oth
erwise
damage the paintwork.
Scratches, corrosive deposits, area saffecte dby
corrosion and damage cause dbyinadequate
car ecannot always be completel yrepaired .In
such cases ,visit aquali fied specialis tworkshop.
X Remov eimpuri ties immediately, where pos-
sible, whilst avoiding rubbing too hard.
X Soa kinsect remains with insect remove rand
rinse off the treated area safterwards.
X Soa kbirdd ropping swithw ater and rinse off
the treated area safterwards.
X Remov ecoolant, brake fluid ,tree resins ,oils,
fuel sand greases by rubbing gently with a
cloth soaked in petroleu mether or lighter
fluid.
X Use tar remove rtoremove tar stains.
X Use silicone remove rtoremove wax. Cleanin
gvehicle parts
Cleaning th ewheels G
WARNING
Th ew ater jet of circular-jet nozzles (dirt grind-
ers) can caus edamage not visible from the
outside to tyres or chassi scomponents. Com-
ponents damaged in this way can unexpect-
edlyf ail.There is arisk of an accident.
Do not use high-pressure cleaners with circu-
lar-jet nozzles to clea nthe vehicle. Have dam-
agedt yres or chassi scomponents replaced
immediately.
! Do not use acidic whee
lcleaning products
to remove brake dust. This coul ddamage
whee lbolts and brake components.
! Do not park up yourv
ehiclefor along period
of time immediatel yafter cleaning, particu-
larl yafter cleaning the whee lrim with wheel
cleaner. Whee lcleaner may leadtoi ncreased
corrosio nofthe brake discs and pads. You
should therefore drive for afew minutes after
cleaning. By heating up the brakes ,the brake
discs and padsd ry. The vehiclecan then be
parked up for along period of time. 218
CareMaintenanc
eand care