2016 MERCEDES-BENZ CLS-Class light
[x] Cancel search: lightPage 143 of 246

XTo call up the telephone menu: press the
%button.
XTo switch to the menu bar: slide 6the
controller.
XTo select 1: turn and press the controller.
The message menu is displayed.
XTo switch to the menu bar: slide 6the
controller.
XTo select Folder: turn and press the con-
troller.
XTo select the desired folder in Text Mes‐
sageorE-Mailcategory: turn and press
the controller.
The selected folder is displayed.
XTo select the message: turn and press the
controller.
The message is displayed.
XTo scroll through the message or select
phone numbers in the text: turn the con-
troller.
The display scrolls up or down line by line,
or skips to the next or previous telephone
number and automatically highlights it.
XTo close the message text: press the
% button.
The following sub-folders can be selected
for text messages and e-mails:
RInbox
This folder contains all the incoming mes-
sages.
ROutbox
This folder contains all the outgoing mes-
sages.
RDrafts
This folder contains all the messages that
you have saved as a draft.
iFolders cannot be selected if they are
empty.
Depending on the mobile phone used, the
sub-folder function may be available.
Read-aloud function for messages
XTo start the read-aloud function: press the
controller when the message is displayed.
XTo select Read Aloud: turn and press the
controller.
COMAND reads out the message.
XTo cancel the read-aloud function: press
the 8 button.
or
XPress the controller, select Cancel Read-
Aloud Functionand press the controller
again.
You can set the language (
Ypage 48) and the
speed (
Ypage 44) of the read-aloud function.
Displaying details and phone numbers
COMAND can also show a shortened sender
display in full.
XTo call up the telephone menu: press the
% button.
XTo switch to the menu bar: slide 6the
controller.
XTo select 1: turn and press the controller.
The message menu is displayed.
XTo switch to the menu bar: slide 6the
controller.
XTo select Folder: turn and press the con-
troller.
XTo select Text MessageorE-Mail: turn
and press the controller.
The selected folder is displayed.
XTo highlight the desired message: turn the
controller.
XTo select G: slide 9the controller.
XTo select Details: turn and press the con-
troller.
The detailed view appears.
XTo close the detailed display: slide8
the controller.
Messages (text messages and e-mails)141
Telephone
Z
Page 146 of 246

Editing text templates
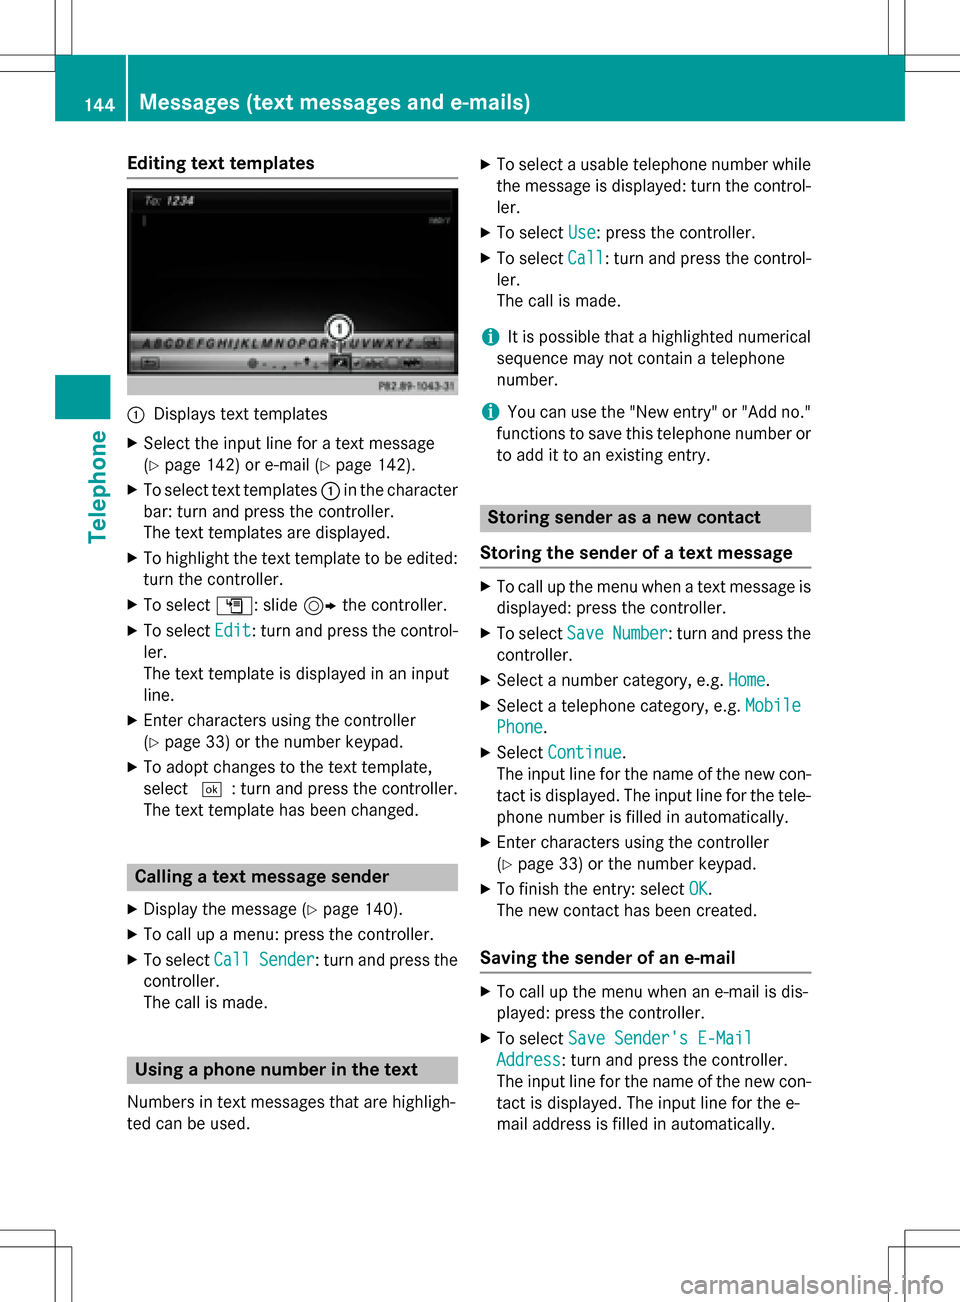
:Displays text templates
XSelect the input line for a text message
(
Ypage 142) or e-mail (Ypage 142).
XTo select text templates:in the character
bar: turn and press the controller.
The text templates are displayed.
XTo highlight the text template to be edited: turn the controller.
XTo select G: slide 9the controller.
XTo select Edit: turn and press the control-
ler.
The text template is displayed in an input
line.
XEnter characters using the controller
(
Ypage 33) or the number keypad.
XTo adopt changes to the text template,
select ¬: turn and press the controller.
The text template has been changed.
Calling a text message sender
XDisplay the message (Ypage 140).
XTo call up a menu: press the controller.
XTo select CallSender: turn and press the
controller.
The call is made.
Using a phone number in the text
Numbers in text messages that are highligh-
ted can be used.
XTo select a usable telephone number while
the message is displayed: turn the control-
ler.
XTo select Use: press the controller.
XTo selectCall: turn and press the control-
ler.
The call is made.
iIt is possible that a highlighted numerical
sequence may not contain a telephone
number.
iYou can use the "New entry" or "Add no."
functions to save this telephone number or
to add it to an existing entry.
Storing sender as a new contact
Storing the sender of a text message
XTo call up the menu when a text message is displayed: press the controller.
XTo select SaveNumber: turn and press the
controller.
XSelect a number category, e.g. Home.
XSelect a telephone category, e.g. Mobile
Phone.
XSelectContinue.
The input line for the name of the new con-
tact is displayed. The input line for the tele-
phone number is filled in automatically.
XEnter characters using the controller
(
Ypage 33) or the number keypad.
XTo finish the entry: select OK.
The new contact has been created.
Saving the sender of an e-mail
XTo call up the menu when an e-mail is dis-
played: press the controller.
XTo select Save Sender's E-Mail
Address: turn and press the controller.
The input line for the name of the new con-
tact is displayed. The input line for the e-
mail address is filled in automatically.
144Messages (text messages and e-mails)
Telephone
Page 154 of 246

XTo selectSettings: turn and press the
controller.
XTo select Configure Internet Set‐
tings: turn and press the controller.
The device list is displayed.
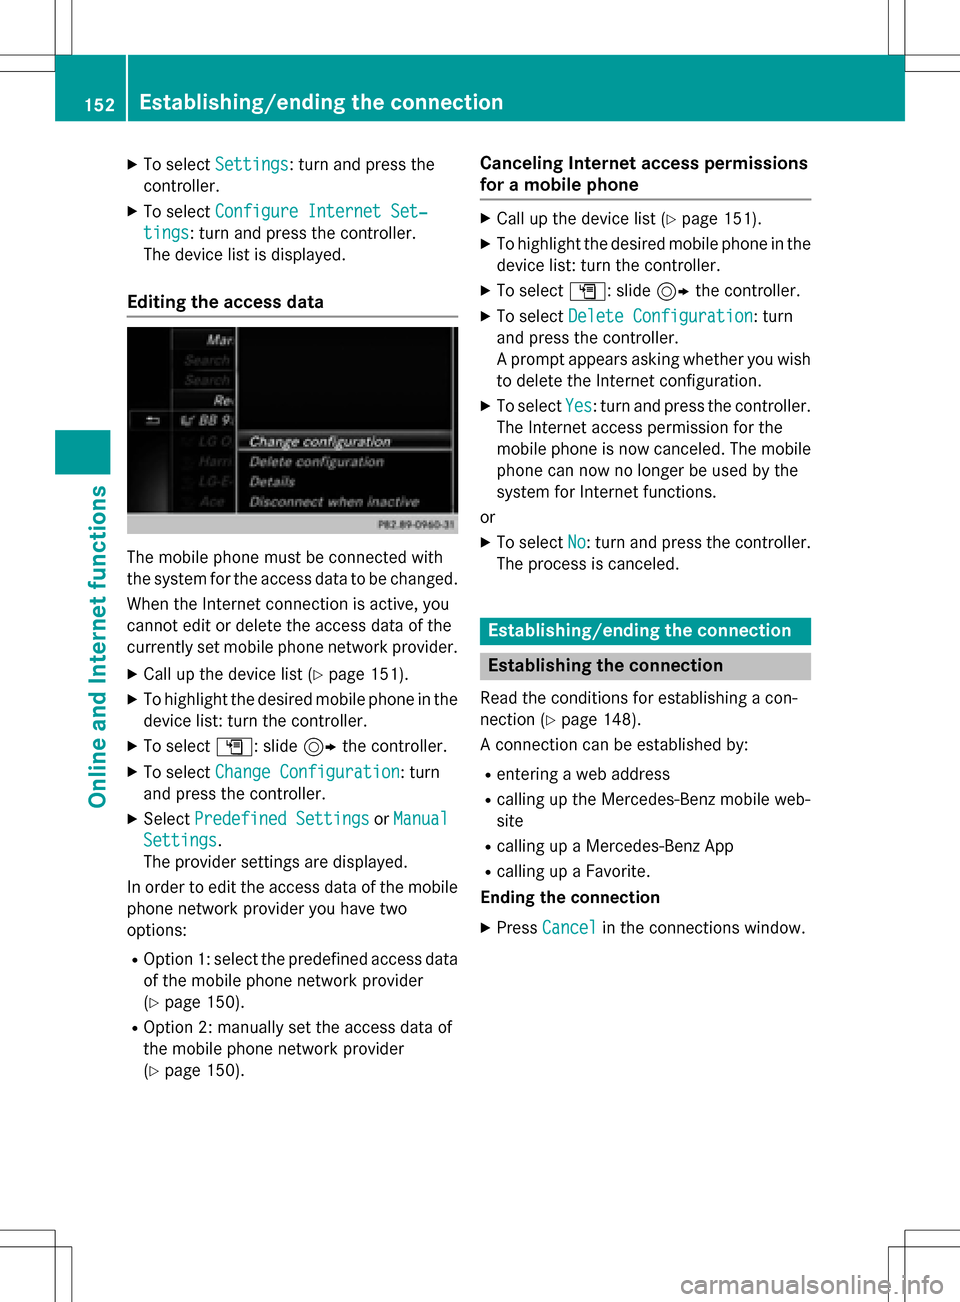
Editing the access data
The mobile phone must be connected with
the system for the access data to be changed.
When the Internet connection is active, you
cannot edit or delete the access data of the
currently set mobile phone network provider.
XCall up the device list (Ypage 151).
XTo highlight the desired mobile phone in the
device list: turn the controller.
XTo select G: slide 9the controller.
XTo select Change Configuration: turn
and press the controller.
XSelect Predefined SettingsorManual
Settings.
The provider settings are displayed.
In order to edit the access data of the mobile
phone network provider you have two
options:
ROption 1: select the predefined access data
of the mobile phone network provider
(
Ypage 150).
ROption 2: manually set the access data of
the mobile phone network provider
(
Ypage 150).
Canceling Internet access permissions
for a mobile phone
XCall up the device list (Ypage 151).
XTo highlight the desired mobile phone in the
device list: turn the controller.
XTo select G: slide 9the controller.
XTo select Delete Configuration: turn
and press the controller.
A prompt appears asking whether you wish
to delete the Internet configuration.
XTo select Yes: turn and press the controller.
The Internet access permission for the
mobile phone is now canceled. The mobile
phone can now no longer be used by the
system for Internet functions.
or
XTo select No: turn and press the controller.
The process is canceled.
Establishing/ending the connection
Establishing the connection
Read the conditions for establishing a con-
nection (
Ypage 148).
A connection can be established by:
Rentering a web address
Rcalling up the Mercedes-Benz mobile web-
site
Rcalling up a Mercedes-Benz App
Rcalling up a Favorite.
Ending the connection
XPress Cancelin the connections window.
152Establishing/ending the connection
Online and Internet functions
Page 158 of 246

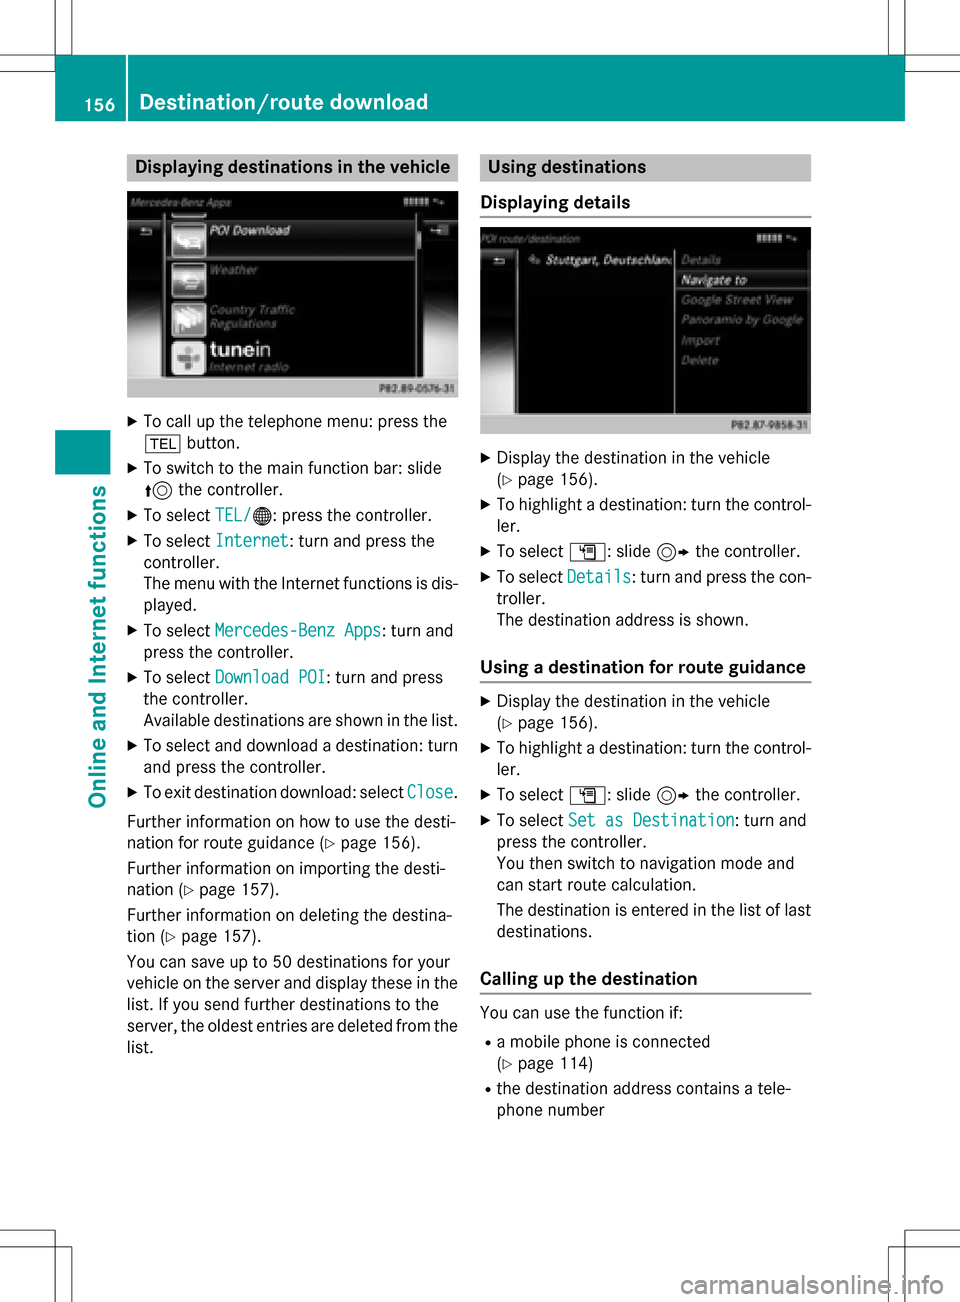
Displaying destinations in thevehicle
XTo cal lup th etelephon emenu: press th e
% button.
XTo switch to th emain function bar :slid e
5 thecontroller .
XTo selectTEL /®: press th econtroller .
XTo selectInternet:turn and press th e
controller .
The men uwit hth eInternet function sis dis -
played .
XTo selec tMercedes-Ben zApp s:turn and
press th econtroller .
XTo selectDownload POI:turn and press
th econtroller .
Availabl edestination sare shown in th elist .
XTo selec tand download adestination :turn
and press th econtroller .
XTo exit destination download :selec tClose.
Further information on how to use th edesti -
nation fo rrout eguidanc e (
Ypage 156).
Further information on importing th edesti -
nation (
Ypage 157).
Further information on deleting th edestina-
tion (
Ypage 157).
You can sav eup to 50 destination sfo ryour
vehicle on th eserver and display these in th e
list .If you sen dfurther destination sto th e
server ,th eoldest entries are delete dfrom th e
list .
Usin gdestinations
Displaying detail s
XDisplay thedestination in th evehicle
(
Ypage 156).
XTo highlight adestination :turn th econtrol-
ler .
XTo selec tG: slide9 thecontroller .
XTo selectDetail s:turn and press th econ-
troller.
The destination address is shown .
Using adestination for rout eguidance
XDisplay th edestination in th evehicle
(
Ypage 156).
XTo highlight adestination :turn th econtrol-
ler .
XTo selec tG: slide9 thecontroller .
XTo selectSet as Destination:turn and
press th econtroller .
You then switch to navigation mode and
can start rout ecalculation .
The destination is entered in th elist of last
destinations.
Calling up th edestination
You can use th efunction if:
Ramobile phone is connecte d
(
Ypage 114)
Rth edestination address contain s atele-
phone number
156Destination/route download
Online and Internet functions
Page 159 of 246

XDisplay the destination in the vehicle
(
Ypage 156).
XTo highlight a destination: turn the control-
ler.
XTo selectG: slide 9the controller.
XSelect Call.
You then switch to the telephone function
and make the call (
Ypage 119).
Importing destinations
You can save destinations and routes on an
SD card when importing.
XInsert the SD memory card (Ypage 183).
XDisplay the destination in the vehicle
(
Ypage 156).
XTo highlight a destination: turn the control-
ler.
XTo select G: slide 9the controller.
XSelect Import.
The entry is saved on the SD card.
Deleting a destination from the server
Destinations on the server are automatically
deleted after seven days.
XDisplay the destination in the vehicle
(
Ypage 156).
XTo highlight a destination: turn the control-
ler.
XTo select G: slide 9the controller.
XSelect Delete.
A prompt appears asking whether the des-
tination should be deleted.
XTo select Yes: turn and press the controller.
The phone number is deleted.
or
XTo select No: turn and press the controller.
The process is canceled.
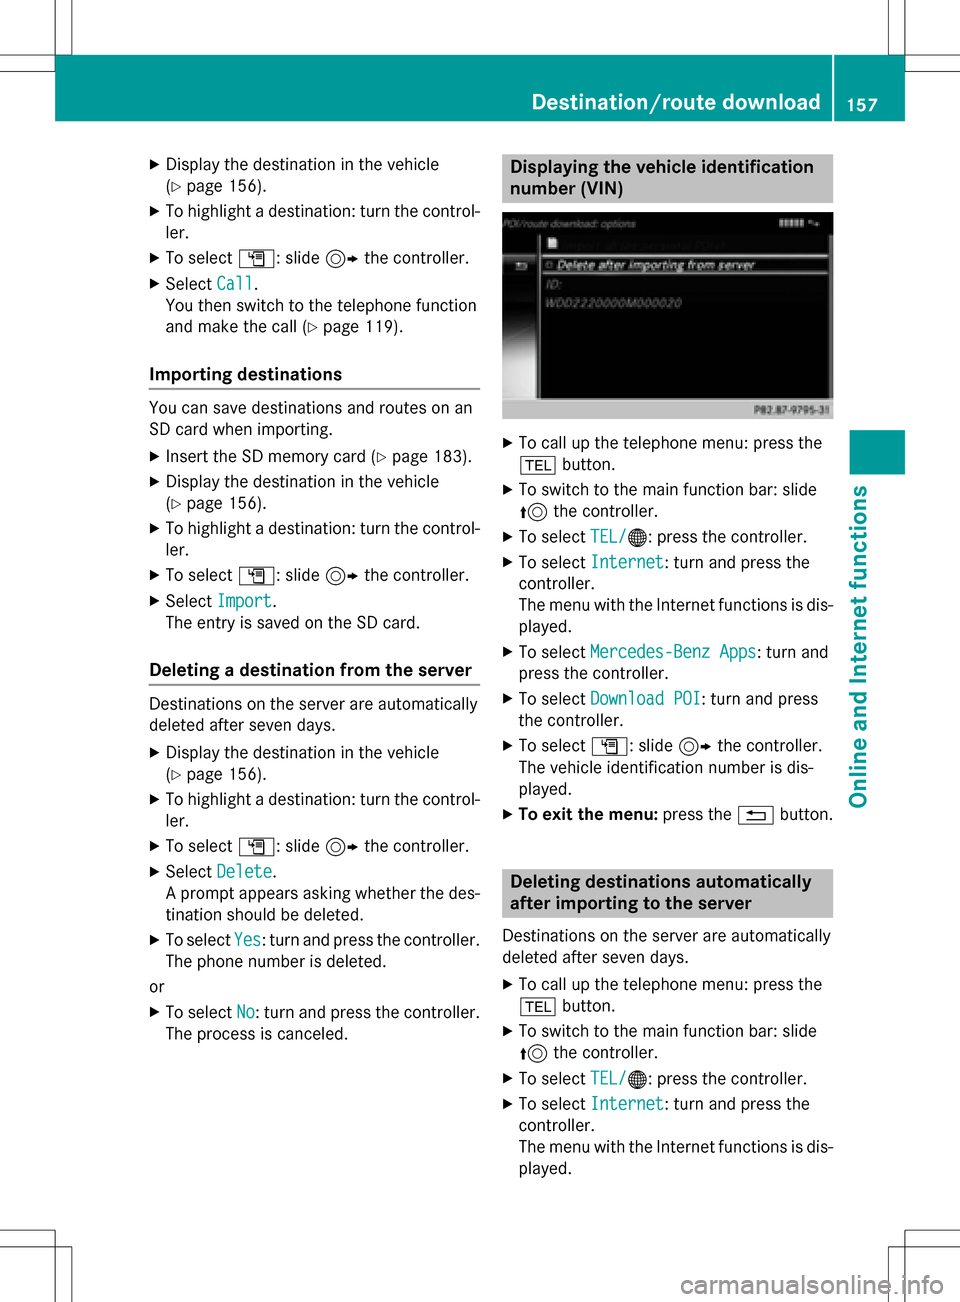
Displaying the vehicle identification
number (VIN)
XTo call up the telephone menu: press the
% button.
XTo switch to the main function bar: slide
5the controller.
XTo select TEL/®: press the controller.
XTo selectInternet: turn and press the
controller.
The menu with the Internet functions is dis-
played.
XTo select Mercedes-Benz Apps: turn and
press the controller.
XTo select Download POI: turn and press
the controller.
XTo select G: slide 9the controller.
The vehicle identification number is dis-
played.
XTo exit the menu: press the%button.
Deleting destinations automatically
after importing to the server
Destinations on the server are automatically
deleted after seven days.
XTo call up the telephone menu: press the
% button.
XTo switch to the main function bar: slide
5the controller.
XTo select TEL/®: press the controller.
XTo selectInternet: turn and press the
controller.
The menu with the Internet functions is dis-
played.
Destina tion/route downloa d157
Online and Internet functions
Z
Page 162 of 246

Navigating the website
StepResult
XTurn the control-
ler.Navigates from one
selectable item (e.g.
link, text field or
menu) to the next
and highlights the
respective element
on the website.
Sliding the control-
ler:
XLeft or right
1
XUp or down4
XDiagonally2
Moves the pointer
on the page.
XPress the control-
ler.Opens the selected
item.
XPress%.Calls up the menu.
Menu functions
:Closes the browser
;Back or forwards
=Updates or cancels
?URL entry
AFavorites
BOptions
XTo show the menu: press the%but-
ton.
XTo call up the Options menu: select
3: turn and press the controller.
XTo close the website: select&.
XTo call up the previous website: select
t.
XTo call up the next website: selectu.
XTo refresh the website: selectÎ.
The website is refreshed. This procedure
may take some time.
iWhile the website is loading, a cross
appears in the menu. This can be used to
cancel the loading procedure.
XTo enter a URL: selectg.
XEnter a web address (URL) (Ypage 159).
XFavorites: selectf.
The Favorites menu appears (
Ypage 162).
Options menu
Adding to bookmarks
Adds the current website to the favorites. The
website can then be called up using the menu. You can store up to 20 favorites in the menu.
XTo show the menu: press the%but-
ton.
XTo select 3: turn and press the control-
ler.
XSelect Add to Bookmarks.
The message: The website was added
to bookmarksappears.
Current URL
XTo show the menu: press the%but-
ton.
XTo select 3: turn and press the control-
ler.
XSelect Current URL.
The URL appears.
Zoom
You can use this function to enlarge web
pages.
160Web browser
Online an d Internet functions
Page 170 of 246

Saving/deleting a station
Storing current stations
XIn radio mode: slide6the controller.
XTo select Options: turn and press the con-
troller.
XSelect Edit Station Preset.
XSelect the position of the required preset:
turn the controller.
This can also be a preset position that is
already occupied, which is then overwritten
by the current station.
XSlide9the controller.
An additional menu appears.
XTo select the Save Current Station/
Channeloption: turn and press the con-
troller.
The currently set station is stored in the
selected preset position.
or
XSet the desired station in radio mode.
XPress and hold down the preset number to
be assigned on the number keypad until a
tone confirms the storing process.
XIf the preset number has two digits, press
the first digit briefly and then press and
hold down the second digit. or
XSet the desired station in radio mode.
XPress and hold the controller until the pre-
set list appears.
XTo select the preset number: turn and press
the controller.
A tone confirms that the storing process
was successful.
Moving highlighted stations
XIn radio mode: slide 6the controller.
XTo select Options: turn and press the con-
troller.
XSelect Edit Station Preset.
XTo select the required preset entry: turn the
controller.
XSlide9the controller.
An additional menu appears.
XTo select the Move Highlighted Sta‐
tion/Channeloption: turn and press the
controller.
The list of stored stations appears again.
XTo move the highlighted station to the new position: turn the controller and press to
confirm.
Deleting highlighted stations
XIn radio mode: slide 6the controller.
XTo select Optionsin the radio menu bar:
turn and press the controller.
XSelect Edit Station Preset.
XTo select the required preset entry: turn the
controller.
XSlide9the controller.
XTo select the Delete Highlighted Sta‐
tion/Channeloption in the additional
menu: turn and press the controller.
or
XPress the $button.
The prompt Do you want to delete
the preset?appears
168Station
Radio
Page 171 of 246

XTo selectYes: turn and press the controller.
The highlighted station is deleted.
or
XTo select No: press the controller.
The process is canceled.
iFrequencies are already stored in
COMAND. There are 100 preset positions
available.
Tagging music tracks
This function allows you to transfer the music
track currently playing to an Apple®device
and then purchase it in the iTunes store®.
XIn radio mode: slide 6the controller.
XTo select Options: turn and press the con-
troller.
XSelect Tag This Track.
A message appears in COMAND about stor-
ing the track information.
Displaying the artist and track
XIn radio mode: slide 6the controller.
XTo select Options: turn and press the con-
troller.
XWith Oorª in front of Show Station
Informationyou can determine whether
the station name should be displayed.
If the function is active, the artist and track
will also be displayed in the main display
field.
Calling up sound settings
XIn radio mode: slide 6the controller.
XTo select Soundin the radio menu bar: turn
and press the controller.
The sound menu appears (
Ypage 206).
Displaying information
This function is available in HD FM radio and
HD AM radio mode.
Reception is only possible if the radio stations
provide the relevant information.
XTo select Infoin the radio menu bar: turn
and press the controller.
Information on the currently received pro-
gram is displayed.
If available, you will see:
Rthe track that is currently being played
Rthe artist of the track that is currently being
played
Rthe album name
Rthe channel abbreviation
Rthe logo of the station or Artist Experience®
Back to radio display:
XTo select Info: slide6and press the
controller.
or
XPress the %button.
Satellite radio
General notes
The satellite radio mode requires satellite
radio equipment and registration with a sat-
ellite radio provider.
Note that the categories and channels shown
in the illustrations depend on the program
content offered by the provider. The illustra-
tions and descriptions in these operating
Satellite radio169
Radio