2016 MERCEDES-BENZ B-Class ELECTRIC light
[x] Cancel search: lightPage 298 of 342

Installing/removing the towing eye
Installing the towing eye
The brackets for the screw-in towing eye are
located in the bumpers. They are at the rear
and at the front, under covers :.
XRemove the towing eye from the stowage
space.
The towing eye is located in the stowage
well under the cargo compartment floor.
Vehicles with the TIREFIT kit: the to wing
eye is beneath the tire inflation compres-
sor.
XPress the mark on cover :inwards in the
direction of the arrow.
XTake cover :off the opening.
XScrew in the towing eye clockwise to the
stop.
Removing the towing eye
XUnscrew and remove the towing eye.
XPlace the towing eye in the stowage well
beneath the cargo compartment floor in
the cargo compartment (
Ypage 282).
XVehicles with the TIREFIT kit: put back the
tire inflation compressor.
Towing a vehicle with both axles on
the ground
It is important that you observe the safety
instructions when towing away your vehicle
(
Ypage 294).
XOn vehicles with KEYLESS-GO or the
KEYLESS-GO start function: you must
use the SmartKey instead of the Start /S top
button (
Ypage 132).
The transmission automatically shifts to posi-
tion Pwhen you open the driver's or front-
passenger door or when you remove the
Sm artKey from the ignition lock. In order to
ensure that the transmission stays in position
N when towing the vehicle, you must observe
the following points:
XMake sure that the vehicle is stationary.
XTurn the SmartKey to position 2in the igni-
tion lock.
XDepress and hold the brake pedal.
XSh ift the transmission to position N.
XRelease the brake pedal.
XRelease the electric parking brake.
XSwitch on the hazard warning lamps
(
Ypage 102).
XLeave the SmartKey in position 2in the
ignition lock.
If the 12 V battery indicator lamp lights up,
you must observe the following points:
XPull over and stop the vehicle safely as soon
as possible, paying attention to road and
traff iccond itions.
XShift the transmission to position P.
XApply the electric parking brake.
iIn order to signal a change of direction
when towing the vehicle with the hazard
warning lamps switched on, use the com-
bination switch as usual. In this case, only
the indicator lamps for the direction of
travel flash. After resetting the combina-
tion switch, the hazard warning lamp starts
flashing again.
296Towing
Breakdown assistance
Page 309 of 342

Some tire pressure tables show only the rim
diameters instead of the full tire size, e.g.
R18. Rim diameter is part of the tire size and
can be found on the tire sidewall
(
Ypage 317).
If the tire pressures have been set to the
lower values for lighter loads and/or lower
road speeds, the pressures should be reset to
the higher values:
Rif you want to drive with an increased load
and/or
Rif you want to drive at higher road speeds
iThe tire pressures for increased loads
and/or higher road speeds, shown in the
tire pressure table, may have a negative
effect on driving comfort.
If the tire pressure is not set correctly, this
can lead to an excessive build up of heat and
a sudden loss of pressure.
For more information, contact a qualified spe-
cialist workshop.
Important notes on tire pressure
GWARNING
If the tire pressure drops repeatedly, the
wheel, valve or tire may be damaged. Tire
pressure that is too low may result in a tire
blow-out. There is a risk of an accident.
RCheck the tire for foreign objects.
RCheck whether the wheel is losing air or the valve is leaking.
If you are unable to rectify the damage, con-
tact a qualified specialist workshop.
GWARNING
If you fit unsuitable accessories onto tire
valves, the tire valves may be overloaded and
malfunction, which can cause tire pressure
loss. Due to their design, retrofitted tire pres- sure monitors keep the tire valve open. This
can also result in tire pressure loss. There is a
risk of an accident.
Only screw the standard valve cap or other
valve caps approved by Mercedes-Benz for
your vehicle onto the tire valve.
Use a suitable pressure gauge to check the
tire pressure. The outer appearance of a tire
does not permit any reliable conclusion about
the tire pressure. You can also check the tire
pressure using the on-board computer.
The tire temperature and pressure increase
when the vehicle is in motion. This is depend-
ent on the driving speed and the load.
Therefore, you should only correct tire pres-
sures when the tires are cold.
The tires are cold:
Rif the vehicle has been parked with the tires
out of direct sunlight for at least three
hours and
Rif the vehicle has not been driven further
than 1 mile (1.6 km)
The tire temperature changes depending on
the outside temperature, the vehicle speed
and the tire load. If the tire temperature
changes by 18 ‡ (10 †), the tire pressure
changes by approximately 10 kPa (0.1 bar/
1.5 psi). Take this into acco unt when check-
ing the pressure of warm tires. Only correct
the tire pressure if it is too low for the current operating conditions. If you check the tire
pressure when the tires are warm, the result-
ing value will be higher than if the tires were
cold. This is normal. Do not reduce the tire
pressure to the value specified for cold tires.
The tire pressure would otherwise be too low.
Tire pressure307
Wheels and tires
Z
Page 311 of 342

Checking tire pressures manually
To determine and set the correct tire pres-
sure, proceed as follows:
XRemove the valve cap of the tire that is to
be checked.
XPress the tire pressure gauge securely onto
the valve.
XRead the tire pressure and compare it to
the recommended value on the Tire and
Loading Information placard or the tire
pressure table (
Ypage 305).
XIf the tire pressure is too low, increase the
tire pressure to the recommended value.
XIf the tire pressure is too high, release air.
To do so, press down the metal pin in the
valve, using the tip of a pen for example.
Then check the tire pressure again using
the tire pressure checker.
XScrew the valve cap onto the valve.
XRepeat these steps for the other tires.
Tire pressure monitor
General notes
If a tire pressure monitor is installed, the vehi-
cle's wheels have sensors that monitor the
tire pressures in all four tires. The tire pres-
sure monitor warns you if the pressure drops
in one or more of the tires. The tire pressure
monitor only functions if the corresponding
sensors are installed in all wheels.
Information on tire pressures is displayed in
the multifunction display. After a few minutes
of driving, the current tire pressure of each
tire is shown in the Serv.
menu of the multi-
function display, see illustration (example).
For information on the message display, refer
to the "Checking the tire pressure electroni-
cally" section (
Ypage 311).
Important safety notes
GWARNING
Each tire, including the spare (if provided),
should be checked at least once every two
weeks when cold and inflated to the pressure recommended by the vehicle manufacturer
on the Tire and Loading Information placard
on the driver's door B-pillar or the tire pres-
sure label on the inside of the fuel filler flap. If
your vehicle has tires of a different size than
the size indicated on the Tire and Loading
Information placard or, if available, the tire
pressure label, you should determine the
proper tire pressure for those tires.
As an added safety feature, your vehicle has
been equipped with a tire pressure monitoring
system (TPMS) that illuminates a low tire pres-
sure telltale when one or more of your tires
are significantly underinflated. Accordingly,
when the low tire pressure telltale lights up,
you should stop and check your tires as soon
as possible, and inflate them to the proper
pressure. Driving on a significantly underin-
flated tire causes the tire to overheat and can
lead to tire failure.
Underinflation also reduces fuel efficiency
and tire tread life, and may affect the vehicle's
handling and stopping ability. Please note thatthe TPMS is not a substitute for proper tire
maintenance, and it is the driver's responsi-
bility to maintain correct tire pressure, eve n if
underinflation has not reached the level to
trigger illumination of the TPMS low tire pres-
sure telltale.
Your vehicle has also been equipped with a
TPMS malfunction indicator to indicate when
the system is not operating properly. The
TPMS malfunction indicator is combined with
the low tire pressure telltale. When the sys-
tem detects a malfunction, the warning lamp
will flash for approximately a minute and then remain continuously illuminated. This
Tire pressure309
Wheels and tires
Z
Page 312 of 342

sequence will be repeated every time the vehi-
cle is started as long as the malfunction
exists. When the malfunction indicator is illu-
minated, the system may not be able to detect
or signal low tire pressure as intended.
TPMS malfunctions may occur for a variety of
reasons, including the installation of incom-
patible replacement or alternate tires or
wheels on the vehicle that prevent the TPMS
from functioning properly. Always check the
TPMS malfunction telltale after replacing one
or more tires or wheels on your vehicle to
ensure that the replacement or alternate Tires
and wheels allow the TPMS to continue to
function properly.
It is the driver's responsibility to set the tire
pressure to that recommended for cold tires
which is suitable for the operating situation
(
Ypage 305). Note that the correct tire pres-
sure for the current operating situation must
first be taught-in to the tire pressure monitor.
If there is a substantial loss of pressure, the
warning threshold for the warning message is
aligned to the reference values taught-in.
Restart the tire pressure monitor after adjust-
ing the pressure of the cold tires
(
Ypage 311). The current pressures are
saved as new reference values. As a result, a
warning message will appear if the tire pres-
sure drops significantly.
The tire pressure monitor does not warn you
of an incorrectly set tire pressure. Observe
the notes on the recommended tire pressure (
Ypage 305).
The tire pressure monitor is not able to warn
you of a sudden loss of pressure, e.g. if the
tire is penetrated by a foreign object. In the
event of a sudden loss of pressure, bring the
vehicle to a halt by braking carefully. Avoid
abrupt steering movements. The tire pressure monitor has a yellow warn-
ing lamp in the instrument cluster for indicat-
ing pressure loss or a malfunction. Whether
the warning lamp flashes or lights up indi-
cates whether a tire pressure is too low or the
tire pressure monitor is malfunctioning:
Rif the warning lamp is lit continuously, the
tire pressure on one or more tires is signif-
icantly too low. The tire pressure monitor is
not malfunctioning.
Rif the warning lamp flashes for around a
minute and then remains lit constantly, the
tire pressure monitor is malfunctioning.
In addition to the warning lamp, a message
appears in the multifunction display. Observe
the information on display messages
(
Ypage 223).
It may take up to ten minutes for a malfunc-
tion of the tire pressure monitor to be indica-
ted. A malfunction will be indicated by the tire
pressure warning lamp flashing for approx-
imately one minute and then remaining lit.
When the malfunction has been rectified, the
tire pressure warning lamp goes out after a
few minutes of driving.
The tire pressure values indicated by the on-
board computer may differ from those meas-
ured at a gas station with a pressure gauge.
The tire pressures shown by the on-board
computer refer to those measured at sea
level. At high altitudes, the tire pressure val-
ues indicated by a pressure gauge are higher
than those shown by the on-board computer.
In this case, do not reduce the tire pressures.
The operation of the tire pressure monitor can be affected by interference from radio trans-
mitting equipment (e.g. radio headphones,
two-way radios) that may be being operated
in or near the vehicle.
310Tire pressure
Wheels and tires
Page 313 of 342
Checking the tire pressure electroni-
cally
XMake sure that the SmartKey is in position2 in the ignition lock (
Ypage 131).
XPress =or; on the steering wheel
to select the Serv.
menu.
XPress the9or: button to select
Tire Pressure
.
XPress the abutton.
The current tire pressure of each tire is
shown in the multifunction display.
If the vehicle was parked for longer than
20 minutes, the Tire pressure will be
displayed after driving a few
minutesmessage is shown.
After a teach-in process, the tire pressure
monitor automatically detects new wheels or
new sensors. As long as a clear allocation of
the tire pressure value to the individual
wheels is not possible, the Tire Pressure
Monitor Activemessage is shown instead
of the tire pressure display. The tire pressures
are already being monitored.
Tire pressure monitor warning mes-
sages
If the tire pressure monitor detects a pressure loss in one or more tires, a warning message
is shown in the multifunction display. The yel-
low tire pressure warning lamp then lights up.
RIf the Please Correct Tire Pressure
message appears in the multifunction dis-
play, the tire pressure in at least one tire is
too low. The tire pressure must be correc-
ted when the opportunity arises.
RIf theCheck Tire Pressuremessage
appears in the multifunction display, the
tire pressure in one or more tires has drop-
ped significantly. The tires must be
checked.
RIf the Tire Pressure Warning Tire
Failuremessage appears in the multi-
function display, the tire pressure in one or
more tires has dropped suddenly. The tires
must be checked. Observe the instructions and safety notes in
the display messages in the "Tires" section
(
Ypage 223).
If the wheel positions on the vehicle are rota-
ted, the tire pressures may be displayed for
the wrong positions for a short time. This is
rectified after a few minutes of driving, and
the tire pressures are displayed for the cor-
rect positions.
Restarting the tire pressure monitor
When you restart the tire pressure monitor, all
existing warning messages are deleted and
the warning lamps go out. The monitor uses
the currently set tire pressures as the refer-
ence values for monitoring. In most cases, the
tire pressure monitor will automatically
detect the new reference values after you
have changed the tire pressure. However, you
can also define reference values manually as
described here. The tire pressure monitor
then monitors the new tire pressure values.
XSet the tire pressure to the value recom-
mended for the corresponding driving sit-
uation on the Tire and Loading Information
placard on the driver's side
B-pillar (
Ypage 305).
Additional tire pressure for various operat-
ing conditions can be found in the tire pres-
sure table in the charge socket flap
(
Ypage 148).
XMake sure that the tire pressure is correct
on all four wheels.
XMake sure that the SmartKey is in position
2 in the ignition lock (
Ypage 131).
XPress =or; on the steering wheel
to select the Serv.
menu.
XPress the9or: button to select
Tire Pressure
.
XPress the abutton.
The multifunction display shows the cur-
rent tire pressure for each tire or the Tire
Tire pressure311
Wheels and tires
Z
Page 319 of 342

Tire labeling
Overview
:Uniform Tire Quality Grading Standards
(
Ypage 321)
;Department of Transportation, Tire Iden-
tification Number (
Ypage 320)
=Maximum load rating (Ypage 319)
?Maximum tire pressures (Ypage 308)
AManufacturer
BTire material (Ypage 320)
CTire size designation, load-bearing capa-
city and speed rating (
Ypage 317)
DLoad index (Ypage 319)
ETire name
The markings described above are on the tire
in addition to the tire name (sales designa-
tion) and the manufacturer's name.
iTire data is vehicle-specific and may devi-
ate from the data in the example.
Tire size designation, load-bearing
capacity and speed rating
GWARNING
Exceeding the stated tire load-bearing capa-
city and the approved maximum speed could
lead to tire damage or the tire bursting. There is a risk of accident.
Therefore, only use tire types and sizes
approved for your vehicle model. Observe the
tire load rating and speed rating required for
your vehicle.
:Tire width
;Nominal aspect ratio in %
=Tire code
?Rim diameter
ALoad bearing index
BSpeed rating
General: depending on the manufacturer's
standards, the size imprinted in the tire wall
may not contain any letters or may contain
one letter that precedes the size description.
If there is no letter preceding the size descrip-
tion (as shown above): these are passenger
vehicle tires according to European manufac-
turing standards.
If "P" precedes the size description: these are
passenger vehicle tires according to U.S.
manufacturing standards.
If "LT" precedes the size description: these
are light truck tires according to U.S. manu-
facturing standards.
If "T" precedes the size description: compactemergency wheels with high tire pressure
that are only designed for temporary use in an
emergency.
Tire width: tire width:shows the nominal
tire width in millimeters.
Aspect ratio: aspect ratio;is the size ratio
between the tire height and tire width and is
shown in percent. The aspect ratio is calcu-
All about wheels and tires317
Wheels and tires
Z
Page 321 of 342
All-weather tires and winter tires
IndexSpeedrating
Q M+S1up to 100 mph (160 km/h)
T M+S1up to 118 mph (190 km/h)
H M+S1up to 130 mph (210 km/h)
V M+S1up to 149 mph (240 km/h)
iNot all tires with the M+S marking provide
the driving characteristics of winter tires. In
addition to the M+S marking, winter tires
also have the isnowflake symbol on
the tire wall. Tires with this marking fulfill
the requirements of the Rubber Manufac-
turers Association (RMA) and the Rubber
Association of Canada (RAC) regarding the
tire traction on snow. They have been espe-
cially developed for driving on snow.
An electronic speed limiter prevents your
vehicle from exceeding a speed of 100 mph
(16 0km/ h).
The speed rating of tires mounted at the fac-
tory may be higher than the maximum speed
that the electronic speed limiter permits.
Make sure that your tires have the required
speed rating, e.g. when buying new tires. The
required speed rating for your vehicle can be
found in the "Tires" section (
Ypage 327).
Further information about reading tire data
can be obtained from any qualified specialist workshop.
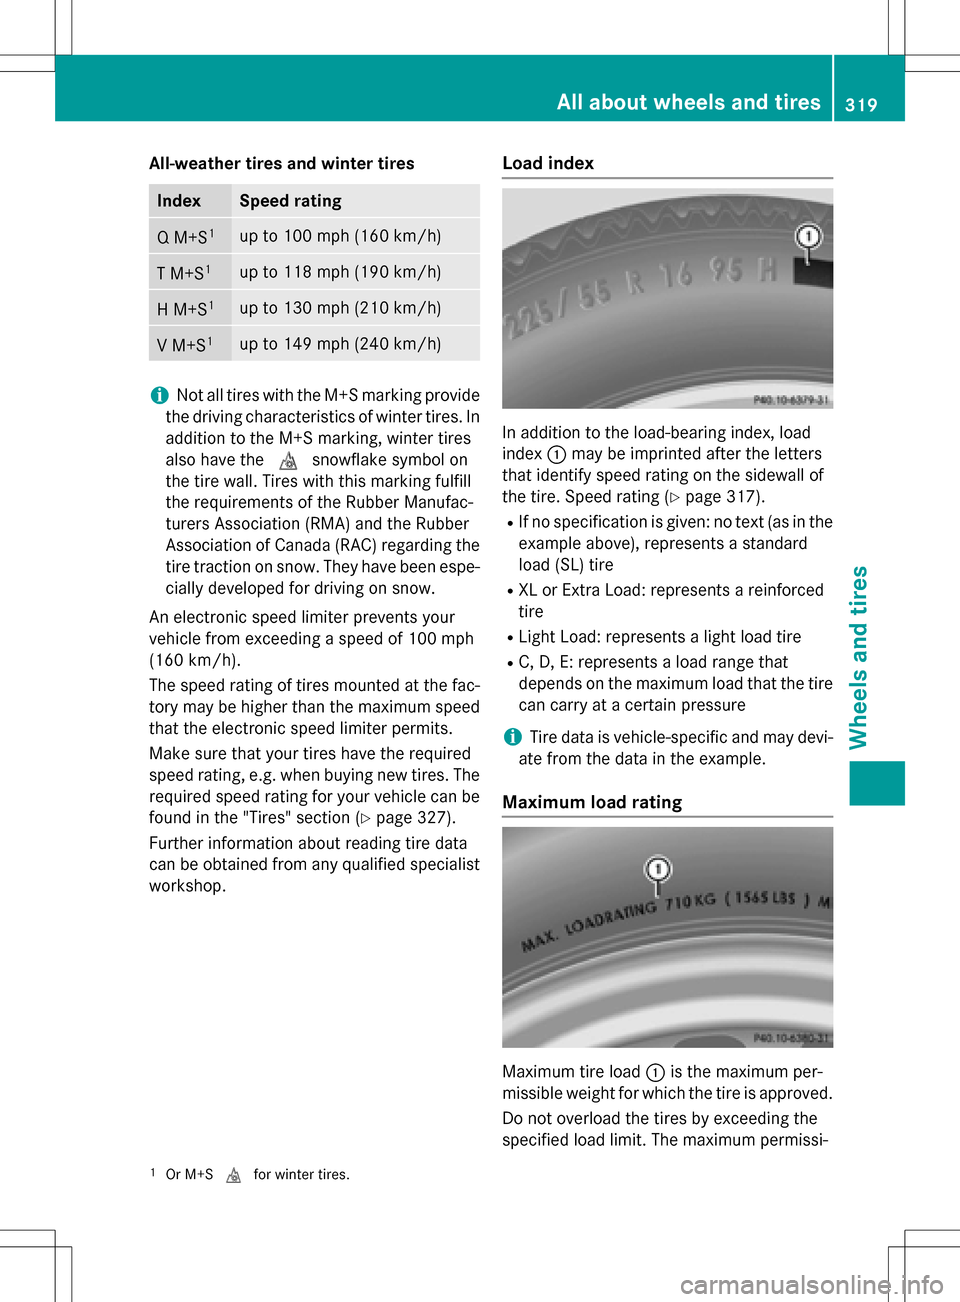
Load index
In addition to the load-bearing index, load
index :may be imprinted after the letters
that identify speed rating on the sidewall of
the tire. Speed rating (
Ypage 317).
RIf no specification is given: no text (as in the
example above), represents a standard
load (SL) tire
RXL or Extra Load: represents a reinforced
tire
RLight Load: represents a light load tire
RC, D, E: represents a load range that
depends on the maximum load that the tire
can carry at a certain pressure
iTire data is vehicle-specific and may devi-
ate from the data in the example.
Maximum load rating
Maximum tire load :is the maximum per-
missible weight for which the tire is approved.
Do not overload the tires by exceeding the
specified load limit. The maximum permissi-
1Or M+S ifor winter tires.
All about wheels and tires319
Wheels and tires
Z
Page 324 of 342
Curb weight
The weight of a vehicle with standard equip-
ment including the maximum capacity of fuel,
oil and coolant. It also includes the air-condi-
tioning system and optional equipment if
these are installed in the vehicle, but does not
include passengers or luggage.
Maximum load rating
The maximum tire load is the maximum per-
missible weight in kilograms or lbs for which a
tire is approved.
Maximum permissible tire pressure
Maximum permissible tire pressure for one
tire.
Maximum load on one tire
Maximum load on one tire. This is calculated
by dividing the maximum axle load of one axle
by two.
PSI (pounds per square inch)
A standard unit of measure for tire pressure.
Aspect ratio
Relationship between tire height and tire
width in percent.
Tire pressure
This is pressure inside the tire applying an
outward force to each square inch of the tire's
surface. The tire pressure is specified in
pounds per square inch (psi), in kilopascal
(kPa) or in bar. The tire pressure should only
be corrected when the tires are cold.
Cold tire pressure
The tires are cold:
Rif the vehicle has been parked with the tires
out of direct sunlight for at least three
hours and
Rif the vehicle has not been driven further
than 1 mile (1.6 km) Tread
The part of the tire that comes into contact
with the road.
Bead
The tire bead ensures that the tire sits
securely on the wheel. There are several steel
wires in the bead to prevent the tire from
coming loose from the wheel rim.
Sidewall
The part of the tire between the tread and the
bead.
Weight of optional extras
The combined weight of those optional extras
that weigh more than the replaced standard
parts and more than 2.3 kg (5 lbs). These
optional extras, such as high-performance
brakes, level control, a roof rack or a high-
performance battery, are not included in the
curb weight and the weight of the accesso-
ries.
TIN (Tire Identification Number)
This is a unique identifier which can be used
by a tire manufacturer to identify tires, for
example for a product recall, and thus identify
the purchasers. The TIN is made up of the
manufacturer's identity code, tire size, tire
type code and the manufacturing date.
Load bearing index
The load bearing index (also load index) is a
code that contains the maximum load bearing
capacity of a tire.
Traction
Traction is the result of friction between the
tires and the road surface.
Treadwear indicators
Narrow bars (tread wear bars) that are dis-
tributed over the tire tread. If the tire tread is
level with the bars, the wear limit of áin
(1.6 mm) has been reached.
322All about wheels and tires
Wheels and tires