Page 203 of 246

Function restrictions
Depending on the DVD, certain functions or
actions may not function at all. The symbol K
appears inthe display.
Switching on video DVD mode
RInsert and eject a disc from the single drive
(
Ypage 184)
RIn sert a discinto the DVD changer
(
Ypage 184)
Further options for switching on:
RUsing the number keypad (Ypage 181)
RUsing the main function bar (Ypage 180)
RUsing the device list (Ypage 181)
RUsing the Õbutton (Ypage 180)
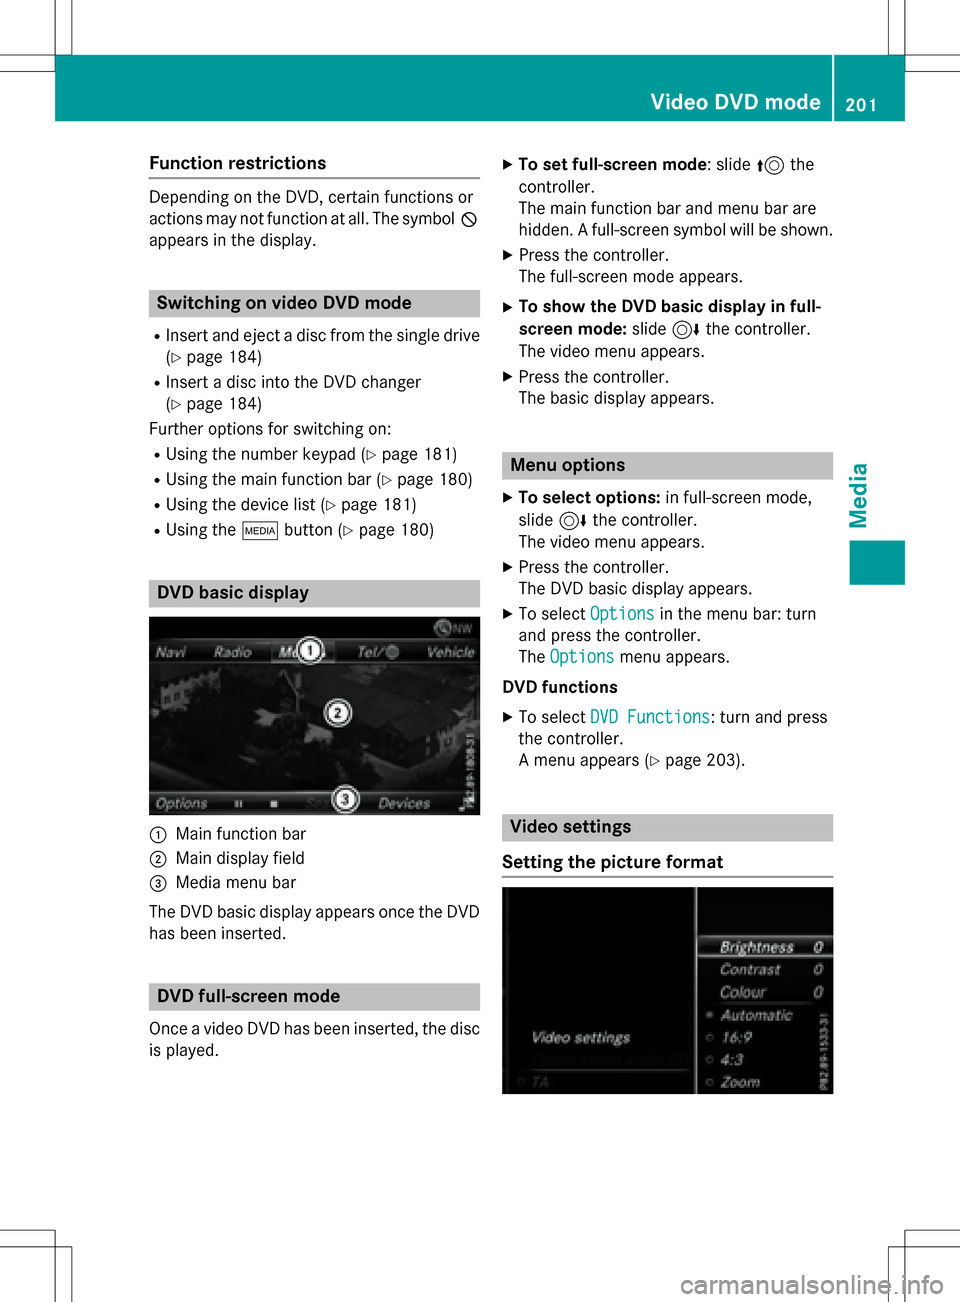
DVD basic display
:Main function bar
;Maindisplay fie ld
=Media menu bar
The DVD basic display appears once the DVD
has been inserted.
DVD full-screen mode
Once a video DVD has been inserted, the disc
is played.
XTo set full-screen mode: slide 5the
controller.
The main function bar and menu bar are
hidden. A full-screen symbol will beshown.
XPress the controller.
The full-screen mode appears.
XTo show the DVD basic display in full-
screen mode: slide6the controller.
The video menu appears.
XPress the controller.
The basic display appears.
Menu options
XTo select options: infull-screen mode,
slide 6the controller.
The video menu appears.
XPress the controller.
The DVD basic display appears.
XTo select Optionsinthe menu bar: turn
and press the controller.
The Options
menu appears.
DVD functions
XTo select DVD Functions: turn and press
the controller.
A menu appears (
Ypage 203).
Video settings
Setting the picture format
Video DVD mode201
Media
Z
Page 221 of 246

XTo switch to the list without the character
bar: slide5or select ok
.
XTo delete an entry: select 2in the char-
acter bar and press the controller.
Pressing briefly deletes the last letter
entered.
Pressing and holding longer deletes the
entire entry.
XTo select the state/province or city from
the list: turn and press the controller.
After selecting a state (or province) the list of locations appears.
After selecting a location, the information
chart displays the weather forecast for the
selected location. The data is supplied by
the nearest weather station.
Option 2: selecting the area in the
weather map
XCall up the weather map (Ypage 219).
XMove the weather map so that the cross-
hair is over the desired area (
Ypage 220).
XPress the controller.
The information chart shows the weather
forecast for the selected area. The data is
supplied by the nearest weather station.
Memory functions
Storing the area in the weather memory
You can save locations that are called up fre-
quently in ten preset positions (0, 1-9) in the
weather memory.
XIn the weather memory: select the area
for the weather forecast (
Ypage 217).
The selected location appears at the top in
the status bar.
XTo select Locationin the information
chart: turn and press the controller.
XSelect Preset.
XSelect a preset using the controller.
XPress and hold the controller until you hear
a tone.
The area is entered on the selected preset.
XTo store quickly: in the daily forecast
(
Ypage 216) press and hold a number key,
e.g. l, until the preset position number
is shown in the status bar in front of the
area name.
iYou can also use this function in the five-
day forecast (
Ypage 216), and in the
detailed information view (
Ypage 217).
Selecting an area from the weather
memory
XDirectly from the weather memory:
select Location
from the information
chart: turn and press the controller.
XSelect Preset.
XSelect the memory position which contains
the location you require.
The weather data for the selected area is
displayed.
XQuick select: if a location is stored in the
weather memory, for example when the
current forecast display is active, briefly
press a number key, e.g. l.
The weather data for the selected area is
displayed.
Weather map
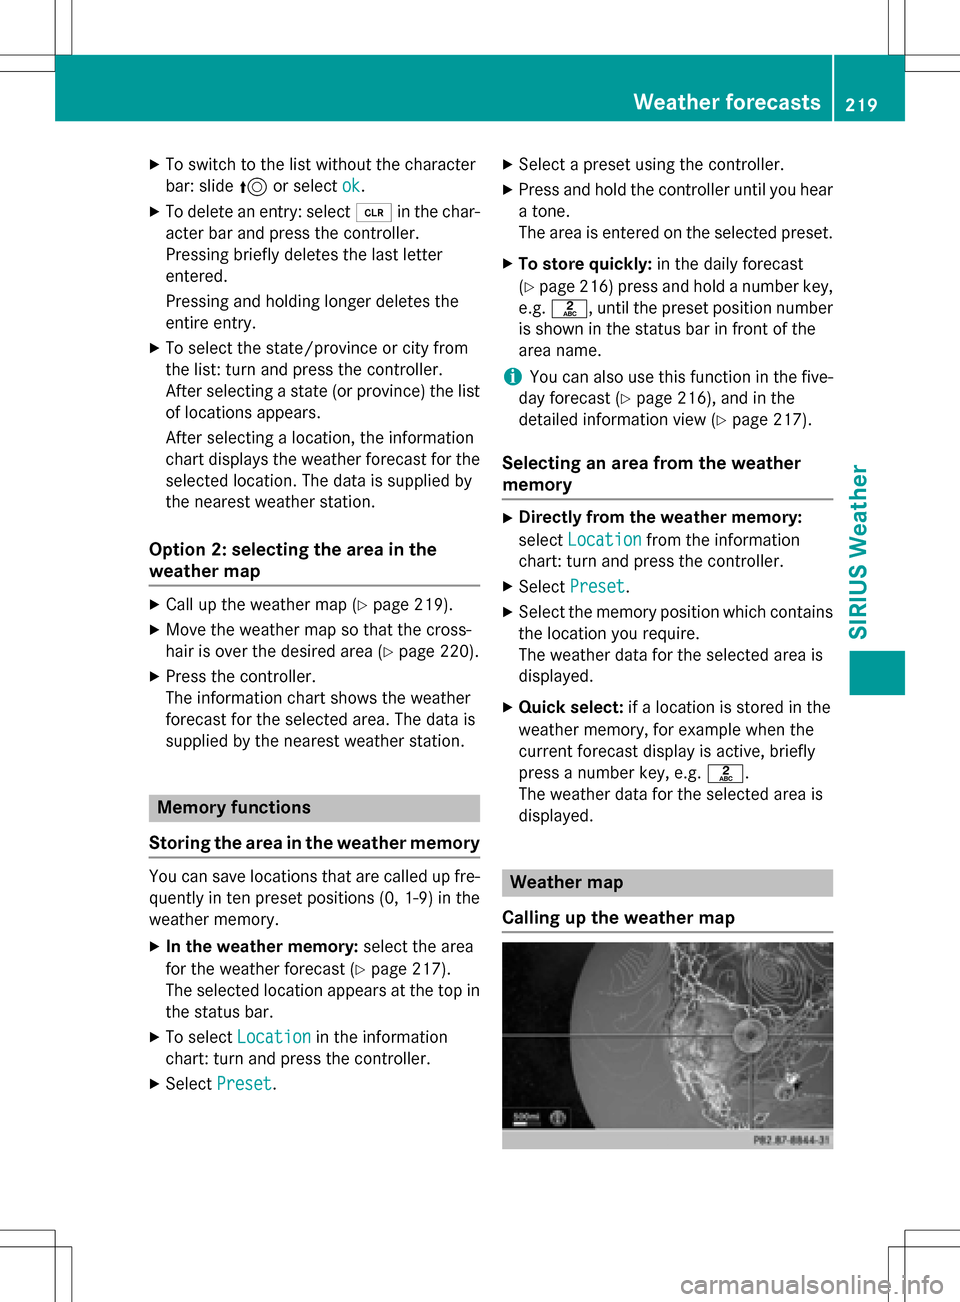
Calling up the weather map
Weather forecasts219
SIRIUS Weather
Page 229 of 246

Rear-compartment screens
:AUX jacks (AUX display)
;Display
The same AUX jacks (AUX drive) can be found in the rear-compartment drive (
Ypage 228).
Remote control
Overview
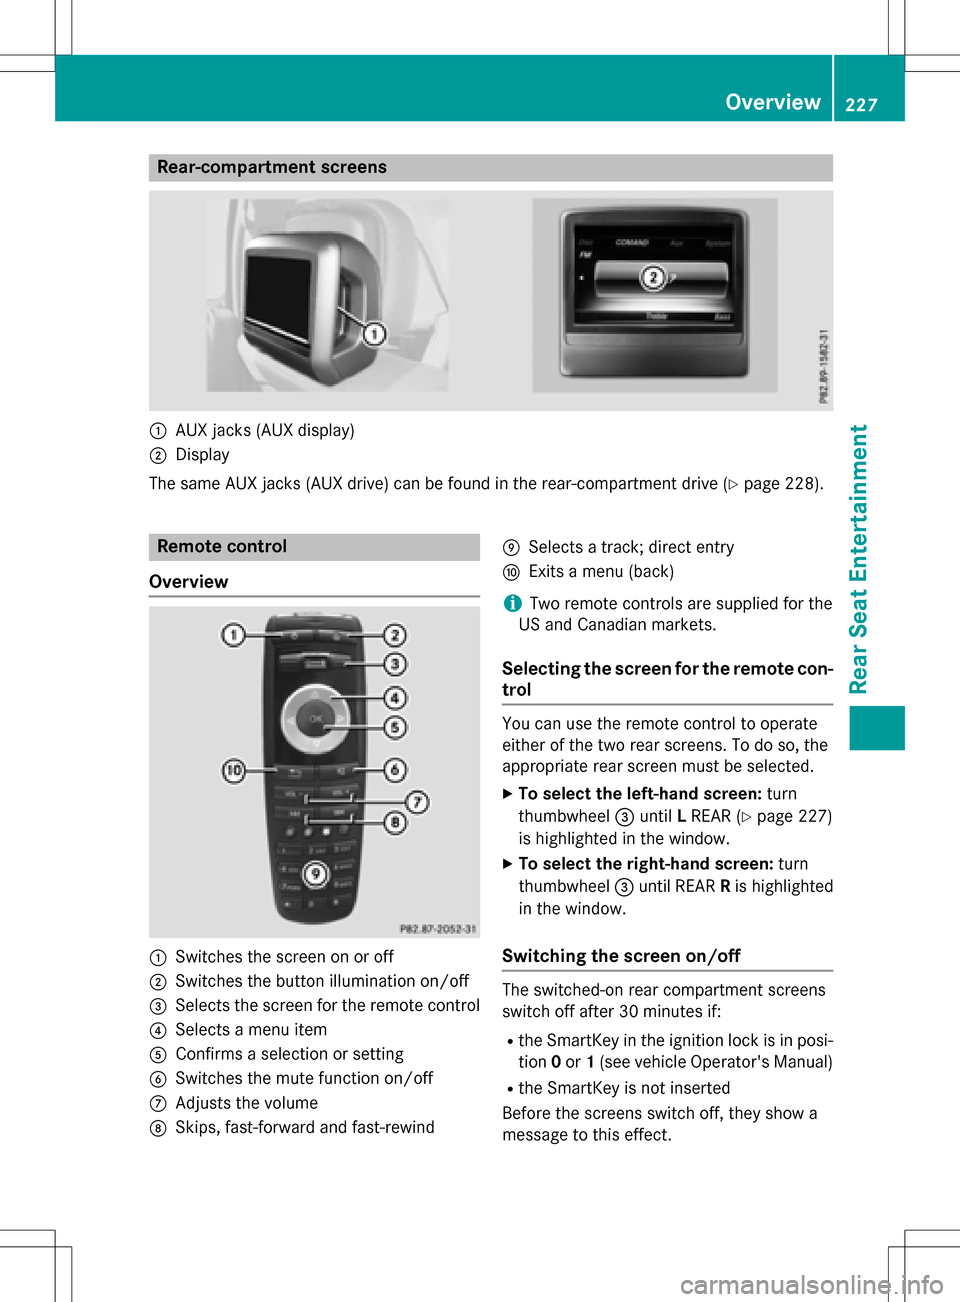
:Switches the screen on or off
;Switches the button illumination on/off
=Selects the screen for the remote control
?Selects a menu item
AConfirms a selection or setting
BSwitches the mute function on/off
CAdjusts the volume
DSkips, fast-forward and fast-rewind
ESelects a track; direct entry
FExits a menu (back)
iTwo remote controls are supplied for the
US and Canadian markets.
Selecting the screen for the remote con-
trol
You can use the remote control to operate
either of the two rear screens. To do so, the
appropriate rear screen must be selected.
XTo select the left-hand screen: turn
thumbwheel =until LREAR (
Ypage 227)
is highlighted in the window.
XTo select the right-hand screen: turn
thumbwheel =until REAR Ris highlighted
in the window.
Switching the screen on/off
The switched-on rear compartment screens
switch off after 30 minutes if:
Rthe SmartKey in the ignition lock is in posi-
tion 0or 1(see vehicle Operator's Manual)
Rthe SmartKey is not inserted
Before the screens switch off, they show a
message to this effect.
Overview227
Rear Seat Entertainment
Z