Page 114 of 556

Features of your vehicle
34
4
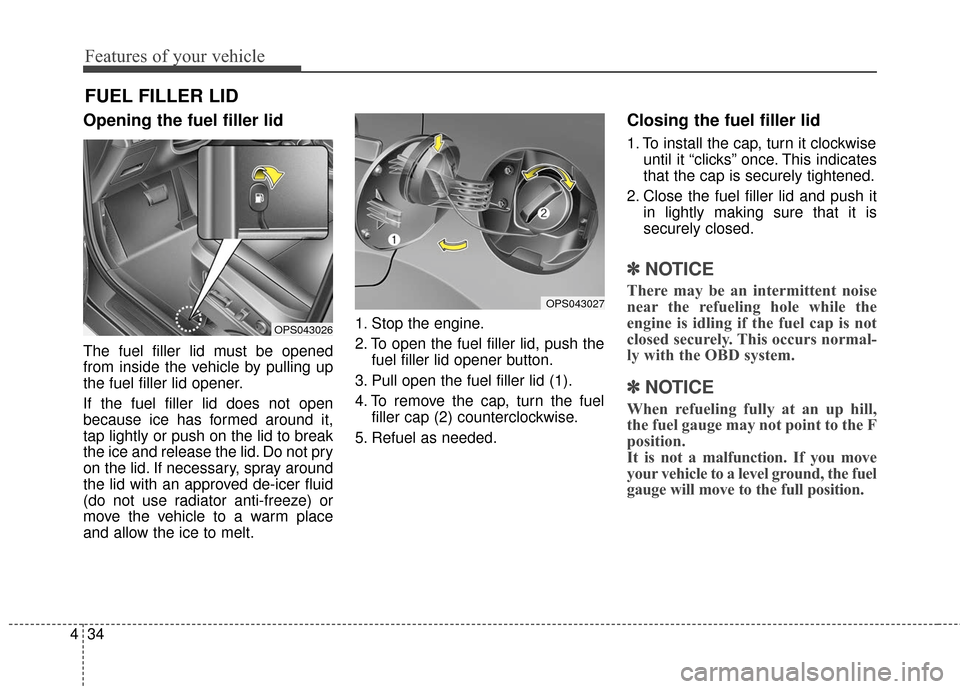
Opening the fuel filler lid
The fuel filler lid must be opened
from inside the vehicle by pulling up
the fuel filler lid opener.
If the fuel filler lid does not open
because ice has formed around it,
tap lightly or push on the lid to break
the ice and release the lid. Do not pry
on the lid. If necessary, spray around
the lid with an approved de-icer fluid
(do not use radiator anti-freeze) or
move the vehicle to a warm place
and allow the ice to melt. 1. Stop the engine.
2. To open the fuel filler lid, push the
fuel filler lid opener button.
3. Pull open the fuel filler lid (1).
4. To remove the cap, turn the fuel filler cap (2) counterclockwise.
5. Refuel as needed.
Closing the fuel filler lid
1. To install the cap, turn it clockwise until it “clicks” once. This indicates
that the cap is securely tightened.
2. Close the fuel filler lid and push it in lightly making sure that it is
securely closed.
✽ ✽NOTICE
There may be an intermittent noise
near the refueling hole while the
engine is idling if the fuel cap is not
closed securely. This occurs normal-
ly with the OBD system.
✽ ✽NOTICE
When refueling fully at an up hill,
the fuel gauge may not point to the F
position.
It is not a malfunction. If you move
your vehicle to a level ground, the fuel
gauge will move to the full position.
FUEL FILLER LID
OPS043027
OPS043026
Page 115 of 556

435
Features of your vehicle
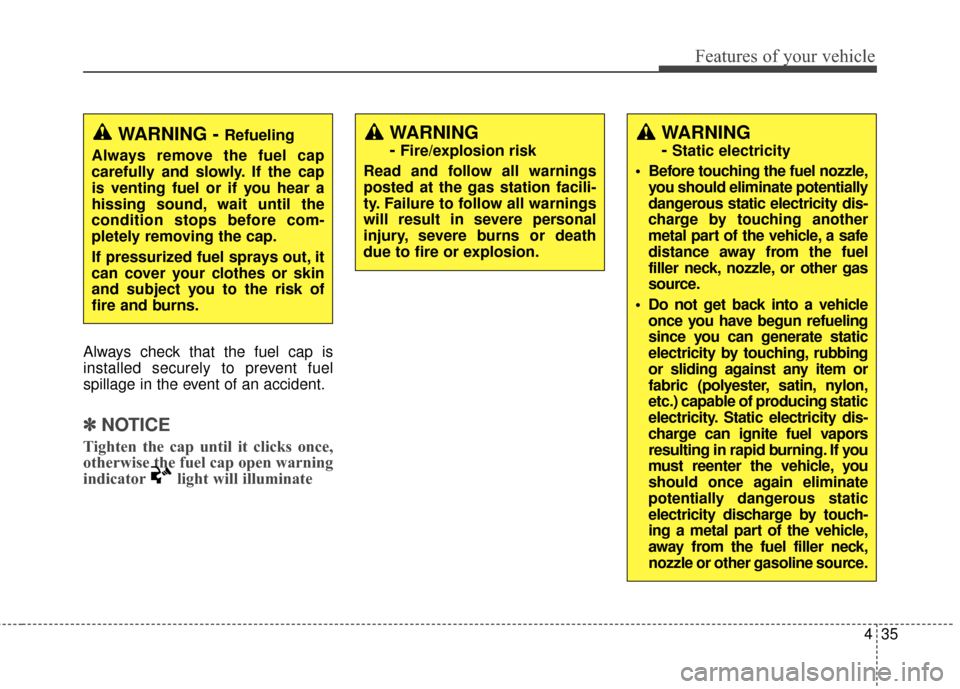
Always check that the fuel cap is
installed securely to prevent fuel
spillage in the event of an accident.
✽ ✽NOTICE
Tighten the cap until it clicks once,
otherwise the fuel cap open warning
indicator light will illuminate
WARNING
- Fire/explosion risk
Read and follow all warnings
posted at the gas station facili-
ty. Failure to follow all warnings
will result in severe personal
injury, severe burns or death
due to fire or explosion.
WARNING
- Static electricity
Before touching the fuel nozzle, you should eliminate potentially
dangerous static electricity dis-
charge by touching another
metal part of the vehicle, a safe
distance away from the fuel
filler neck, nozzle, or other gas
source.
Do not get back into a vehicle once you have begun refueling
since you can generate static
electricity by touching, rubbing
or sliding against any item or
fabric (polyester, satin, nylon,
etc.) capable of producing static
electricity. Static electricity dis-
charge can ignite fuel vapors
resulting in rapid burning. If you
must reenter the vehicle, you
should once again eliminate
potentially dangerous static
electricity discharge by touch-
ing a metal part of the vehicle,
away from the fuel filler neck,
nozzle or other gasoline source.
WARNING - Refueling
Always remove the fuel cap
carefully and slowly. If the cap
is venting fuel or if you hear a
hissing sound, wait until the
condition stops before com-
pletely removing the cap.
If pressurized fuel sprays out, it
can cover your clothes or skin
and subject you to the risk of
fire and burns.
Page 116 of 556

Features of your vehicle
36
4
Make sure to refuel your vehicle
according to the “Fuel requirements”
suggested in chapter 1.
If the fuel filler cap requires replace-
ment, use only a genuine Kia cap or the
equivalent specified for your vehicle. An
incorrect fuel filler cap can result in a
serious malfunction of the fuel system
or emission control system.
CAUTION- Exterior paint
Do not spill fuel on the exterior
surfaces of the vehicle. Anytype of fuel spilled on paintedsurfaces may damage the paint.
WARNING- Cell phone fires
Do not use cellular phones while
refueling. Electric current and/or
electronic interference from cel-
lular phones can potentially
ignite fuel vapors causing a fire.
WARNING- Smoking
DO NOT use matches or a lighter
and DO NOT SMOKE or leave a lit
cigarette in your vehicle while at
a gas station especially during
refueling. Automotive fuel is
highly flammable and can, when
ignited, result in fire.
WARNING- Refueling &Vehicle fires
When refueling, always shut the
engine off. Sparks produced by
electrical components related
to the engine can ignite fuel
vapors causing a fire. Once
refueling is complete, check to
make sure the filler cap and
filler door are securely closed,
before starting the engine.
WARNING - Portable fuel
container
When using an approved
portable fuel container, be sure
to place the container on the
ground prior to refueling. Static
electricity discharge from the
container can ignite fuel vapors
causing a fire. Once refueling
has begun, contact with the
vehicle should be maintained
until the filling is complete. Use
only approved portable plastic
fuel containers designed to
carry and store gasoline.
Page 134 of 556
Features of your vehicle
54
4
INSTRUMENT CLUSTER
1. Tachometer
2. Speedometer
3. Engine coolant temperature gauge
4. Fuel gauge
5. LCD display
6. Warning and indicator lights (if equipped)
7. Turn signal indicator lights
OPS043100C/OPS045101C
■
■
Type A
❈The actual cluster in the vehicle may differ
from the illustration.
For more details, refer to the "Gauges" in
this chapter.
■
■ Type B
Page 138 of 556
Features of your vehicle
58
4
Fuel Gauge
This gauge indicates the approxi-
mate amount of fuel remaining in the
fuel tank.
✽ ✽
NOTICE
• The fuel tank capacity is given in
chapter 8.
• The fuel gauge is supplemented by a low fuel warning light, which
will illuminate when the fuel tank
is nearly empty.
• On inclines or curves, the fuel gauge pointer may fluctuate or the
low fuel warning light may come
on earlier than usual due to the
movement of fuel in the tank.
✽ ✽ NOTICE- Fuel gauge
Running out of fuel can expose vehi-
cle occupants to danger. You must
stop and obtain additional fuel as
soon as possible after the warning
light comes on or when the gauge
indicator comes close to the "E
(Empty)" level.
✽ ✽NOTICE
Fuel display may not be accurate if
you are filling in sloping places.
OPS043110
OPS043111
■Type A
■ Type B
CAUTION - Low fuel
Avoid driving with an extremely
low fuel level. Running out offuel could cause the engine tomisfire damaging the catalyticconverter.
Page 140 of 556
Features of your vehicle
60
4
Transaxle Shift Indicator
Automatic Transaxle Shift Indicator
This indicator displays which auto-
matic transaxle shift lever is selected.
Reverse : R
Neutral : N
Sports Mode : 1, 2, 3, 4, 5, 6
Manual Transaxle Shift Indicator
(if equipped)
This indicator informs which gear is
desired while driving to save fuel.
Shifting up : ▲
2, ▲
3, ▲
4, ▲
5, ▲
6
Shifting down : ▼1,
▼2,
▼3,
▼4,
▼5
OPS043115
OTF044125L
■Type A
■ Type B
OPS043116
OTF044402
■Type A
■ Type B
Page 142 of 556
Features of your vehicle
62
4
LCD Modes (for type B cluster)
LCD DISPLAY (IF EQUIPPED)
Modes SymbolExplanation
Trip Computer This mode displays driving information like the tripmeter, fuel economy, and so on.
For more details, refer to “Trip Computer” in this chapter.
Tu r n B y Tu r n
(if equipped)This mode displays the state of the navigation.
LDWS
(if equipped)This mode displays the state of the Lane Departure Warning System (LDWS).
For more details, refer to "Lane Departure Warning System (LDWS)" in chapter 5.
A/V
(if equipped)This mode displays the state of the A/V system.
ServiceThis mode informs of service interval (mileage or days) and warning messages
related to TPMS and so on.
Master warning
User SettingsOn this mode, you can change settings of the doors, lamps, and so on.
❈ For controlling the LCD modes, refer to "LCD Display Control" in this chapter.
Page 145 of 556

465
Features of your vehicle
Shift Lever:All doors will be automatically
unlocked if the automatic transaxle
shift lever is shifted to the P (Park)
position.
Two Press Unlock (if equipped)
Off: The two press unlock function will
be deactivated. Therefore, all doors
will unlock if the door is unlocked.
On: The driver’s door will unlock if the
door is unlocked. When the door is
unlocked again within 4 seconds,
all doors will unlock.
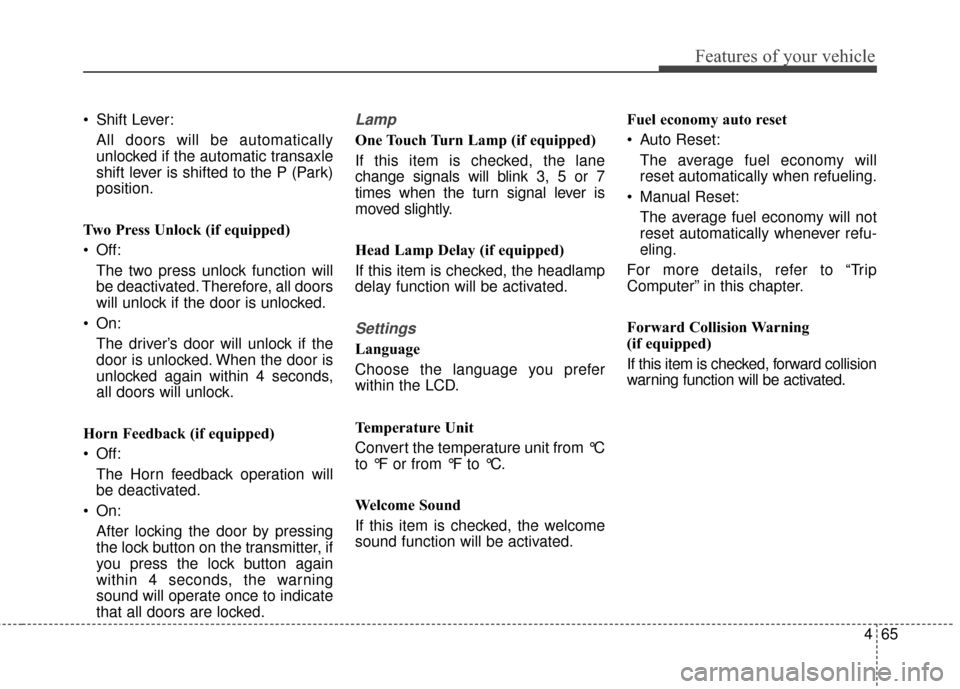
Horn Feedback (if equipped)
Off: The Horn feedback operation will
be deactivated.
On: After locking the door by pressing
the lock button on the transmitter, if
you press the lock button again
within 4 seconds, the warning
sound will operate once to indicate
that all doors are locked.Lamp
One Touch Turn Lamp (if equipped)
If this item is checked, the lane
change signals will blink 3, 5 or 7
times when the turn signal lever is
moved slightly.
Head Lamp Delay (if equipped)
If this item is checked, the headlamp
delay function will be activated.
Settings
Language
Choose the language you prefer
within the LCD.
Temperature Unit
Convert the temperature unit from °C
to °F or from °F to °C.
Welcome Sound
If this item is checked, the welcome
sound function will be activated. Fuel economy auto reset
Auto Reset:
The average fuel economy will
reset automatically when refueling.
Manual Reset: The average fuel economy will not
reset automatically whenever refu-
eling.
For more details, refer to “Trip
Computer” in this chapter.
Forward Collision Warning
(if equipped)
If this item is checked, forward collision
warning function will be activated.