Page 151 of 524

481
Features of your vehicle
Headlamp escort (if equipped)
If you turn the POWER button to the
ACC or OFF position with the head-
lights ON, the headlights remain on
for about 5 minutes. However, if the
driver’s door is opened and closed,
the headlights are turned off after 15
seconds.
The headlights can be turned off by
pressing the lock button on the smart
key twice or turning the light switch to
the OFF or Auto position. However, if
you turn the light switch to the Auto
position when it is dark outside, the
headlights will not be turned off
immediately.
Battery saver function
The purpose of this feature is toprevent the battery from being dis-
charged. The system automatically
turns off the parking lights when
the driver turns the vehicle off and
opens the driver-side door (in that
order).
With this feature, the parking lights will turn off automatically if the driv-
er parks on the side of the road at
night.
If necessary, to keep the lights on
when the vehicle is turned off, per-
form the following:
1) Open the driver-side door.
2) Turn the parking lights OFF and ON again using the light switch
on the steering column.
Daytime running light
Daytime Running Lights (DRL) may
help make it easier for others to see
the front of your vehicle during the
day. DRL can be helpful in many dif-
ferent driving conditions, and it is
especially helpful after dawn and
before sunset.
The DRL system turns OFF when:
1. The front fog light or headlight (lowbeam) switch is ON.
2. The POWER button is OFF.
3. The parking brake is applied.
LIGHTING
Page 154 of 524

Features of your vehicle
84
4
Never place anything over sensor
(1) located on the instrument
panel. This will ensure better auto-
light system control.
Don’t clean the sensor using a win- dow cleaner. The cleaner may
leave a light film which could inter-
fere with sensor operation.
If your vehicle has window tint or other types of metallic coating on
the front windshield, the Auto light
system may not work properly.High beam operation
To turn on the high beam headlights,
push the lever away from you. Pull it
back for low beams.
The high beam indicator will light
when the headlight high beams are
switched on.
To prevent the battery from being
discharged, do not leave the lights
on for a prolonged time while the
vehicle is not in the ready ( ) mode. To flash the headlights, pull the lever
towards you. It will return to the normal
(low beam) position when released.
The headlight switch does not need to
be on to use this flashing feature.
OAM049044
OAM049043
WARNING- High beams
Do not use high beam when
there are other vehicles. Using
high beam could obstruct the
other driver's vision.
Page 160 of 524
Features of your vehicle
90
4
Do not use the interior lights for
extended periods when the v ehicle is
not in the ready ( ) mode.
It may cause battery discharge.
Interior lamp AUTO cut
When all entrances are closed, if you lock the vehicle by using the
smart key, all interior lamp will be
off after a few seconds.
If you do not operate anything in the vehicle after turning off the
POWER button, the lights will turn
off after 20 minutes.
Map lamp
Press the lens (1) or button (1) to
turn the map lamp on or off. ROOM (2) :
- The map lamp and room lampstays on at all times.
- To turn off the ROOM mode, press the ROOM button (2) once
again (not pressed.)
INTERIOR LIGHT
WARNING - Interior light
Do not use the interior lights
when driving in the dark. The
glare from the interior lights
may obstruct your view and
cause an accident.
OPS043052
OPS043053
■ Type B
■Type A
Page 170 of 524

Features of your vehicle
100
4
The temperature will decrease to the
minimum (17°C (62°F)) by pushing
the button ( ).
When pushing the button, the tem-
perature will increase or decrease by
0.5°C/1°F. When set to the lowest
temperature setting, the air condi-
tioning will operate continuously.
B
The temperature will increase to the
maximum (32°C (90°F)) by turning
the knob to the right extremely.
The temperature will decrease to the
minimum (17°C (62°F)) by turning
the knob to the left extremely.
When turning the knob, the tempera-
ture will increase or decrease by
0.5°C/1°F. When set to the lowest
temperature setting, the air condi-
tioning will operate continuously. Temperature scale conversion
If the battery has been discharged or
disconnected, the temperature mode
display will reset to Centigrade.
This is normal condition. You can
switch the temperature scale as fol-
lows;
While pressing the AUTO button,
press the OFF button for 3 seconds
or more. The temperature scale will
change from Centigrade to
Fahrenheit, or from Fahrenheit to
Centigrade.
The temperature unit (from °C to °F
or from °F to °C) can be changed by
using the “User Settings” mode of the
LCD display.
❈
You change the temperature unit,
the temperature unit on the instru-
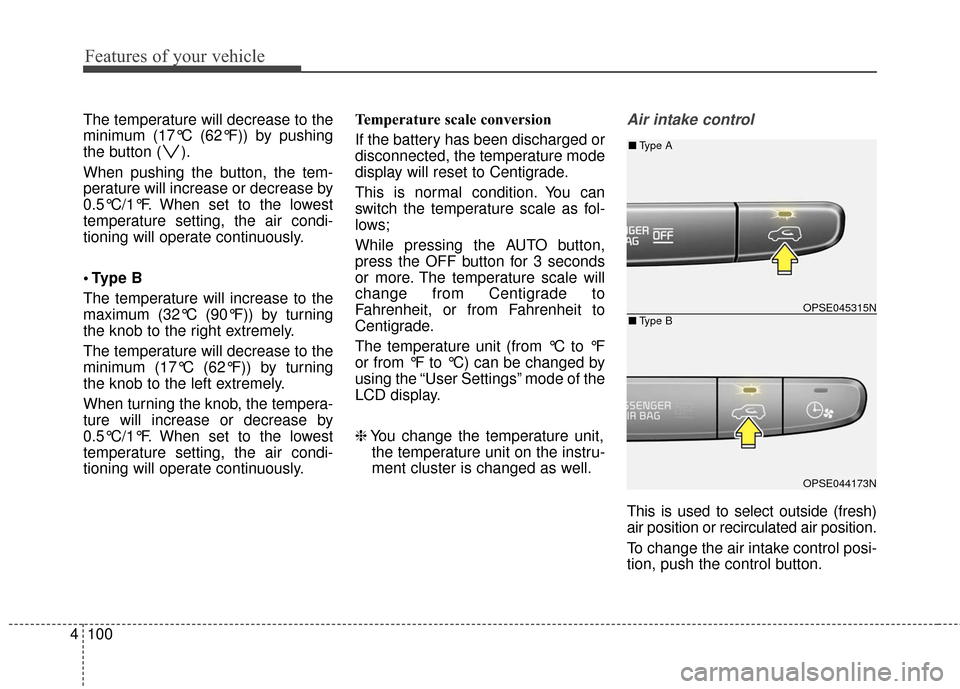
ment cluster is changed as well.Air intake control
This is used to select outside (fresh)
air position or recirculated air position.
To change the air intake control posi-
tion, push the control button.
OPSE045315N
OPSE044173N
■ Type B
■Type A
Page 173 of 524
4103
Features of your vehicle
Air conditioning
Push the A/C button to turn the air
conditioning system on (indicator
light will illuminate).
Push the button again to turn the air
conditioning system off. Air conditioner/Heater uses energy
from the battery. If you use the
heater or air conditioner for too long,
distance to empty can be reduced
due to too much power consump-
tion. Turn off the heater and air con-
ditioner if you do not need them.
HEAT Button
Push the HEAT button to turn the
heater on (indicator light will illuminate).
Push the button again to turn the
heater off.
OPSE045317N
OPSE044175
■ Type B
■Type A
OPSE045318N
OPSE044253L
■Type B
■Type A
Page 174 of 524
Features of your vehicle
104
4
Air conditioner/Heater uses energy
from the battery. If you use the
heater or air conditioner for too long,
distance to empty can be reduced
due to too much power consump-
tion. Turn off the heater and air con-
ditioner if you do not need them.Driver Only Button
If you press the driver seat air condi-
tioning button and the indicator lamp
inside the button tums on, cool air
blows only in the driver's seat. If you
use it when there is no passenger on
the front passenger seat, you can
increase the distance to empty. If you select the driver seat air condi-
tioning in the front windshield defrost
mode ( , ) air comes out from
both left and right sides on the front
windshield.
OPSE045319N
OPSE044254L
■
Type B
■Type A
Page 182 of 524
Features of your vehicle
112
4
Defogging logic
To reduce the possibility of fogging up
the inside of the windshield, the air
intake or air-conditioning and heater
are controlled automatically accord-
ing to certain conditions such as
or position. To cancel or return to
the defogging logic, do the following.
1. Turn the POWER button to the ONposition.
2. Press the defrost button ( ).
3. While pressing the air conditioning button (A/C), press the air intake
control button ( ) at least 5
times within 3 seconds. The indicator on the air intake button
blinks 3 times with 0.5 seconds of
interval. It indicates that the defog-
ging logic is canceled or returned to
the programmed status.
If the battery has been discharged or
disconnected, it will be reset to the
defog logic status.
OPSE045188N
OPSE044188
■
Type B
■Type A
Page 184 of 524

Features of your vehicle
114
4
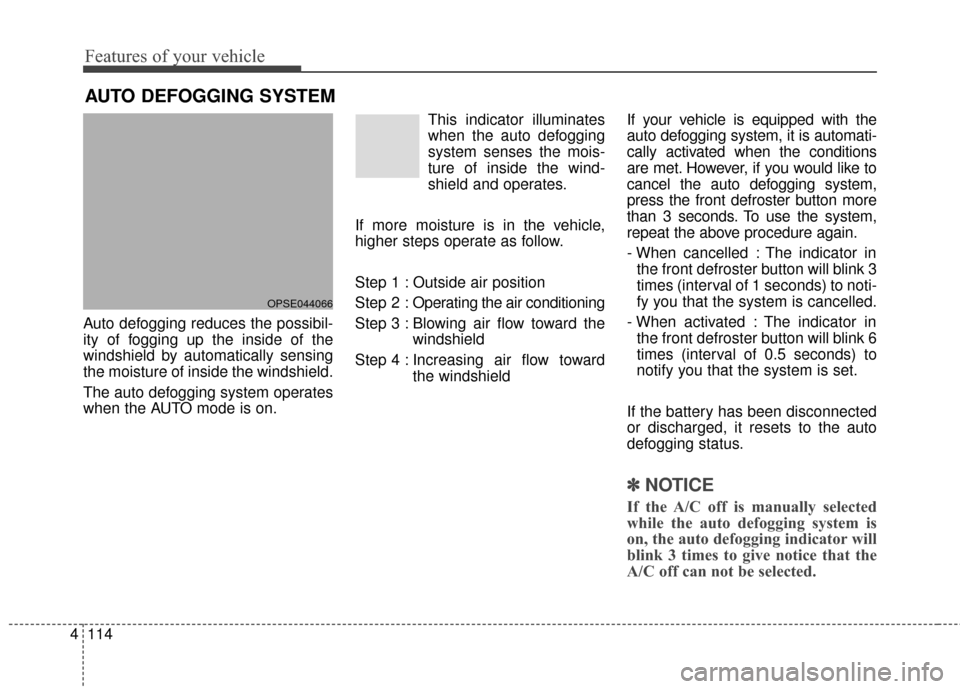
AUTO DEFOGGING SYSTEM
Auto defogging reduces the possibil-
ity of fogging up the inside of the
windshield by automatically sensing
the moisture of inside the windshield.
The auto defogging system operates
when the AUTO mode is on. This indicator illuminates
when the auto defogging
system senses the mois-
ture of inside the wind-
shield and operates.
If more moisture is in the vehicle,
higher steps operate as follow.
Step 1 : Outside air position
Step 2 : Operating the air conditioning
Step 3 : Blowing air flow toward the windshield
Step 4 : Increasing air flow toward the windshield If your vehicle is equipped with the
auto defogging system, it is automati-
cally activated when the conditions
are met. However, if you would like to
cancel the auto defogging system,
press the front defroster button more
than 3 seconds. To use the system,
repeat the above procedure again.
- When cancelled : The indicator in
the front defroster button will blink 3
times (interval of 1 seconds) to noti-
fy you that the system is cancelled.
- When activated : The indicator in the front defroster button will blink 6
times (interval of 0.5 seconds) to
notify you that the system is set.
If the battery has been disconnected
or discharged, it resets to the auto
defogging status.
✽ ✽ NOTICE
If the A/C off is manually selected
while the auto defogging system is
on, the auto defogging indicator will
blink 3 times to give notice that the
A/C off can not be selected.
OPSE044066