Page 14 of 644

Your vehicle at a glance
42
INTERIOR OVERVIEW
1. Inside door handle ...................................4-27
2. Power window switch...............................4-51
3. Central door lock switch ..........................4-28
4. Power window and rear sunrooflock button................................................4-54
5. Outside rearview mirror control ...............4-78
6. Outside rearview mirror folding switch ....4-79
7. Fuel filler lid open switch .........................4-58
8. Instrument panel illumination control switch ...........................................4-83
9. BSD ON/OFF button ...............................5-56
10. LDWS ON/OFF button ..........................5-64
11. AC inverter button ................................4-193
12. ESC OFF button ....................................5-25
13. Steering wheel .......................................4-67
14. Tilt and telescopic steering control lever ...........................................4-68
15. Inner panel fuse panel. ..........................7-68
16. Brake pedal............................................5-19
17. Parking brake pedal...............................5-21
18. Hood release lever.................................4-56
19. Seat..........................................................3-2
OYP014003N❈ The actual interior in the vehicle may differ from the illustration
Page 44 of 644

Safety features of your vehicle
28
3
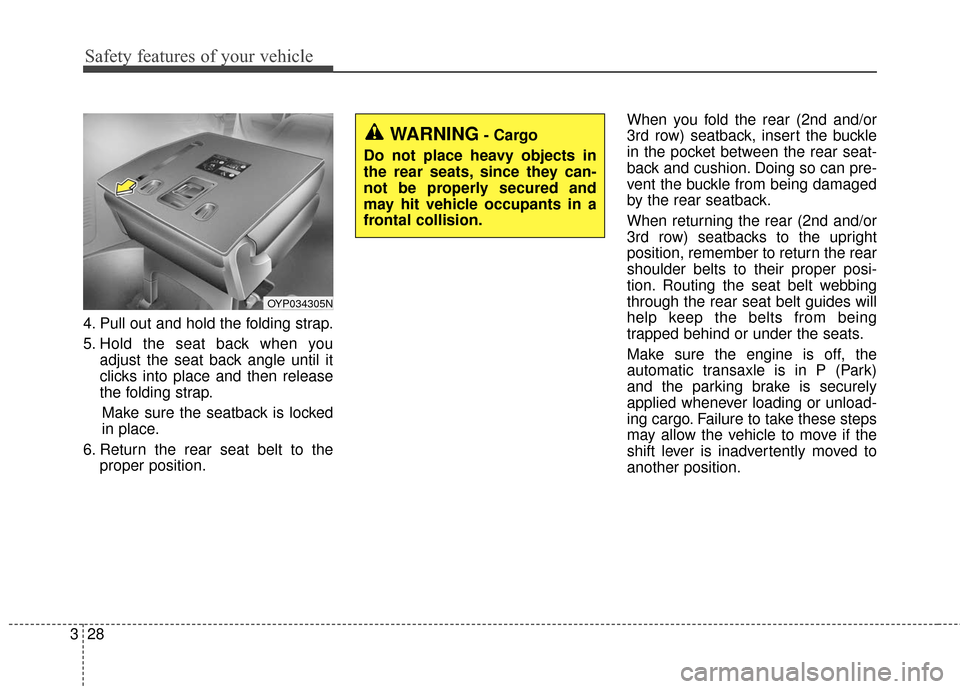
4. Pull out and hold the folding strap.
5. Hold the seat back when you
adjust the seat back angle until it
clicks into place and then release
the folding strap.
Make sure the seatback is locked
in place.
6. Return the rear seat belt to the proper position. When you fold the rear (2nd and/or
3rd row) seatback, insert the buckle
in the pocket between the rear seat-
back and cushion. Doing so can pre-
vent the buckle from being damaged
by the rear seatback.
When returning the rear (2nd and/or
3rd row) seatbacks to the upright
position, remember to return the rear
shoulder belts to their proper posi-
tion. Routing the seat belt webbing
through the rear seat belt guides will
help keep the belts from being
trapped behind or under the seats.
Make sure the engine is off, the
automatic transaxle is in P (Park)
and the parking brake is securely
applied whenever loading or unload-
ing cargo. Failure to take these steps
may allow the vehicle to move if the
shift lever is inadvertently moved to
another position.
WARNING- Cargo
Do not place heavy objects in
the rear seats, since they can-
not be properly secured and
may hit vehicle occupants in a
frontal collision.
OYP034305N
Page 129 of 644
427
Features of your vehicle
To lock a door without the key, pushthe inside door lock button (1) or cen-
tral door lock switch (2) to the “Lock”
position when the ignition switch is
OFF position and close the door (3).
If you lock the door with the central door lock switch (2), all vehicle
doors will lock automatically.
✽ ✽ NOTICE
Always remove the ignition key,
engage the parking brake, close all
windows and lock all doors when
leaving your vehicle unattended.
Operating door locks from
inside the vehicle
With the door lock button
To unlock a door, push the door
lock button (1) to the “Unlock” posi-
tion. The red mark (2) on the button
will be visible.
To lock a door, push the door lock button (1) to the “Lock” position. If
the door is locked properly, the red
mark (2) on the door lock button
will not be visible.
OYP044010K
OYP044011K
Page 158 of 644
Features of your vehicle
56
4
Opening the hood
1. Pull the release lever to unlatch
the hood. The hood should pop
open slightly.
Open the hood after turning off the
engine on a flat surface, shifting the
shift lever to the P (Park) position
and setting the parking brake. 2. Go to the front of the vehicle, raise
the hood slightly, pull up the sec-
ondary latch (1) inside of the hood
center and lift the hood (2). 3. Pull out the support rod.
4. Hold the hood opened with the
support rod.
✽ ✽NOTICE - Hot parts
Grab the support rod in the area
wrapped in rubber. The plastic will
help prevent you from being burned
by hot metal when the engine is hot.
HOOD
OYP044037K
OYP044038KOYP044039K
Page 211 of 644

4109
Features of your vehicle
Parking Brake & BrakeFluid Warning Light
This warning light illuminates :
Once you set the ignition switch or Engine Start/Stop Button to the ON
position.
- It illuminates for approximately 3seconds.
- It remains on if the parking brake is applied.
When the parking brake is applied.
When the brake fluid level in the reservoir is low.
- If the warning light illuminateswith the parking brake released, it
indicates the brake fluid level in
reservoir is low. If the brake fluid level in the reservoir
is low:
1. Drive carefully to the nearest safe
location and stop your vehicle.
2. With the engine stopped, check the brake fluid level immediately and add
fluid as required (For more details,
refer to “Brake Fluid” in chapter 7).
Then check all brake components
for fluid leaks. If any leaks in the
brake system is still found, the
warning light remains on, or the
brakes do not operate properly, do
not drive the vehicle.
In this case, have your vehicle
towed to an authorized Kia dealer
and inspected. Dual-diagonal braking system
Your vehicle is equipped with dual-
diagonal braking systems. This
means you still have braking on two
wheels even if one of the dual sys-
tems should fail.
With only one of the dual systems
working, more than normal pedal
travel and greater pedal pressure are
required to stop the vehicle.
Also, the vehicle will not stop in as
short a distance with only a portion
of the brake system working.
If the brakes fail while you are driv-
ing, shift to a lower gear for addition-
al engine braking and stop the vehi-
cle as soon as it is safe to do so.
Page 212 of 644

Features of your vehicle
110
4
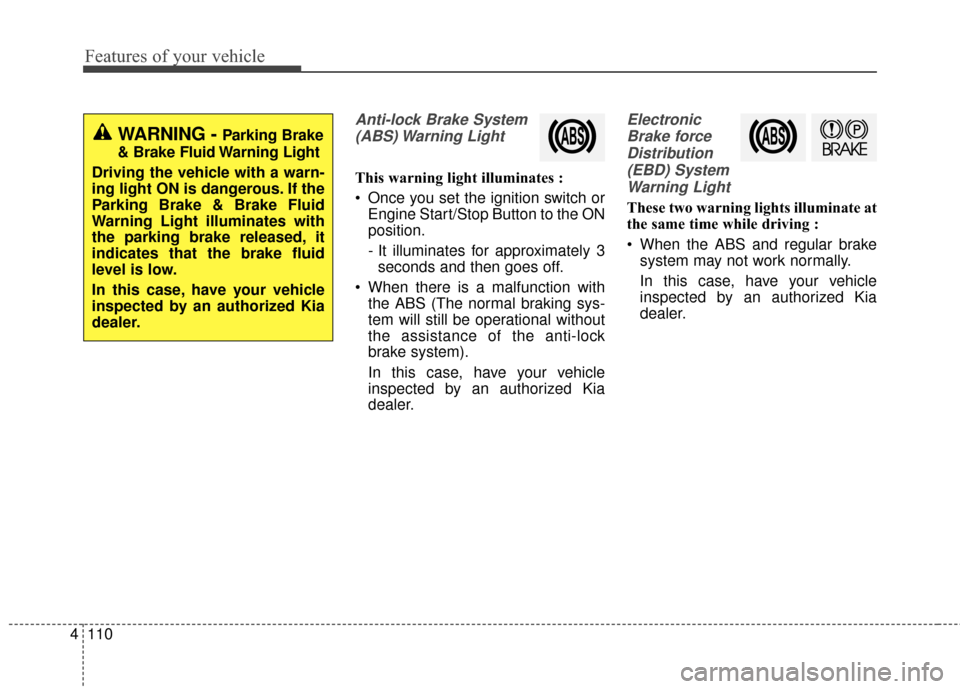
Anti-lock Brake System
(ABS) Warning Light
This warning light illuminates :
Once you set the ignition switch or Engine Start/Stop Button to the ON
position.
- It illuminates for approximately 3seconds and then goes off.
When there is a malfunction with the ABS (The normal braking sys-
tem will still be operational without
the assistance of the anti-lock
brake system).
In this case, have your vehicle
inspected by an authorized Kia
dealer.
Electronic
Brake forceDistribution(EBD) SystemWarning Light
These two warning lights illuminate at
the same time while driving :
When the ABS and regular brake system may not work normally.
In this case, have your vehicle
inspected by an authorized Kia
dealer.
WARNING - Parking Brake
& Brake Fluid Warning Light
Driving the vehicle with a warn-
ing light ON is dangerous. If the
Parking Brake & Brake Fluid
Warning Light illuminates with
the parking brake released, it
indicates that the brake fluid
level is low.
In this case, have your vehicle
inspected by an authorized Kia
dealer.
Page 213 of 644

4111
Features of your vehicle
✽
✽NOTICE- Electronic Brake
force Distribution
(EBD) System
Warning Light
When the ABS Warning Light is on
or both ABS and Parking Brake &
Brake Fluid Warning Lights are on,
the speedometer, odometer, or trip-
meter may not work. Also, the EPS
Warning Light may illuminate and
the steering effort may increase or
decrease.
In this case, have your vehicle inspect-
ed by an authorized Kia dealer as
soon as possible.
Electronic Power
Steering (EPS) WarningLight (if equipped)
This warning light illuminates :
Once you set the ignition switch or Engine Start/Stop Button to the ON
position.
- It remains on until the engine isstarted.
When there is a malfunction with the EPS.
In this case, have your vehicle
inspected by an authorized Kia
dealer.
WARNING - Electronic
Brake force Distribution
(EBD) System Warning Light
When both ABS and Parking
Brake & Brake Fluid Warning
Lights are on, the brake system
will not work normally and you
may experience an unexpected
and dangerous situation during
sudden braking.
In this case, avoid high speed
driving and abrupt braking.
Have your vehicle inspected by
an authorized Kia dealer as
soon as possible.
Page 224 of 644

Features of your vehicle
122
4
This system will activate when
backing up with the ignition switch
ON.
If the vehicle is moving at a speed
over 5 km/h (3 mph), the system
may not be activated correctly.
The sensing distance while the back-up warning system is in oper-
ation is approximately 120 cm (47
in.) at the rear bumper center area,
60 cm (23.5 in.) at the rear bumper
both side area.
When more than two objects are sensed at the same time, the clos-
est one will be recognized first.Types of warning sound
When an object is 120 cm to 61 cm(47 in. to 24 in.) from the rear
bumper : Buzzer beeps intermit-
tently.
When an object is 60 cm to 31 cm (24 in. to 12 in.) from the rear
bumper : Buzzer beeps more fre-
quently.
When an object is within 30 cm (12 in.) of the rear bumper :
Buzzer sounds continuously.
Non-operational conditions of
rear parking assist system
The rear parking assist system
may not operate properly when :
1. Moisture is frozen to the sensor. (It will operate normally when the
moisture has been cleared.)
2. The sensor is covered with foreign matter, such as snow or water, or
the sensor cover is blocked. (It will
operate normally when the materi-
al is removed or the sensor is no
longer blocked.)
3. Driving on uneven road surfaces (unpaved roads, gravel, bumps,
gradient).
4. Objects generating excessive noise (vehicle horns, loud motor-
cycle engines, or truck air brakes)
are within range of the sensor.
5. Heavy rain or water spray exists.
6. Wireless transmitters or mobile phones are within range of the
sensor.
7. The sensor is covered with snow.
8. Trailer towing