Page 422 of 513

Maintenance
22
7
Vacuum crankcase ventilation hoses (if equipped)
Inspect the surface of hoses for evi- dence of heat and/or mechanical
damage. Hard and brittle rubber,
cracking, tears, cuts, abrasions, and
excessive swelling indicate deterio-
ration. Particular attention should be
paid to examine those hose surfaces
nearest to high heat sources, such
as the exhaust manifold. Inspect the hose routing to assure that the hoses do not come in con-
tact with any heat source, sharp
edges or moving component whichmight cause heat damage or
mechanical wear. Inspect all hose
connections, such as clamps and
couplings, to make sure they are
secure, and that no leaks are pres-
ent. Hoses should be replaced
immediately if there is any evidence
of deterioration or damage. Air cleaner filter
We recommend that the air cleaner
filter be replaced by an authorized
Kia dealer. Spark plugs
Make sure to install new spark plugs
of the correct heat range.
Valve clearance (3.8L)
Inspect excessive valve noise and/or
engine vibration and adjust if neces-
sary. We recommend that the system
be serviced by an authorized Kia
dealer. Cooling system
Check cooling system components,
such as radiator, coolant reservoir,
hoses and connections for leakage
and damage. Replace any damaged
parts. Coolant The coolant should be changed at
the intervals specified in the mainte-
nance schedule.
WARNING
Do not disconnect and inspect spark plugs when the engine is
hot. You may burn yourself.
Page 441 of 513

741
Maintenance
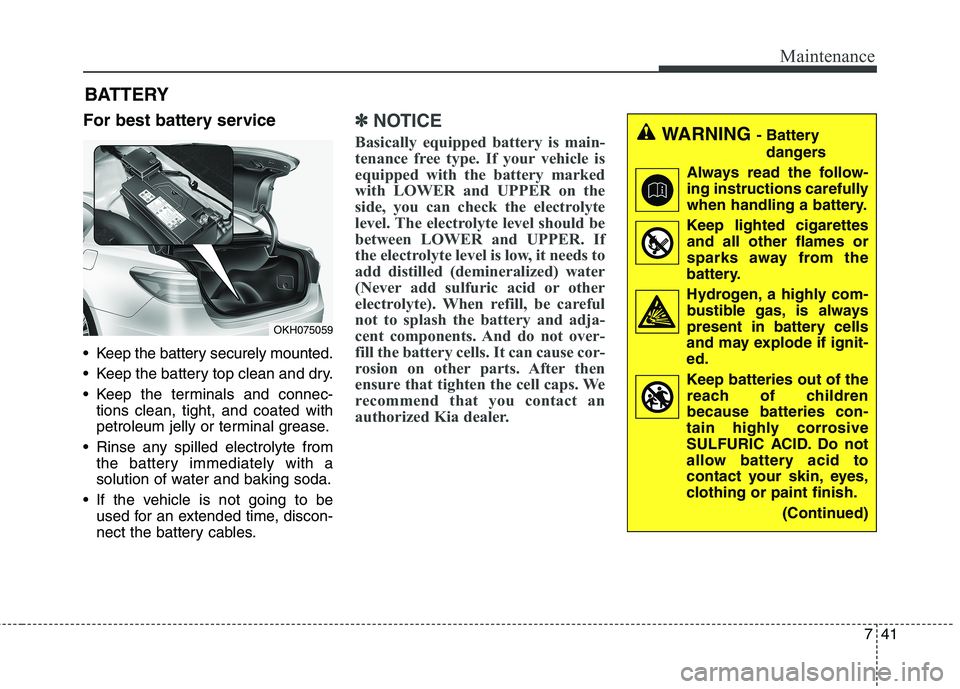
For best battery service
Keep the battery securely mounted.
Keep the battery top clean and dry.
Keep the terminals and connec-tions clean, tight, and coated with
petroleum jelly or terminal grease.
Rinse any spilled electrolyte from the battery immediately with a
solution of water and baking soda.
If the vehicle is not going to be used for an extended time, discon-
nect the battery cables.✽✽ NOTICE
Basically equipped battery is main-
tenance free type. If your vehicle is
equipped with the battery marked
with LOWER and UPPER on the
side, you can check the electrolyte
level. The electrolyte level should be
between LOWER and UPPER. If
the electrolyte level is low, it needs to
add distilled (demineralized) water
(Never add sulfuric acid or other
electrolyte). When refill, be careful
not to splash the battery and adja-
cent components. And do not over-
fill the battery cells. It can cause cor-
rosion on other parts. After then
ensure that tighten the cell caps. We
recommend that you contact an
authorized Kia dealer.
BATTERY
WARNING - Battery
dangers
Always read the follow-
ing instructions carefully
when handling a battery.
Keep lighted cigarettes and all other flames or
sparks away from the
battery.
Hydrogen, a highly com- bustible gas, is always
present in battery cells
and may explode if ignit-ed.
Keep batteries out of the reach of children because batteries con-
tain highly corrosive
SULFURIC ACID. Do not
allow battery acid to
contact your skin, eyes,
clothing or paint finish.
(Continued)
OKH075059
Page 442 of 513

Maintenance
42
7
CAUTION
When you don’t use the vehi-
cle for a long time in the lowtemperature area, separate the battery and keep it indoors.
Always charge the battery fully to prevent battery case dam-age in low temperature area.
If you connect unauthorized electronic devices to the bat-tery, the battery may be dis- charged. Never use unautho-rized devices.
Make sure the battery cap is closed. If the battery cap is notclosed securely, it can mal- function because the electriccomponents are exposed tomoisture.
WARNING
We recommend that the system
be serviced by an authorized
Kia dealer.
(Continued)
When lifting a plastic-cased battery, excessive pressure
on the case may cause battery
acid to leak, resulting in per-
sonal injury. Lift with a battery
carrier or with your hands on
opposite corners.
Never attempt to recharge the battery when the battery
cables are connected.
The electrical ignition system works with high voltage. Never
touch these components withthe engine running or the
Engine Start/Stop turned on.
Failure to follow the abovewarnings can result in serious
bodily injury or death.(Continued)
If any electrolyte getsinto your eyes, flush
your eyes with clean
water for at least 15 min-
utes and get immediatemedical attention.
If electrolyte gets on your
skin, thoroughly wash
the contacted area. If you
feel a pain or a burning
sensation, get medical
attention immediately.
Wear eye protection when charging or work-
ing near a battery.
Always provide ventila-
tion when working in an
enclosed space.
An inappropriately dis- posed battery can be
harmful to the environ-ment and human health.
Dispose the battery
according to your local
law(s) or regulation.
(Continued)
Pb
Page 459 of 513

759
Maintenance
Engine compartment fuse replacement
1. Turn the Engine Start/Stop buttonand all other switches off. 2. Remove the fuse panel cover by
pressing the tab and pulling the
cover up. When the blade type fuse
is disconnected, remove it by using
the clip designed for changing fuseslocated in the engine room fuse
box. Upon removal, securely insert
reserve fuse of equal quantity.
3. Check the removed fuse; replace it if it is blown. To remove or insert
the fuse, use the fuse puller in the
engine compartment fuse panel.
4. Push in a new fuse of the same rating, and make sure it fits tightly
in the clips.
If it fits loosely, we recommend
that you consult an authorized Kia
dealer.
CAUTION
After checking the fuse panel in the engine compartment,securely install the fuse panelcover. If not, electrical failures may occur from water contact.
OKH072022
OKH072023
CAUTION
Always place the fuse switch in the ON position while driv-ing the vehicle.
Do not move the transportation fuse switch repeatedly. Thefuse switch may be worn out.
Place fuse switch in the "OFF" position to discharge the bat-tery in case of parking the vehicle more than a month.
Page 460 of 513
Maintenance
60
7
Main fuse
If the main fuse is blown, it must be
removed as follows:
1. Turn off the engine.
2. Disconnect the negative battery
cable.
3. Remove the nuts shown in the pic- ture above.
4. Replace the fuse with a new one of the same rating.
5. Reinstall in the reverse order of removal.
Multi fuse
If the multi fuse is blown, it must be
removed as follows:
1. Disassemble the negative cable ofbattery.
2. Remove the nuts shown in the pic- ture above.
3. Replace the fuse with a new one of the same rating.
4. Reinstall in the reverse order of removal.
✽✽ NOTICE
If the multi fuse is blown, we recom-
mend that you consult an authorized
Kia dealer.
OKH072024OBH078025
CAUTION
Visually inspect the battery cap for secure closing. If the batterycap is not securely latched, the electrical system may be dam-aged to due influx of moistureinto the system.
Page 465 of 513

765
Maintenance
Fuse NameSymbolFuse rastingCircuit Protected
MODULE 66MODULE10ASmart Key Control Module, BCM
A/BAG15ADriver Seat Belt Pretensioner, Passenger Seat Belt Pretensioner, SRS Control Module
A/BAG IND10AInstrument Cluster
IGN 1IG 120AE/R Fuse & Relay Box LH (FUSE : F20, F21, F23, F25, F26, F27)
MEMORY 11 MEMORY10APassenger IMS Control Module, Driver/Passenger Door Module, Driver/Passenger Power Seat
Switch, Rear Door Module LH/RH, Power Trunk Module, Instrument Cluster, BCM,
Security Sensor, Analogue Clock, A/C Control Module, Head-Up Display
MULTI MEDIA10ARear Monitor Module, Keyboard, A/V Navigation Head Unit, Front Monitor,
Rear Monitor LH/RH, LVDS
ROOM LAMP10ARear Seat Foot Lamp LH/RH, Trunk Room Lamp LH/RH, Driver/Passenger Foot Lamp,
Room Lamp, Overhead Console Lamp, Front Vanity Lamp Switch LH/RH, Rear Vanity Lamp
Switch LH/RH, Garnish Lamp LH/RH, Garnish Center Lamp, Glove Box Lamp
MEMORY 33MEMORY10ARF Receiver
EPB 115AElectric Parking Brake Module
SPARE15ASpare
IGN 2IG 220AE/R Fuse & Relay Box LH (Fuse : F29, F30)
A/CON 110AA/C Control Module, Ionizer, AQS Sensor, Incar Sensor, Metal Core Block (PCB #2) (Blower Relay)
AFLS15AAdaptive Front Lighting Module, HEAD LAMP LH/RH
SPARE10ASpare
P/OUTLET FR20AFront Cigarette Lighter
Page 469 of 513
769
Maintenance
Fuse NameSymbolFuse rastingCircuit Protected
Vaccum10AE/R Fuse & Relay Box LH (RLY.10), Vacuum Pump SW
20AE/R Fuse & Relay Box LH (RLY.10)
ECU 110AECU
EHPS 110AEHPS Module
Inhibitor 22INHIBITOR10AA/T Console Switch, Electric ATM Shift Lever
Washer15AE/R Fuse & Relay Box LH (RLY.8)
Wiper 210AE/R Fuse & Relay Box LH (RLY.1)
B/UP Lamp 210ABack View Camera & Back-Up Lamp, A/T Console Switch, Electro Chromic Mirror,
A/V & Navigation Head Unit
Page 471 of 513
771
Maintenance
FuseFuse NameSymbolFuse rastingCircuit Protected
METALCORE
BLOCK
(PCB #1)
Sensor 310ARear Smart Junction Box (Fuel Pump Relay)
P/Door PASS15APassenger Door Latch
SPARE15ASpare
Deicer15AMetal Core Block (PCB #1) (Front Deicer Relay)
Ignition20AIgnition Coil #1~6, Condenser #1, #2
Horn15AMetal Core Block (PCB #1) (Horn Relay)
Sensor 210AMass Air Flow Sensor, Oxygen Sensor #1~4, E/R Fuse & Relay Box LH (RLY.6)
Sensor 410ANot Used
Wiper 330AWiper Motor
ECU 330AMetal Core Block (PCB #1) (ECU Main Relay)
ECS 240AMetal Core Block (PCB #1) (Air ECS Relay)
METAL CORE
BLOCK
(PCB #2)
Sensor 115APurge Control Solenoid Valve, ECM, Variable Intake Solenoid Valve,
Oil Control Valve #1~4
Injector 22 INJECTOR15AInjector #1~6
SPARE10ASpare
SPARE20ASpare
SPARE10ASpare