2016 KIA CEED air condition
[x] Cancel search: air conditionPage 525 of 643

719
Maintenance
NORMAL MAINTENANCE SCHEDULE - EXCEPT EUROPE (INCLUDING RUSSIA) (CONT.)
MAINTENANCE INTERVALS
MAINTENANCE ITEM Number of months or driving distance, whichever comes first
Months
122436 4860 7284 96
Kmx1,000
153045 6075 90105 120
Milesx1,000
102030 4050 6070 80
Add fuel additives (Gasoline) * 9Every 10,000 km (6,500miles) or 6months
Air cleaner filter (Except Middle East)IIRIIRII
Air cleaner filter (For Middle East)RRRRRRRR
Air conditioner refrigerant/compressor (if equipped)IIIIIIII
Battery conditionIIIIIIII
Brake lines, hoses and connectionsIIIIIIII
Brake / Clutch pedal (if equipped)IIII
Brake / Clutch fluid (if equipped)IIIIIIII
Climate control air filterRRRRRRRR
Cooling systemAt first, inspect 60,000 km (40,000 miles) or 48 months
after that, every 30,000 km (20,000 miles) or 24 months
Coolant * 8At first, replace 210,000 km (140,000 miles) or 120 months
after that, every 30,000 km (20,000 miles) or 24 months * 5
Disc brakes and padsIIIIIIII
Drive shafts and bootsIIII
JD PE eng 7.QXP 20.04.2016 16:07 Page 19
Page 528 of 643

Maintenance
22
7
MAINTENANCE UNDER SEVERE USAGE CONDITIONS - EXCEPT EUROPE (INCLUDING RUSSIA)
The following items must be serviced more frequently on cars mainly used under severe driving conditions.
Refer to the chart below for the appropriate maintenance intervals.
R : Replace I : Inspect and if necessary, adjust, correct, clean or replace
Maintenance itemMaintenance
operationMaintenance intervalsDriving condition
Engine oil and engine oil filter
Gasoline
Except Middle EastREvery 7,500 km (5,000 miles) or 6 months
A, B, C, D, E,
F, G, H, I, J, K
For Middle EastREvery 5,000 km (3,000 miles) or 6 months
Diesel
For RussiaREvery 7,500 km (5,000 miles) or 6 months
A, B, C, F, G, H, I, J, K, L
Except RussiaREvery 5,000 km (3,000 miles) or 6 months
Air cleaner filterRReplace more frequently
depending on the conditionC, E
Manual transaxle fluid (if equipped)REvery 120,000 km (80,000 miles)C, D, E, G, H, I, J
Automatic transaxle fluid (if equipped)REvery 90,000 km (60,000 miles)A, C, D, E, F, G, H, I, J
Steering gear rack, linkage and bootsIInspect more frequently
depending on the conditionC, D, E, F, G
JD PE eng 7.QXP 20.04.2016 16:07 Page 22
Page 529 of 643

723
Maintenance
SEVERE DRIVING CONDITIONS
A : Repeated short distance driving
B : Extensive idling
C : Driving in dusty, rough roads
D : Driving in areas using salt or other corrosive materials or in very cold weather
E : Driving in heavy dust condition
F : Driving in heavy traffic area. G : Driving in mountainous areas.
H : Towing a trailer or using a camper on roof rack
I : Driving for patrol car, taxi, commercial car or vehicle tow-
ing
J : Driving over 170 km/h (106 mile/h)
K : Frequently driving in stop-and-go conditions
L : Driving in very cold weather
Maintenance itemMaintenance operationMaintenance intervalsDriving condition
Front suspension ball jointsIInspect more frequently
depending on the conditionC, D, E, F, G
Disc brakes and pads, calipers and rotorsIInspect more frequently
depending on the conditionC, D, E, G, H
Parking brake (Hand type)IInspect more frequently
depending on the conditionC, D, G, H
Driveshaft and bootsIInspect more frequently
depending on the conditionC, D, E, F, G, H, I, J
Climate control air filterRReplace more frequently
depending on the conditionC, E, G
JD PE eng 7.QXP 1/28/2016 5:35 PM Page 23
Page 531 of 643

725
Maintenance
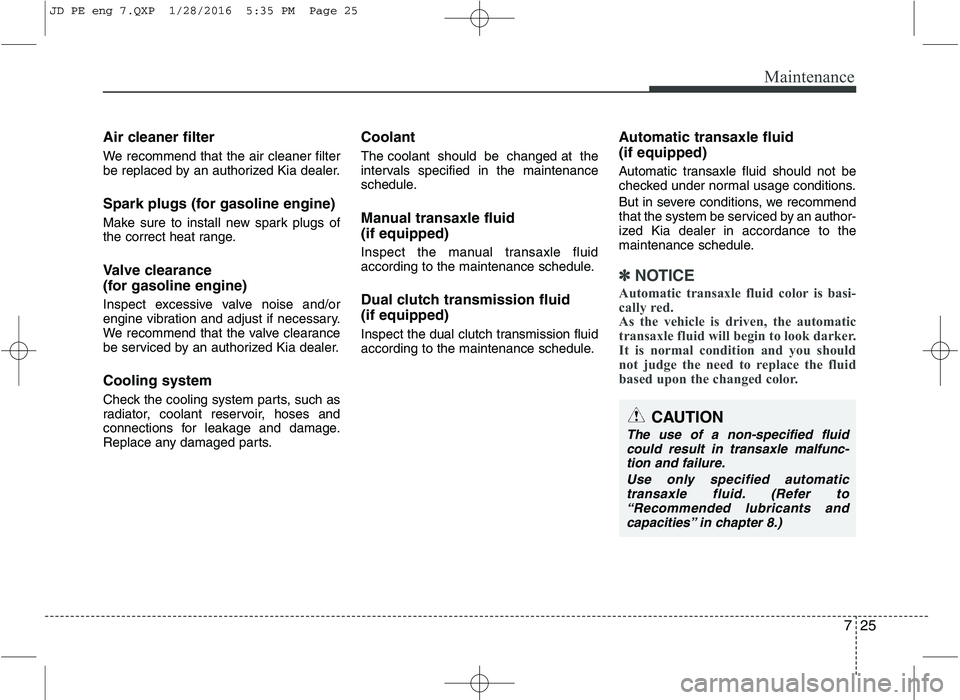
Air cleaner filter
We recommend that the air cleaner filter
be replaced by an authorized Kia dealer.
Spark plugs (for gasoline engine)
Make sure to install new spark plugs of
the correct heat range.
Valve clearance
(for gasoline engine)
Inspect excessive valve noise and/or
engine vibration and adjust if necessary.
We recommend that the valve clearance
be serviced by an authorized Kia dealer. Cooling system
Check the cooling system parts, such as
radiator, coolant reservoir, hoses and
connections for leakage and damage.
Replace any damaged parts.Coolant The coolant should be changed at the
intervals specified in the maintenance
schedule.
Manual transaxle fluid (if equipped)
Inspect the manual transaxle fluid
according to the maintenance schedule.
Dual clutch transmission fluid (if equipped)
Inspect the dual clutch transmission fluid
according to the maintenance schedule.
Automatic transaxle fluid (if equipped)
Automatic transaxle fluid should not be
checked under normal usage conditions.
But in severe conditions, we recommend
that the system be serviced by an author-
ized Kia dealer in accordance to the
maintenance schedule.
✽✽
NOTICE
Automatic transaxle fluid color is basi-
cally red.
As the vehicle is driven, the automatic
transaxle fluid will begin to look darker.
It is normal condition and you should
not judge the need to replace the fluid
based upon the changed color.
CAUTION
The use of a non-specified fluid could result in transaxle malfunc- tion and failure.
Use only specified automatictransaxle fluid. (Refer to “Recommended lubricants and
capacities” in chapter 8.)
JD PE eng 7.QXP 1/28/2016 5:35 PM Page 25
Page 532 of 643

Maintenance
26
7
Brake hoses and lines
Visually check for proper installation,
chafing, cracks, deterioration and any
leakage. Replace any deteriorated or
damaged parts immediately. Brake fluid
Check brake fluid level in the brake fluid
reservoir. The level should be between
“MIN” and “MAX” marks on the side of
the reservoir. Use only hydraulic brake
fluid conforming to DOT 3 or DOT 4specification. Brake pads, calipers and rotors
Check the pads for excessive wear, discs
for run out and wear, and calipers for fluid
leakage.
For more information on checking the
pads or lining wear limit, refer to the Kia
web site.
(http://www
.kia-hotline.com)
Suspension mounting bolts
Check the suspension connections for
looseness or damage. Retighten to the
specified torque.
Parking brake
Inspect the parking brake system
including the EPB actuator, wiring
and connectors. Steering gear box, linkage &
boots/lower arm ball joint
With the vehicle stopped and engine off,
check for excessive free-play in the
steering wheel.
Check the linkage for bends or damage.
Check the dust boots and ball joints for
deterioration, cracks, or damage.
Replace any damaged parts. Drive shafts and boots
Check the drive shafts, boots and clamps
for cracks, deterioration, or damage.
Replace any damaged parts and, if nec-
essary, repack the grease.
Air conditioning refrigerant/ compressor (if equipped)
Check the air conditioning lines and con-
nections for leakage and damage.
JD PE eng 7.QXP 1/28/2016 5:35 PM Page 26
Page 538 of 643

Maintenance
32
7
BRAKE/CLUTCH FLUID
Checking the brake/clutch fluid
level
Check the fluid level in the reservoir peri-
odically. The fluid level should be
between MAX and MIN marks on the
side of the reservoir. Before removing the reservoir cap and
adding brake/clutch fluid, clean the area
around the reservoir cap thoroughly to
prevent brake/clutch fluid contamination.
If the level is low, add fluid to the MAX
level. The level will fall with accumulated
mileage. This is a normal condition asso-
ciated with the wear of the brake linings.
If the fluid level is excessively low, we
recommend that the system be checked
by an authorized Kia dealer.
Use only the specified brake/clutch fluid.
(Refer to “Recommended lubricants andcapacities” in chapter 8.)
Never mix different types of fluid.
WARNING - Brake/clutch fluid
When changing and adding
brake/clutch fluid, handle it careful-
ly. Do not let it come in contact with
your eyes. If brake/clutch fluid
should come in contact with your
eyes, immediately flush them with a
large quantity of fresh tap water.
Have your eyes examined by a doc-
tor as soon as possible.
WARNING - Loss of
brake/clutch fluid
In the event the brake/clutch sys-
tem requires frequent additions of
fluid, we recommend that the sys-
tem be inspected by an authorized
Kia dealer.
CAUTION
Do not allow brake/clutch fluid to contact the vehicle's body paint, as
paint damage will result.
Brake/clutch fluid, which has beenexposed to open air for an extended time should never be used as itsquality cannot be guaranteed. It
should be disposed of properly.Don't put in the wrong kind of fluid. A few drops of mineral-based oil,such as engine oil, in your
brake/clutch system can damage brake/clutch system parts.
OGD071009
■ Type A
OJD073083
■Type B
JD PE eng 7.QXP 1/28/2016 5:36 PM Page 32
Page 561 of 643

755
Maintenance
Low aspect ratio tire (if equipped)
Low aspect ratio tires, whose aspect
ratio is lower than 50, are provided
for sporty looks.
Because the low aspect ratio tires
are optimized for handling and brak-
ing, it may be more uncomfortable to
ride in and there is more noise com-
pare with normal tires.CAUTION
Because the sidewall of the lowaspect ratio tire is shorter thanthe normal, the wheel and tire of the low aspect ratio tire is easi-er to be damaged. So, follow theinstructions below.
- When driving on a rough road or off road, drive cautiouslybecause tires and wheels maybe damaged. And after driving,inspect tires and wheels.
- When passing over a pothole, speed bump, manhole, or curbstone, drive slowly so that thetires and wheels are not dam-aged.
- If the tire is impacted, we rec- ommend that you inspect thetire condition or contact anauthorized Kia dealer.
- To prevent damage to the tire, inspect the tire condition andpressure every 3,000km.
CAUTION
It is not easy to recognize the tire damage with your owneyes. But if there is the slight- est hint of tire damage, eventhough you cannot see the tiredamage with your own eyes, have the tire checked orreplaced because the tiredamage may cause air leak- age from the tire.
If the tire is damaged by driv- ing on a rough road, off road,pothole, manhole, or curbstone, it will not be covered by the warranty.
You can find out the tire infor- mation on the tire sidewall.
JD PE eng 7.QXP 1/28/2016 5:37 PM Page 55
Page 609 of 643

7103
Maintenance
Aluminum wheel maintenance
The aluminum wheels are coated with a
clear protective finish.
Do not use any abrasive cleaner, pol-ishing compound, solvent, or wire
brushes on aluminum wheels. They
may scratch or damage the finish.
Clean the wheel when it has cooled.
Use only a mild soap or neutral deter- gent, and rinse thoroughly with water.
Also, be sure to clean the wheels after
driving on salted roads. This helps pre-
vent corrosion.
Avoid washing the wheels with high- speed car wash brushes.
Do not use any alkaline or acid deter- gent. It may damage and corrode the
aluminum wheels coated with a clear
protective finish.
Corrosion protection
Protecting your vehicle from corrosion
By using the most advanced design and
construction practices to combat corro-
sion, we produce cars of the highest
quality. However, this is only part of the
job. To achieve the long-term corrosion
resistance your vehicle can deliver, the
owner's cooperation and assistance isalso required.
Common causes of corrosion The most common causes of corrosion
on your car are:
allowed to accumulate underneath the
car.
Removal of paint or protective coatings by stones, gravel, abrasion or minor
scrapes and dents which leave unpro-
tected metal exposed to corrosion.
High-corrosion areas
If you live in an area where your car is
regularly exposed to corrosive materials,
corrosion protection is particularly impor-
tant. Some of the common causes of
accelerated corrosion are road salts,
dust control chemicals, ocean air and
industrial pollution. Moisture breeds corrosion Moisture creates the conditions in which
corrosion is most likely to occur. For
example, corrosion is accelerated by
high humidity, particularly when tempera-
tures are just above freezing. In such
conditions, the corrosive material is kept
in contact with the car surfaces by mois-
ture that is slow to evaporate.
Mud is particularly corrosive because it is
slow to dry and holds moisture in contact
with the vehicle. Although the mud
appears to be dry, it can still retain themoisture and promote corrosion.
High temperatures can also accelerate
corrosion of parts that are not properly
ventilated so the moisture can be dis-
persed. For all these reasons, it is par-
ticularly important to keep your car clean
and free of mud or accumulations of
other materials. This applies not only to
the visible surfaces but particularly to the
underside of the car.
To help prevent corrosion
You can help prevent corrosion from get-
ting started by observing the following:
JD PE eng 7.QXP 1/28/2016 5:42 PM Page 103