2016 JEEP GRAND CHEROKEE warning
[x] Cancel search: warningPage 58 of 276

WARNING!
Adaptive Cruise Control (ACC) is a convenience system. It is not a substitute for
active driving involvement. It is always the driver’s responsibility to be attentive of
road, traffic, and weather conditions, vehicle speed, distance to the vehicle ahead;
and, most importantly, brake operation to ensure safe operation of the vehicle
under all road conditions. Your complete attention is always required while driving
to maintain safe control of your vehicle. Failure to follow these warnings can result
in a collision and death or serious personal injury.
The ACC system:
• Does not react to pedestrians, oncoming vehicles, and stationary objects (e.g.,a stopped vehicle in a traffic jam or a disabled vehicle).
• Cannot take street, traffic, and weather conditions into account, and may be
limited upon adverse sight distance conditions.
• Does not always fully recognize complex driving conditions, which can result in
wrong or missing distance warnings.
• Will bring the vehicle to a complete stop while following a target vehicle and
hold the vehicle for 2 seconds in the stop position. If the target vehicle does not
start moving within two seconds the ACC system will display a message that the
system will release the brakes and that the brakes must be applied manually.
An audible chime will sound when the brakes are released.
You should switch off the ACC system:
• When driving in fog, heavy rain, heavy snow, sleet, heavy traffic, and complex
driving situations (i.e., in highway construction zones).
• When entering a turn lane or highway off ramp; when driving on roads that are
winding, icy, snow-covered, slippery, or have steep uphill or downhill slopes.
• When towing a trailer up or down steep slopes.
• When circumstances do not allow safe driving at a constant speed.
The Cruise Control system has two control modes:
• Adaptive Cruise Control mode for maintaining an appropriate distance between
vehicles.
• Normal (fixed speed) electronic speed control mode for cruising at a constant
preset speed. For additional information, refer to “Normal (Fixed Speed)
Cruise Control Mode” in this section.
Normal (fixed speed) electronic speed control will not react to preceding vehicles.
Always be aware of the mode selected.
You can change the mode by using the Cruise Control buttons. The two control
modes function differently. Always confirm which mode is selected.
OPERATING YOUR VEHICLE
56
Page 59 of 276

FORWARD COLLISION WARNING (FCW)
The Forward Collision Warning (FCW) system provides the driver with audible
warnings and visual warnings within the Driver Information Display (DID), to warn the
driver when it detects a potential frontal collision. The warnings are intended to
provide the driver with enough time to react, avoid or mitigate the potential collision.
NOTE:
FCW monitors the information from the forward looking sensors as well as the
Electronic Brake Controller (EBC), to calculate the probability of a forward collision.
When the system determines that a forward collision is probable, the driver will be
provided with audible and visual warnings.
Turning FCW ON Or OFF
The forward collision button is located in the Uconnect display in the controls
settings.
• To turn the FCW system OFF, press the forward collision button once to turn thesystem OFF.
• To turn the FCW system back ON, press the forward collision button again to turn the system ON.
NOTE:
• The default status of FCW is “On”, this allows the system to warn you of a possible collision with the vehicle in front of you.
• Changing the FCW status to “Off” prevents the system from warning you of a possible collision with the vehicle in front of you. If FCW is set to “Off”, “FCW
OFF” will be displayed in the Driver Information Display (DID).
Changing FCW Status
The FCW feature has three settings and can be changed within the Uconnect System
Screen:
• Far
• Medium
• Near
Far
The far setting provides warnings for potential collisions more distant in front of the
vehicle, allowing the driver to have the most reaction time to avoid a collision.
More cautious drivers that do not mind frequent warnings may prefer this setting.
NOTE:
This setting gives you the most reaction time.
OPERATING YOUR VEHICLE
57
Page 60 of 276

Medium
The default status of FCW is the “Medium” setting and the Active Braking is in the
“On” setting. This allows the system to warn the driver of a possible collision with the
vehicle in front using audible/visual warnings and it applies autonomous braking.
Near
Changing the FCW status to the “Near” setting, allows the system to warn you of a
potential frontal collision when you are much closer.
This setting provides less reaction time than the “Far” setting, which allows for a
more dynamic driving experience.
More dynamic or aggressive drivers that want to avoid frequent warnings may prefer
this setting.
NOTE:
Changing the Active Braking status to “Off” prevents the system from providing
autonomous braking, or additional brake support if the driver is not braking
adequately in the event of a potential frontal collision. Active braking can be turned
“Off” in the Uconnect controls settings.
Refer to the Owner's Manual on the DVD for further details.
WARNING!
Forward Collision Warning (FCW) is not intended to avoid a collision on its own, nor
can FCW detect every type of potential collision. The driver has the responsibility
to avoid a collision by controlling the vehicle via braking and steering. Failure to
follow this warning could lead to serious injury or death.
OPERATING YOUR VEHICLE
58
Page 63 of 276

• Holding the (-) paddle depressed will downshift the transmission to the lowestgear possible at the current speed.
• Transmission shifting will be more noticeable when AutoStick is enabled.
• The system may revert to automatic shift mode if a fault or overheat condition is detected.
NOTE:
When Selec-Speed or Hill Descent Control is enabled, AutoStick is not active.
To disengage AutoStick, return the gear selector to the DRIVE position, or press and
hold the (+) shift paddle (if the gear selector is already in DRIVE) until "D" is once
again indicated in the instrument cluster. You can shift in or out of AutoStick at any
time without taking your foot off the accelerator pedal.
WARNING!
Do not downshift for additional engine braking on a slippery surface. The drive
wheels could lose their grip and the vehicle could skid, causing a collision or
personal injury.
FUEL ECONOMY (ECO) MODE
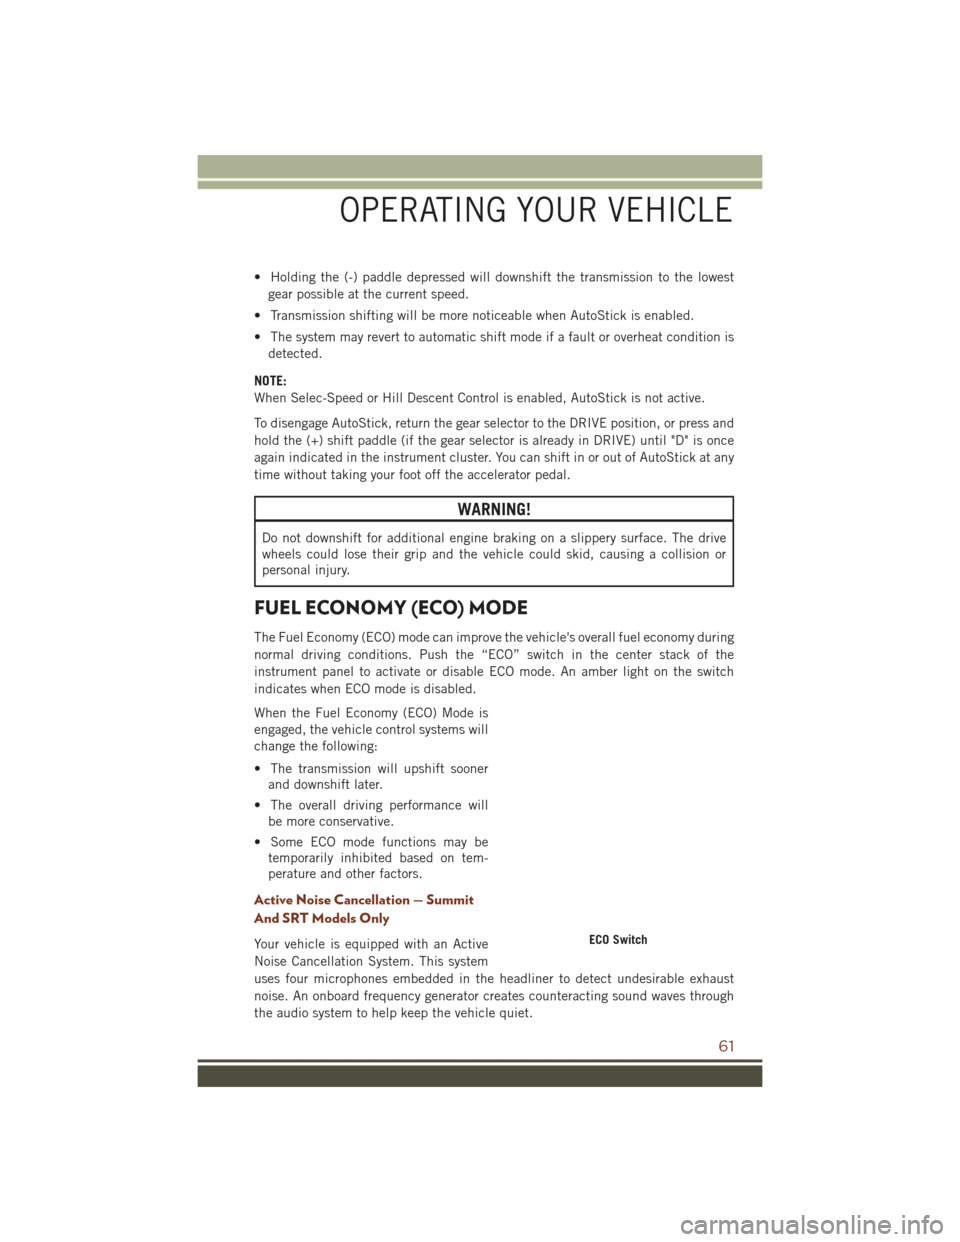
The Fuel Economy (ECO) mode can improve the vehicle's overall fuel economy during
normal driving conditions. Push the “ECO” switch in the center stack of the
instrument panel to activate or disable ECO mode. An amber light on the switch
indicates when ECO mode is disabled.
When the Fuel Economy (ECO) Mode is
engaged, the vehicle control systems will
change the following:
• The transmission will upshift sooner and downshift later.
• The overall driving performance will be more conservative.
• Some ECO mode functions may be temporarily inhibited based on tem-
perature and other factors.
Active Noise Cancellation — Summit
And SRT Models Only
Your vehicle is equipped with an Active
Noise Cancellation System. This system
uses four microphones embedded in the headliner to detect undesirable exhaust
noise. An onboard frequency generator creates counteracting sound waves through
the audio system to help keep the vehicle quiet.ECO Switch
OPERATING YOUR VEHICLE
61
Page 71 of 276

• Press and release to toggle between MAX A/C and the prior settings. The button onthe touchscreen illuminates when MAX A/C is ON.
• In MAX A/C, the blower level and mode position can be adjusted to desired user settings. Pushing other settings will cause the MAX A/C operation to switch to the
prior settings and the MAX A/C indicator will turn off.
SYNC Temperature Button
• Press the “SYNC” button on the touchscreen to control the driver and passengertemperatures simultaneously. Press the “SYNC” button on the touchscreen a
second time to control the temperatures individually.
Air Recirculation
• Use Recirculation for maximum A/C operation.
• For window defogging, turn the recirculation button off.
• If the recirculation button is pushed while in the AUTO mode, the indicator lightmay flash three times to indicate the cabin air is being controlled automatically.
Heated Mirrors
The mirrors are heated to melt frost or ice. This feature is activated whenever you turn
on the rear window defroster.
PARKSENSE FRONT AND REAR PARK ASSIST
ParkSense can be enabled and disabled by pushing the ParkSense switch located
below the climate controls, on the switch panel.
The four ParkSense sensors, located in the rear fascia/bumper, monitor the area
behind the vehicle that is within the sensors field of view. The sensors can detect
obstacles from approximately 12 inches (30 cm) up to 79 inches (200 cm) from the
rear fascia/bumper in the horizontal direction, depending on the location, type and
orientation of the obstacle.
The six ParkSense sensors, located in the front fascia/bumper, monitor the area in
front of the vehicle that is within the sensors’ field of view. The sensors can detect
obstacles from approximately 12 inches (30 cm) up to 47 inches (120 cm) from the
front fascia/bumper in the horizontal direction, depending on the location, type and
orientation of the obstacle.
When an object is detected within 79 inches (200 cm) behind the rear bumper while
the vehicle is in REVERSE, a warning will display in the Driver Information Display
(DID). In addition a chime will sound (when Sound and Display is selected from the
Customer Programmable Features section of the Uconnect System screen). As the
vehicle moves closer to the object, the chime rate will change from single 1/2 second
tone (for rear only), to slow (for rear only), to fast, to continuous.
Refer to your Owner's Manual on the DVD for further details.
OPERATING YOUR VEHICLE
69
Page 72 of 276

Parksense Rear Park Assist — If Equipped
The ParkSense Rear Park Assist system provides visual and audible indications of the
distance between the rear fascia and a detected obstacle when backing up, e.g.
during a parking maneuver. If your vehicle is equipped with this feature, the vehicle
brakes may be automatically applied and released when performing a reverse parking
maneuver if the system detects a possible collision with an obstacle.
The automatic braking function can be enabled/disabled from the Customer-
Programmable Features section of the Uconnect System.
ParkSense can be active only when the gear selector is in REVERSE. If ParkSense is
enabled at this gear selector position, the system will remain active until the vehicle
speed is increased to approximately 7 mph (11 km/h) or above. When in REVERSE
and above the system's operating speed, a warning will appear within the Driver
Information Display (DID) indicating the vehicle speed is too fast. The system will
become active again if the vehicle speed is decreased to speeds less than approxi-
mately 6 mph (9 km/h).
Cleaning The ParkSense Sensors
If “PARKSENSE UNAVAILABLE WIPE REAR SENSORS" or "PARKSENSE UNAVAIL-
ABLE WIPE FRONT SENSORS” appears in the “Driver Information Display (DID),”
clean the ParkSense sensors with water, car wash soap and a soft cloth. Do not use
rough or hard cloths. Do not scratch or poke the sensors. Otherwise, you could
damage the sensors.
PARKVIEW REAR BACK-UP CAMERA
You can see an on-screen image of the rear of your vehicle whenever the transmission
is shifted into REVERSE. The ParkView Rear Back-Up Camera image will be
displayed on the radio display screen, located on the center stack of the instrument
panel.
If the radio display screen appears foggy, clean the camera lens located on the rear
of the vehicle above the rear license plate.
Refer to “ParkView Rear Back-Up Camera — If Equipped” in “Understanding The
Features Of Your Vehicle” in your Owner's Manual on the DVD for further details.
WARNING!
Drivers must be careful when backing up; even when using the ParkView Rear
Back-Up Camera. Always check carefully behind your vehicle, and be sure to
check for pedestrians, animals, other vehicles, obstructions, or blind spots before
backing up. You must continue to pay attention while backing up. Failure to do so
can result in serious injury or death.
OPERATING YOUR VEHICLE
70
Page 73 of 276

BLIND SPOT MONITORING
The Blind Spot Monitoring (BSM) system uses two radar-based sensors, located
inside the rear bumper fascia, to detect Highway licensable vehicles (automobiles,
trucks, motorcycles etc.) that enter the blind spot zones from the rear/front/side of
the vehicle.
The BSM warning light, located in the outside mirrors, will illuminate if a vehicle
moves into a blind spot zone.
The BSM system can also be configured to sound an audible (chime) alert and mute
the radio to notify you of objects that have entered the detection zones.
Refer to “Blind Spot Monitoring” in “Understanding The Features Of Your Vehicle”
in your Owner's Manual on the DVD for further details.
POWER SUNROOF
The power sunroof switch is located on the overhead console.
Opening Sunroof
Express Open
Push the switch rearward and release it
within one-half second. The sunroof will
fully open and stop automatically.
Manual Open
Push and hold the switch rearward to
open the sunroof. Any release of the
switch will stop the movement, and the
sunroof will remain in a partially open
position until the switch is pushed again.
Venting Sunroof
Push and release the button and the
sunroof will open to the vent position.
This is called “Express Vent” and will
occur regardless of sunroof position. Dur-
ing Express Vent operation, any move-
ment of the switch will stop the sunroof.
Closing Sunroof
Express Closing
Push the switch forward and release it within one-half second. The sunroof will fully
close automatically from any position.
Power Sunroof Switch
1 — Opening Sunroof
2 — Venting Sunroof
3 — Closing Sunroof
OPERATING YOUR VEHICLE
71
Page 75 of 276

Pinch Protection Feature
This feature will detect an obstruction in the opening of the sunroof during Express
Close operation. If an obstruction in the path of the sunroof is detected, the sunroof
will automatically retract. Remove the obstruction if this occurs. Next, push the
switch forward and release to Express Close.
NOTE:
If three consecutive sunroof close attempts result in Pinch Protect reversals, the
fourth close attempt will be a Manual Close movement with Pinch Protect disabled.
WARNING!
• Do not let children play with the sunroof. Never leave children unattended in avehicle, or with access to an unlocked vehicle. Do not leave the Key Fob in or
near the vehicle, and do not leave the ignition of a vehicle equipped with
Keyless Enter-N-Go in the ACC or ON/RUN mode. Occupants, particularly
unattended children, can become entrapped by the power sunroof while
operating the power sunroof switch. Such entrapment may result in serious
injury or death.
• In a collision, there is a greater risk of being thrown from a vehicle with an open
sunroof. You could also be severely injured or killed. Always fasten your seat
belt properly and make sure all passengers are properly secured.
• Do not allow small children to operate the sunroof. Never allow your fingers,
other body parts, or any object to project through the sunroof opening. Injury
may result.
WIND BUFFETING
Wind buffeting can be described as a helicopter-type percussion sound. If buffeting
occurs with the rear windows open, adjust the front and rear windows together.
If buffeting occurs with the sunroof open, adjust the sunroof opening, or adjust any
window. This will minimize buffeting.
OPERATING YOUR VEHICLE
73